
I’m continuing work on the foredeck as I simultaneously planking the hull.
Good news – I finally got my hands on a book by Xavier Pastor called The Ships of Christopher Columbus. The book is part of a series called “Anatomy of a Ship”.
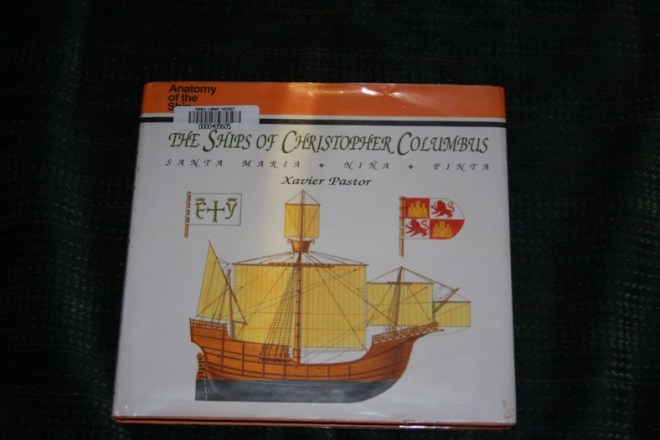
Pastor’s book gives the most comprehensive detail on the Santa Maria that is available and is full of valuable information as well as scaled images. Pastor’s information is well researched, based on the actual notes of not only Chrisopher Columbus, but also his son.
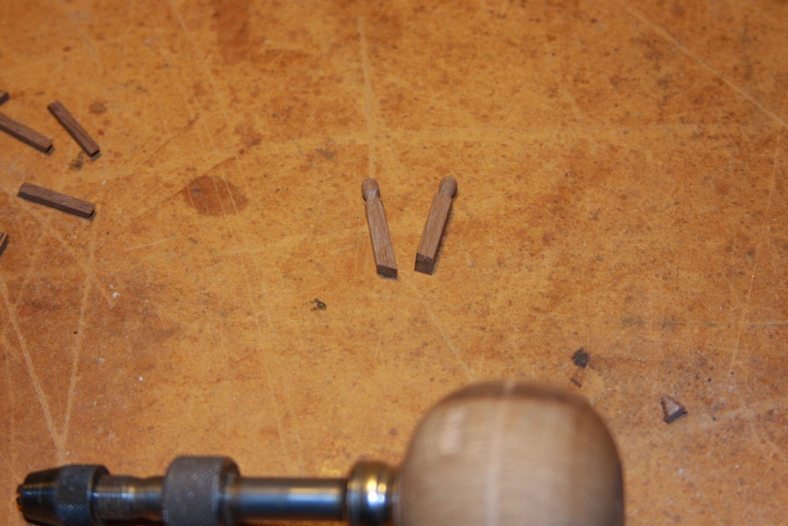
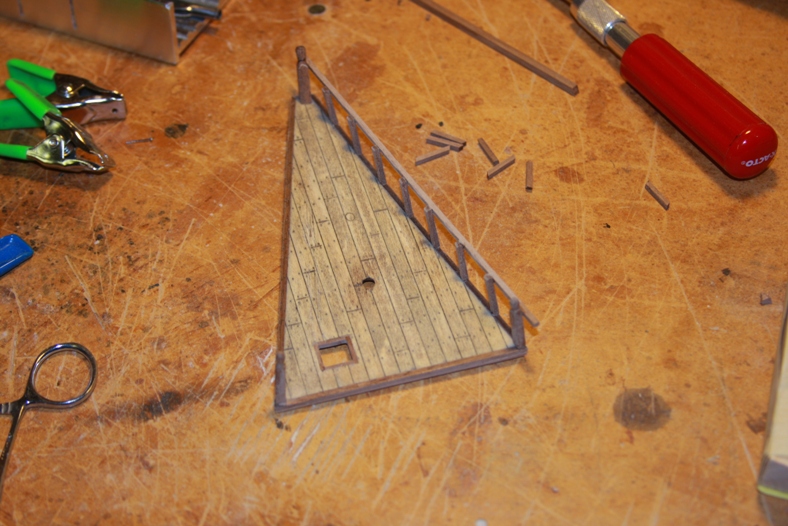
Anyway, back to the foredeck. I’ve been working on the stanchions and the railings for the foredeck. Each are made of walnut and are hand carved from a 3 mm x 3 mm strip for the corner stanchions and 2 mm X 2 mm strips for the middle stanchions and the railings.
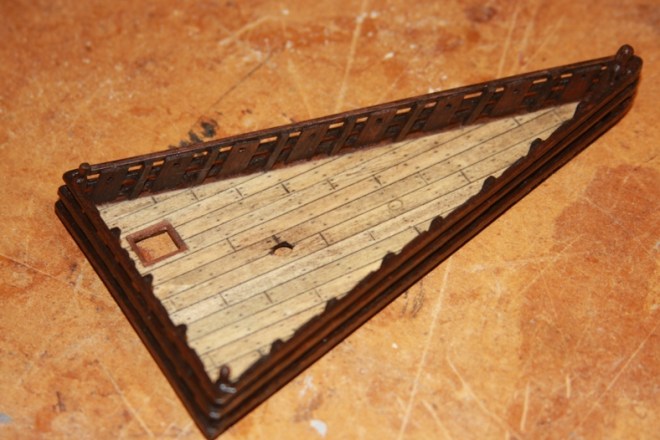
First, I sanded and carved the corner pieces. The bottoms are trimmed and mitered at a slight angle. The overall foredeck will be mounted at a slight angle on the front of the ship, so the stanchions must be angled to give the railings a look that is paralell to the waterline.
Simply gluing the stanchions will not old over time, so to strengthen their base, I drill a tiny hole into the bottom of the stanchions.
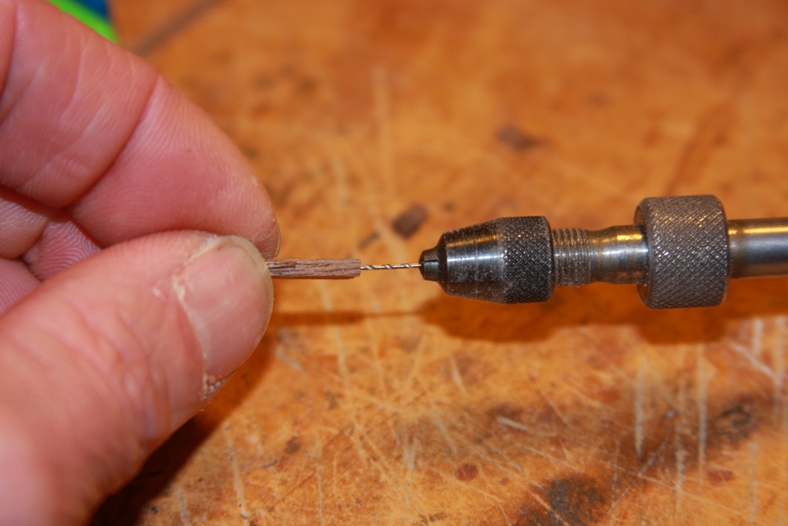
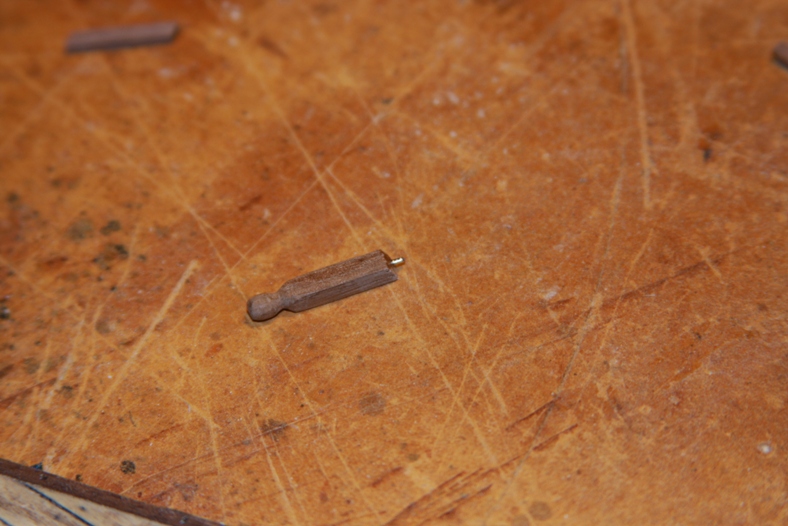
I insert and superglue sewing pin into the hole and clip off the excess. I then drill corresponding holes into the deck, and mount and glue the stanchions into place.
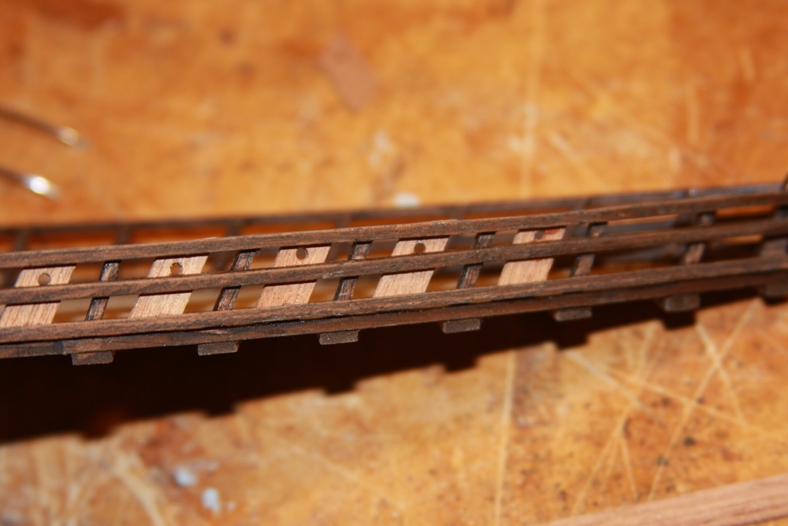
I then follow the same procedure for the railings. First I drill holes and glue the sewing pins in. Each railing is then measured, glued, and mounted along the stanchions using clamps to hold them into place until the glue dries completely. You can also see here that I’ve reinforced the bottom of the deck with strips of walnut as done with the original vessel.

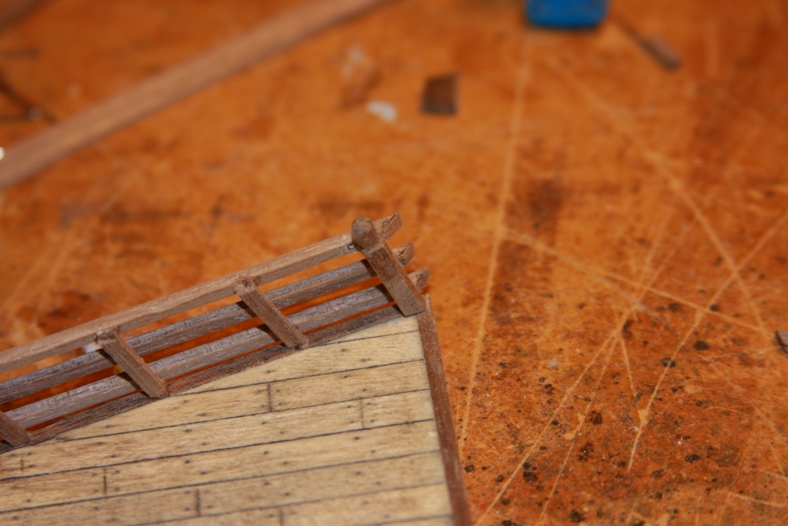
Each railing is “pinned” at its end and mitered for an even corner fit. After all the railings are mounted they are sanded very gently with 600 grain sandpaper to smooth out all the joints.
The railings will then all be stained with darker stain, then sanded once again with 600 to 1000 grain sandpaper to give them a weathered look. Next up, cutting and mounting the panes of wood that were in between each of the stanchions. You may also notice the carved figurehead that represents the larger front stanchion. This figure (most often a man or a patron saint) was believed to ward off evil and bad luck during a voyage. More on that later…
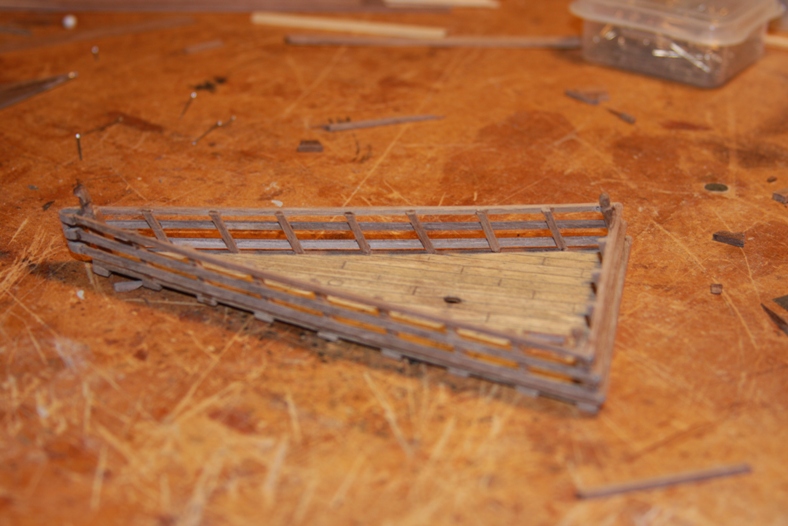
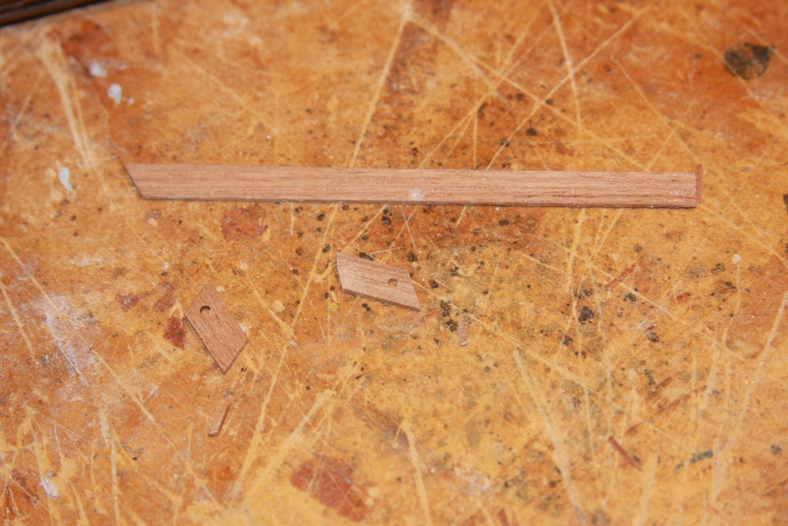
According to Pastor’s book, there were also removable barriers between the stanchions. I’ve created these from some leftover mahogony I have lying around. I cut it to fit between the stanchions and drilled holes. I then stained the entire thing and coated it with Tung oil for protection and a deeper color.

Great Blog!! That was amazing. Your thought processing is wonderful. The way you tell the thing is awesome. You are really a masterhttp://www.stanchionexperts.com
LikeLike