
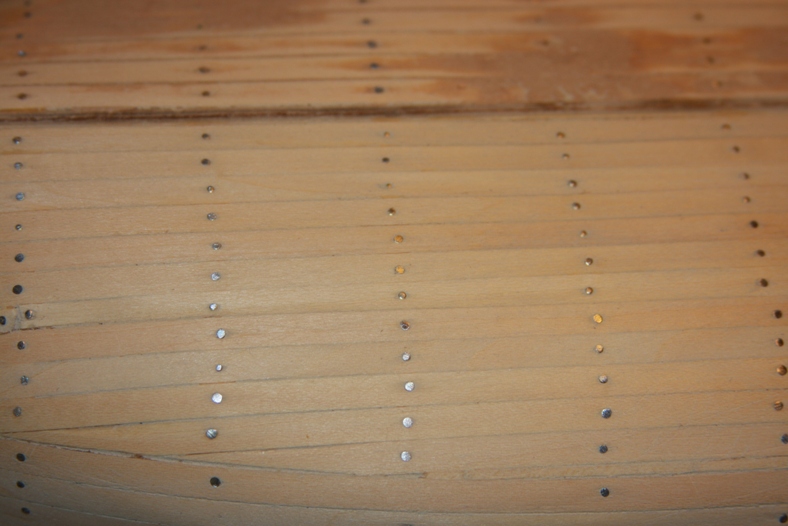
As explained, planking the hull is a complicated process. Each individual plank must be measure, damped, steamed to shape, placed, then glued. As the hull begins to close in, planks need to be trimmed and shaved down to taper properly. Since the first layer of planking will not be seen, it doesn’t require the same level of precision that the outer layer will require.


However, the first layer of planking must still provide an even, smooth surface otherwise the thinner outer layer will appear bumpy and incorrect. The first layer of planking will be sanded until it’s reasonably smooth then wood filler is applied to even out any inconsistencies.


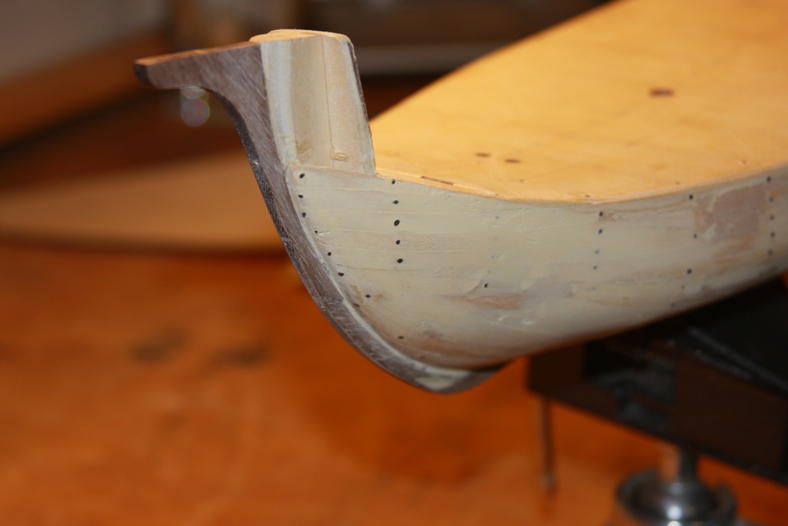
The hull is sanded again with a variety of different sandpapers ranging from 100 to 600 grin sandpaper. When the hull is as smoothe as possible, I will add the keel and bulwarks and begin the second layer of planking.

The keel is added by gluing it and holding it in place with a variety of rubber bands and clamps. I then add another layer of filler to close all the gaps where the planks meeet the keel.

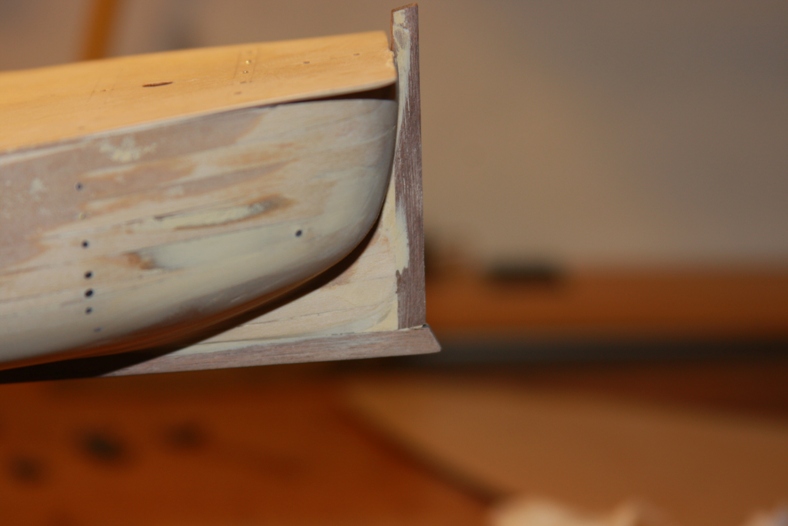

Then, still more sanding to make the hull as smooth as possible around all the edges and between all the planks. The smoother the first layer of planking is, the more even the second layer of planking will be.


