The small details and “deck fixtures” can make or break the way a ship looks when on display. I often take a break from the ‘heavy lifting’ – things like planking and sanding – to work on these smaller details. Naturally one must be careful with regard to accuracy, especially for those items that stand out. For instance, the anchor is an easily visible item that can either add a lot, to take away a lot…

The anchor supplied with the Santa Maria kit is a simple die cast molded item which looks pretty cheesy with metal stocks. The only option would be to paint them, which obviously that won’t do – so I began recreating the anchor based on anchors of the time.
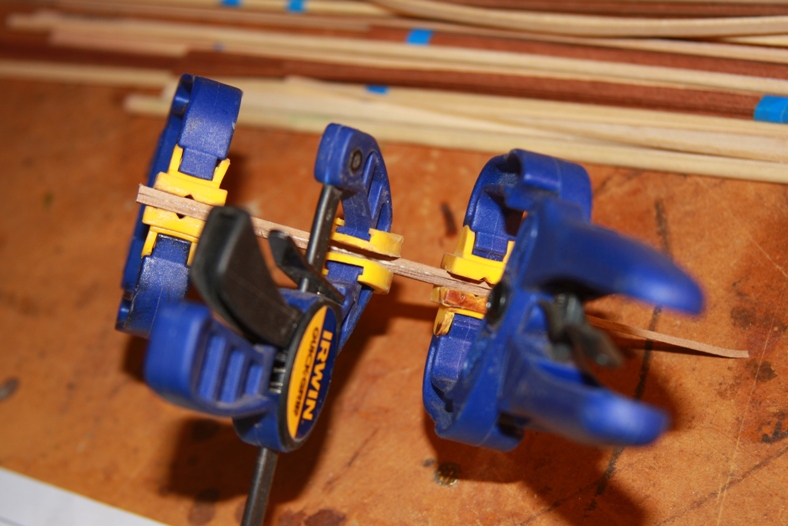
I started by gluing two pieces of walnut together to create the stock, then breaking off the shank/fluke from the forelock (where the ring goes). After the shank dried, I didn’t feel like it would be stable if I drilled a hole through the entire stock, so I decided to simulate the mount. Instead, I notched out an area in the bottom to fit the main portion of the anchor. I also notched out areas that will fit the bronze strips that hold the stock together.
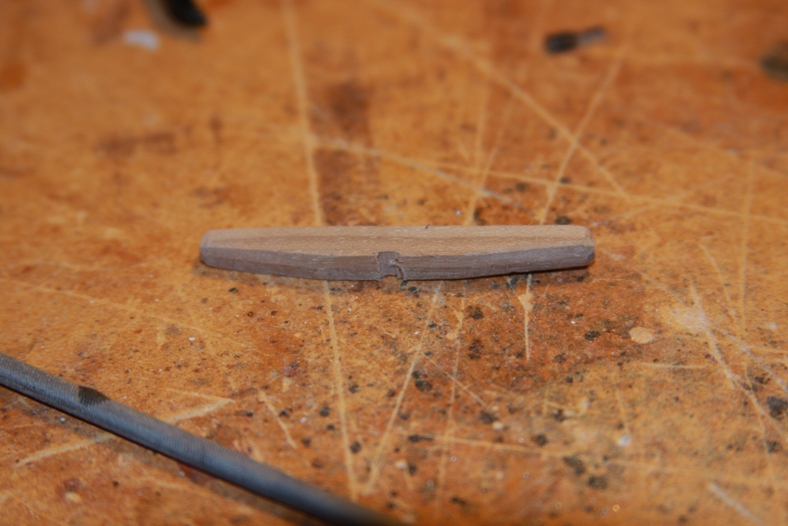

The bronze strips are cut, and carefully bent around the stock. I used super glue to hold them in place, then filed and sanded them down to make them look as seemless as possible.
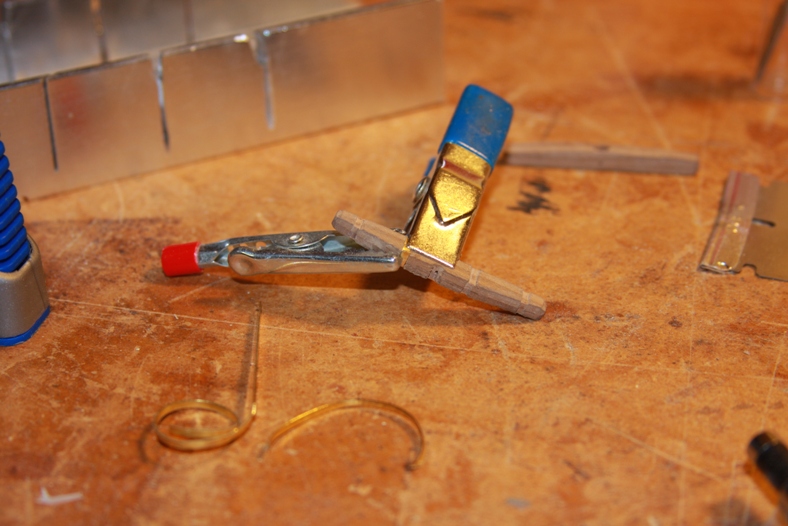

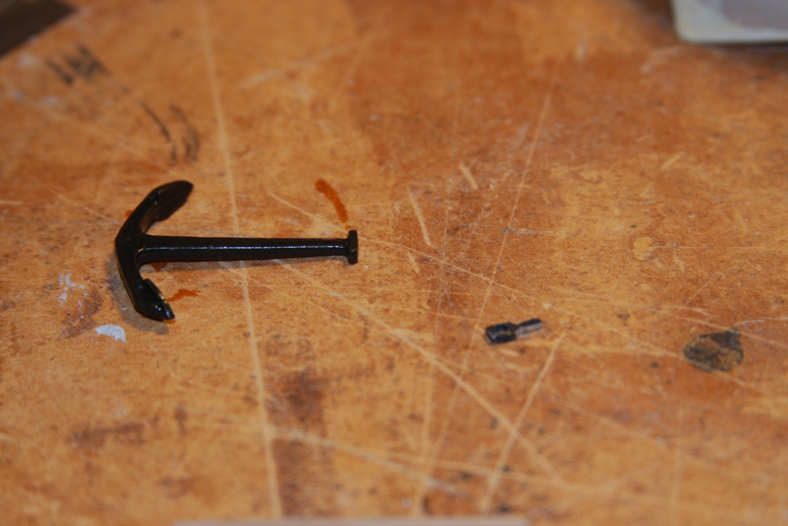
To create the bolts in the stock, I pre-drilled tiny holes into the sides, then clipped off the heads of pin nails and put them in. After they were nailed in, I tapped them repeatedly with a brass head hmmer to get them as flush as possible while still having them appear ’rounded’.
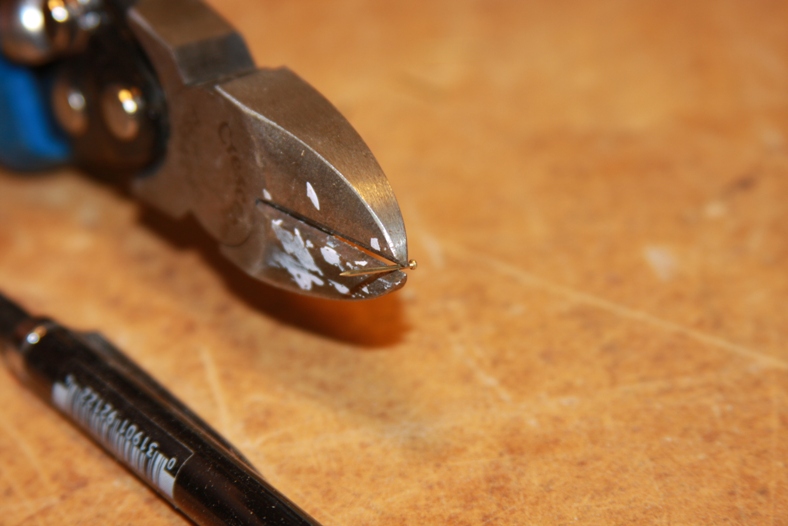

To mount the anchor itself, I drilled a small hole in the top, and glued the end of a sewing pin into the end of the shank. Another small hole was drilled in the stock to fit the shank as well as the forelock.
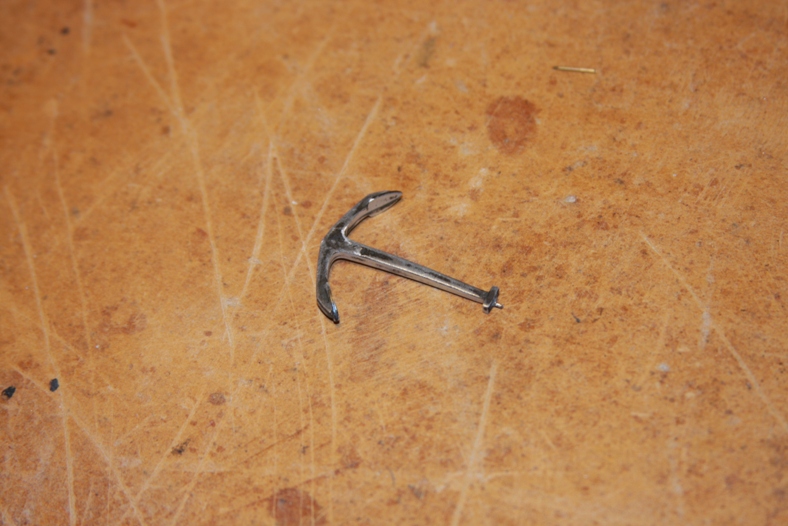
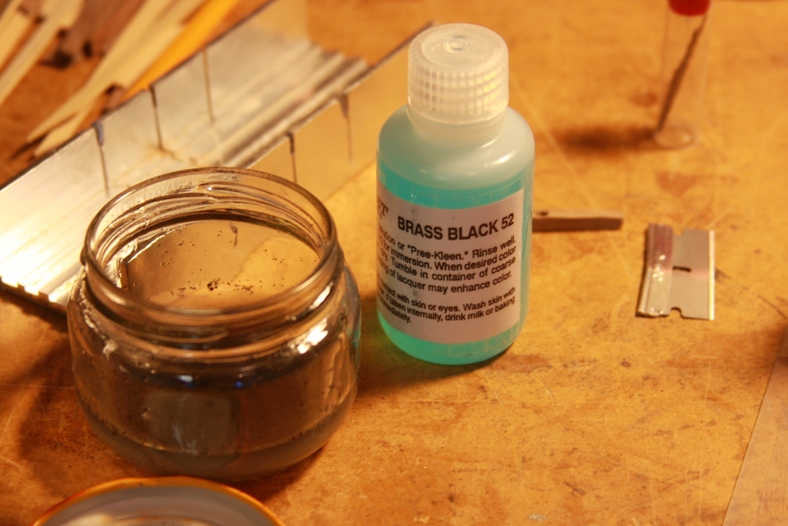
After the anchor is mounted and the glue dried, the entire anchor is dipped in a special solution that creates a chemical reaction turning the brass portion black. I chose to leave the anchor in the solution long enough that some of that reaction bleeds into the wood creating an older “weathered” look to the anchor.
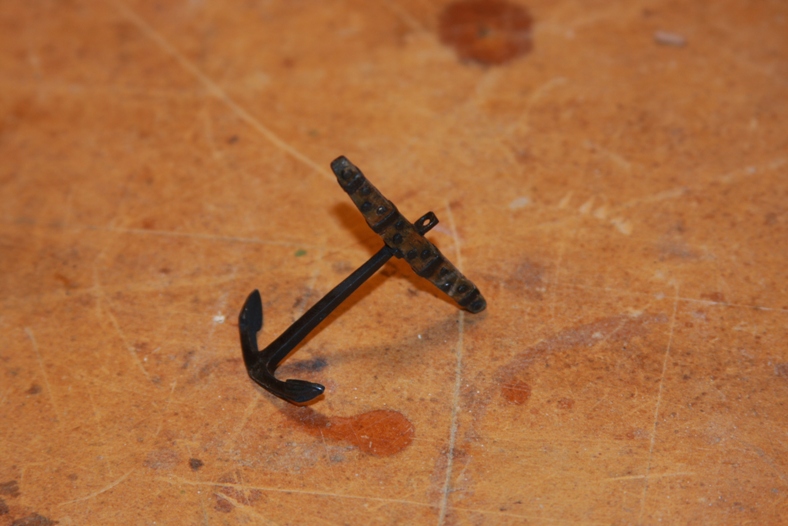
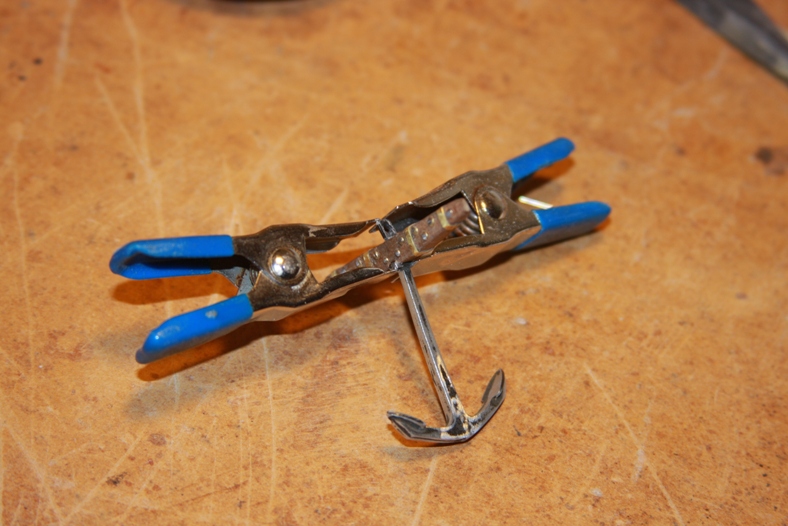
The finished anchor will be one of two that are mounted on the sides of the Santa Maria and wenched up and down by the “windlass”.