
Because planking the deck is such a tedious process (an update on planking the main deck is forthcoming), I divide my time between cutting, laying and glueing each plank, with constructing smaller details for the rest of the ship.
My intention is to make the poop deck either removable, or raise-able to see what inside Christopher Columbus’ cabin may have looked like. So I began fabricating items that my appear in that cabin.
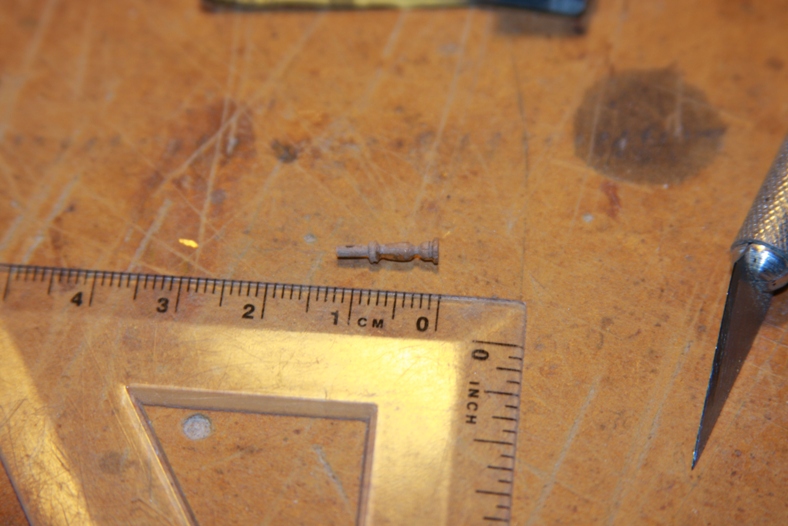
The first item is a candle on a candlestick. To achieve this, i took a 3 mm wooden dowel made of walnut and slowly lathed it by hand with sandpaper and a pin file. Most folks use either basswood or boxwood for carving, however I chose walnut for these pieces. Although walnut is more difficult to carve, it is also more dense and I believe and withstand smaller incisions and carvings and still stand the test of time.
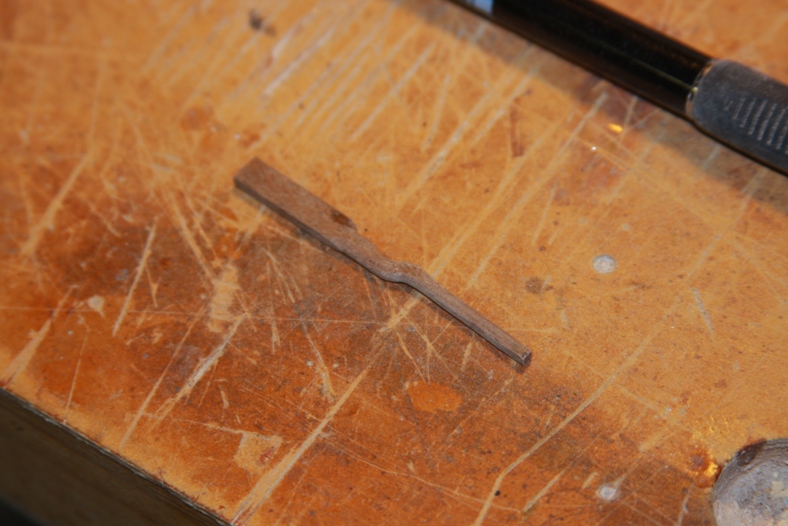
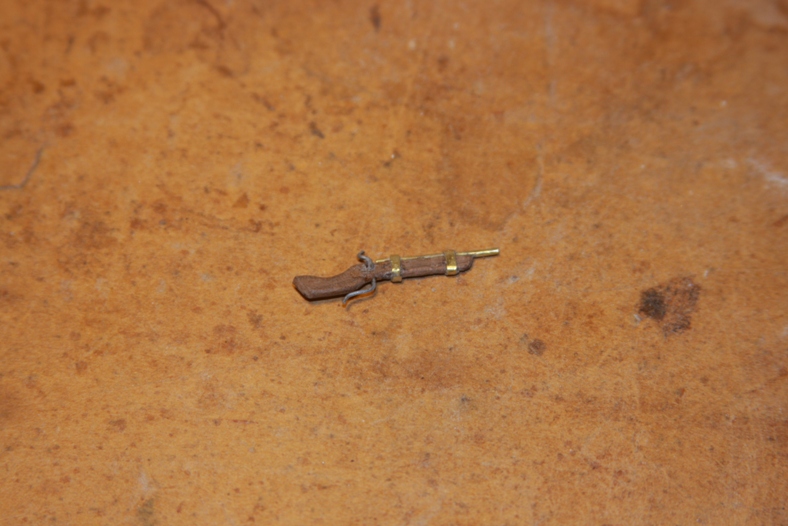
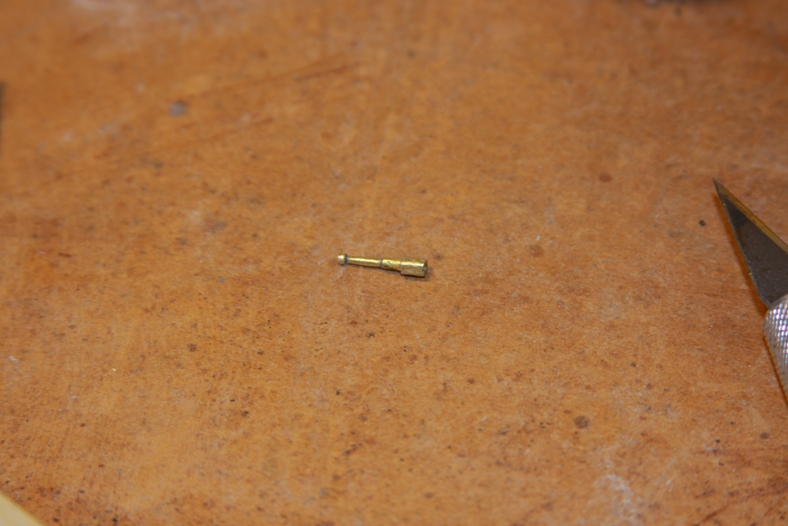
The next piece was a minature musket from the time period. I started with a 5mm wide pice of walnut and carved out the basic shape of the weapon. I trimmed small pieces of brass for the bands, and used a small but thick brass wire or cylinder for the barrel. The trigger and hammer are made from common wire.
Once constructed, I dipped the entire piece into the blackening solution (same as the anchor) which turned the brass to a blackened weathered state, but also affected the would in a positive way.
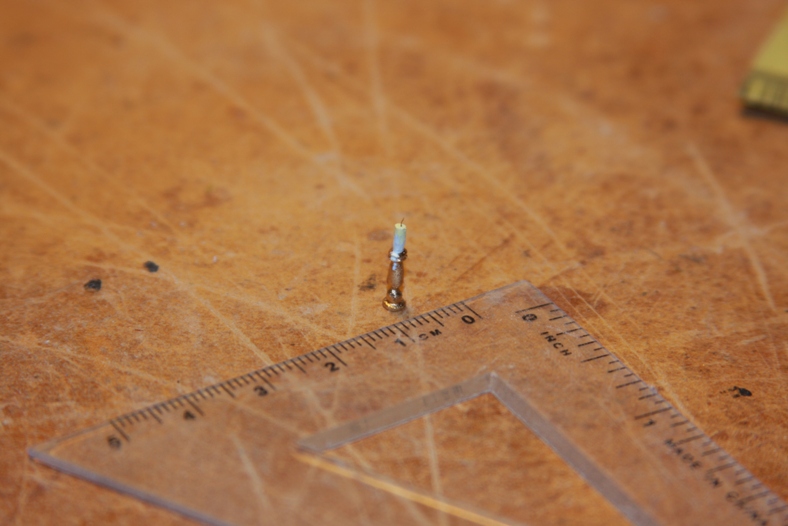
Next I attempted to make a captain’s telescope using two different diameters of brass tubing, and a flat piece of brass rolled up. I cut the brass tubing and simply stacked the pieces on top of each other. However, because the glue wouldn’t stabilize the pieces enough, I drilled small holes and inserted pieces of a sewing pin. The pin served to stabilize the pieces helping the glue hold.
Because the end pieces was wrapped brass, it automatically gave the end of the telescope the look of a glass lens.
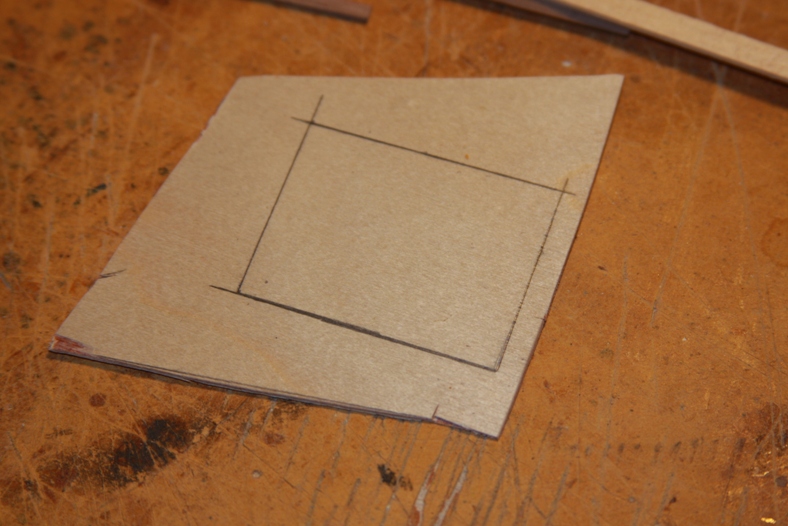
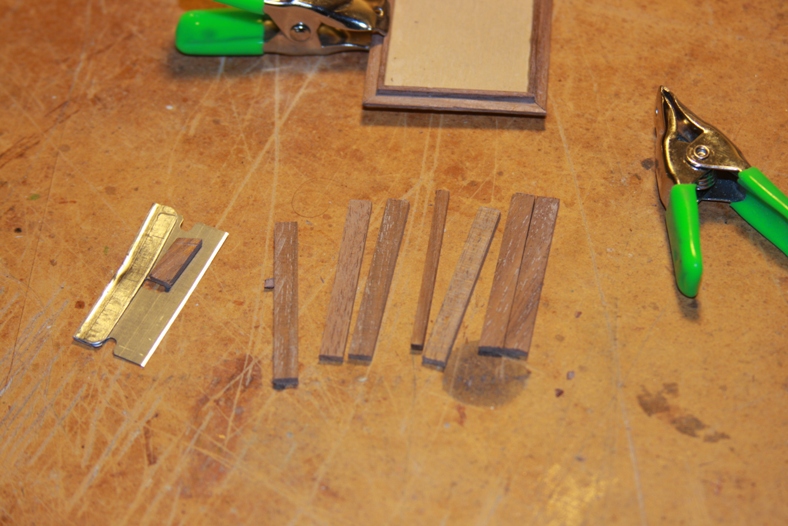
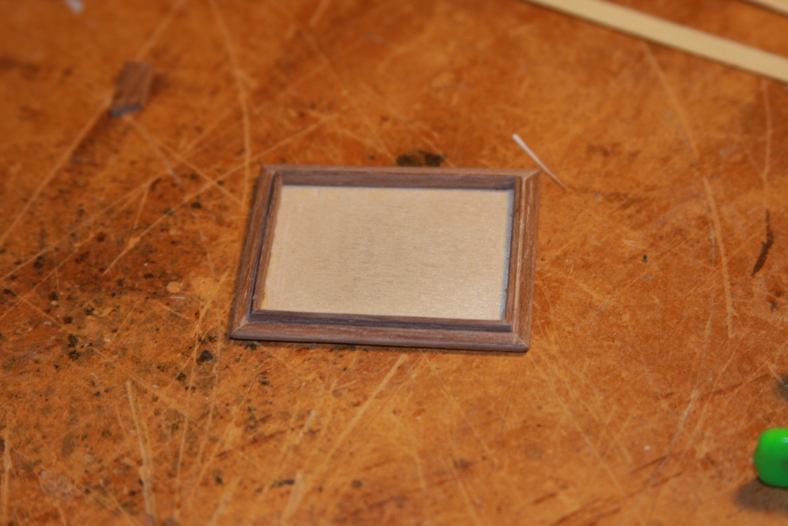
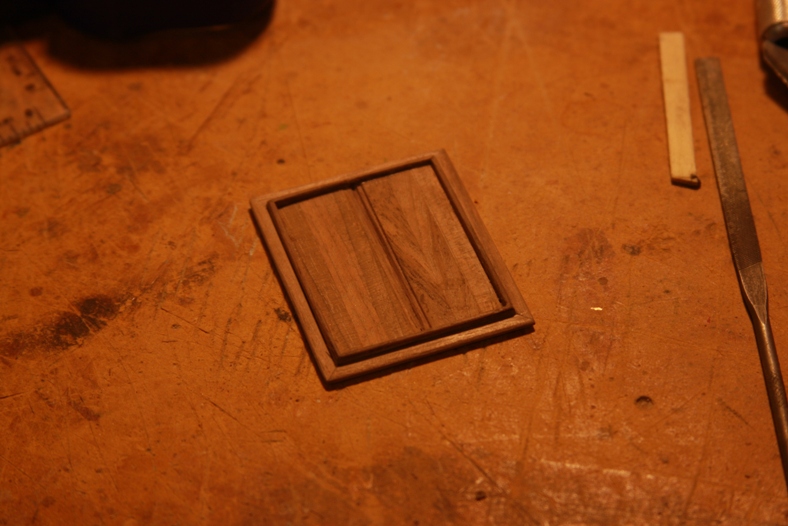
Finally I began work on the hatch cover for the main deck. I started with an excess piece of plywood cut into a square. This gave me some stability for the initial framing. Without the plywood, it’s very easy for the frame to become out of square while trying to glue the corners together. However… because the plywood adds an extra half millimeter to the bottom, it won’t sit flush on the deck. Therefore after the hatch is completed, the plywood will need to be sanded completely off.
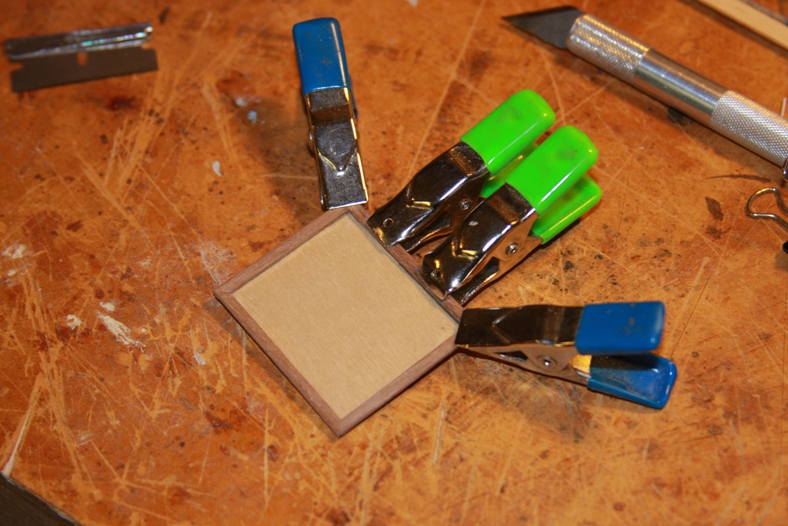
The edges are but at perfect 45 degree angles using a mitre saw. After the initial framing is made with 3mm pieces of walnut, I added a second layer of frame using the same 3mm pieces but lined up on their SIDE against the first frame.

After the edges are sanded and rounded a bit, it gives the entire hatch a nice three dimensional look. The hatch “doors” are created using 5mm strips of walnut cut to size. I’ve used three on each side, then separated the doors with a narrower 2 mm strip. This will give a good impression where the doors come together.
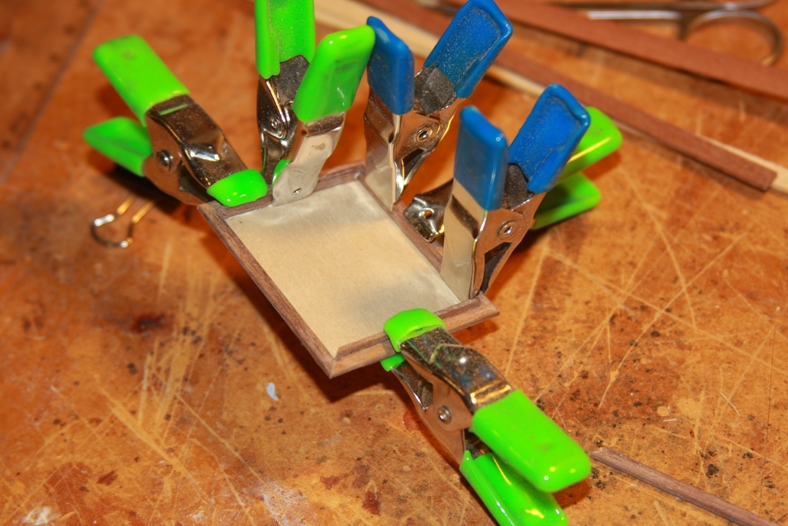
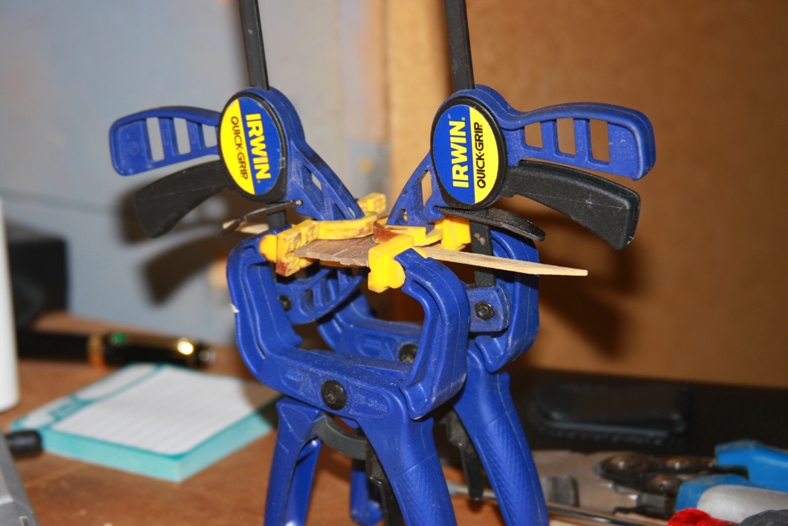
Since it’s terribly difficult to keep something so thin but wide stable, I first glued each of the doors using three strips of walnut. Then I glue and clamp the two doors to the center piece and keep it all stable by laying flat piece of excess wood along the top and clamping that also.
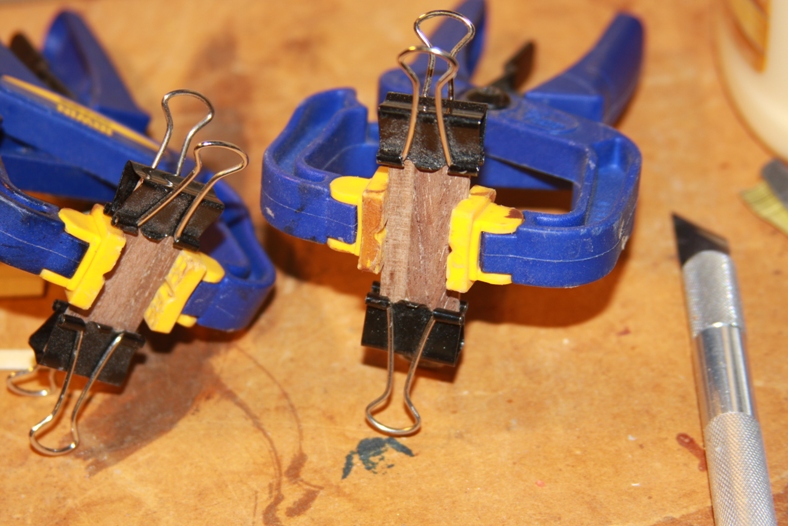
After it dries, the doors are sanded smooth and a “notch” it filed down the center to give the impression where the doors come together.

Ultimately, the details are added. After trying to cut the hinges from brass proved too difficult, I instead used thick, black construction paper panted over with matte black. Holes are drilled and nails added and blackened. The handles are small brass eyelets also blackened. Finally, Columbus’ inventory for the Nina actually shows a chain and lock for the hold, so I thought it perfectly conceivable that the same would be included on the Santa Maria. The small brass chain is blackened and the lock created from a folded strip of brass and a half brass ring. Then a small hole is drilled simulating the keyhole.
