
The bulwarks are essentially the sides of the ship. In actual vessels of the time, the bulwarks were created from the bulkheads and planking all the way up the sides of the hull. However, for most ship kits, this is simulated with molded pieces of plywood that are then planked over. This drastically eases the process of inserting cannon ports and other openings.
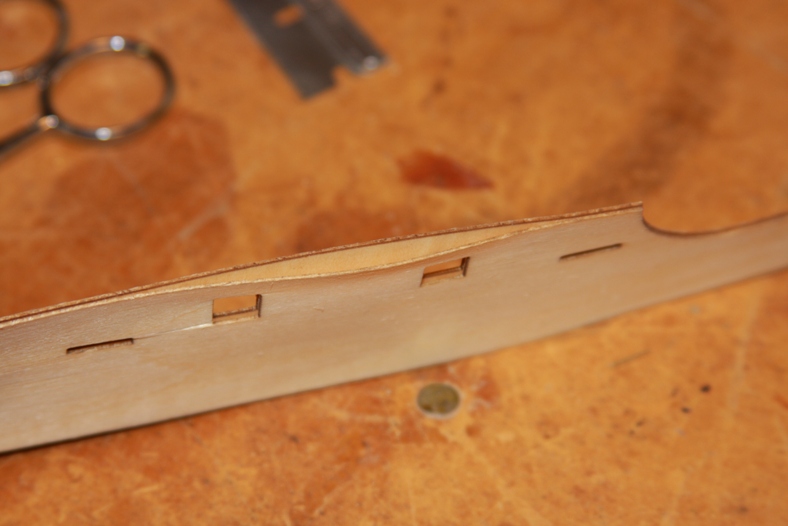
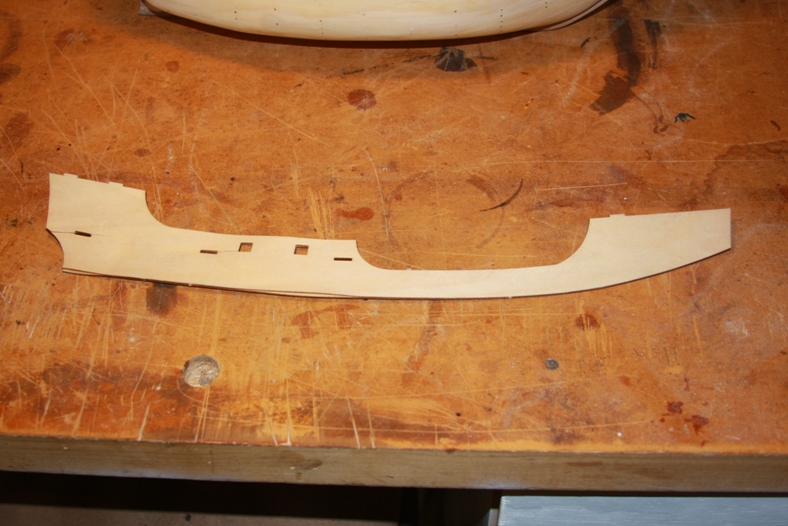
Unforunately, the wood used for the bulwarks on this kit is very poor. Most pieces of wood can be soaked and bent, then dried to the desired shape. As soon as the bulwarks here were soaked and formed, they split wide open. Since this meant I needed to recut the buwarks, I took the opportunity to recut them based on the lines in Pastor’s book and make them more accurate.
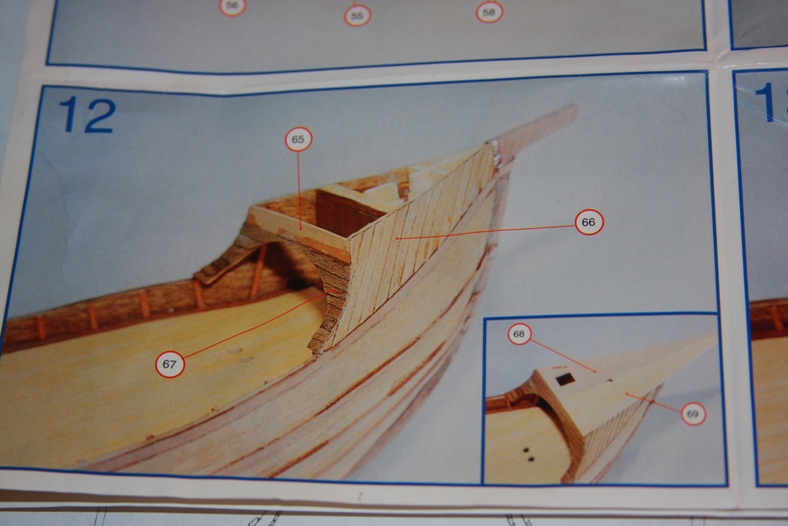

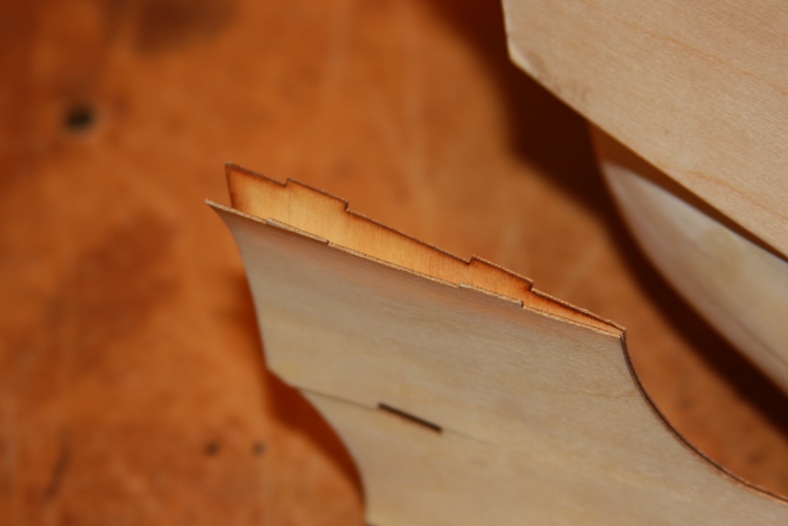
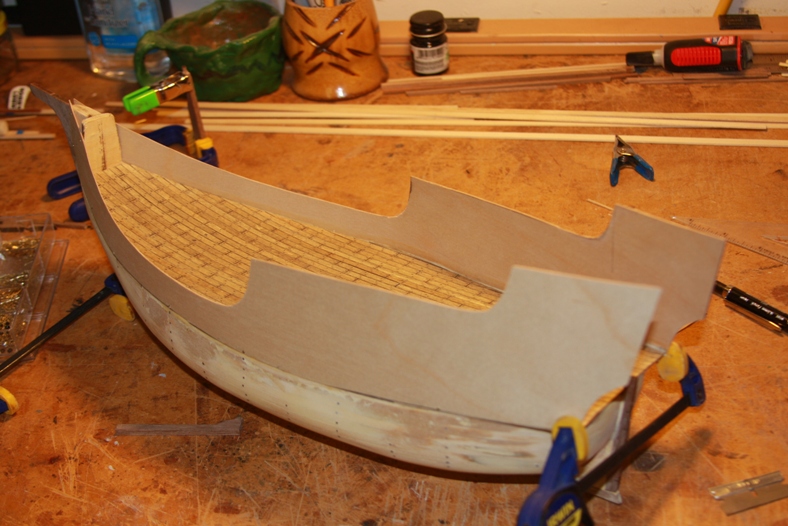
The picture on the top left is the kit’s directions – it shows the buwark including the clinker foredeck base and just covered with planking. This is a simplified but inaccurate way of building the foredeck mount. The picture on the top right show’s the kits’ pre-cut bulwark which I tossed out. You can see it includes a higher raised bow for the foredeck.
The picture on the bottom shows the estimated lines of the ship according to the Captain’s notes and Pastor’s book. When I recut the bulwarks, I removed the raised bow area and will build the foredeck mount as a separate piece.
I also took the opportunity to increase the height of the aft area, specifically the Captain’s cabin. Not only is this consistent with Pastor’s guidelines, but it also gives me more room to outfit the cabin when the time comes. The larger cabin will also provide for larger windows in the stern and the sides of the aft.
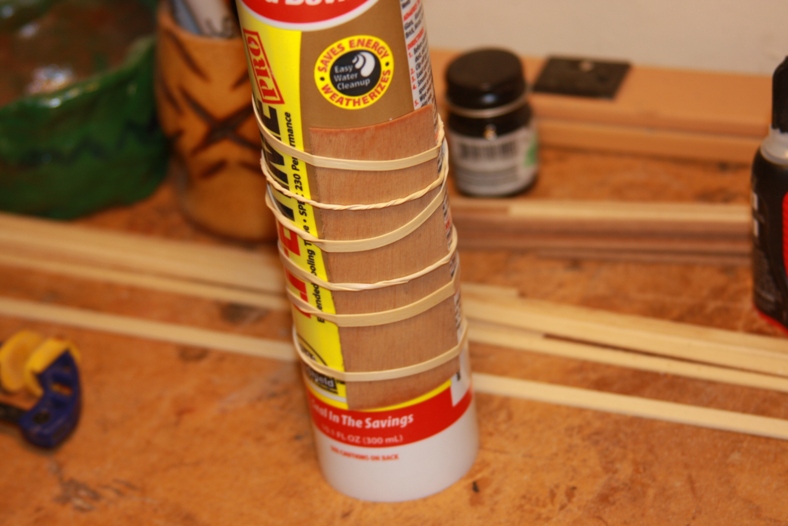
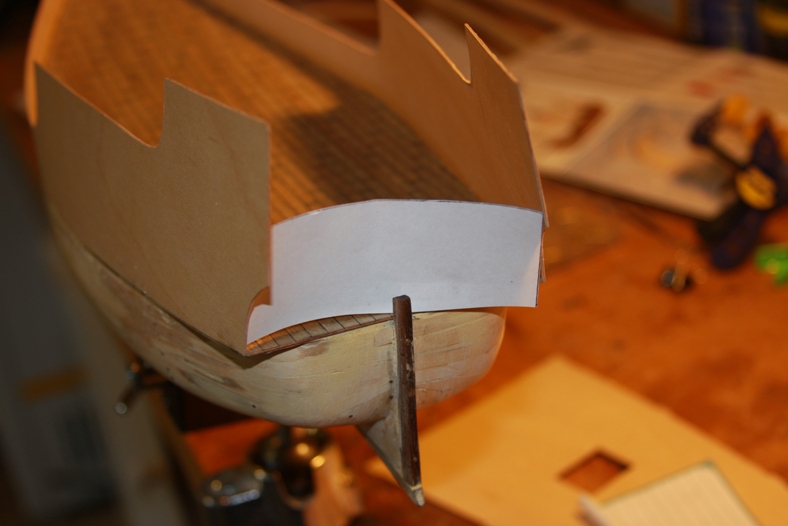

Since the aft and the cabin are larger, the pre-fab pieces of the transom (rear deck walls of the ship) that came with the kit also won’t fit properly. First I used a piece of paper to create a template, then cut out a matching piece of plywood. I soaked the plywood and wrapped it to let it dry until the radius matched the radius of the ship’s transom.
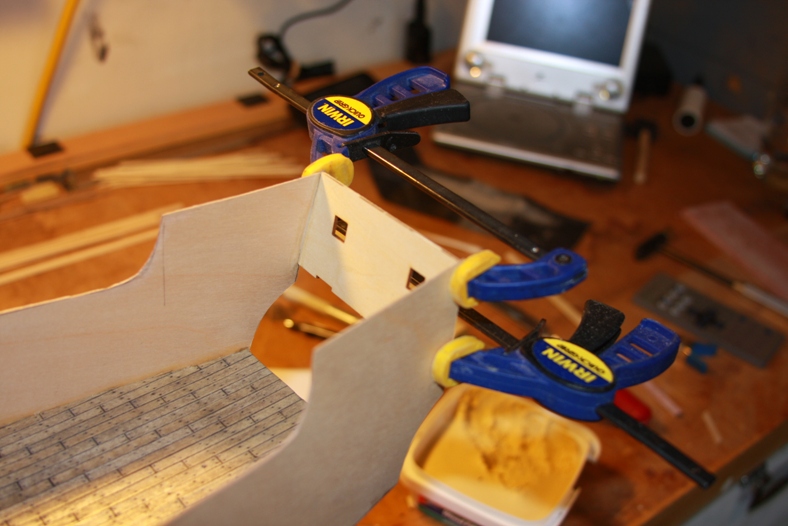
I also needed to increase the size of the rear cabin since I increased the overall cabin size. A extra 5 millimeters did the trick.
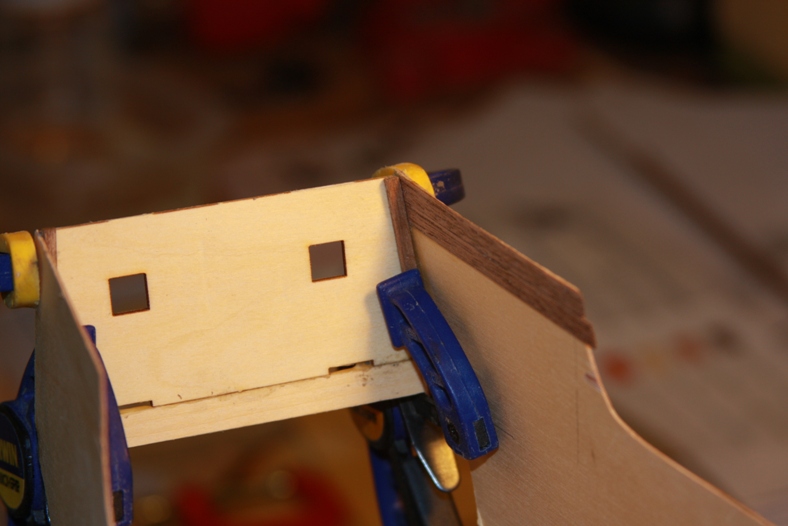
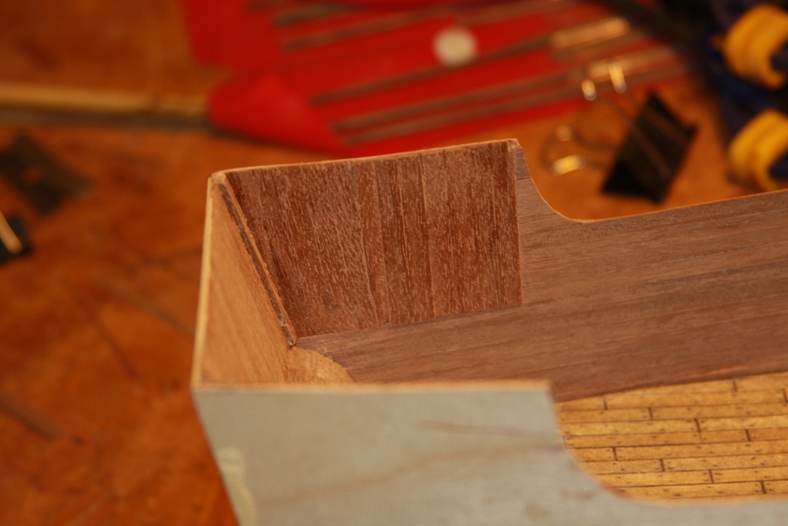
It was difficult mounting and glueing the transom because the edges of all the pieces were so thin. I added an extra 2mm x 2mm piece of walnut to the corners to give the edges something to hold onto.

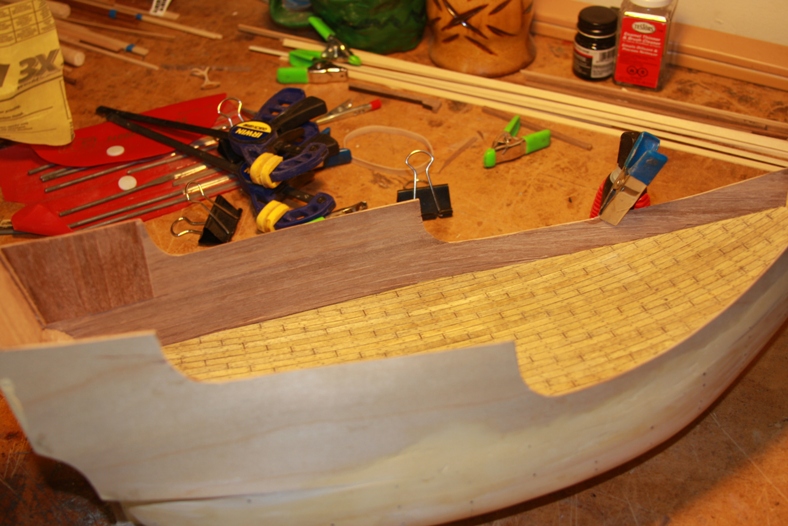
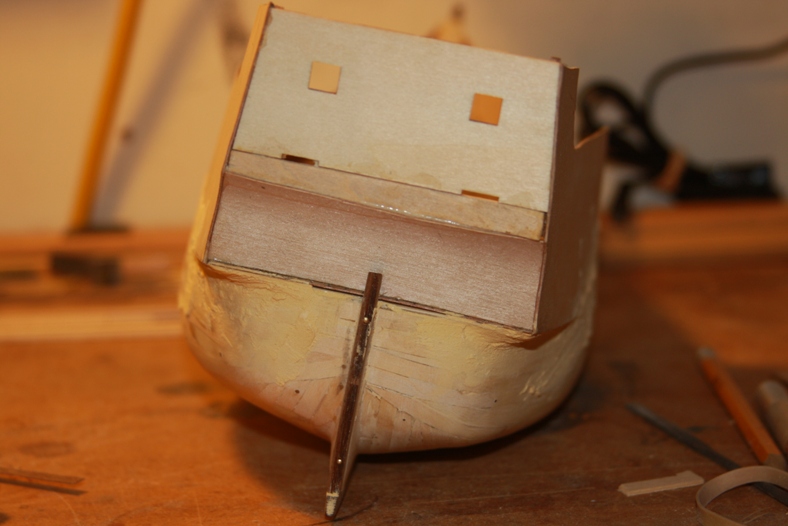
After the glue dries I added filler and sanded both the inside and outside edges and readied them for planking. The inside of the bulwarks are planked with walnut veneer. Since my plan is to make the Captain’s cabin visible, I took a little detour from the instructions to enhance that. Although most cabins from ships of the time are white, this is where I decided to deviate from accuracy.
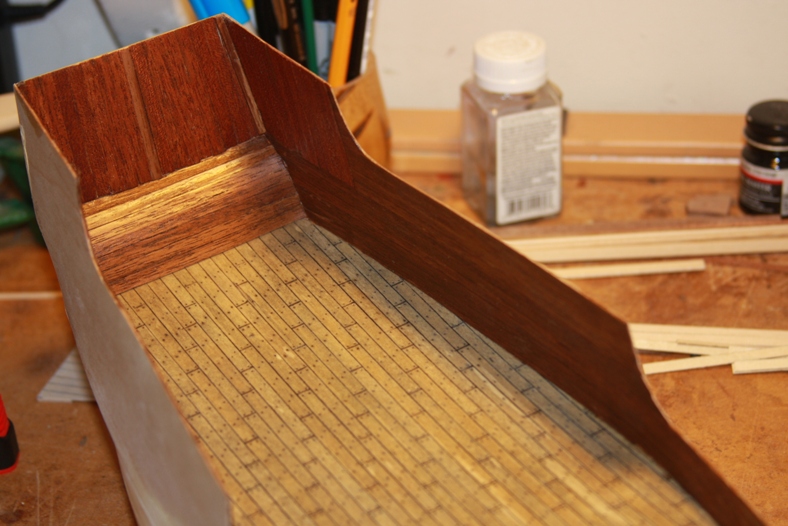
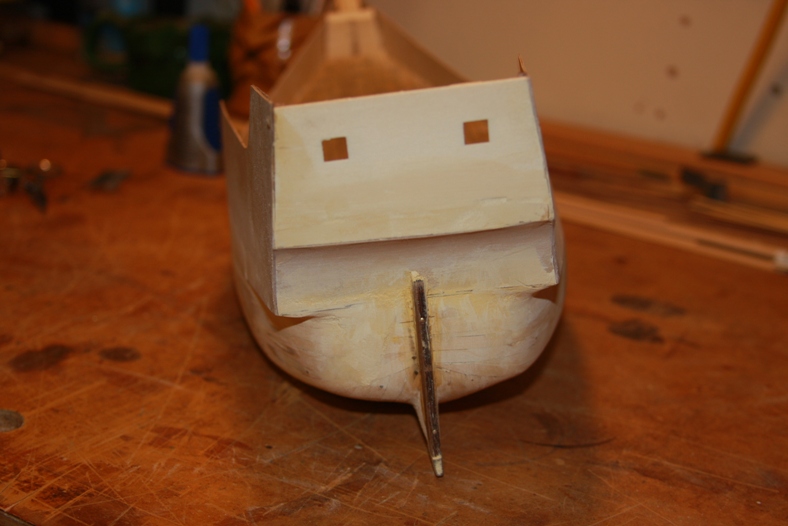
I planked what will be the cabin area with mahogony veneer instead. I think this will enhance the overall look of the cabin after the furniture and accessories are included.
After the planking was complete, the entire area was sanded with 600 grit sandpaper, then stained with a dark ebony stain. After the stain, the entire ship is coated with tung oil to bring out the color and grain as well as protect the wood.
