
Most “real” ships only have a single layer of planking of course. But several kits provide for a second layer. This gives modellers an opportunity to clean up any mistakes that are made planking the ship by using a second, thin layer of veneer. I’ve actually found the thin veneer to be even more difficult to lay down than just single planking a ship. Nonetheless – here is the second layer planking process for our Santa Maria.
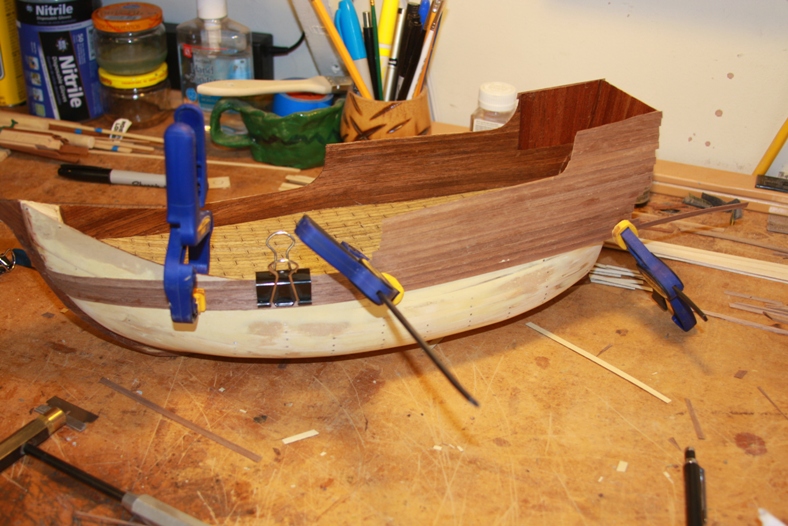
I started with planking the stern and captain’s cabin. This helped ensure that even though the deck and lines of the ship “swoop”, the planking will still be even and parallel. Just like the first layer of planking, each piece of wood needs to be measured, dry fit, and cut to fit into place. However, because the second layer of planking is so thin, it doesn’t need to be soaked before it is bent. The down side is – because the planks are so thin, there is no margin for error because you can only perform a light sanding to even out any mistakes.
The front end of the planks must be measured and cut to fit the lines of the keel at the bow. There will be some sanding involved of course, but it will be very little. Anything more than a half millimeter will be very apparent on the final product.

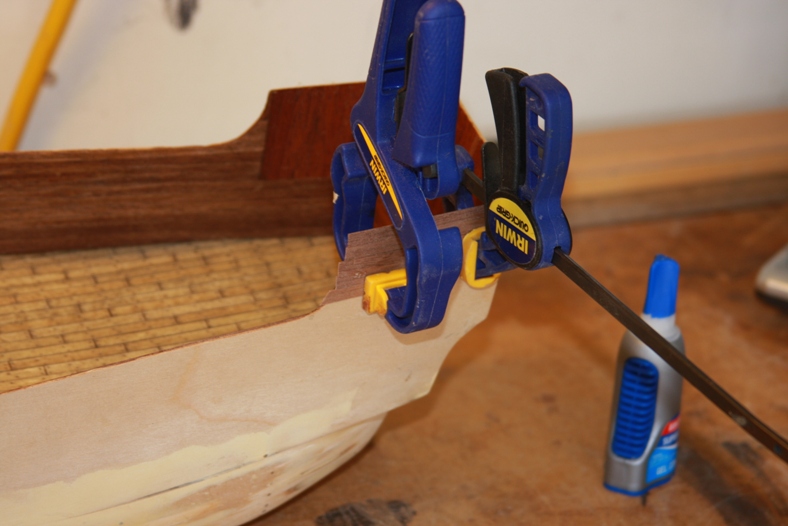
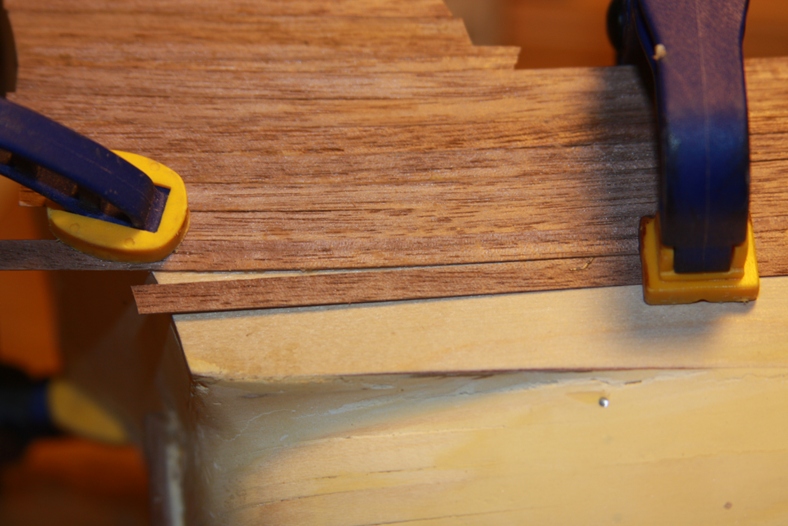
Each plank it glued, then held into place with clamps until it dries. The thin planking does allow for the choice of “Super” glue instead of water based wood glue. This makes the process quicker, but of course means there is no room for error. Once a plank is in place, adjustments cannot be made because of the instant bond.
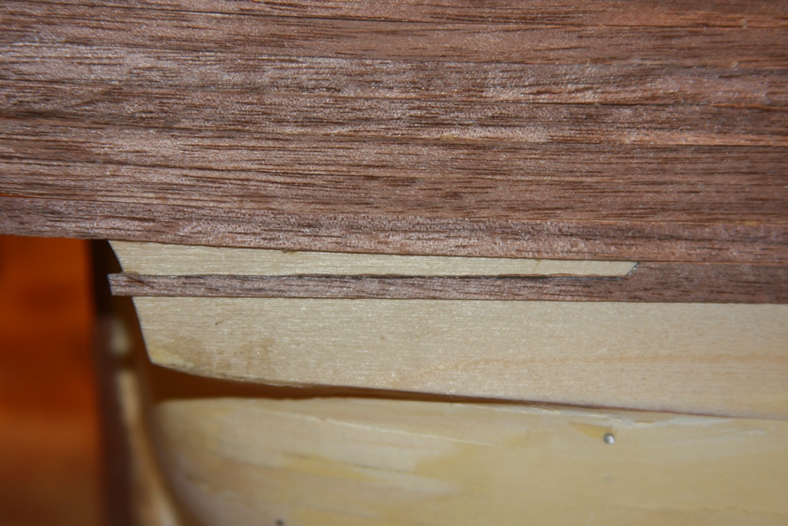
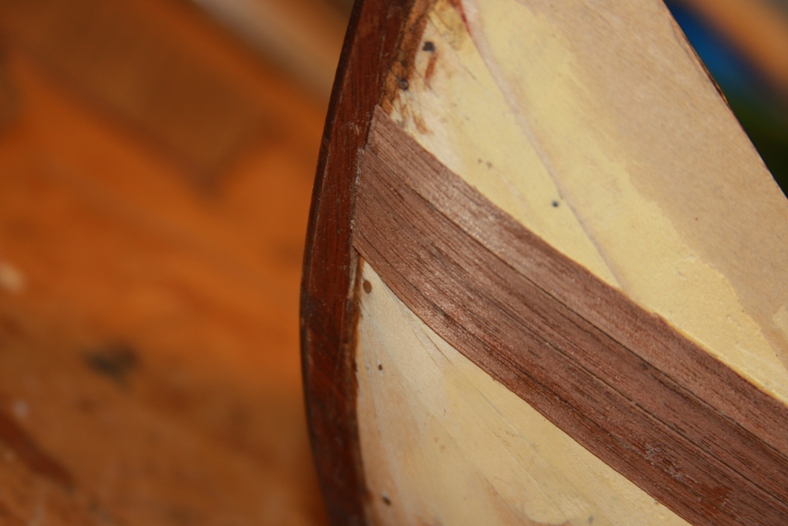
When the natural placement of the wood plank does not match the lines of the ship, small gaps appear between the planks. This is a normal part of planking. In these cases, the gaps/planks would not come to a point because that doesn’t allow for room to “nail” down the plank and makes the overall hull very weak. Instead, “stealer” planks were used to fill in those gaps. The stealer plank was never narrower than half of it’s full width.
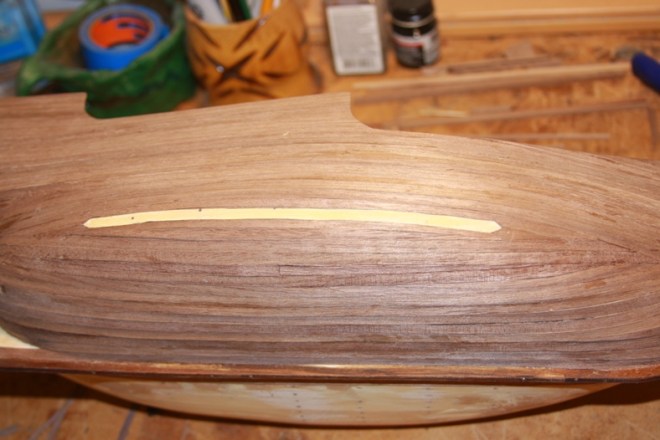
The final plank on the port side of the ship. It is also a type of “stealer” plank, and is measured to fill in the last remaining gap. As with other stealer planks, this final piece is made wide enough to allow for a proper fit.
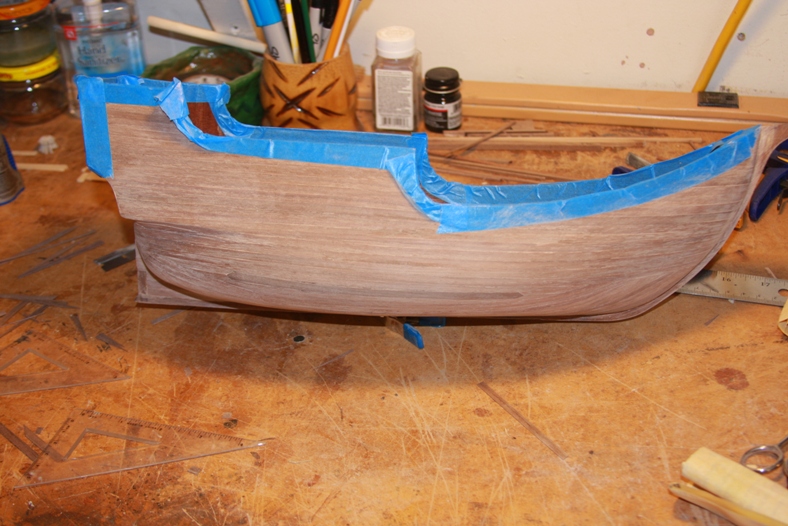
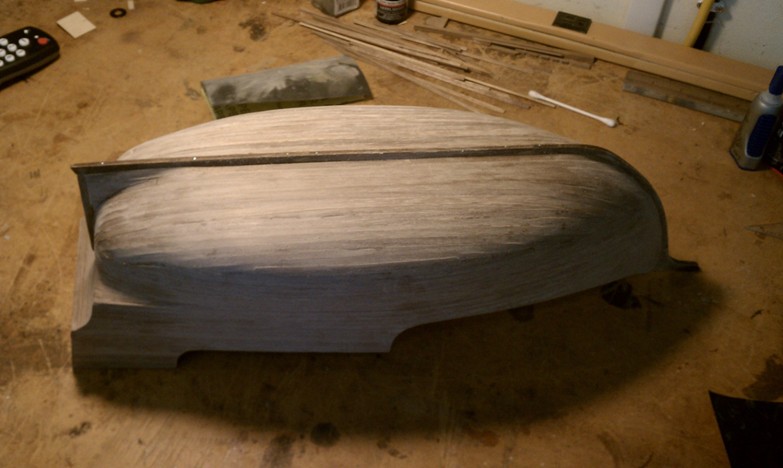
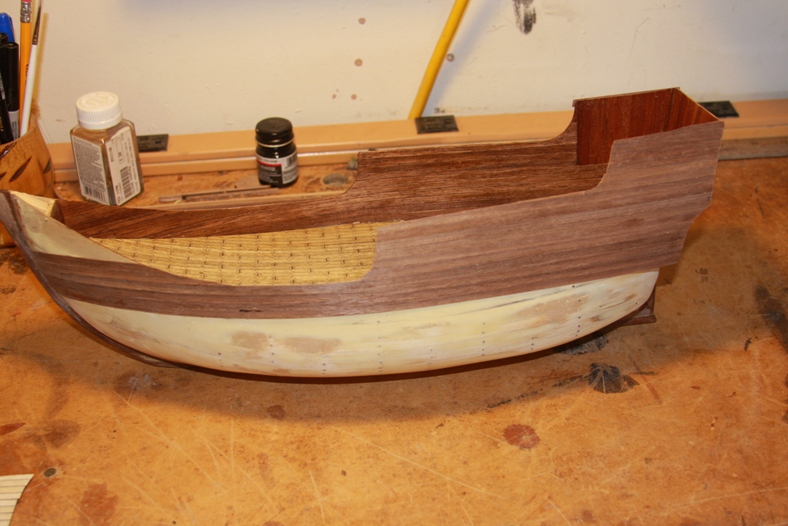
When all the planks are in place, the hull is sanded. As mentioned before, only very little sanding can be done. In this case I peformed a very light overhaul with 400 grit paper, then sanded a second time with 600 grit paper. This isn’t as smooth as it could be, but will allow for a weathered look when the hull is finally stained.
Now the hull is ready to add waterlines, wales and futtock riders…
