
“Wales” are the horizontal pieces of lumber along the hull that both strengthen the ship and provides it’s “lines”. Ship captains and sailors would often refer to a ship’s lines when determining how she looked or how swift she might be while under sail.
The “futtocks” are the vertical pieces of lumber that are perpendicular to the wales. They not only provide extra strengthening support, but are also the base for the futtock ‘shrouds’ or rigging lines that support the masts and ratlines.

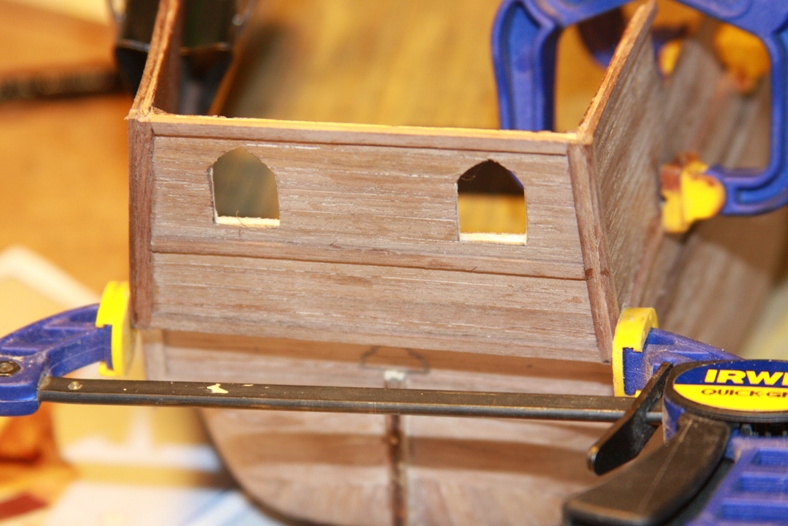
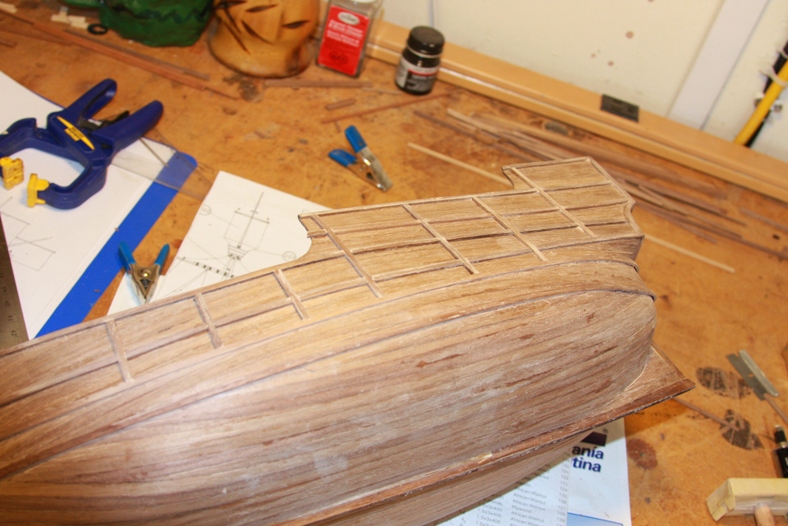
First I cut out the stern cabin windows.The comprehensive reference I am using for the Santa Maria (“The Ships of Columbus” by Xavier Pastor) says the Santa Maria was a “dull” looking ship with very few adornments. The book also shows the cabin windows as square. However, I have often seen Spanish ships of this era with these kinds of windows. So, in this case I took a little creative license with the shape of the windows. Later they will be bordered with either walnut of mahogany.
I started with the outside framing of the stern and near the rails, then mounted the upper gunwales. Each one has to be perfectly positioned. I start with the port side, then measure starboard side to ensure the ship will be perfectly symmetrical.
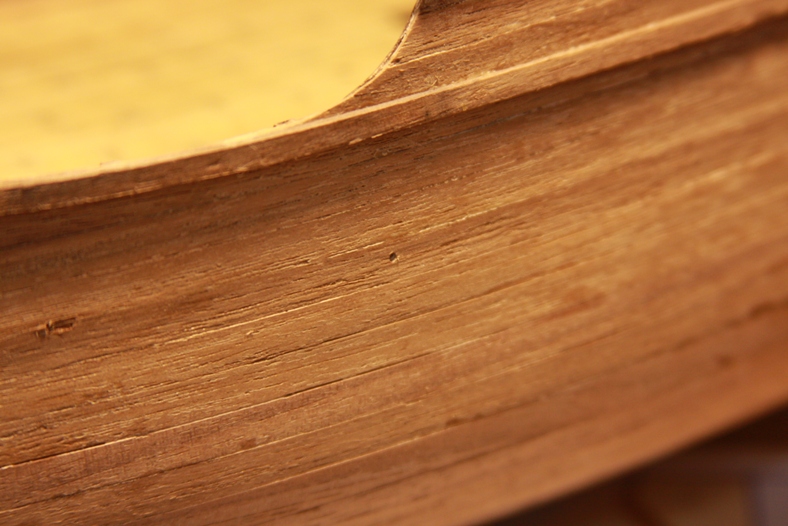
Since early on I restructured the hull of the ship to be a rounded tuck stern (ref: Rounding the Tuck of the Stern) the wales are more difficult when they reach the rear of the vessel. I’ve aligned the lines of the cabin first to help keep the wales in relation to one another.
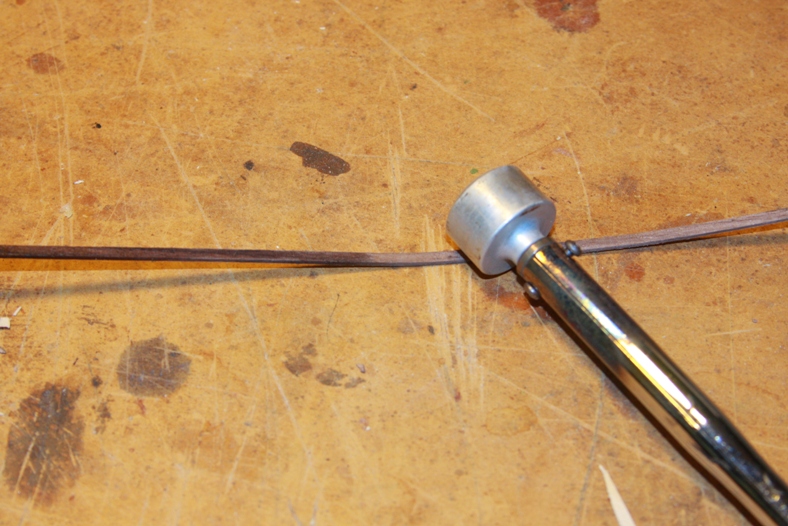
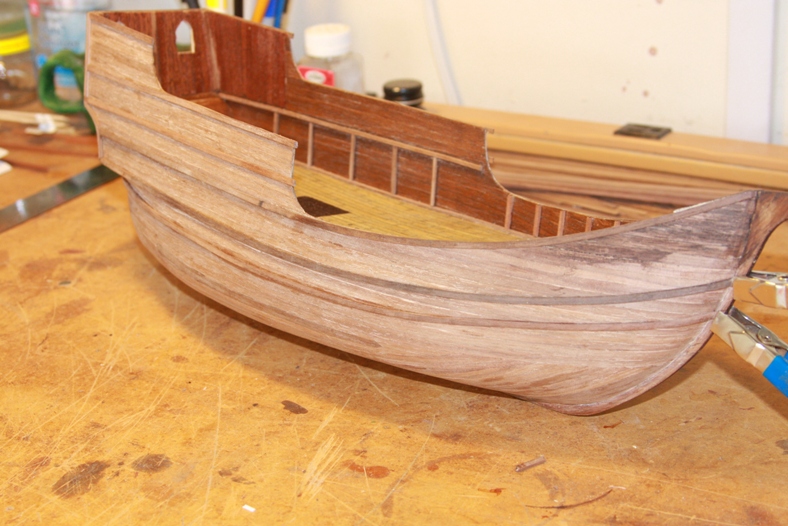
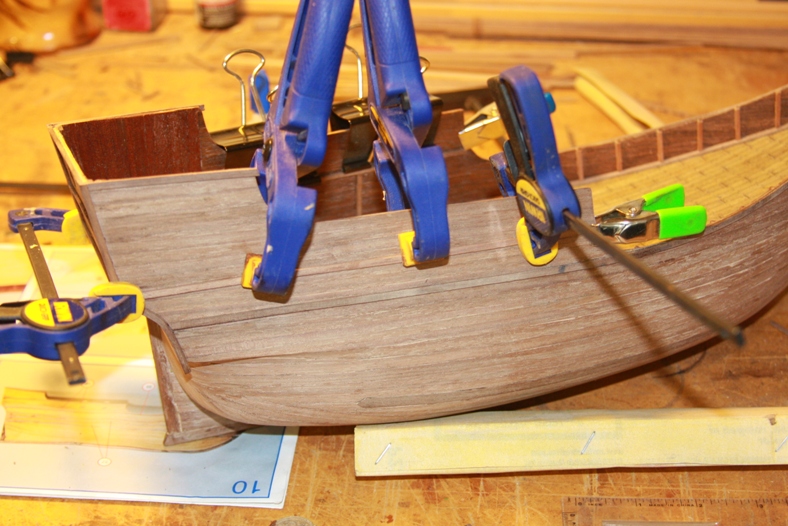
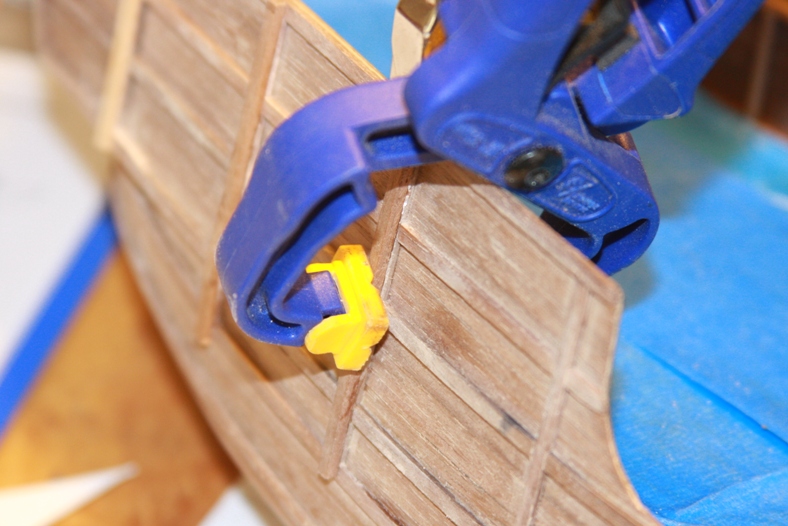
Each wale is soaked then bent with the plank bender. The wale is then mounted on the ship. Notice the bow of the ship where I started experimenting with how I will stain/age the vessel (more on that below).
After the wales are mounted and glued, I covered the deck with painter’s tape to avoid damage to it during the sanding/gluing process as well as the staining that will come later.
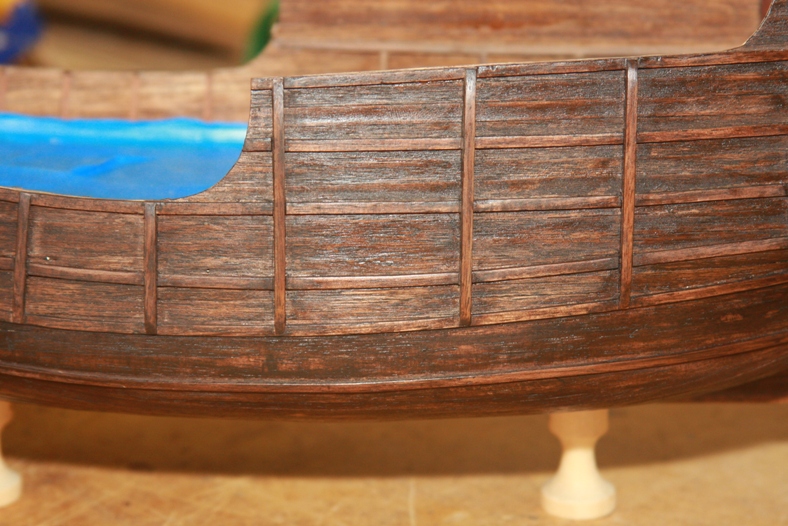
The futtocks are created with strips of walnut that run perpendicular to the wales. This provide a great amount of strength to the hull and bulwarks, especially in rough weather. I fashioned a small sandpaper file the exact size of the 1.5mm x 3mm strips to facilitate the process.
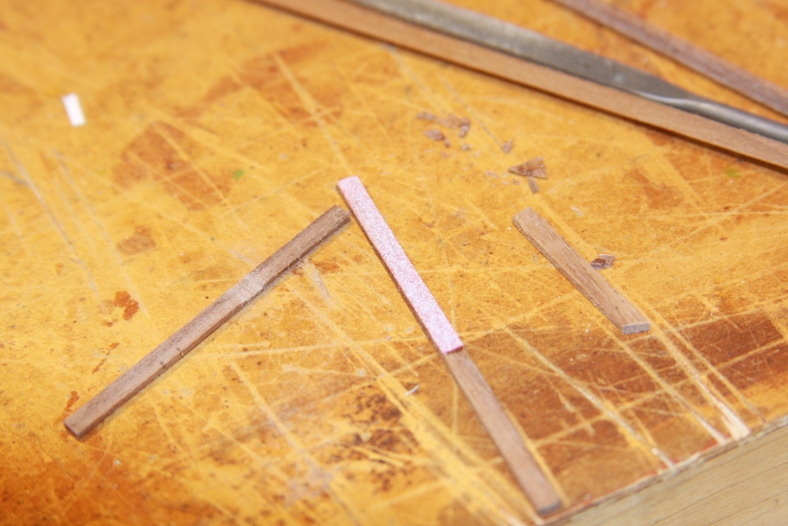

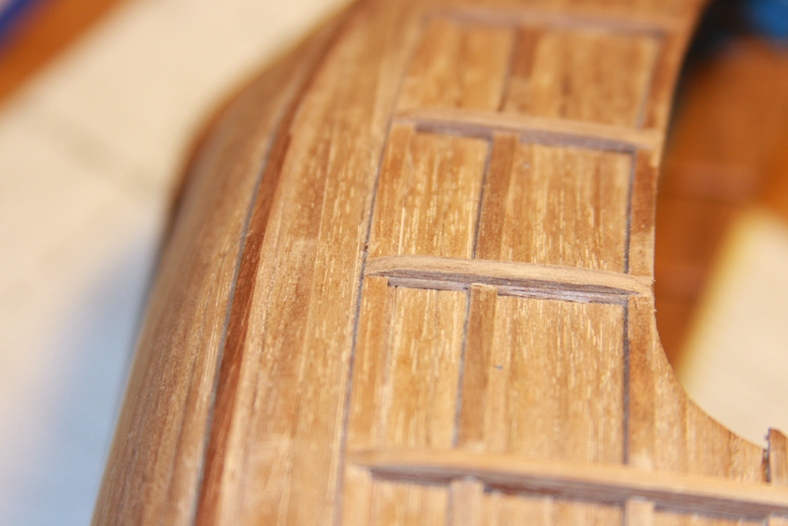
The placement of both the wales and the futtocks follows Pastor’s reference of the 1992 replica that I believe is the closest representation of the ship as a Nao. Each futtock is measured, then the wales are sanded down to make room. Each futtock is a two part process – the first is the 1.5mm thick plank placed where the futtocks belong.

The second part is an additional 3mm x 3mm strip added on top of the first plank. This gives the futtock is thick presentation. The smaller futtocks toward the main deck and bow are an additional 1.5mm rather than 3mm as these futtocks were not as deep as the rear ones.
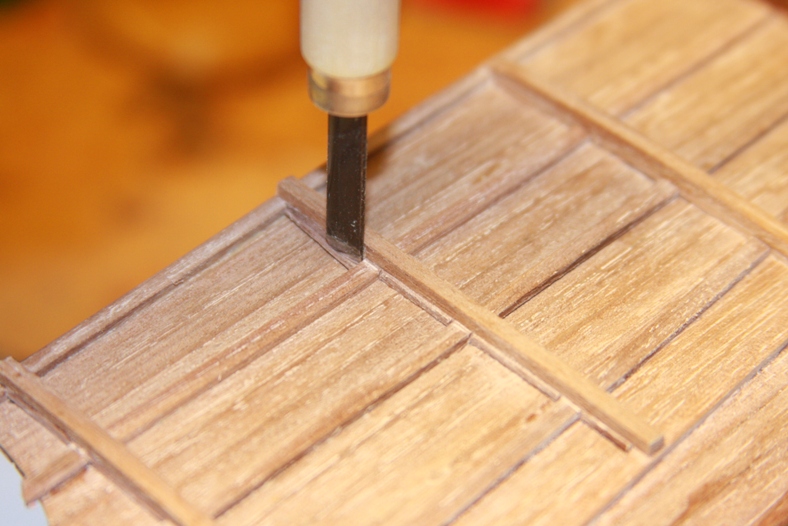
After the second layers were added, each is trimmed with a carving tool so the edges match exactly. Since these areas are extremely difficult to sand, the carving tool needs to come as close as possible to matching the layers of the futtock. I don’t want the fact that each futtock is two parts to be immediately visible when the ship is complete.
Aging the Hull
It have been considering how to age the overall ship for quite some time, as I know I will only get one shot at doing it. My original option was to use a Tung oil on the natural walnut to bring out the natural grain of the wood. However, because the second planking veneer is SO thin, it only allows for a very small amount of sanding. As part of the planking process, very tiny remnants of glue show up on the hull – that very limited amount of sanding means it’s nearly impossible to eliminate these remnants.
Unfortunately, tung oil and stain bring out these otherwise invisible imperfections because the chemical reaction is different with the glue than the wood.
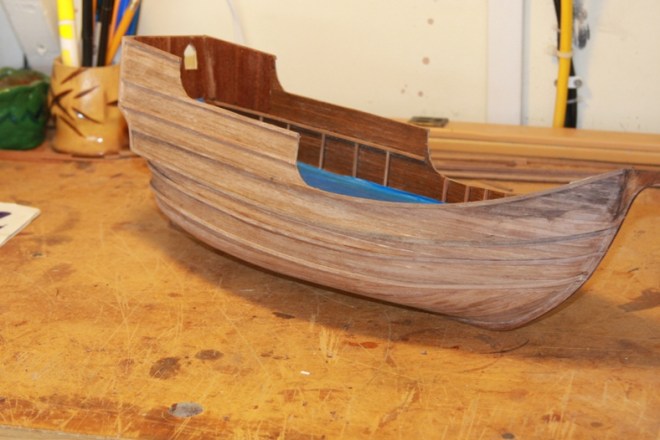
Also, most of the unpainted images of ships I’ve seen from this era are much darker than the natural walnut used here. This is in part due to the “tarring” of the ships to make them waterproof. So, I finally chose to use a deep stain called “Kana” for the ship.
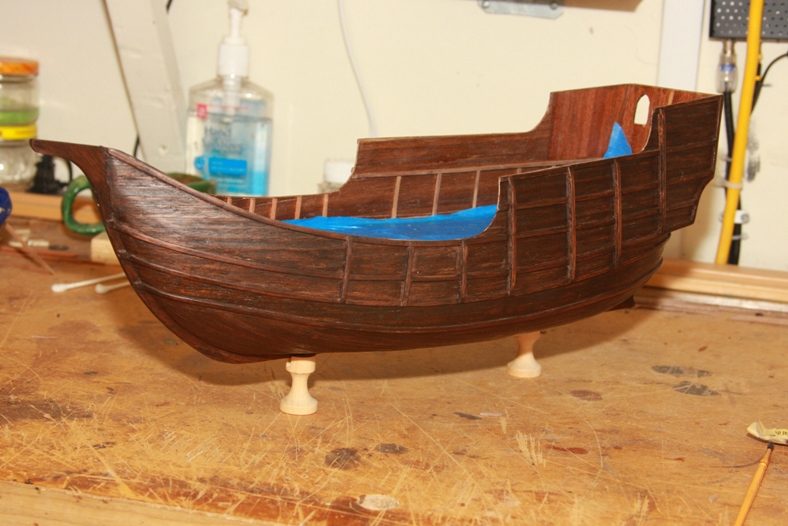
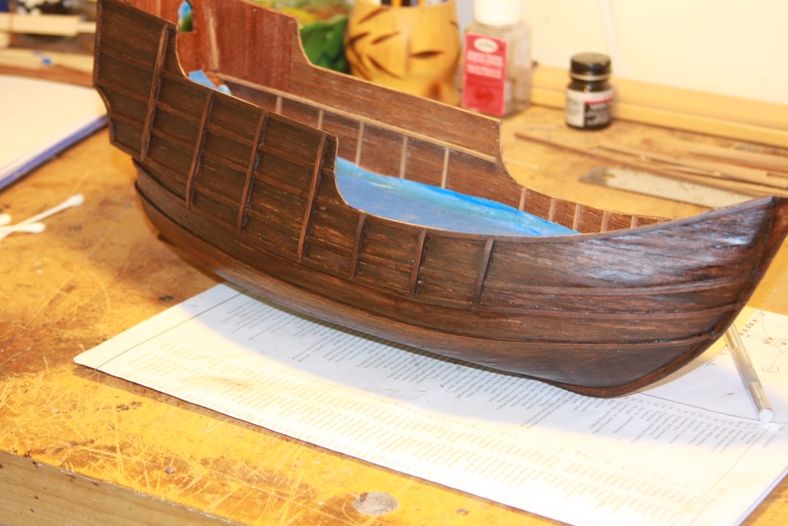
I didn’t want the stain to look “new”, so I chose a several part process to age the vessel. I stained the ship, then sanded all the flats and edges until the stain seeped in but wasn’t glossy. I then re-stained the ship again with another light coat and rubbed the excess off with the rubber gloves I was wearing.
Finally, I coated the entire hull with a satin polyurethane for protection and to dull the final look. The result is the roughed up aged look of the vessel.
