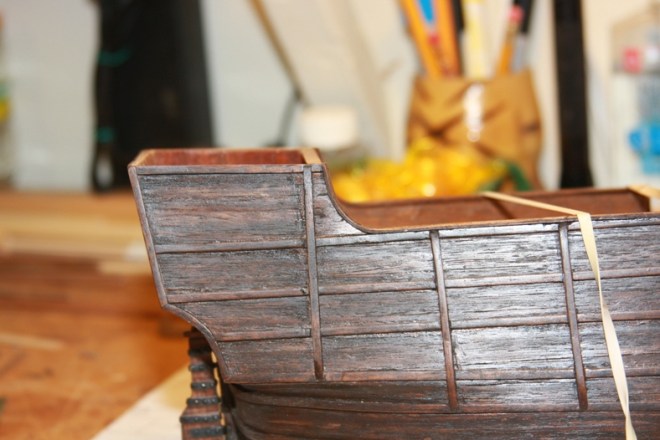
A big part of this build for me is the ability to see the Captain’s cabin and the accouterments that are inside. I’ve mulled over how I wanted to accomplish that tricky feat, and have decided to come up with a hinged poop deck. I want to be able to open the deck and see the cabin, but still have as much accuracy as possible regarding the rigging along the stern and transom.
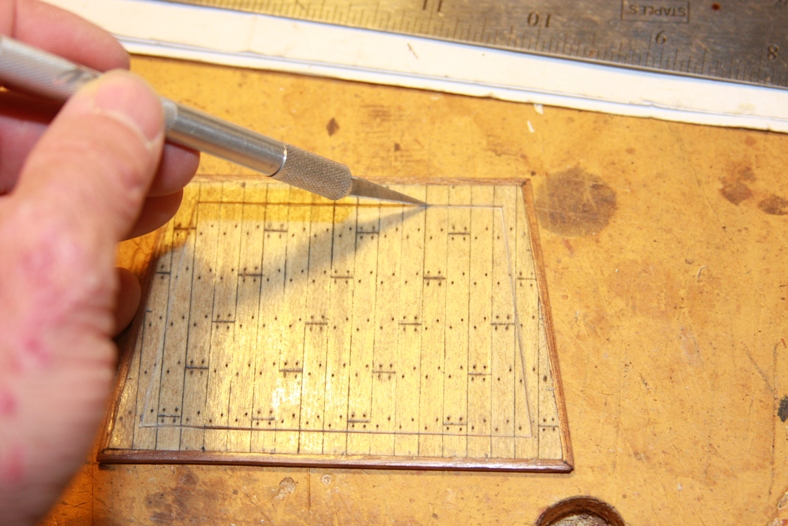

I started by carefully measuring the poop deck and then cutting the outline of the section that will hinge upward. Although they are obviously a complete flight of fancy, I wanted the hinges themselves to be effective, but to also remain representative of the time period. My concept was to attach small dowels to the underside of the deck, then mount them to the deck edges with brass loops and pins.


The brass strips were drilled with the small bit then aligned with the dowel and the deck. The thickness of the deck became and issue and needed to be trimmed so that when the deck opens it is not obstructed. The dowels and hinges also needed to be separated enough from the edges so that they too were not obstructed.
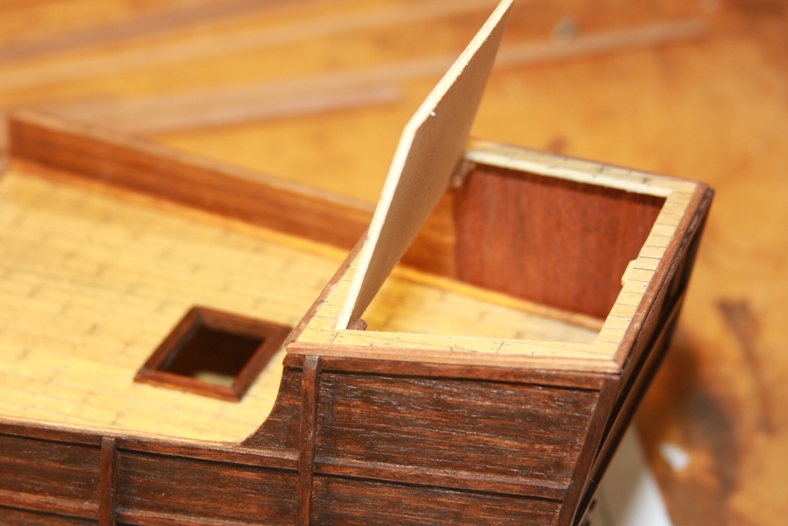

After the pieces were put together, the entire deck was then dry mounted to the stern of the ship. It was during this time that I discovered that somewhere along the line my measurements were off! The Port side of the stern of the ship was 3mm longer than the starboard side!
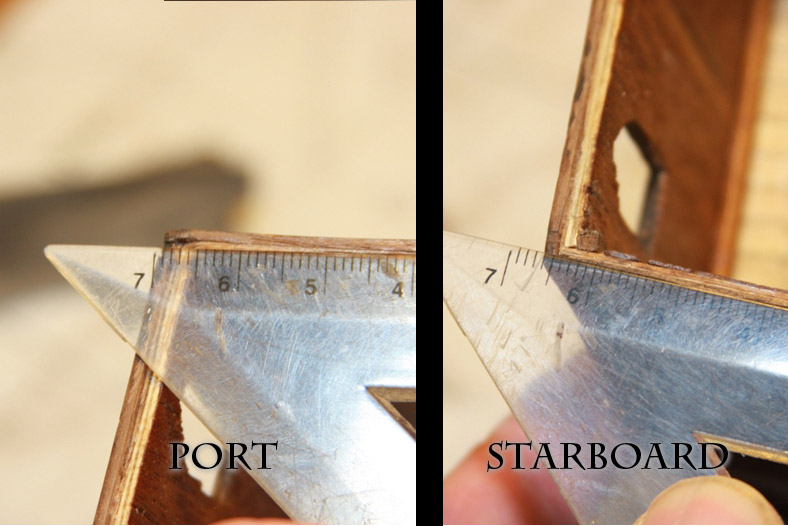

My guess is that at some point during cutting and measuring I didn’t take into account the thickness of the outside planking. At any rate, not the deck did not fit properly on the stern of the ship and needed to be repaired. My plan was to cut off a portion of the bulwarks where the lines intersected, then attach a new piece that was the additional 3mm longer. My hope was the if I made the cuts in the right place I could come very close to patching and staining the area to get it to look very close to the existing bulwarks.


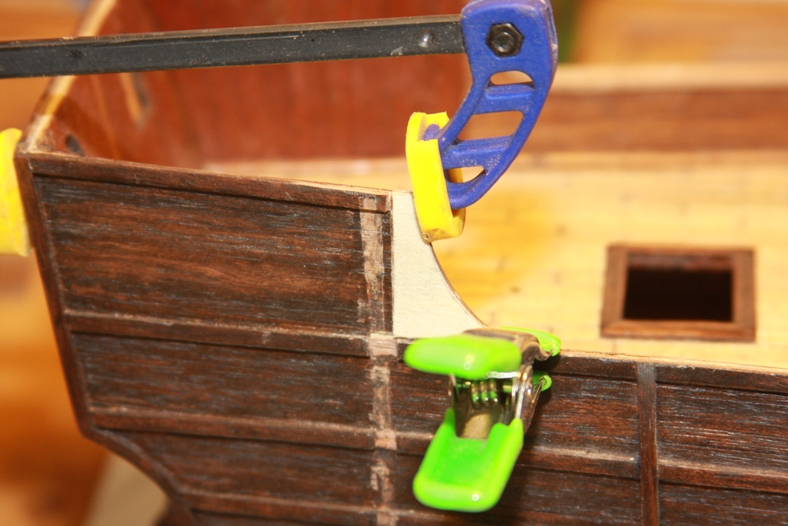
Since the area I needed to replace was very thin, I suspected it wouldn’t hold properly with just glue. I drilled and inserted metal pins into the bulwark on which to mount the new piece.
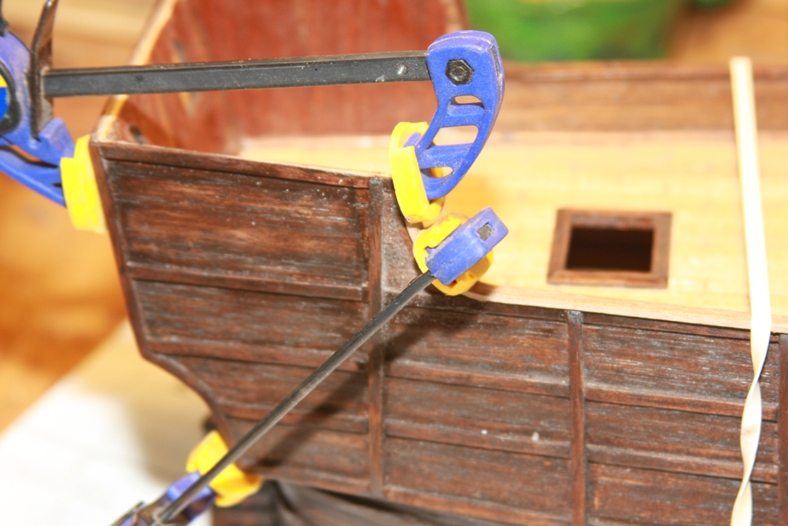
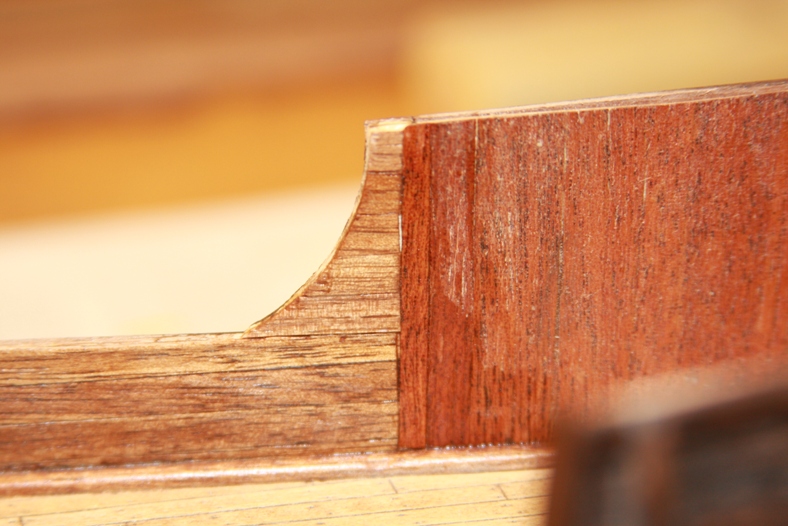
After gluing and mounting, I re-paneled the inside planks with mahogany, then the outside with walnut and stain. I then re-positioned the vertical strake so it evened up with the starboard side of the ship.

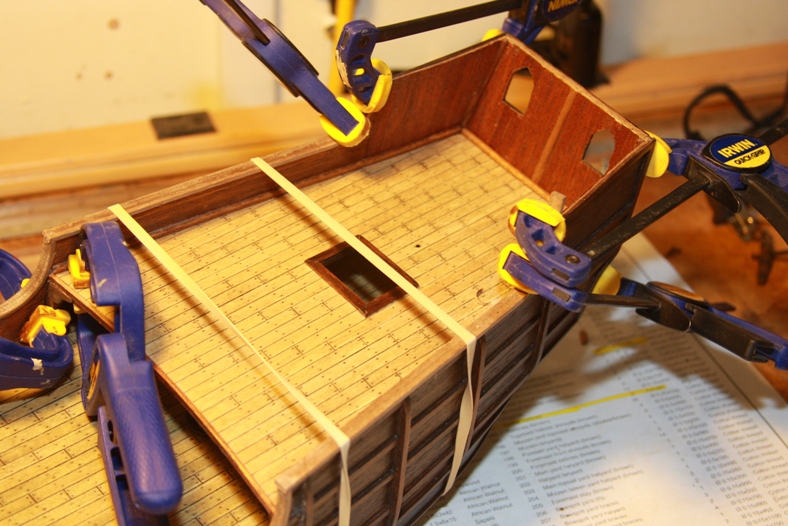
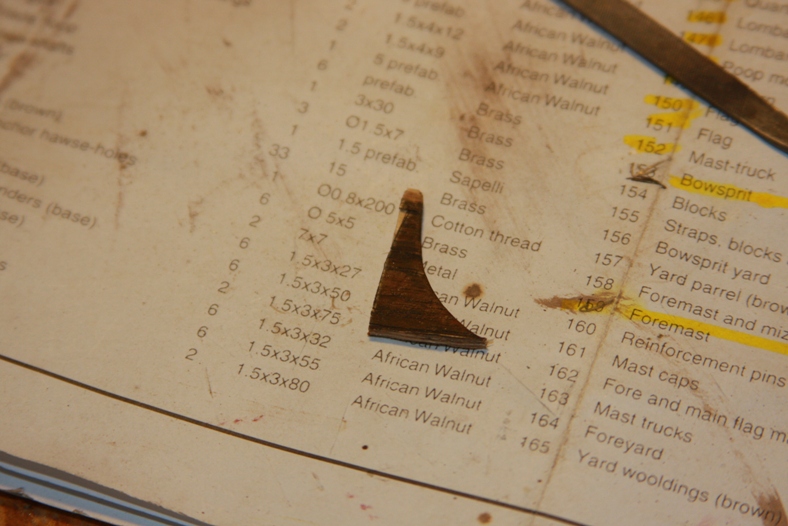
Finally, I soaked, steamed, and molded the walnut railings from 1.5 X 4mm strips and mounted them as well. Ultimately, the repair turned out well and I think the mistake will not be very noticeable in the finished product.