
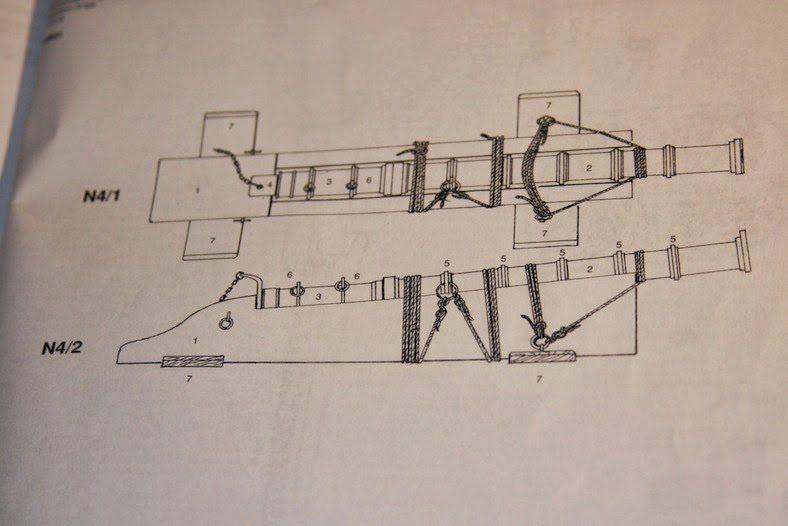
Like most kits, the bombards (cannons) included in the AL Santa Maria fell very short of authentic. Although the die-cast brass cannons themselves were pretty close, the base on which they were to rest were woefully inadequate. So, once again, I turned to Pastor’s reference material.
However, this was also an area where I didn’t mind shifting slightly from authenticity. I also like the cannons created by Garik Grigoryan used in his rendition of the Santa Maria. Although much of his Santa Maria is a little too elaborate for my taste, I really enjoy his miniature deck fixtures.
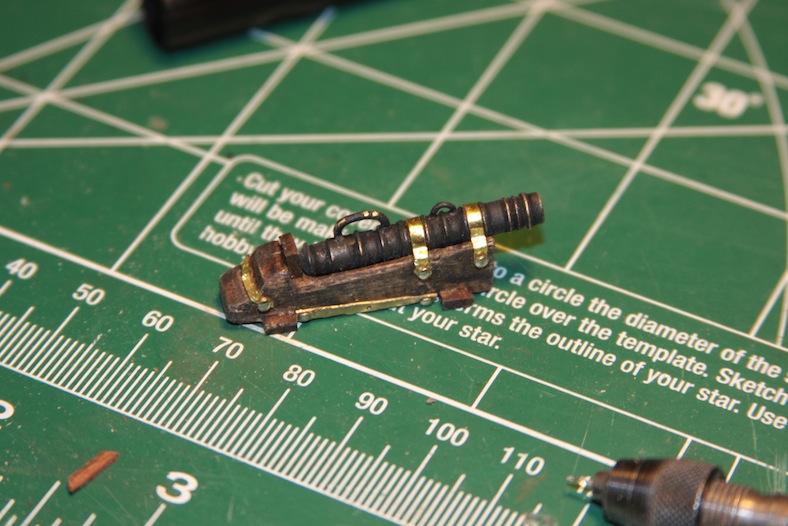
I started with my bombards by letting them soak to create a patina coating. I then drilled out places to attach fixtures.
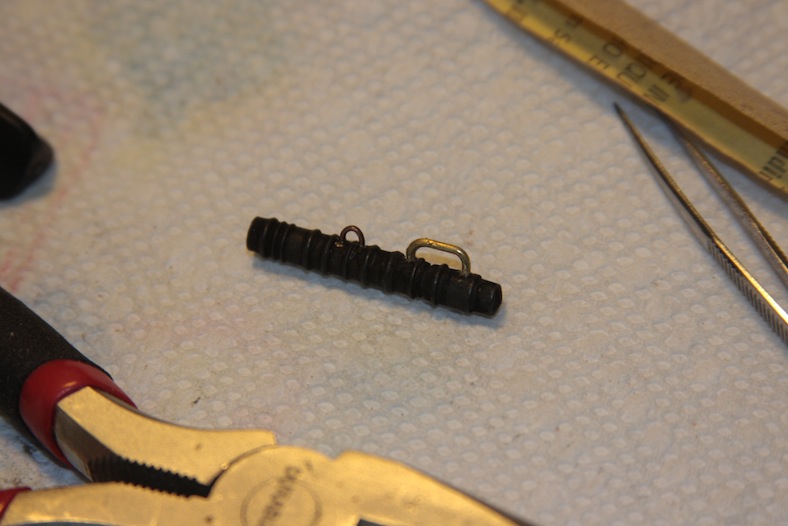
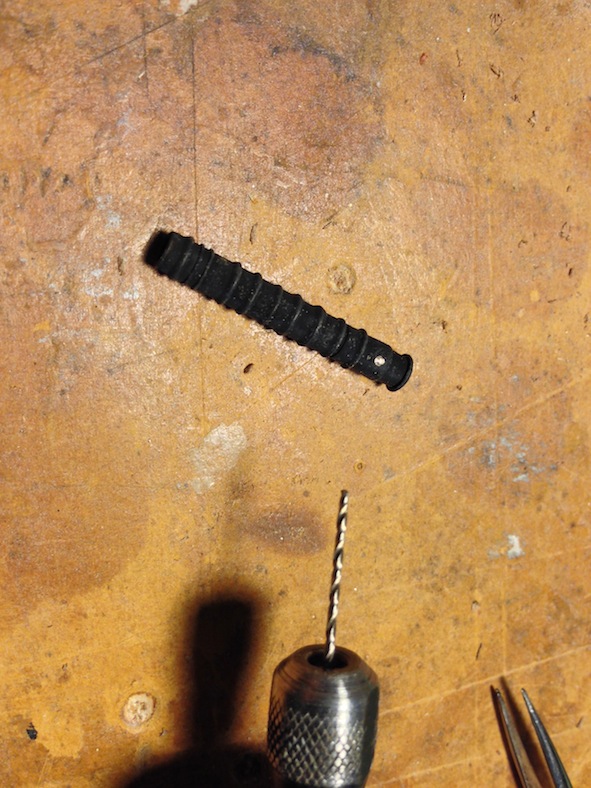
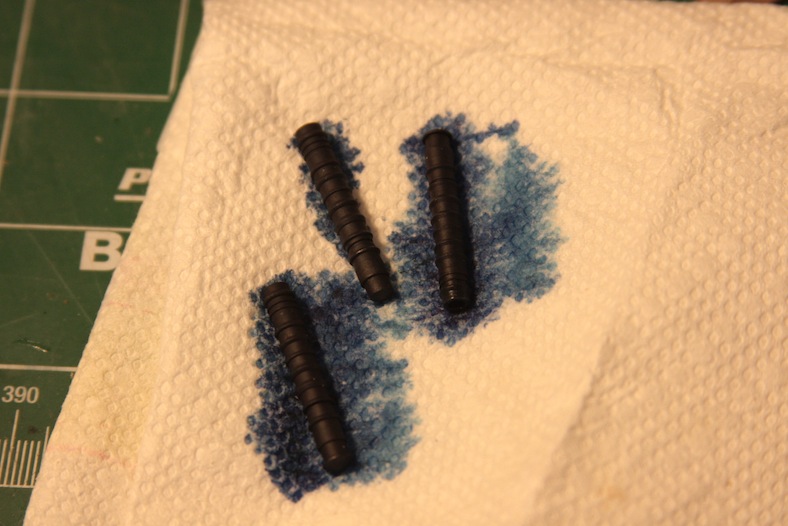
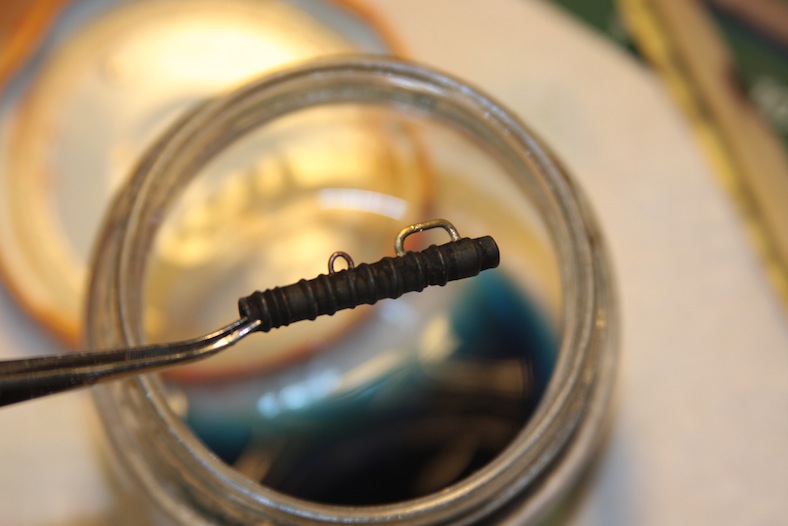
The handles and loops are shaped brass wiring. I then re-soaked the entire fixture to build up the patina once again. Unfortunately the patina didn’t build up as nicely as I would have liked, so I added some paint and other methods for aging as well – which I will get to.
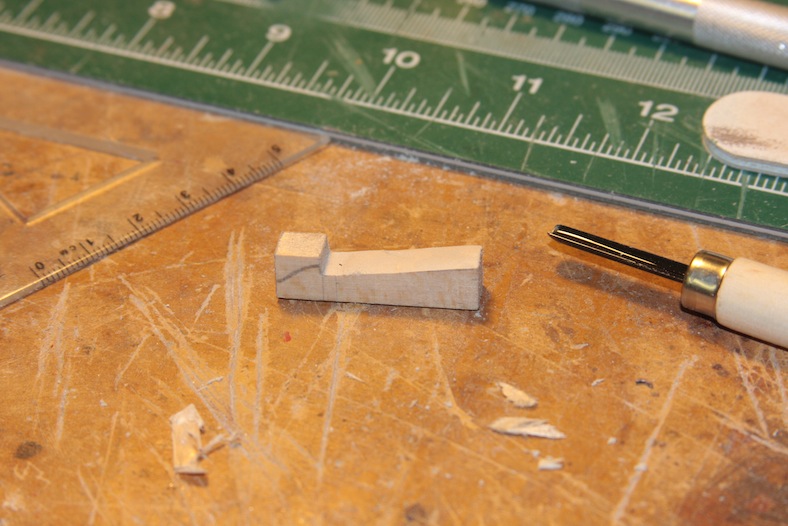

I carved the base pieces out of solid blocks of wood using both hand tools and a dremel. After the bases were carved out to hold the bombard barrels, the feet and backing are added, each is stained. The metal strips are cut and molded brass strips. The rivets are straight pins cut short and inserted into pre-drilled holes through both the brass strips and wood.
I then used this fantastic product I came across by Tamiya.
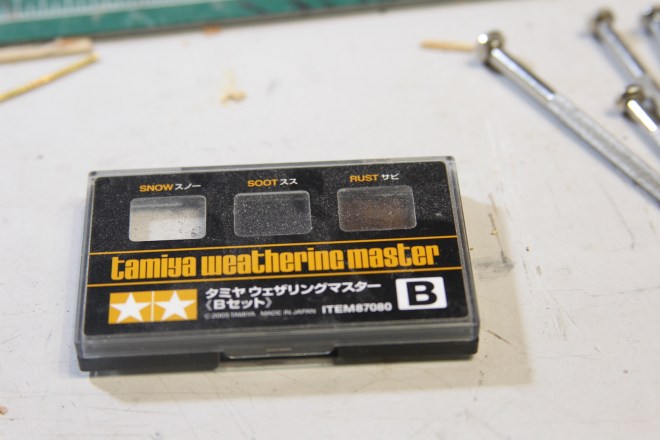
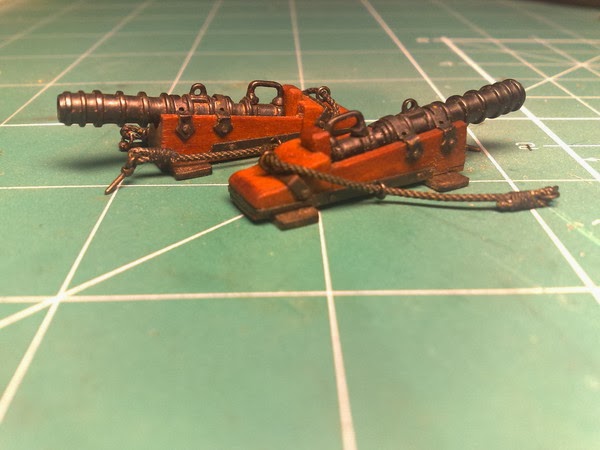
The trick is to add the fake soot and/or rust to a slightly damp product. In my case, I sprayed each piece with a thin coat of polyurethane then added the weathering product. Additionally, I painted the brass fittings that would not patina properly, then coated the entire fixture with the soot just before the paint dried entirely.

I was very pleased with the final product.
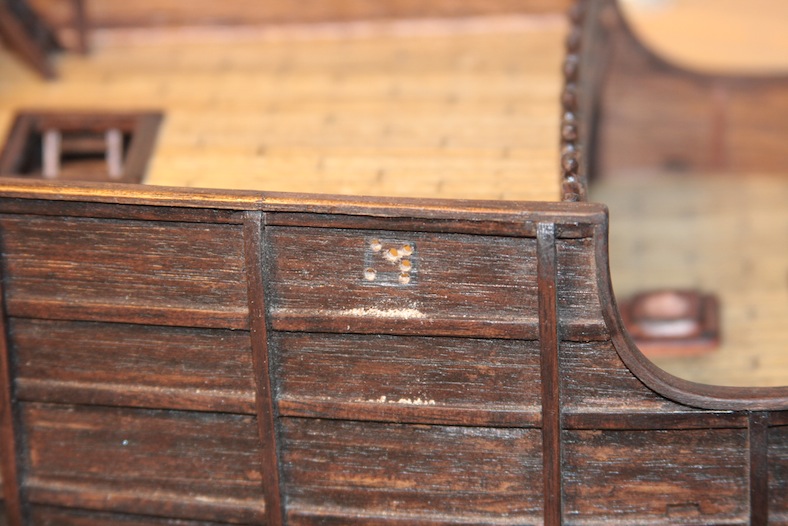
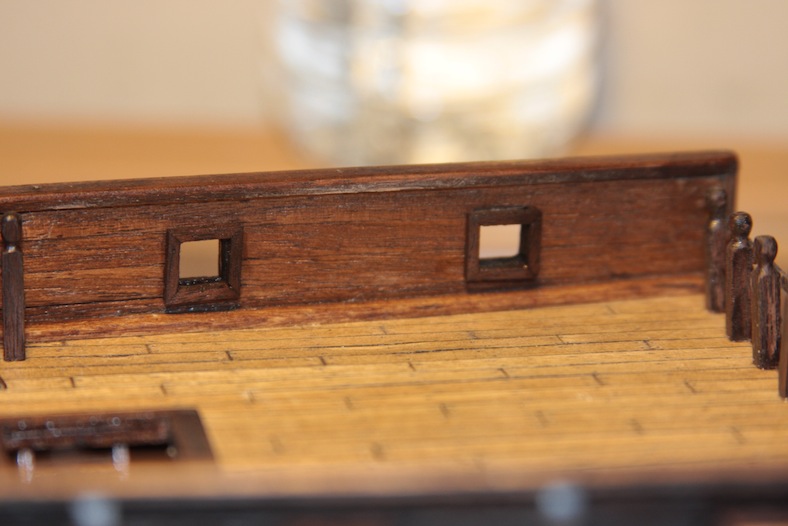
I then moved on to the gun ports in the side of the ship. It always makes me very nervous to cut into the ship. Obviously making any kind of error would be very difficult to correct. So I spend quit a bit of time planning before I actually cut into the ship.
After measuring where each gun port will be and drawing it in place, I started by drilling small holes to outline where the ports will be cut out.

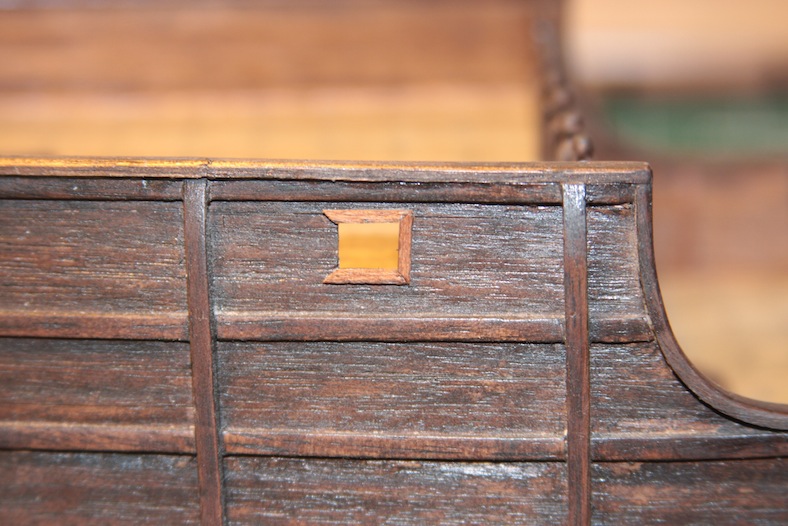
I then used a larger bored carving and etching dremel tool to get close to the sides of the gun port. The rest is done by hand using pin-files. It’s a very slow sanding and filing process because it’s very easy for the siding and planking to fray, crack, or break off.
The outside of the gunports are framed with thin strips of mahogany that is mitre cut and mounted. In these cases I used “super” glue since the pieces are so delicate.
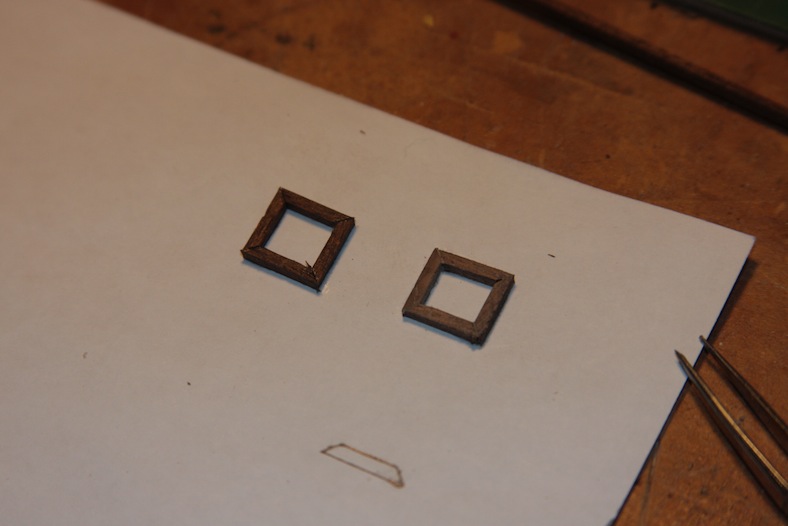
Since I always have difficulty creating frames this small, I used a technique similar to when I created the pieces for the captain’s cabin. After pre-staining the wood, I cut and glued the 2mm x 2mm strips to a piece of paper. This makes it MUCH easier to eventually mount to the gunports.
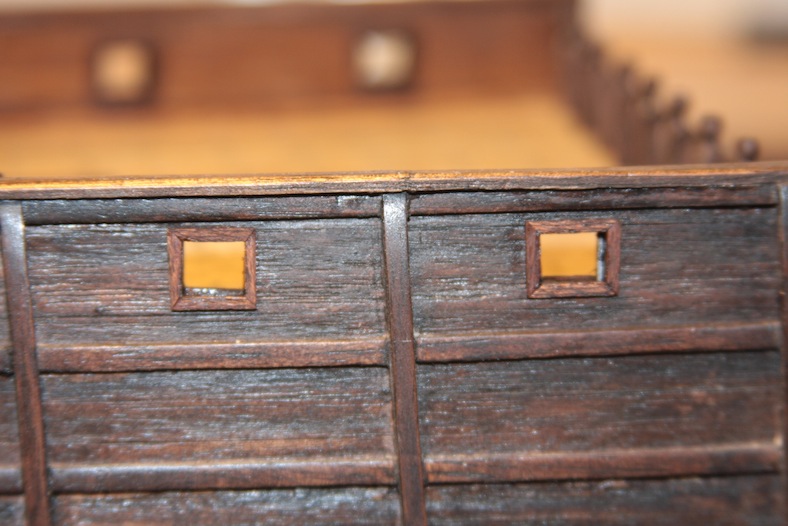
After the glue dries, I use a fine X-acto knife with a new and very sharp blade to cut the paper from inside the frames. I then lightly sand the paper side until it is thin enough to not be noticeable on the final product. Each frame is then glued, sanded again, and stained.

Where did you get the bombards which you modified?
LikeLike