
With the basics of the decks laid out, and the foremast and bowsprit in place, I decided it was time to loose fit the main and mizzen masts so I would have a better idea of exactly how much room I’m going to have on the decks, as well as get an idea of how I will need to alter the rigging from the original plans.
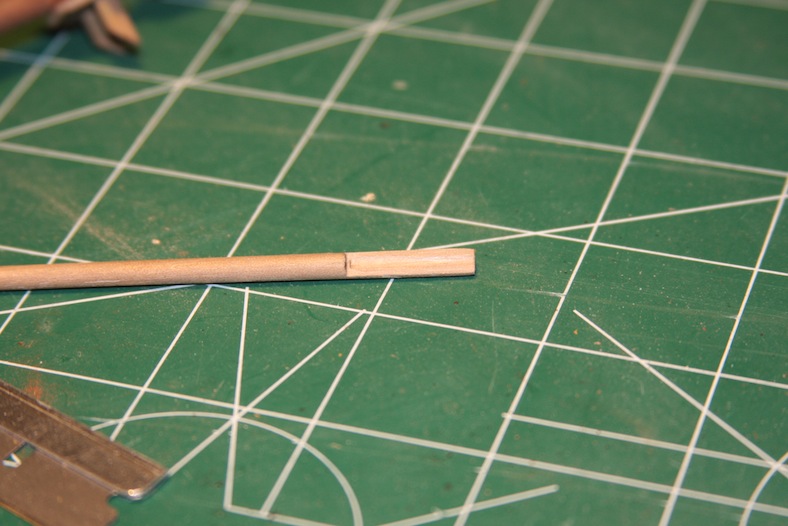
Step one for the both masts is to size and taper them. My technique goes back to my makeshift lathe using my power drill, then sand it down to the desired diameter at the top. The mizzen is obviously far less complicated than the main.
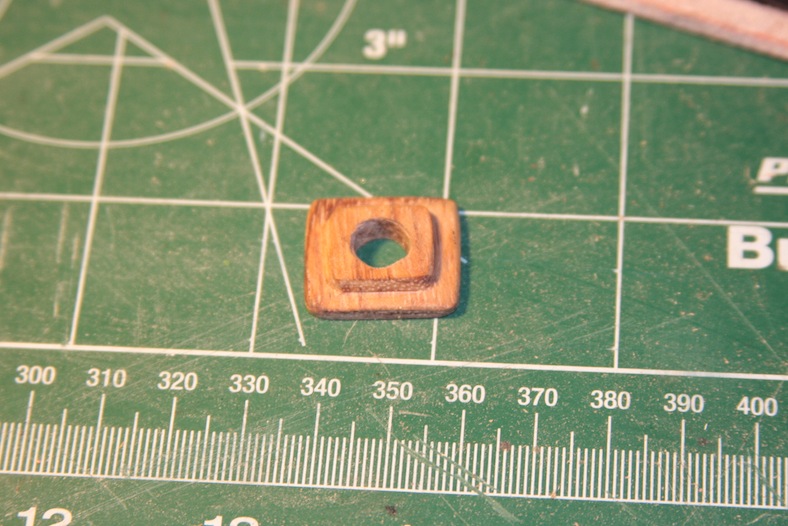
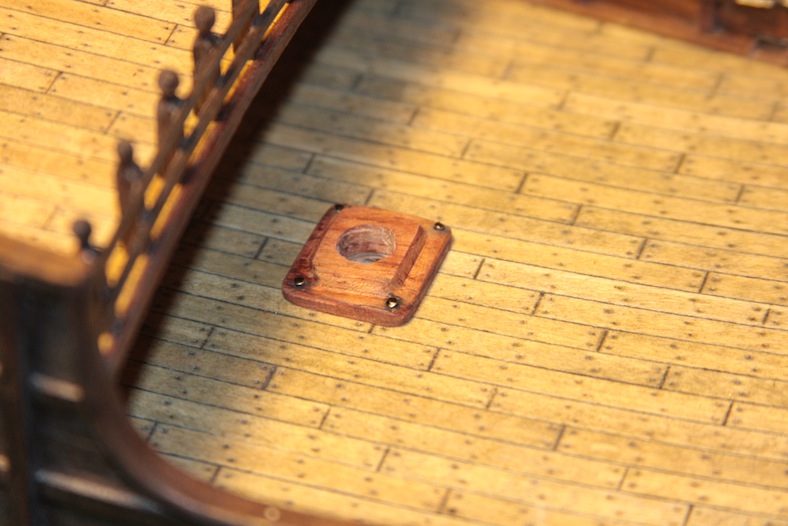
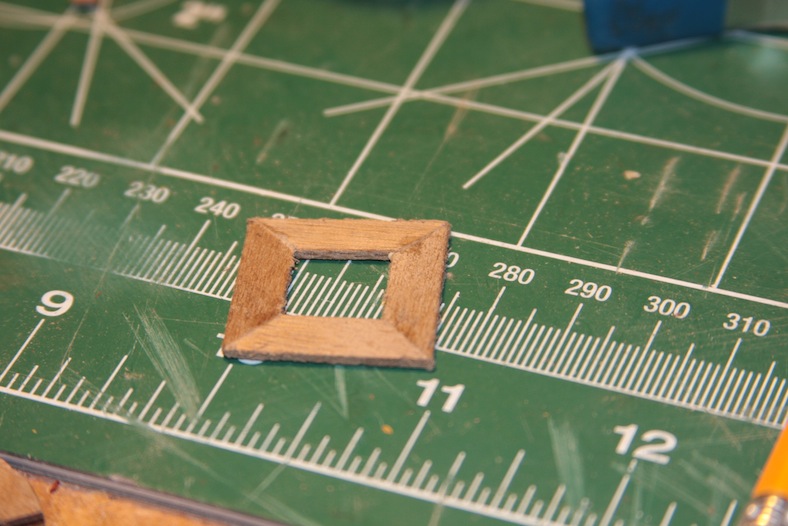
The next step is to decide on the base mount for the masts. The AL kit supplies circular, brass coated fittings that I think may be pewter. They not only look pretty cheap, but they’re not very well made. I prefer square mast bases anyway, so I built my own and beveled them.
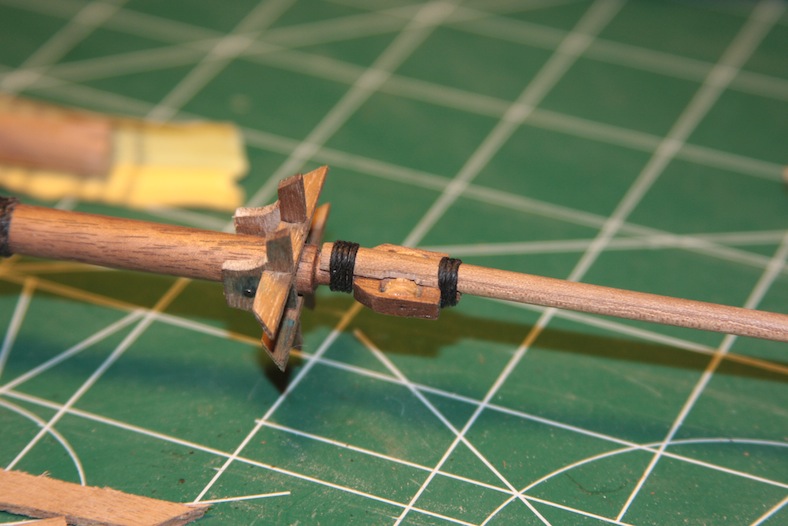
As I stated, the main mast is more complicated. The base of the mast is bolstered with vertical strips of wood to strengthen it, then it is wrapped with heavy gauge rope up the length of the mast.
Not long ago, I ordered 2mm x 2mm strips of walnut for a variety of needs including futtock riders. What I got (I think it was from Bluejacket) were these horribly ugly and DYED strips of wood that look like they were painted some sort of mahogany.
So far, I only used them for inside the captain’s cabin to give it some color. I decided to use those strips for the base of the main mast – once again to add a little color. Particularly since I used a unique piece of wood for the base.

At any rate, the strips are cut and mitre’d on the edges so they fit together adequately around the mast. Finally they are glued, then the ropes are added and tied as per Mondfeld’s “Historic Ship Models” in which the ends are tucked in to the back of the mast.
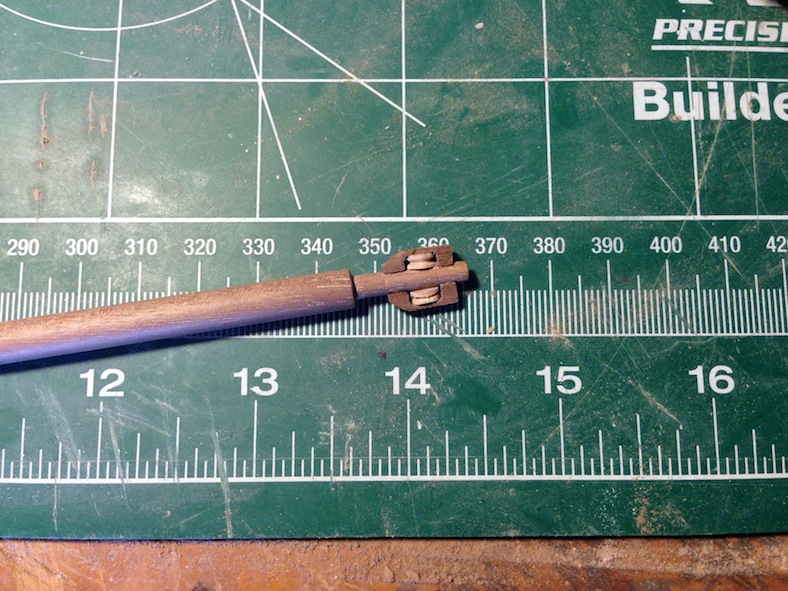
The top of the main mast in the AL documentation supports a couple (at least) of blocks. However, a more accurate representation is a double sheave block. That block is created by to walnut pieces sanded to fit snuggly against the mast. The sheaves themselves are narrow cuts from a spare 5mm dowel. The big challenge here was getting everything to fit snuggly.
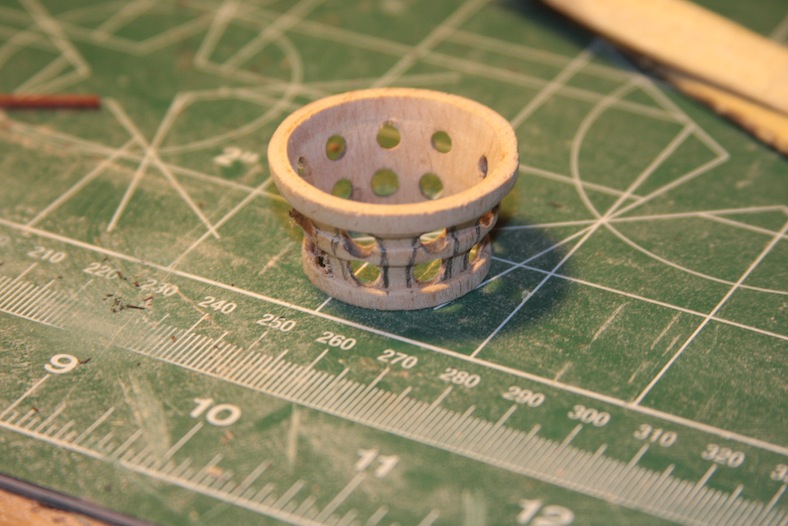
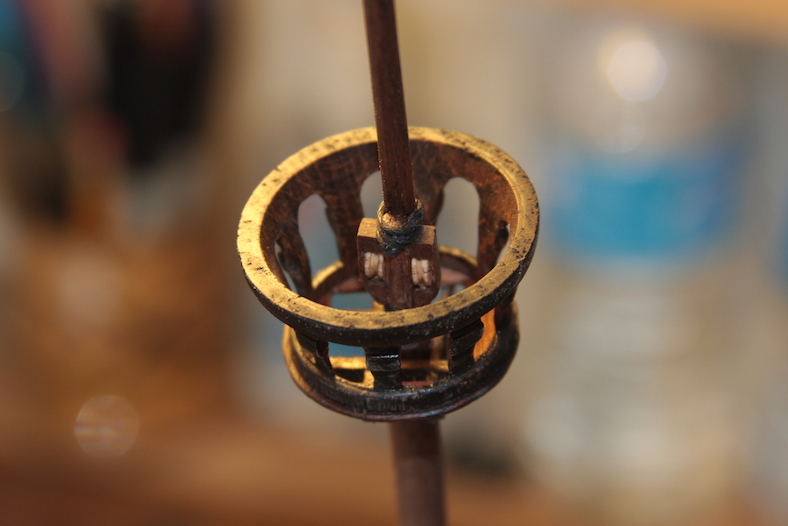
The main mast of course houses the crow’s nest. The crow’s nest supplied is a solid wall, poorly molded version. At first I started rebuilding the entire thing from scratch, then realized that I could probably just refit the one supplied.
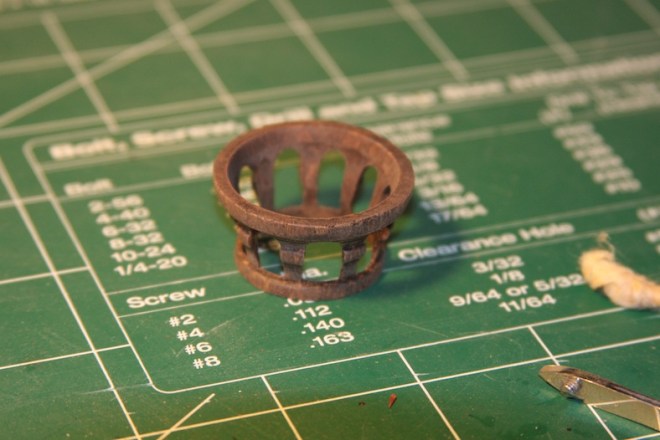
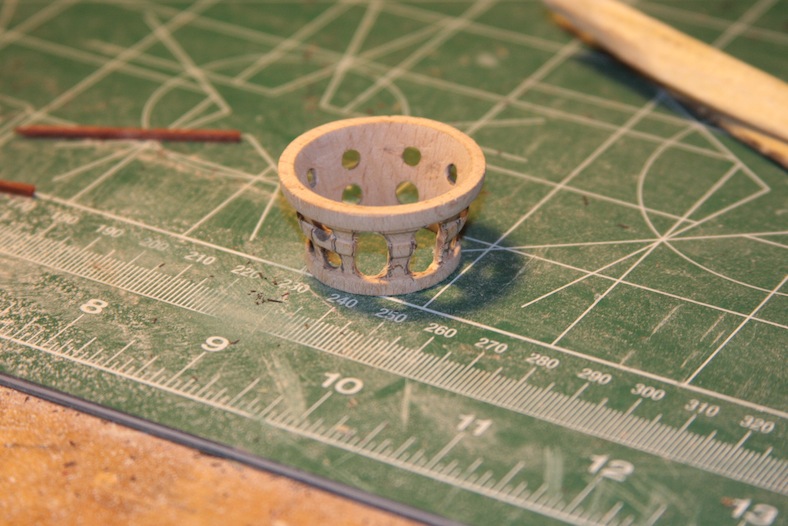
I measured and marked, then drilled out holes in the sides. A lot of sanding later I ended up with something that I liked and that was quite a bit more accurate.
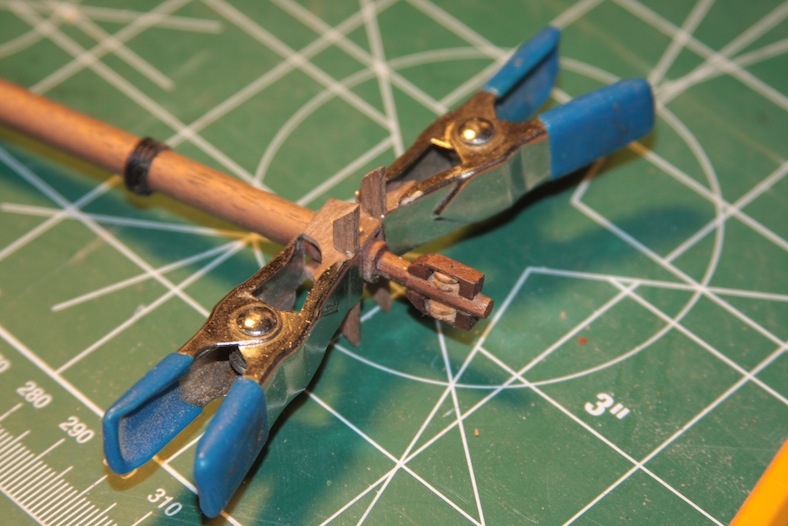
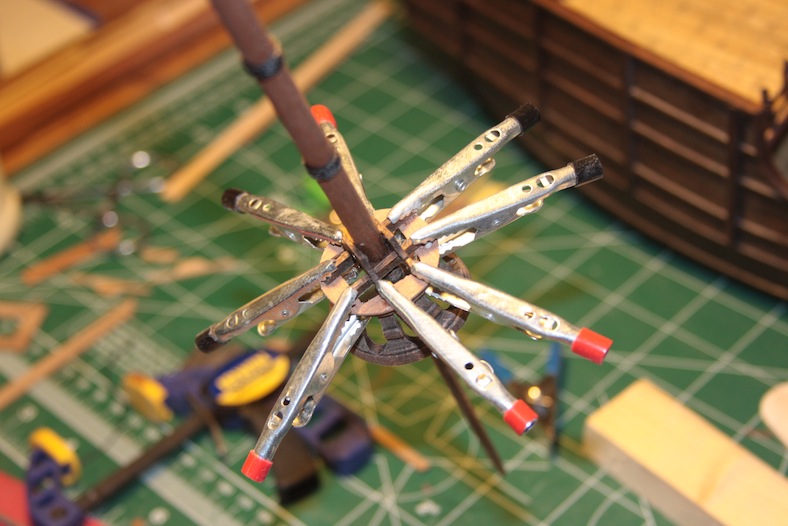
The base of the crow’s nest is simply four mitre’d 5mm walnut pieces that are rounded and fitted to size. The entire thing sits on your typical criss-cross structure that will also provide a base for the topmast. Getting these pieces to all tie together nicely required a fair amount of clamps.
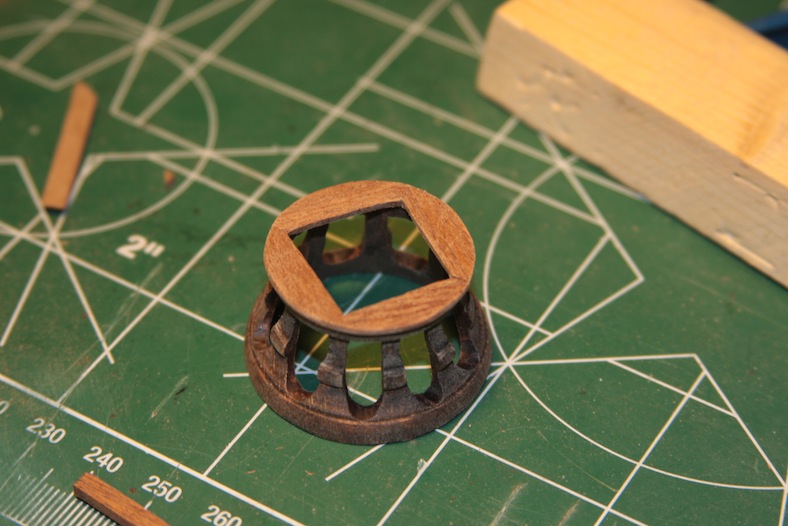
The important aspect of the topmast is the rounded sanding at the base to ensure it fits snug against the main mast while still accommodating the double sheave block after it is tied together. The final steps are to stain and/or tung oil the pieces to make them meld together while still showing the details with different grains of wood.
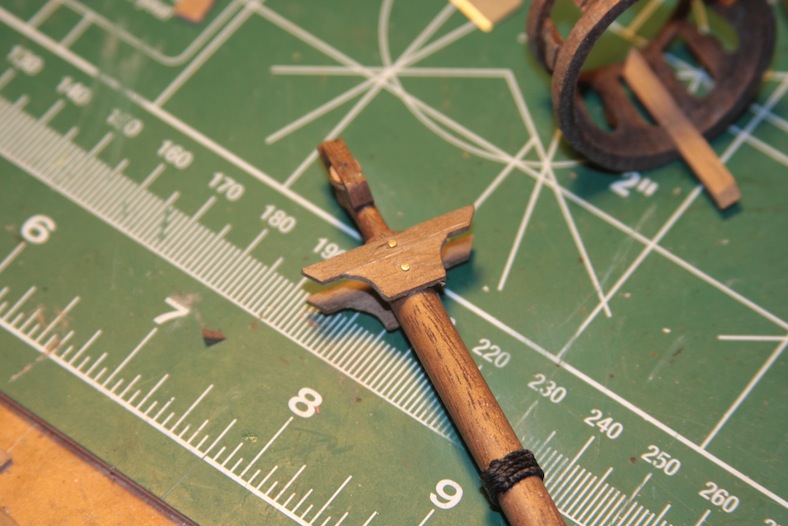
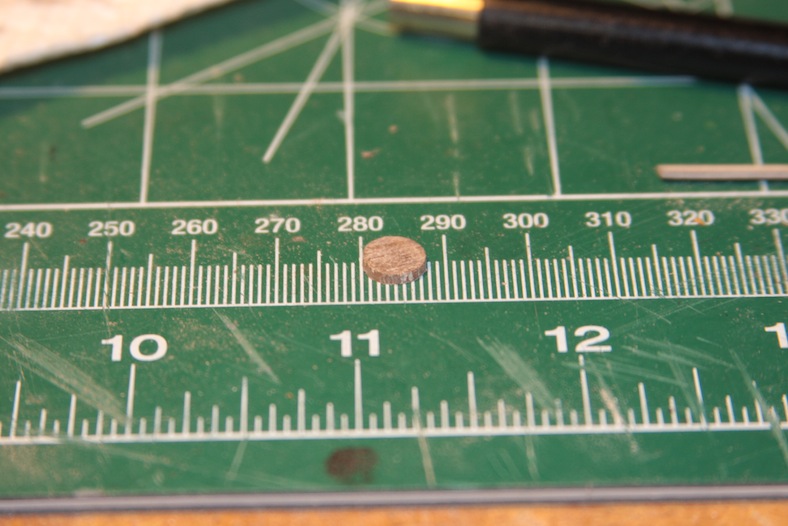
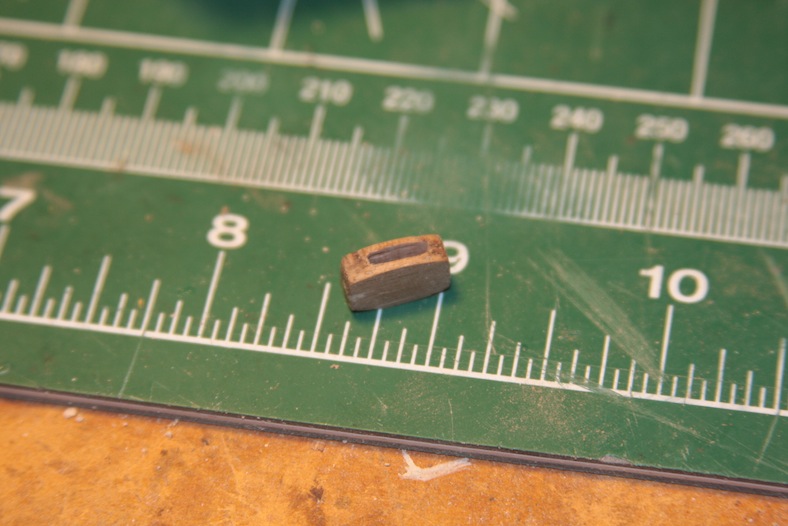
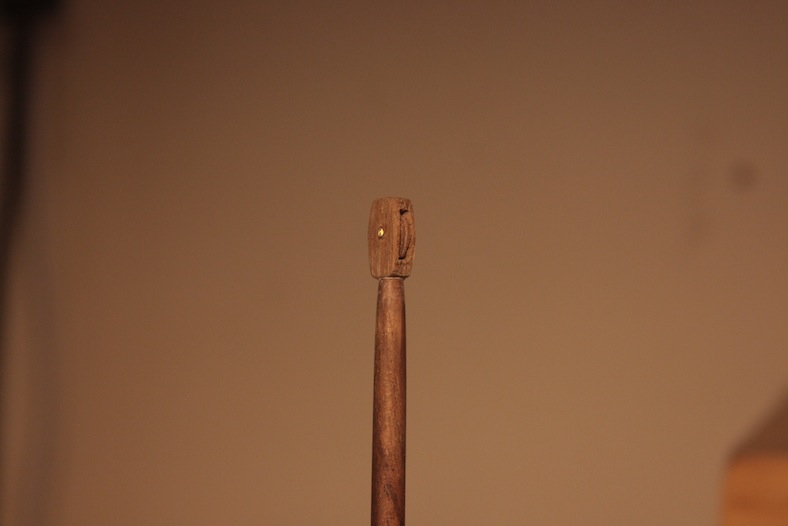
The final aspect for the masts is the sheave block (essentially a pulley) added to the top of the masts.
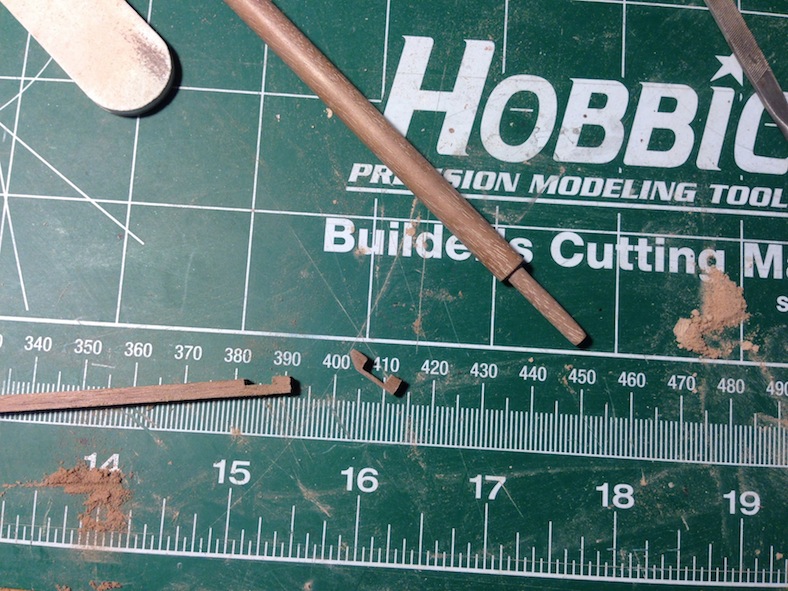
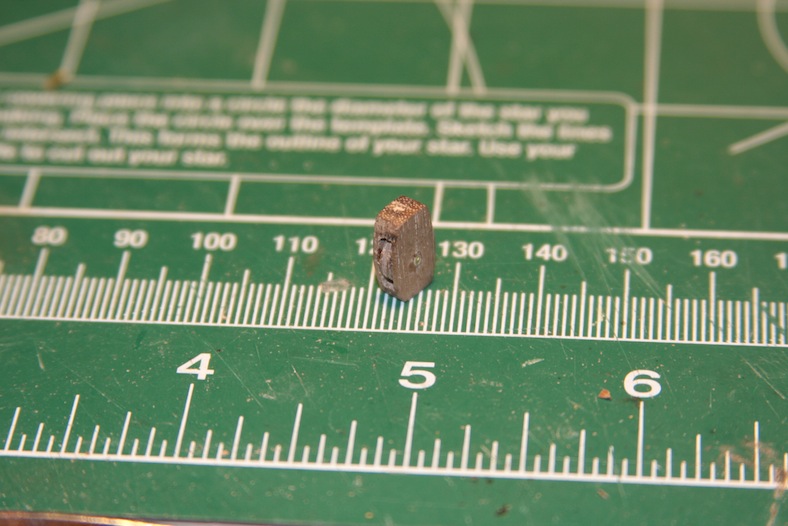
The sheave block is made from a piece of walnut, drilled and filed to create an opening. The opening is filled with the circular “pulley” cut from a leftover walnut dowel. The piece is sanded down to fit, placed into the block’s opening, and secured with a brass rod through the center of the entire piece. The sheave block is then secured to the top of the mizzen and fore masts with glue and a pin.

After the masts are built, the touchy part comes into play. Holes must be drilled into the decks. Obviously this is an awfully nerve-wracking step. Any mistakes here are nearly irreparable and would be very difficult to mask. Each hole is initially drilled with a very small bit at a very high speed to minimize tearing the delicate wood of the deck. The holes are widened incrementally using larger bits until it gets close to the desired diameter. The holes are then finalized with a high grit sand paper to achieve as tight a fit as possible.
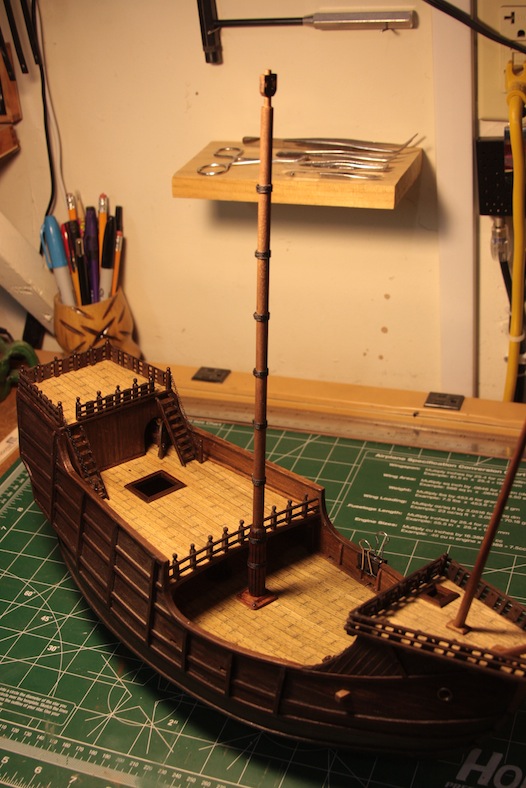
The masts are NOT secured in place yet, but are dry-fitted.
