
There is always a mixture of feelings nearing the end of a build. The sense of accomplishment is only slightly diminished by the sense of ending – and that you’re … well … finished.
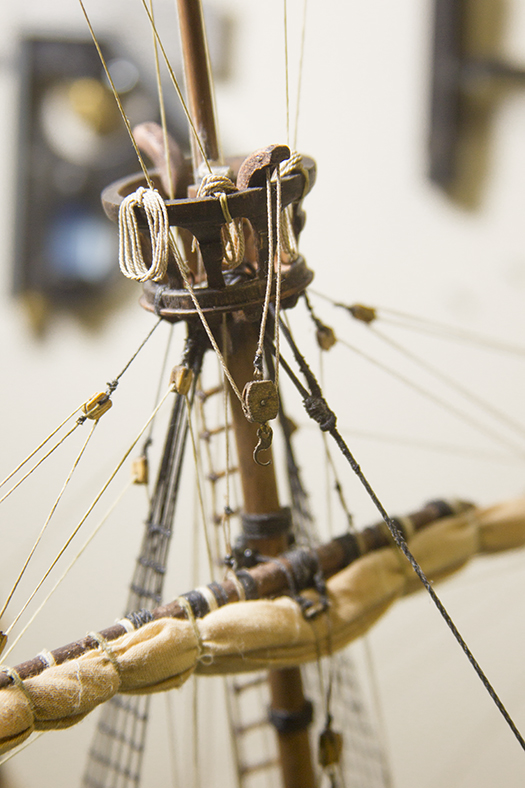
At any rate, as I near the end of the build I started working on some of the finishing details. A very important aspect (often overlooked) is the laying of coiled rope. A coiled rope will likely be found anywhere the running rigging terminates on the deck or a railing. Since this build already has a definitive “aged” look to it, I wanted to continue that process with the coiling of the ropes. So, I concentrated on making them “messy” to imitate the ‘orderly chaos’ that is often found on a ship underway.
An important aspect of coiling ropes is how to secure them in place while at the same time making them retain a naturally hanging look. The glue becomes very important – as many kinds of glue will discolor the ropes significantly.

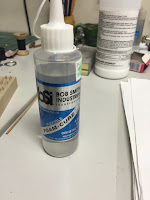
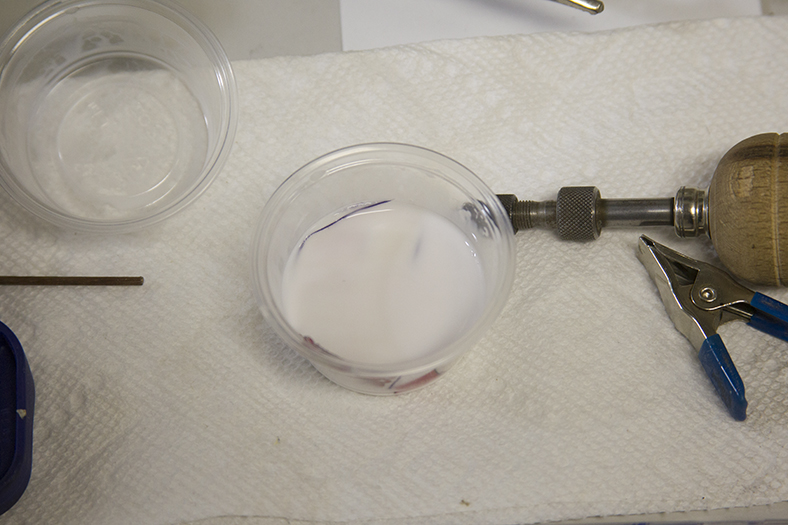
I settled on a very thin white glue that’s primarily used for building scenes on train sets. It dries clear, and takes a while to harden so you can manipulate the coil. The challenge is, holding the coil in place until it is tacky enough to stay.
For coils that typically just lie on the deck, I used a styrofoam glue that also dries clear, but is much more tacky – more like a rubber cement. It is very messy and stick, but worked well for coils that needed to be “bent” in specific ways.

For the ropes coils themselves, I build a small jig to wrap and glue some of the coils that lay freely. However, most of the coils were wrapped individually around the rigging lines.
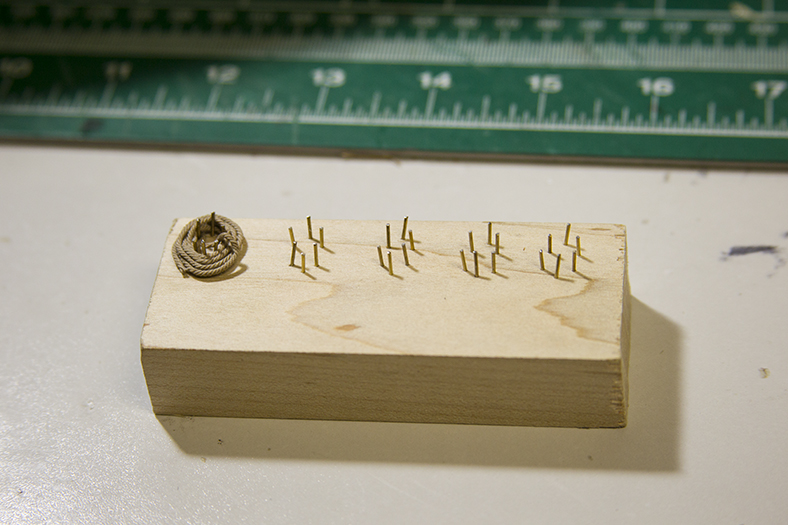
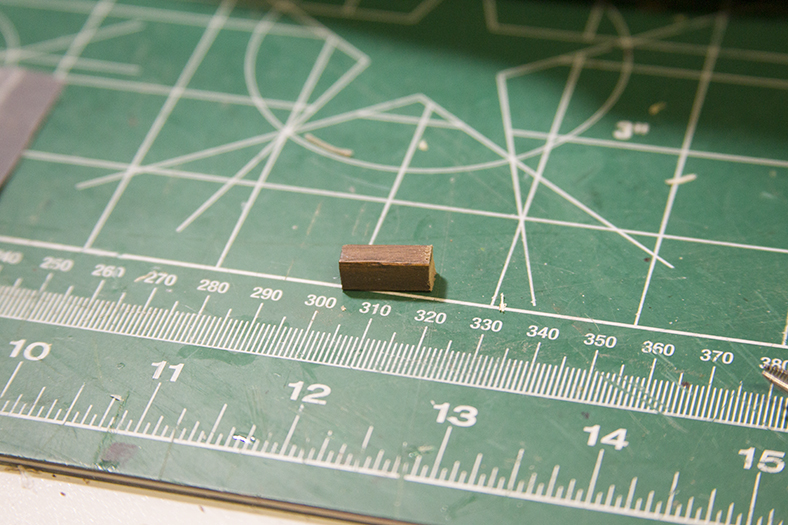
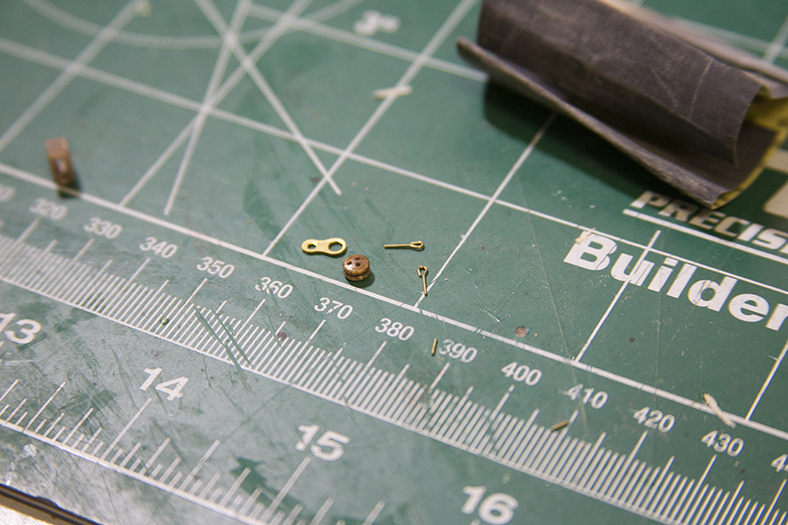
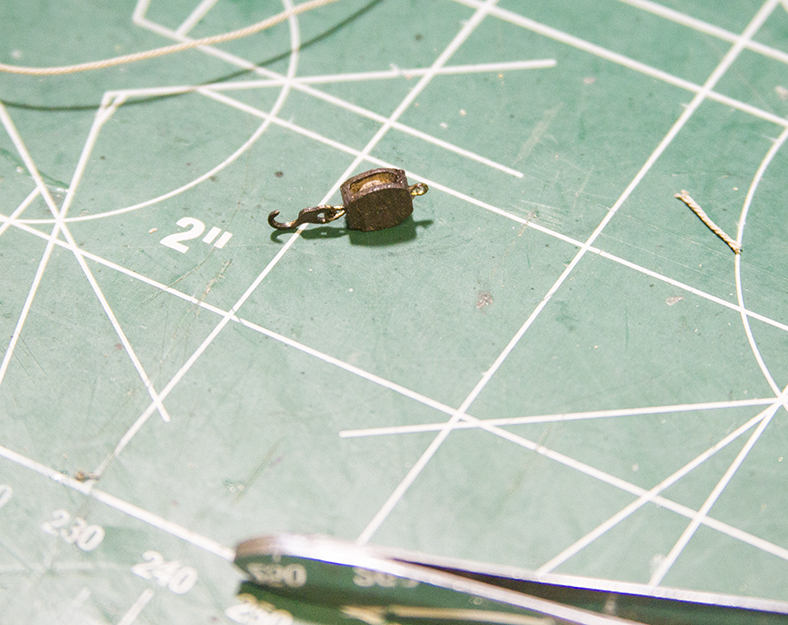
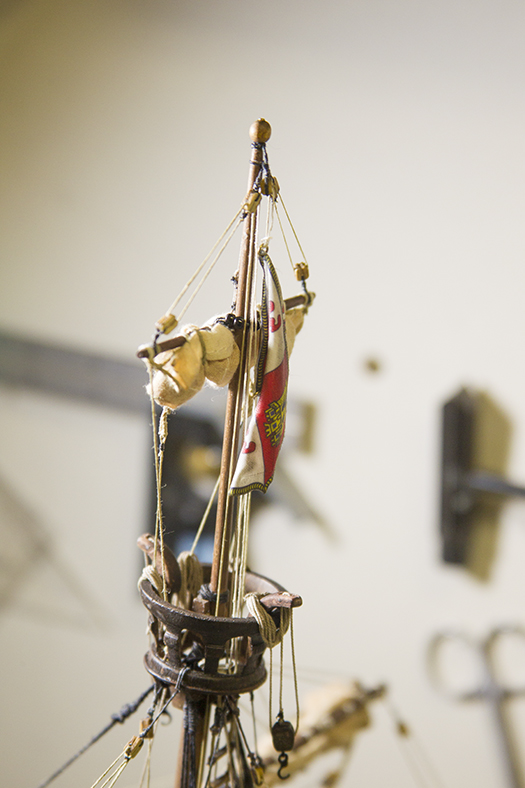
According to Xavier Pastor’s book, the two sheave pulleys that extend from the crow’s nest were used to move and/or load things onto the deck. To create them, I needed to build small pulleys from scratch. Similar to the sheaves on the top of the masts, I started with a 5mm block, rounded the edges and drilled out the center.
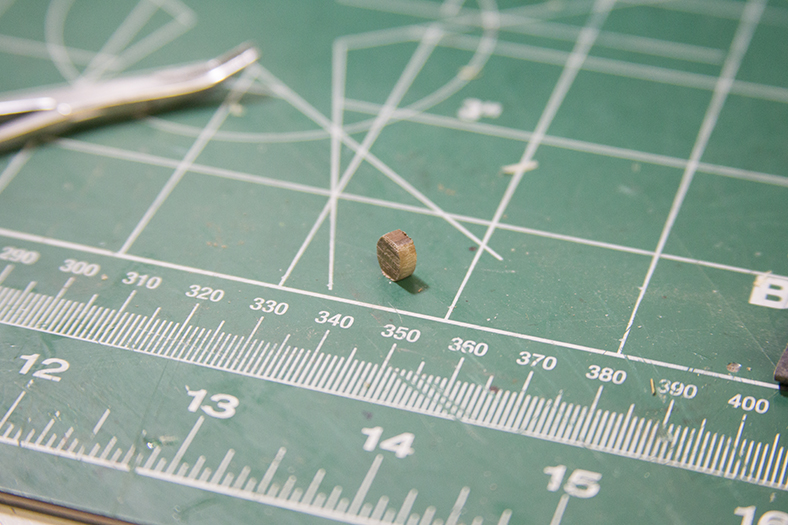

I then used some scrap pieces (a small deadeye, an old eyelet, and brass attachment) to create the rest of the pulley. I then rigged it through the sheave, coiled a rope, and left it hanging for the crew to use when needed
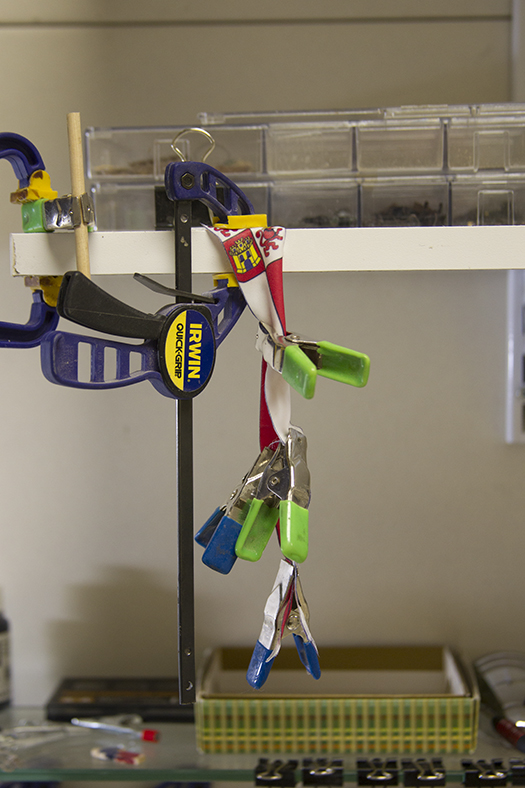
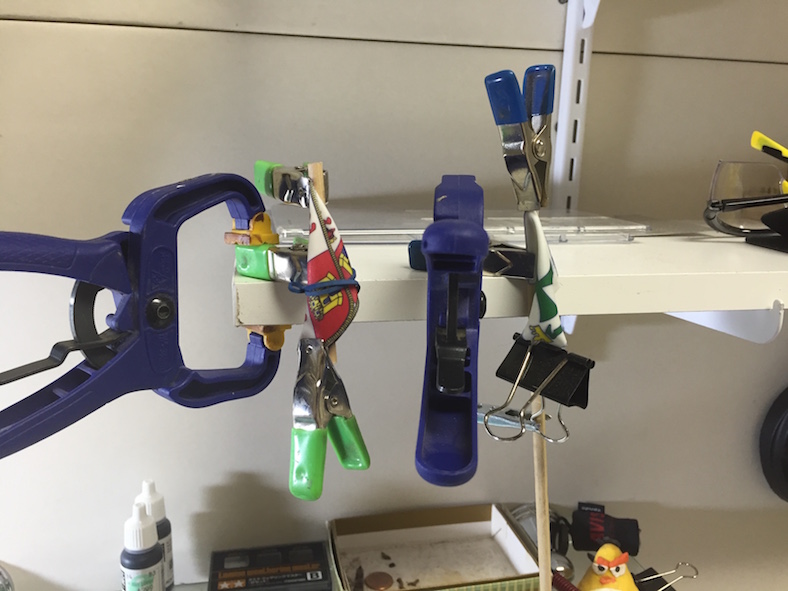
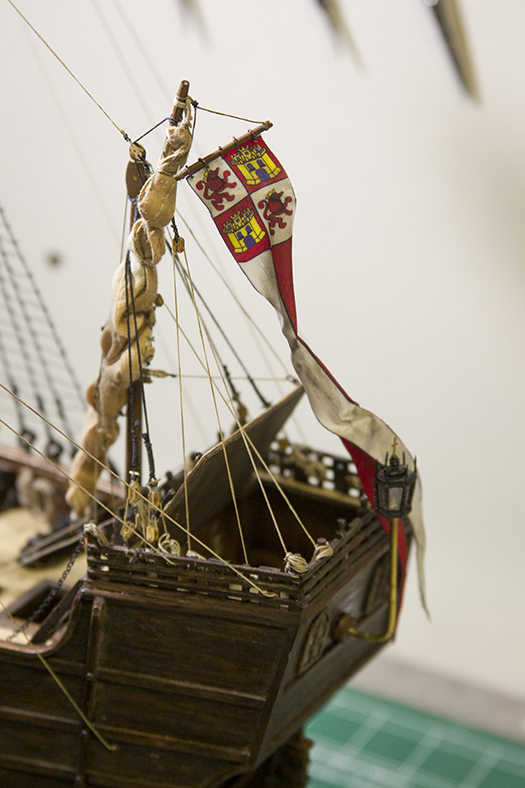
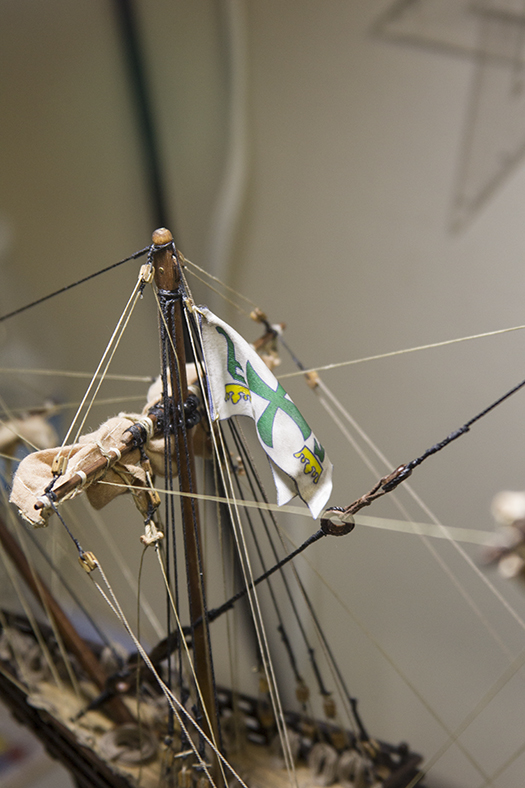
Next up were the flags. I’d been struggling with the concept on how to display them for a while. The key for me, was to create a method in which they hung as naturally as possible. I’ve seen many models where the ship was beautifully constructed, but the flags were sticking straight out in direct contrast to the rest of the ship.
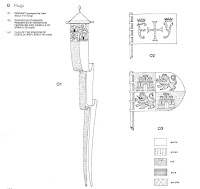
After experimenting with various fabrics from silks to satins, I finally settled back on the fabric “stickers” that were included in the kit. As it turns out – their colors were actually a great reflection of the flags illustrated in Pastor’s reference.
The trick then became how to make them seem less “stiff”. First, I soaked them all in the thin white scenic glue mentioned above. I then used various clamps and rubber bands to get an approximate shape of them ‘drooping’ or hanging with folds and let them dry.
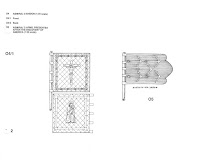
The resulting effect was pretty close to what I wanted. Finally, I aged the flags using a little bit of aging soot and ‘dirt’, and I was ultimately happy with the result. Each flag was then rigged with a small pulley. The longer banner was first attached to dowel as illustrated in the schematic, then mounted to the mizzen. I had to be careful to lay it in a way that still allowed the rear deck to be raised and lowered.
And… you know you’re getting close to the completion of a build, when this little detail is next up on the work desk…

