I’ve got another trip this weekend. So, knowing I wouldn’t really get any ‘days off’ over the weekend, I decided to procrastinate some of my work during the week and head down to the shipyard and get some things done.
Next up, the cheeks, hawse holes and trailboards. Before I got started I did some fitting and measure, and prepping the figurehead etc. The first problem I ran into was paint color. The rear decorations and etchings of the ship were done is straight “wood” color from Testor’s Model Master line. Although it looked good, it is considerably darker than the natural stained color of the hull, etc. I liked this very much, as it made the details on the transom really pop. However, when we get to the bow of the ship and painting those etchings and even the figure head that dark – it just didn’t look right.
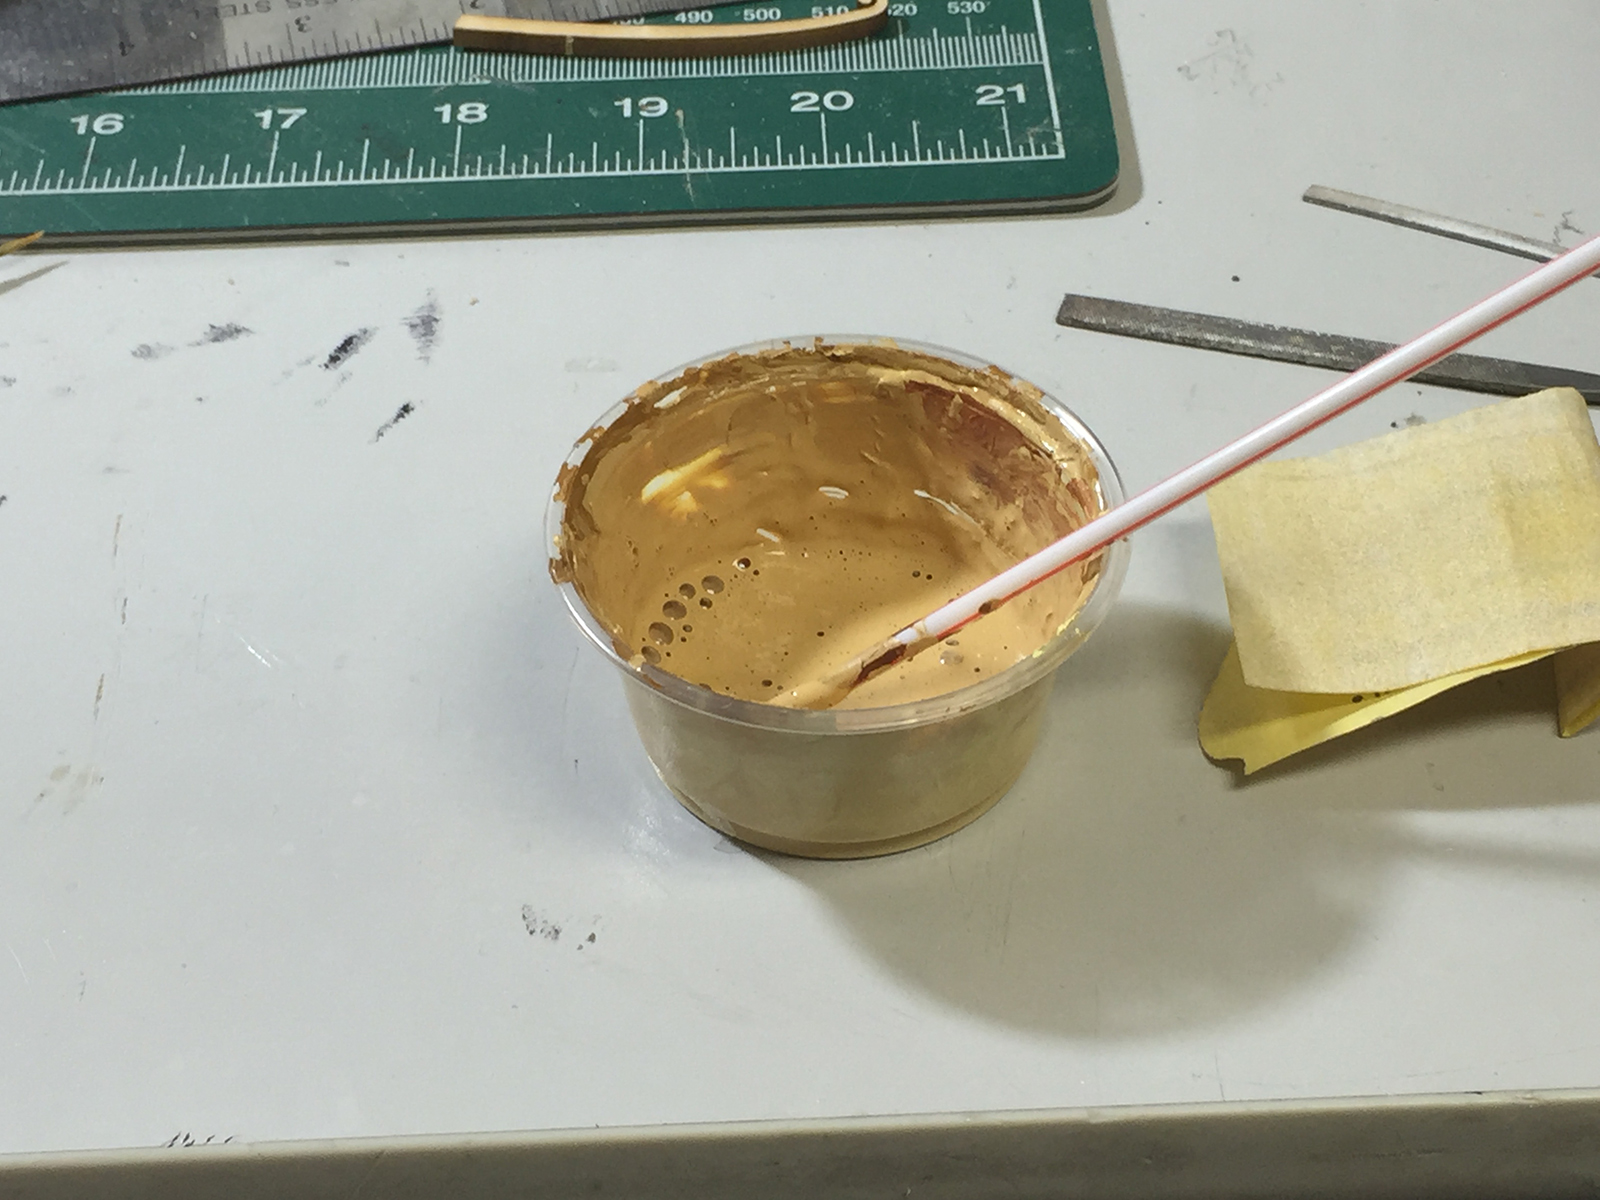
After some experimenting, I was able to come up with a pretty good color with about a 60/40 mixture of “House Cream” and “English Oak”. Of course that meant repainting all the etching and window frames and details on the transom. I was NOT looking forward to this… but necessary is necessary and I spend three days with a size 0 brush while my eyes crossed and my fingers cramped. ;p


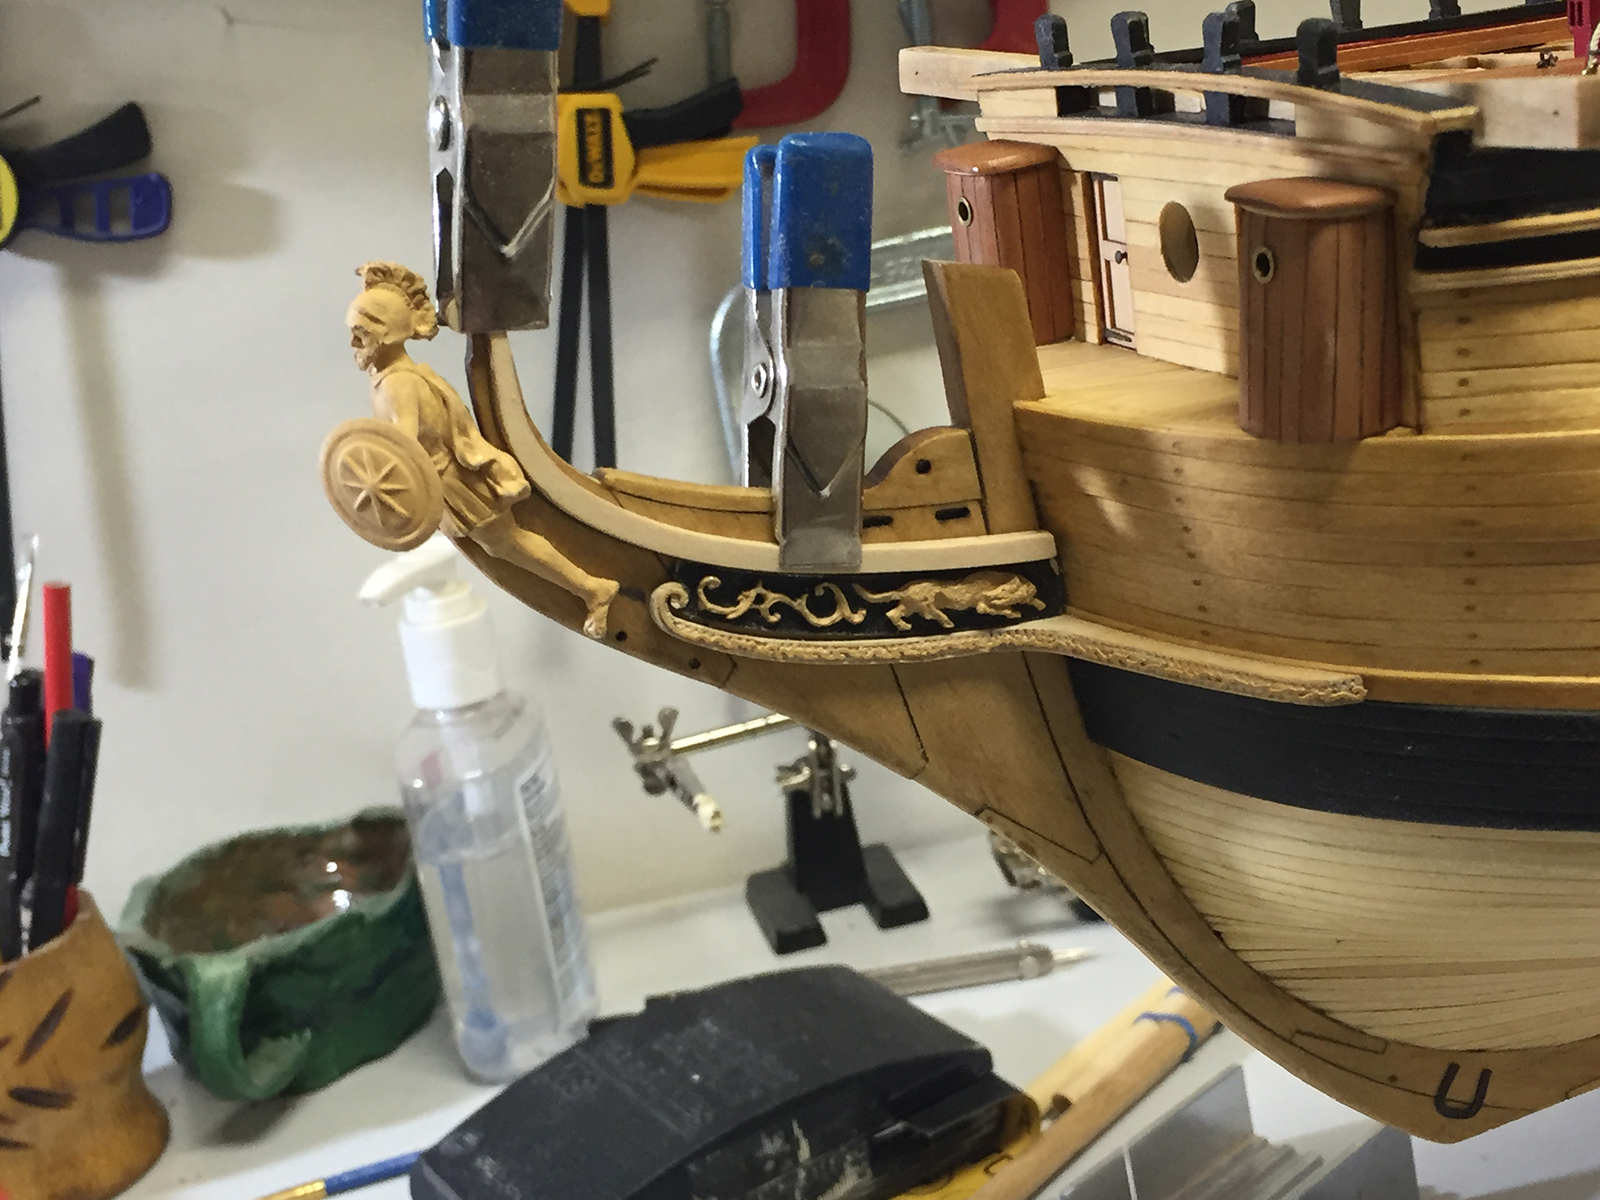
As a side note – I had to add a good coat of primer to the figurehead to get it to take the paint. Remember, we swapped out the metal figurehead with the plastic molded one. Then, the cheeks. Very light sanding to get rid of the char, then a bit of reshaping to get them to fit to the bow snuggly.


No alternatives for the photo etched carved strips, so they required some careful painting. I fitted them first to get an idea of what part of the bow needed to painted black, then did more painting.


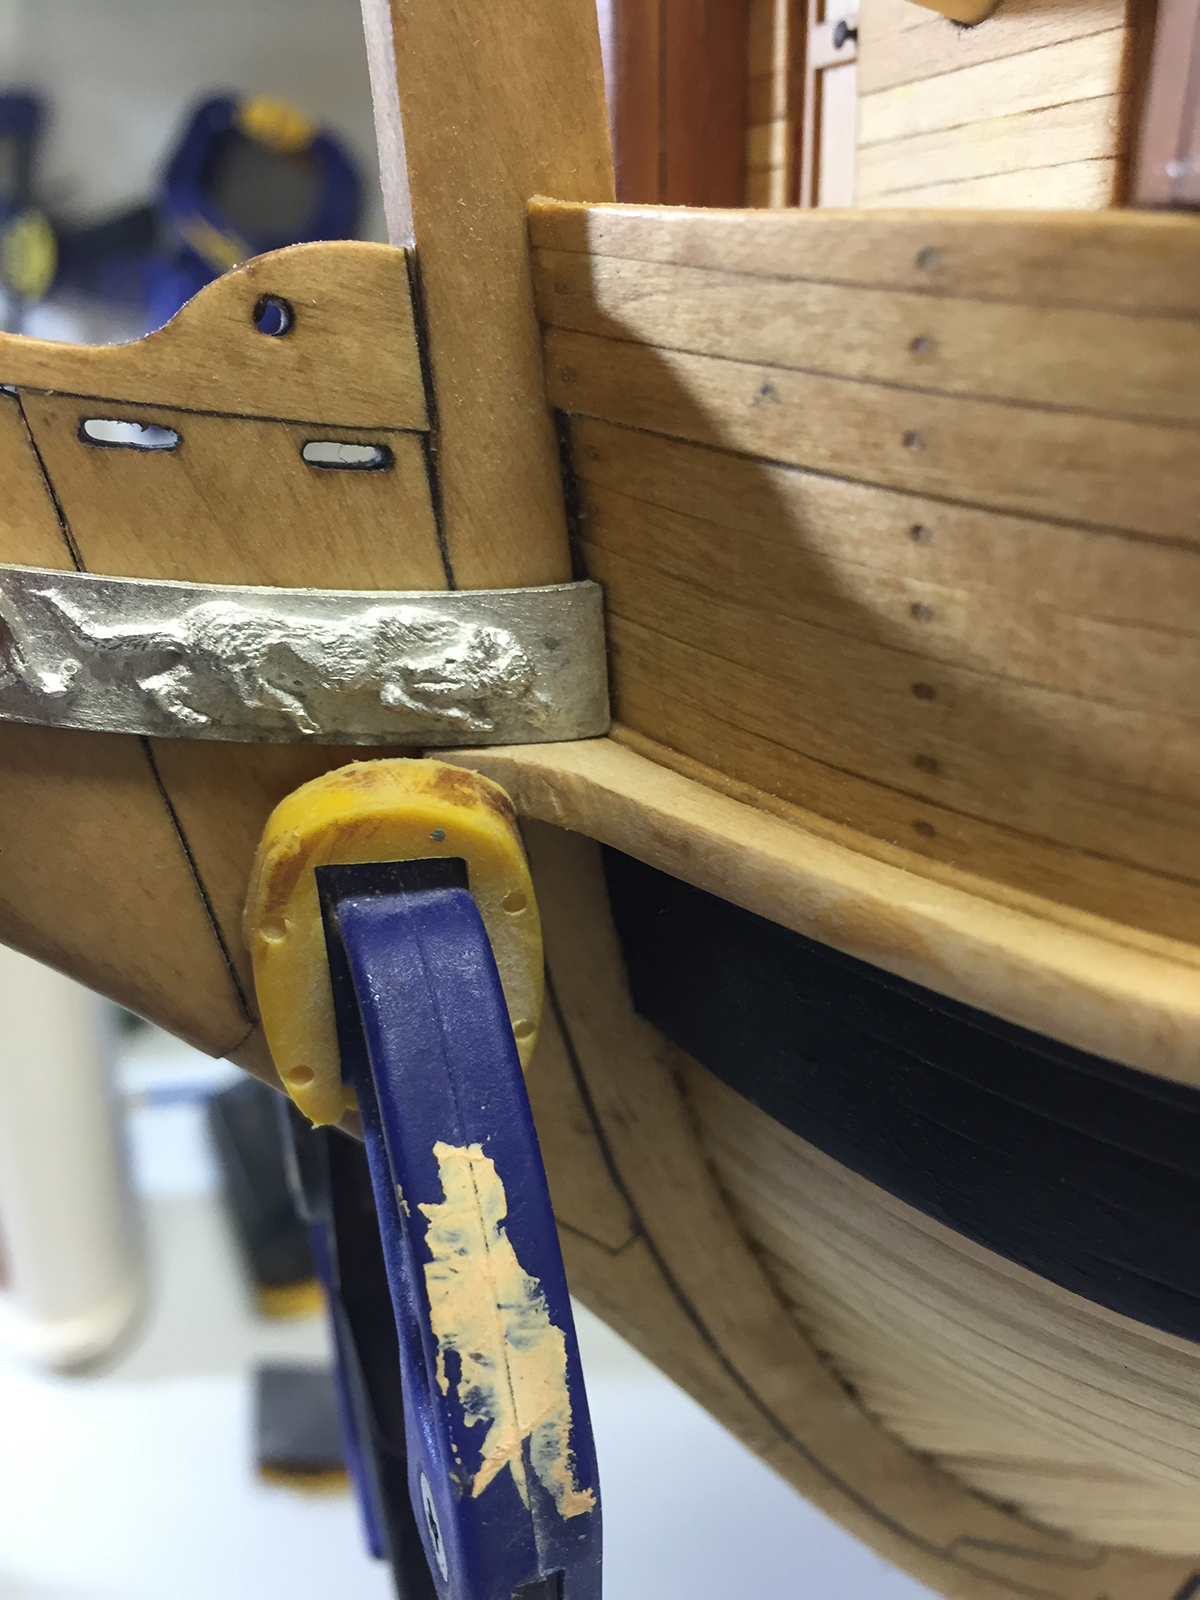
The instructions call for some etching along the cheeks my gauging out lines on the sides, then smoothing them out. But I found this little tool in my stash and thought it’d look pretty cool. Overall, I like the way it came out with the metal laser cut etching painted and attached.


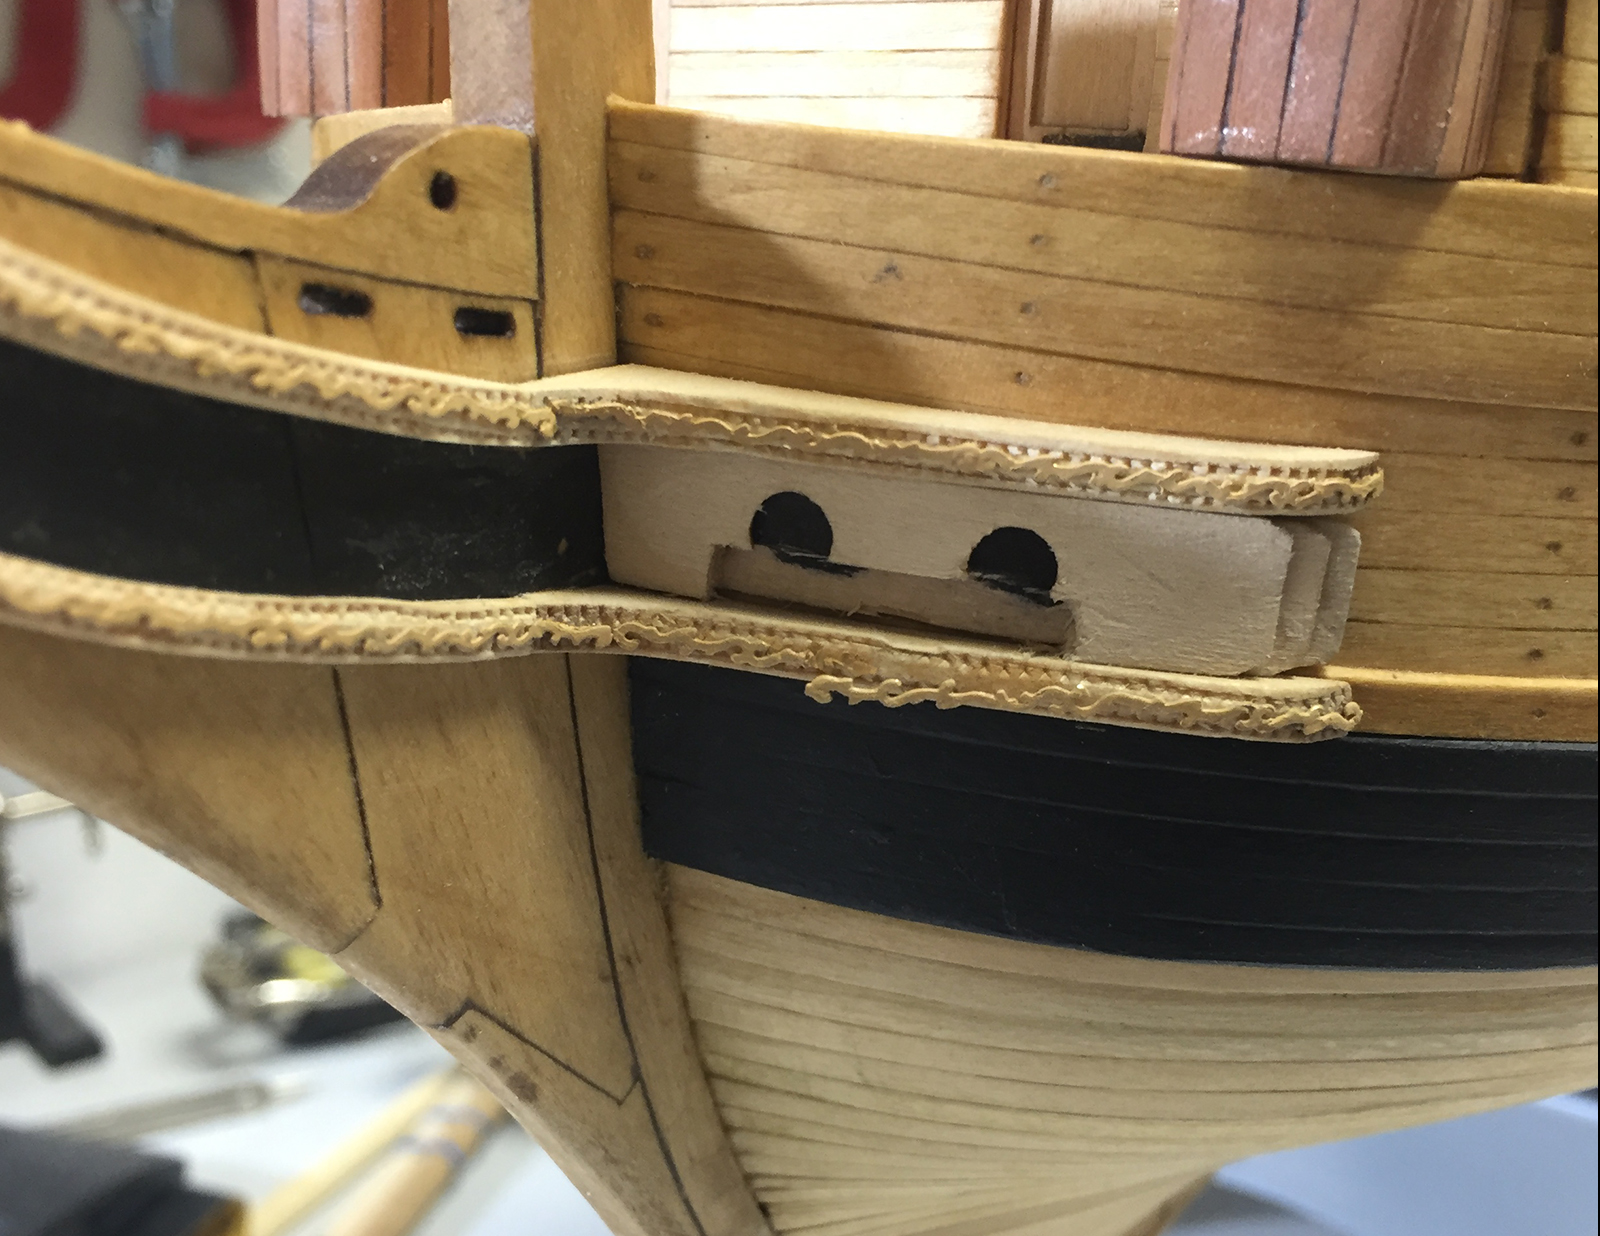
My next problem occurred when I dry fitted the hawseholes and trailboards. The directions call for four pieces shaped to fit the bow of the ship. But, after only three, I was running out of room quickly. And bear in mind, I BARELY sanded the backsides of the cheeks. Just enough to get rid of the char and adjust the “roundness” to fit the bow ok. Oy.This wasn’t going to do. So i stuck with three, and fitted the bolster. NO CHANCE any of this was going to fit.

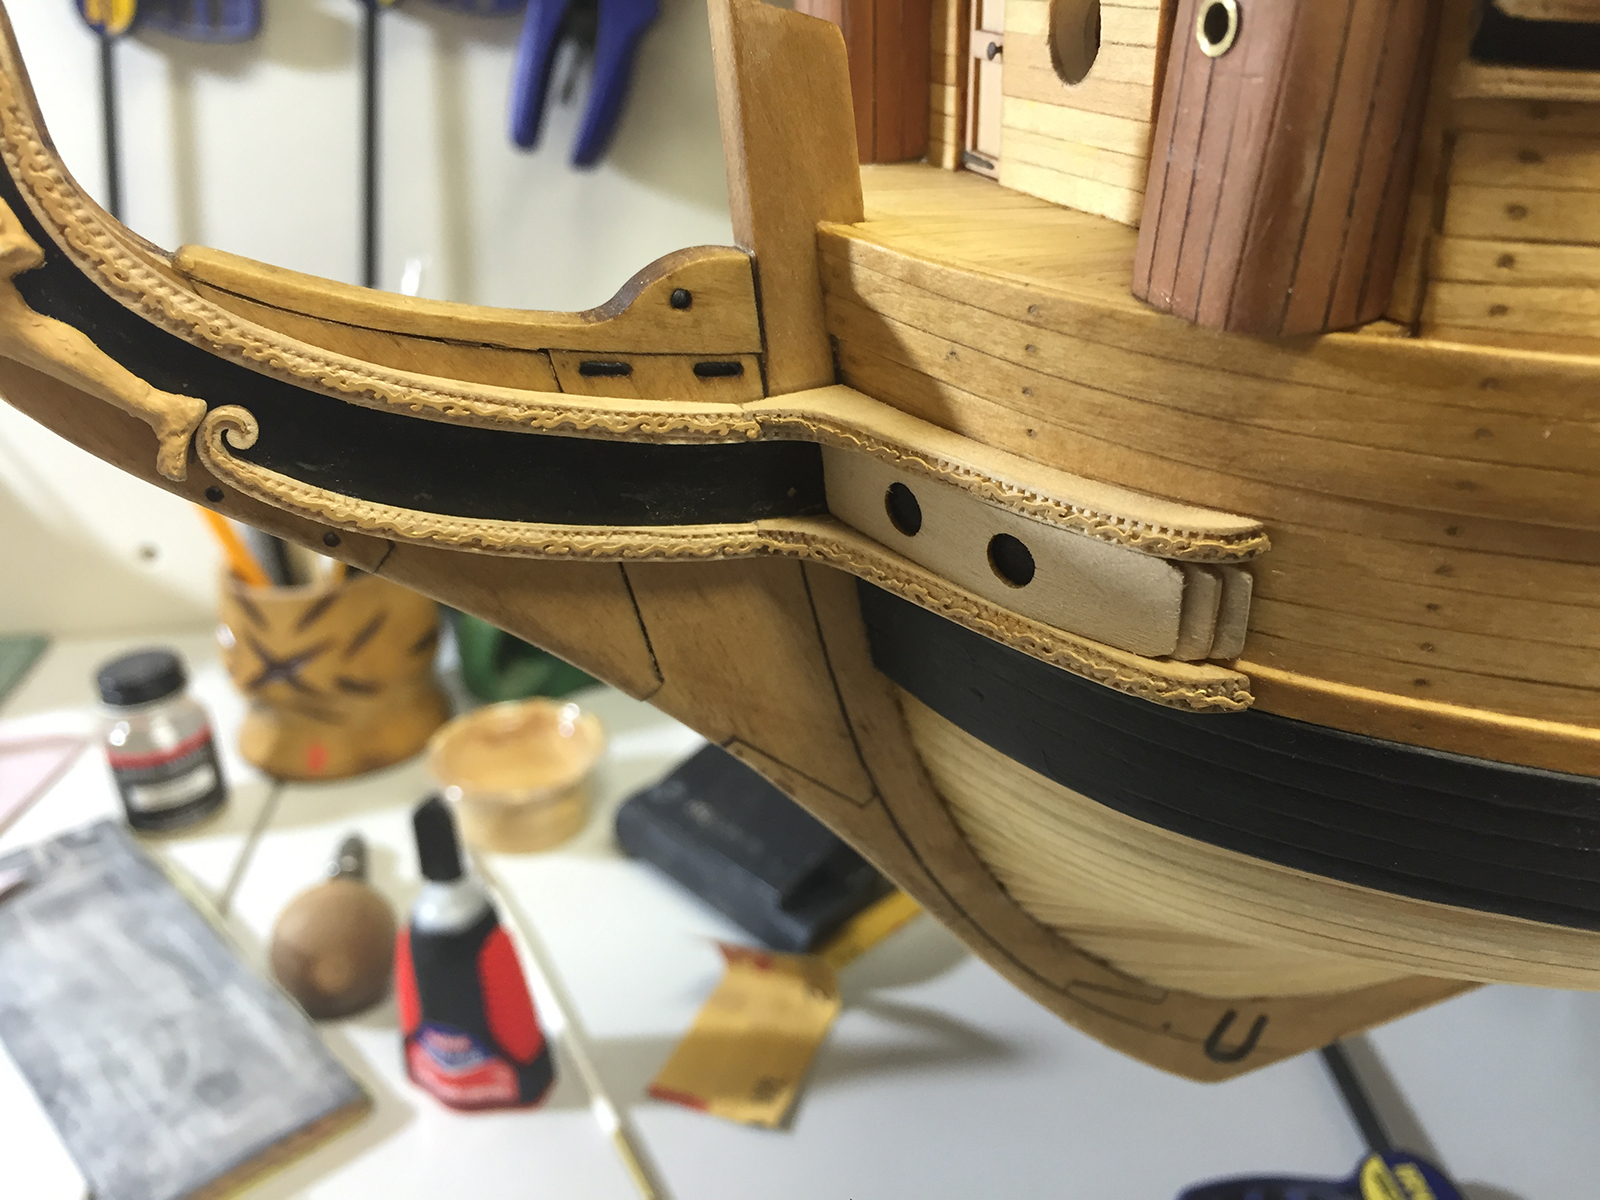
My first solution was to create and inset in which the bolster would fit. After a number of different attempts, this failed miserably. So, my final solution was to just have ONE layer of the trailboards and fit the bolster and drill out the hawseholes. Overall, I think it’s definitely passable. All of the basswood is treated the same as the rest of the trip with a layer of wood conditioner, stain in Miniwax “Natural” then I’ll add a layer of lacquer. Ultimately, this as made the etching and wood pretty close to the same color.