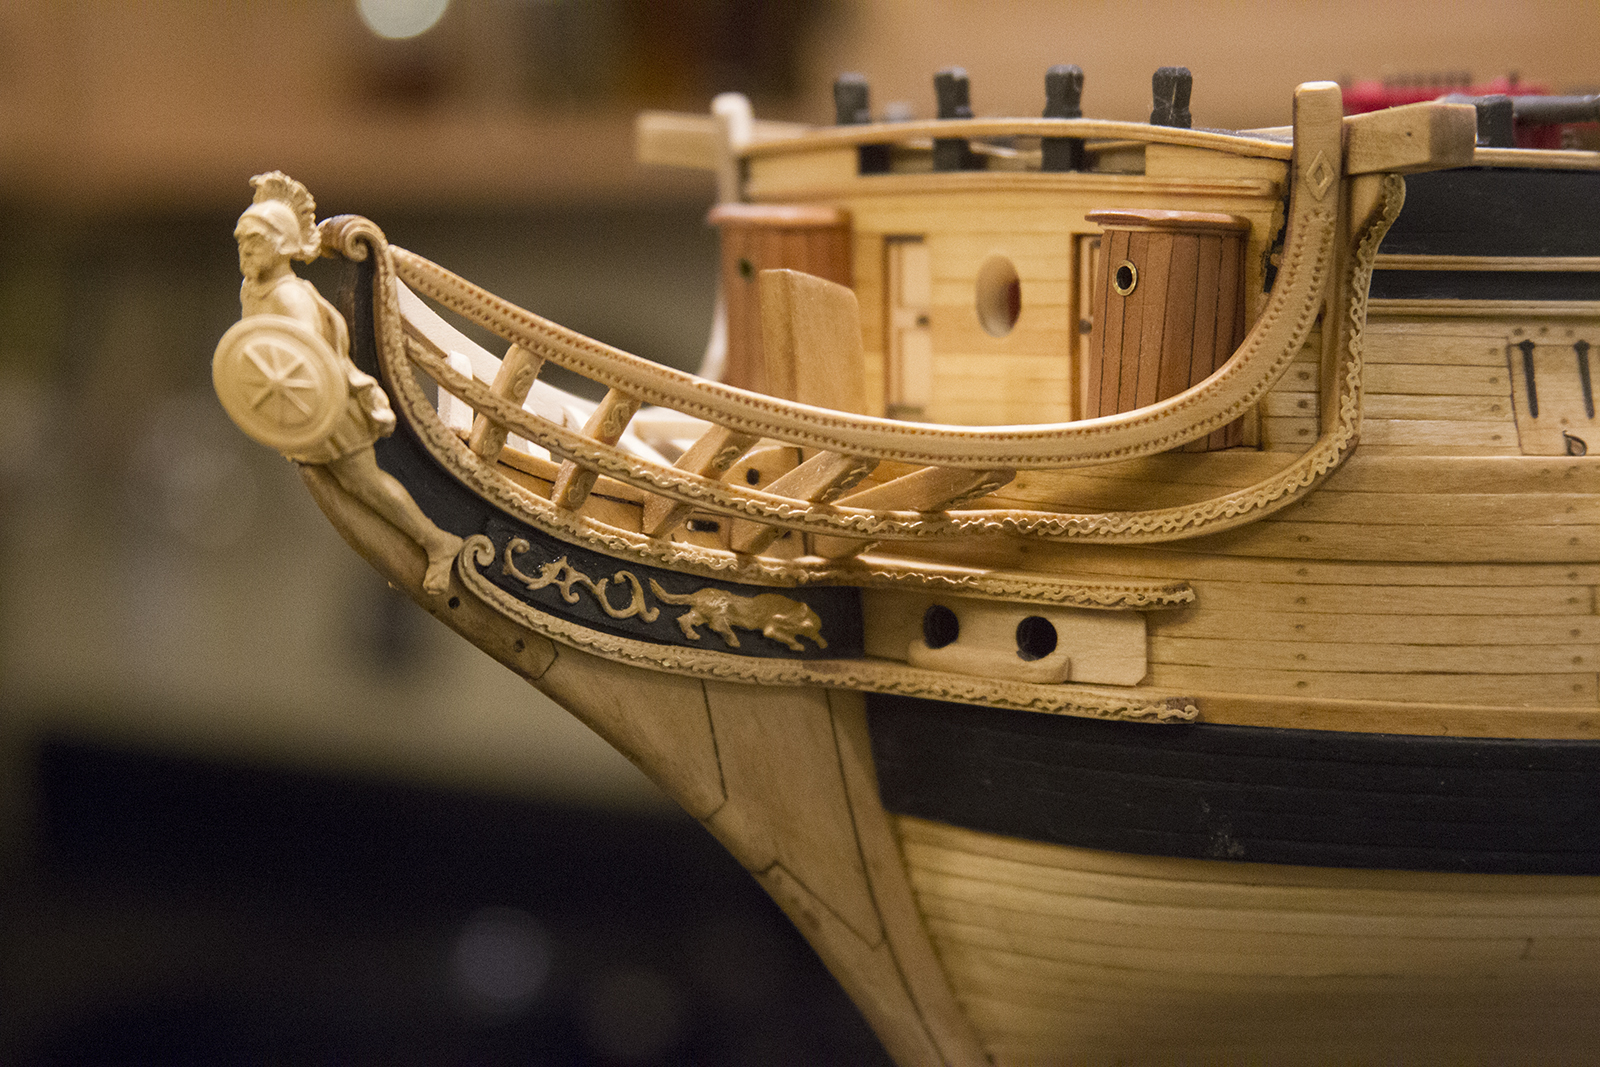
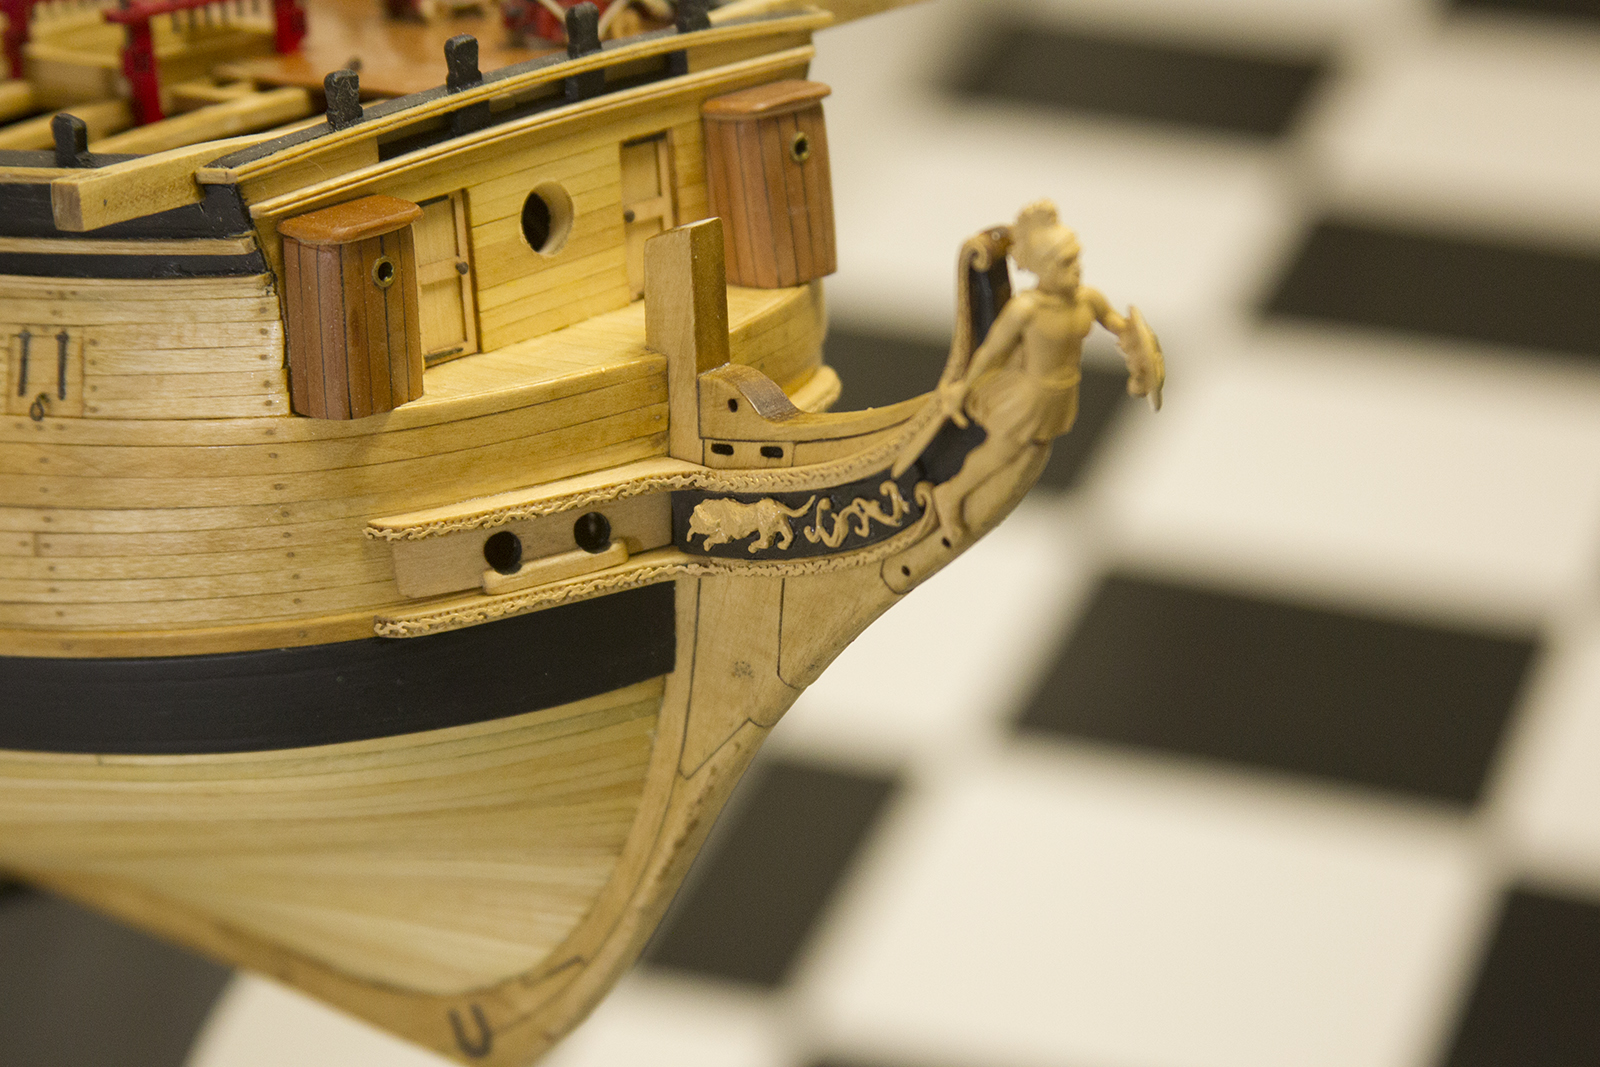
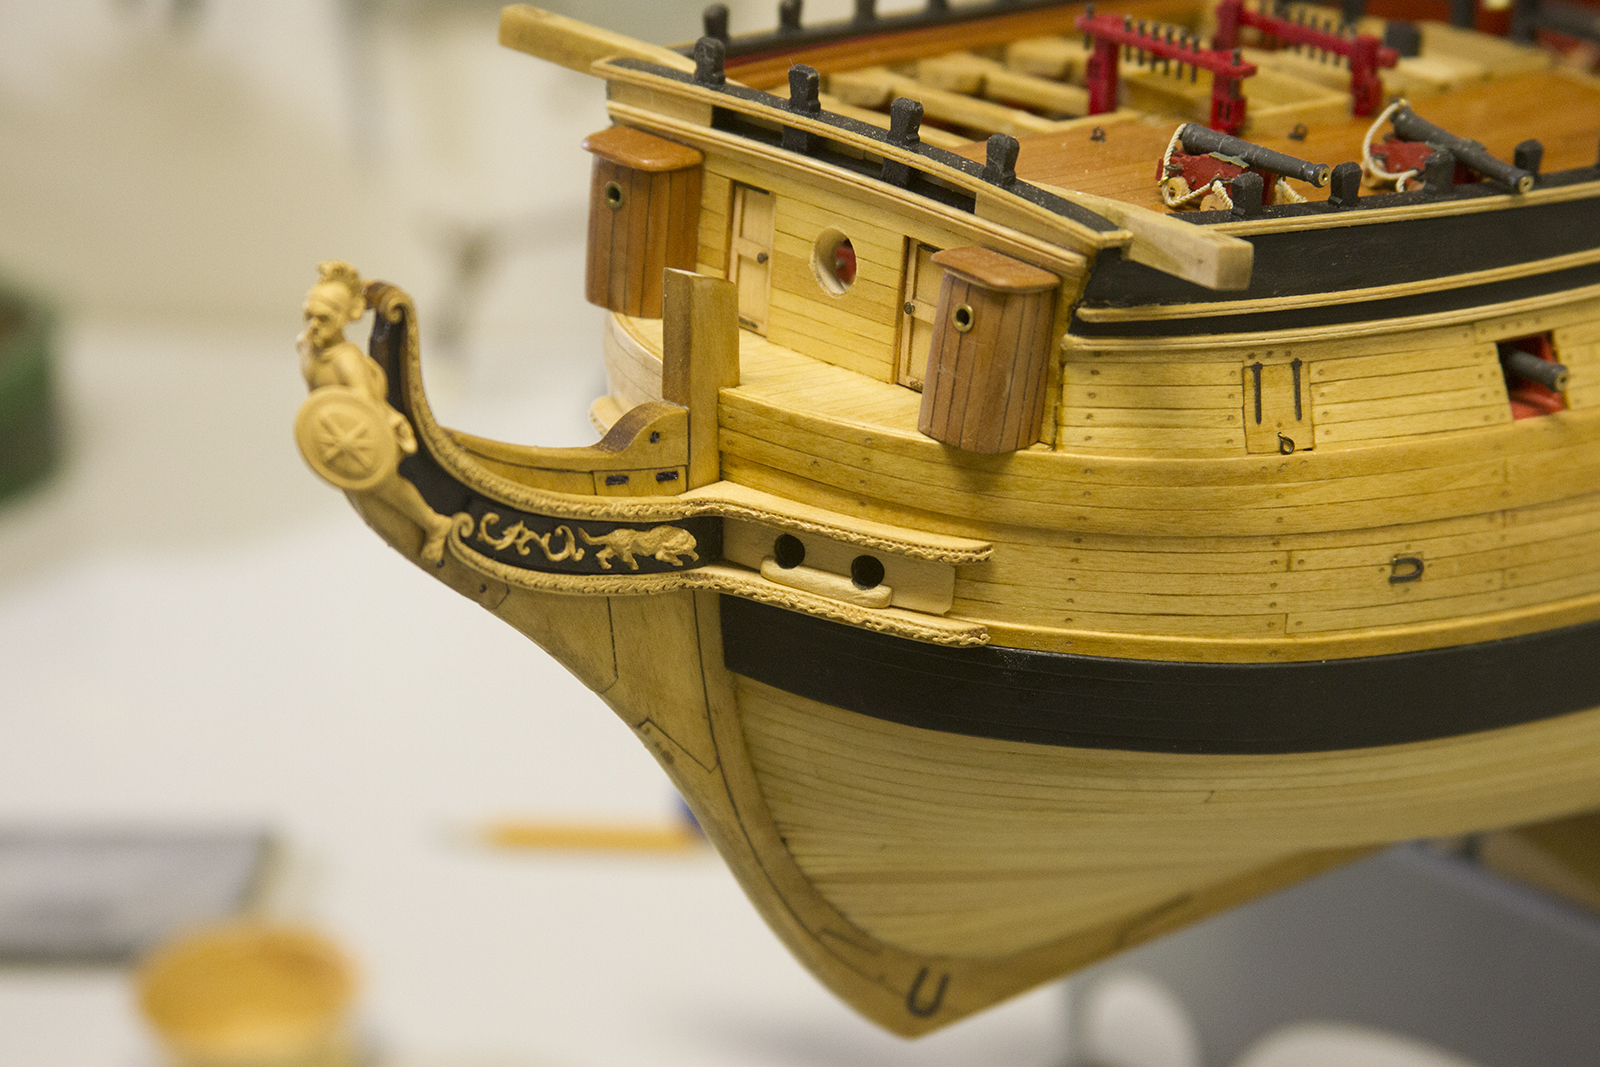
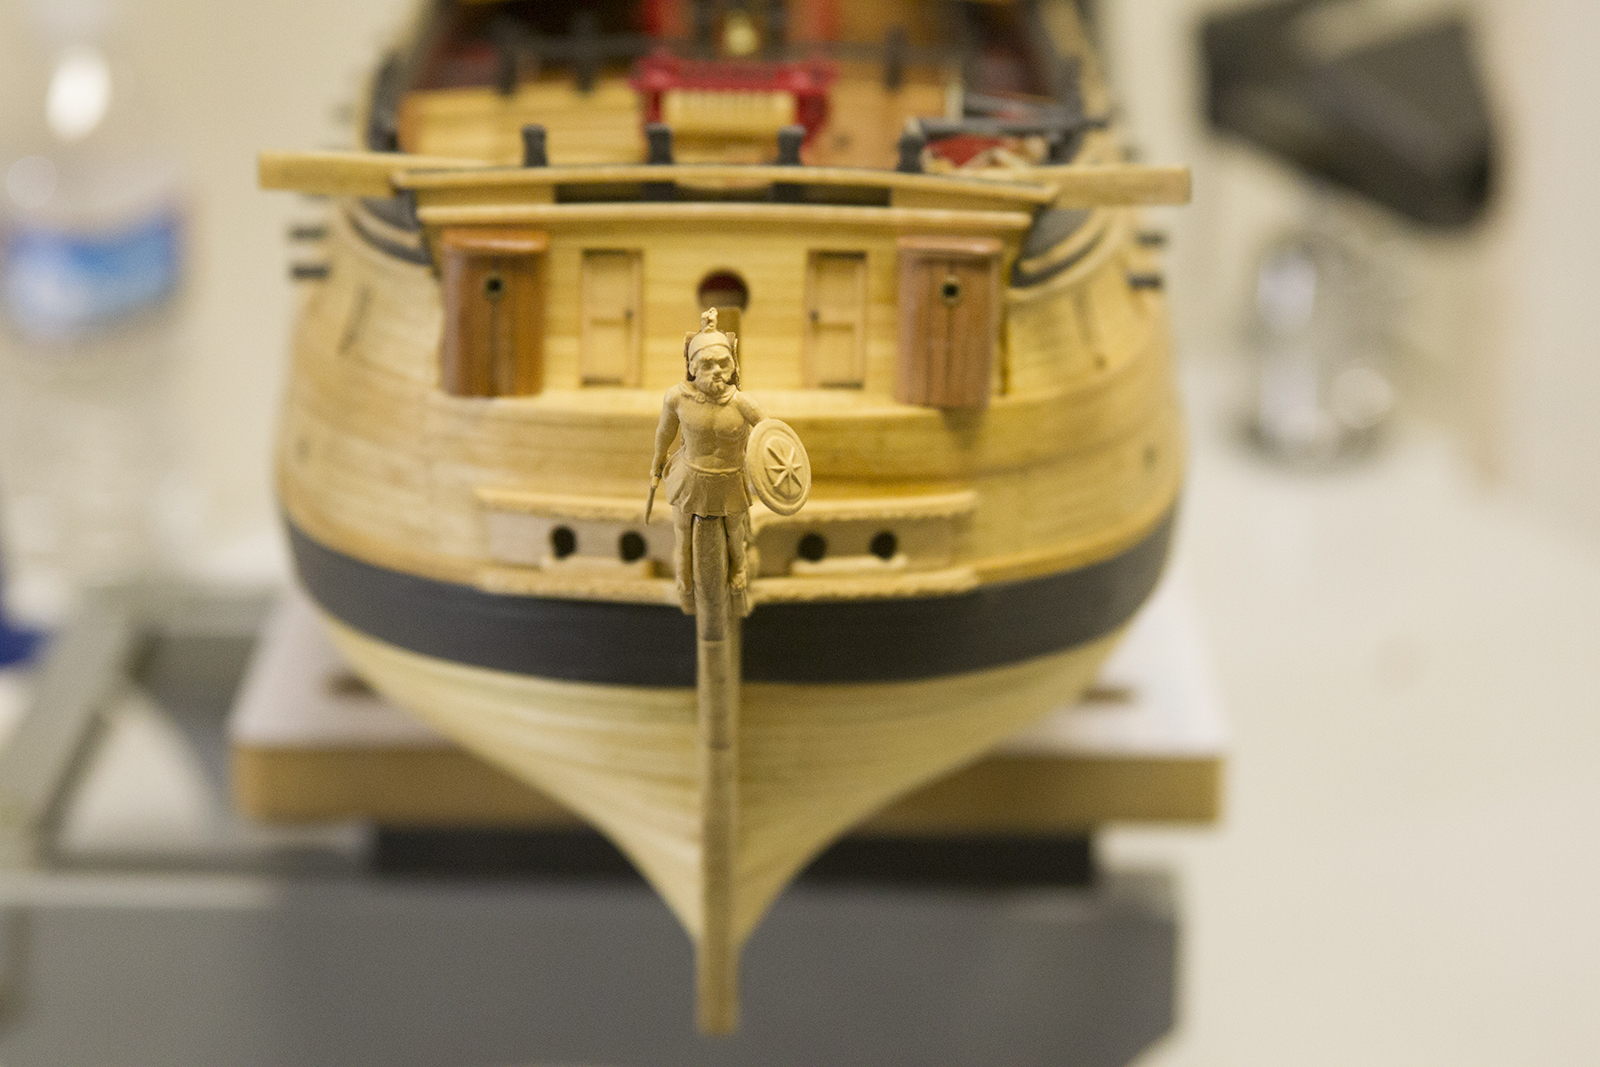
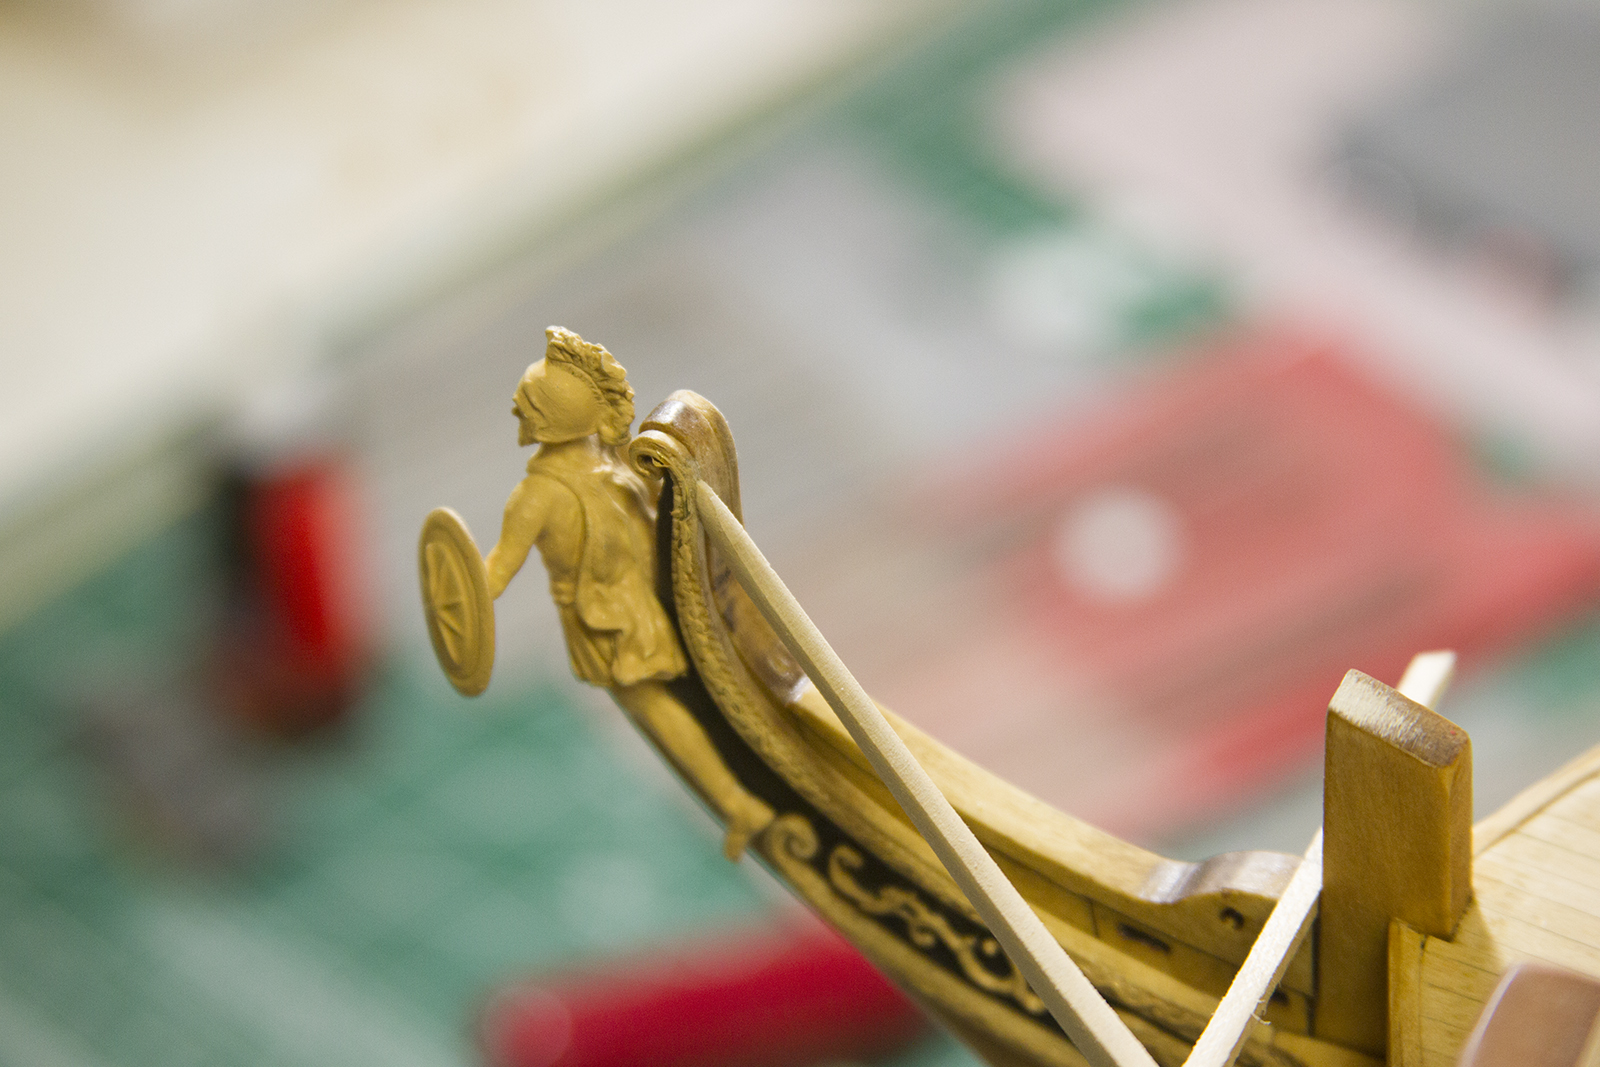
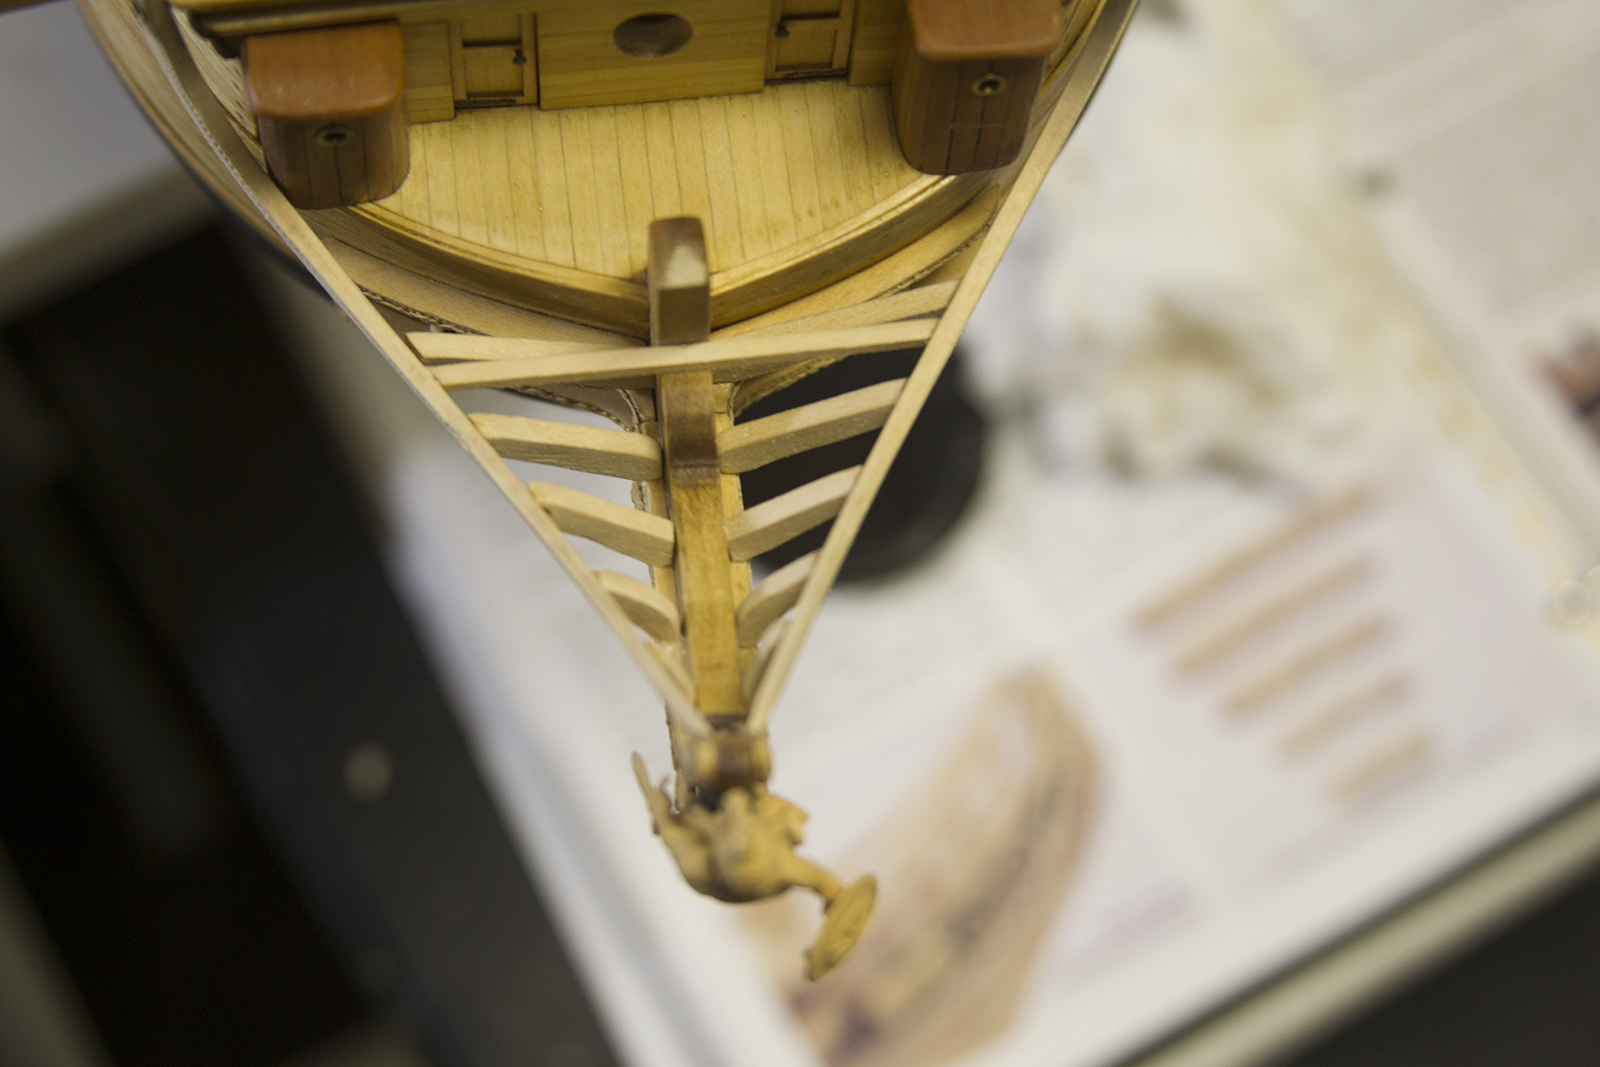
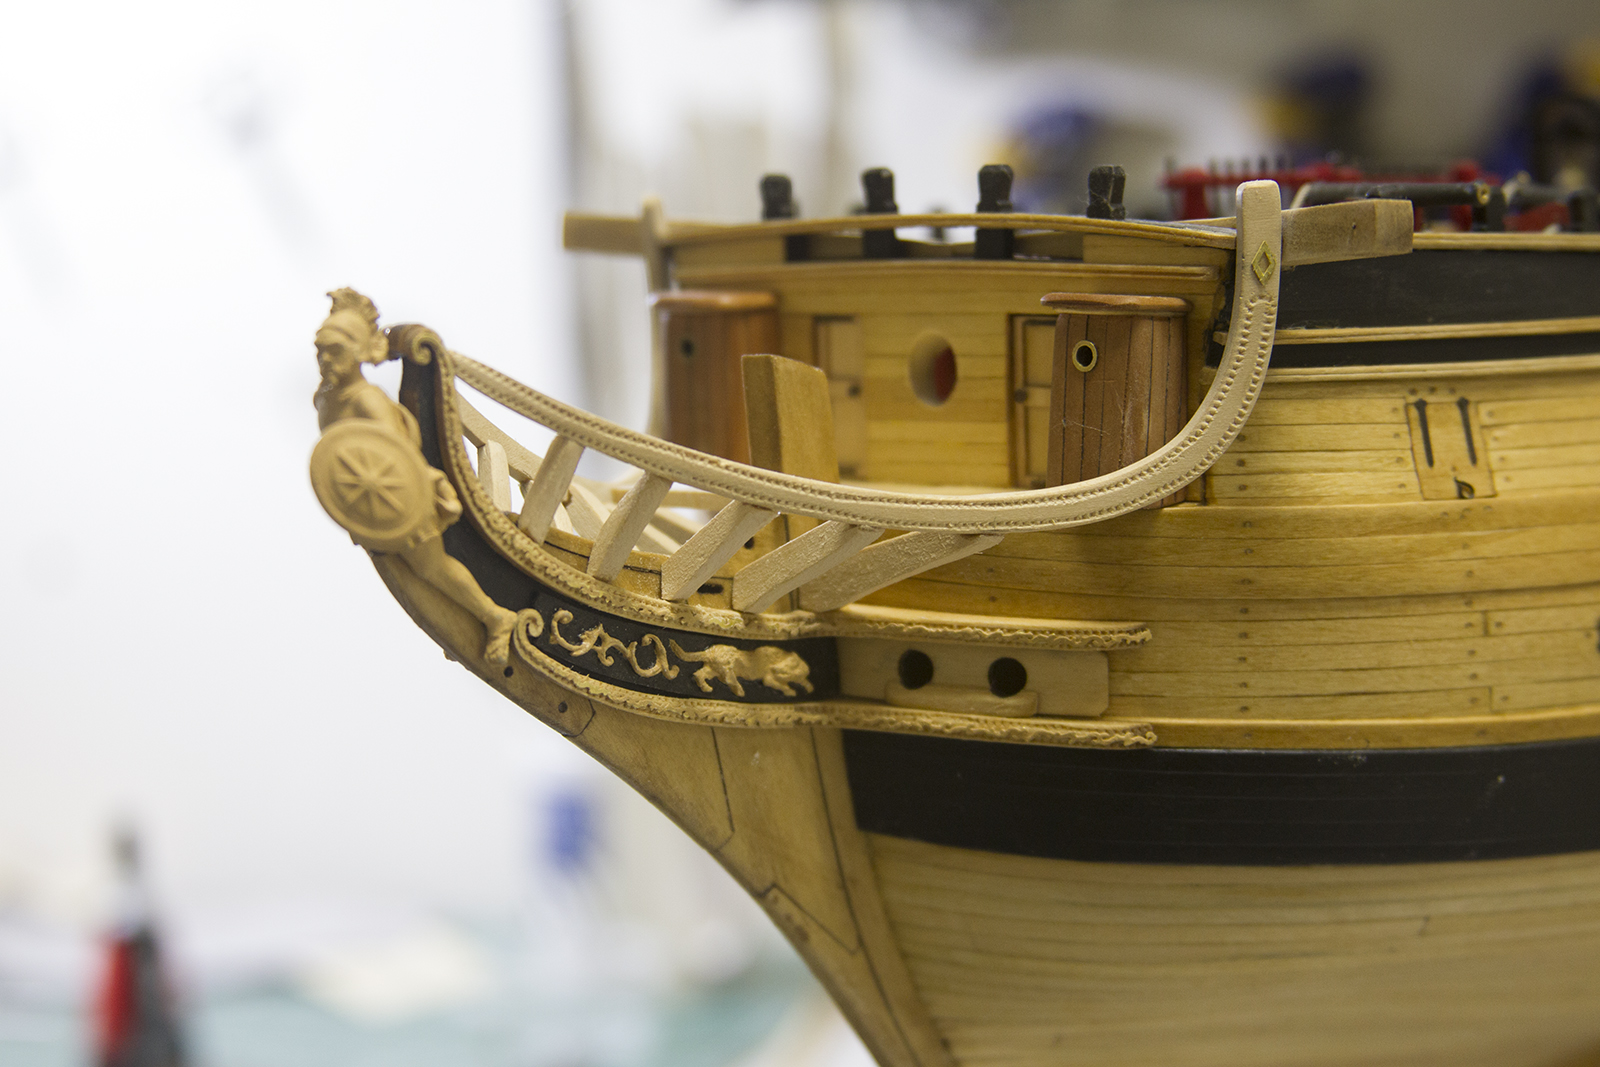
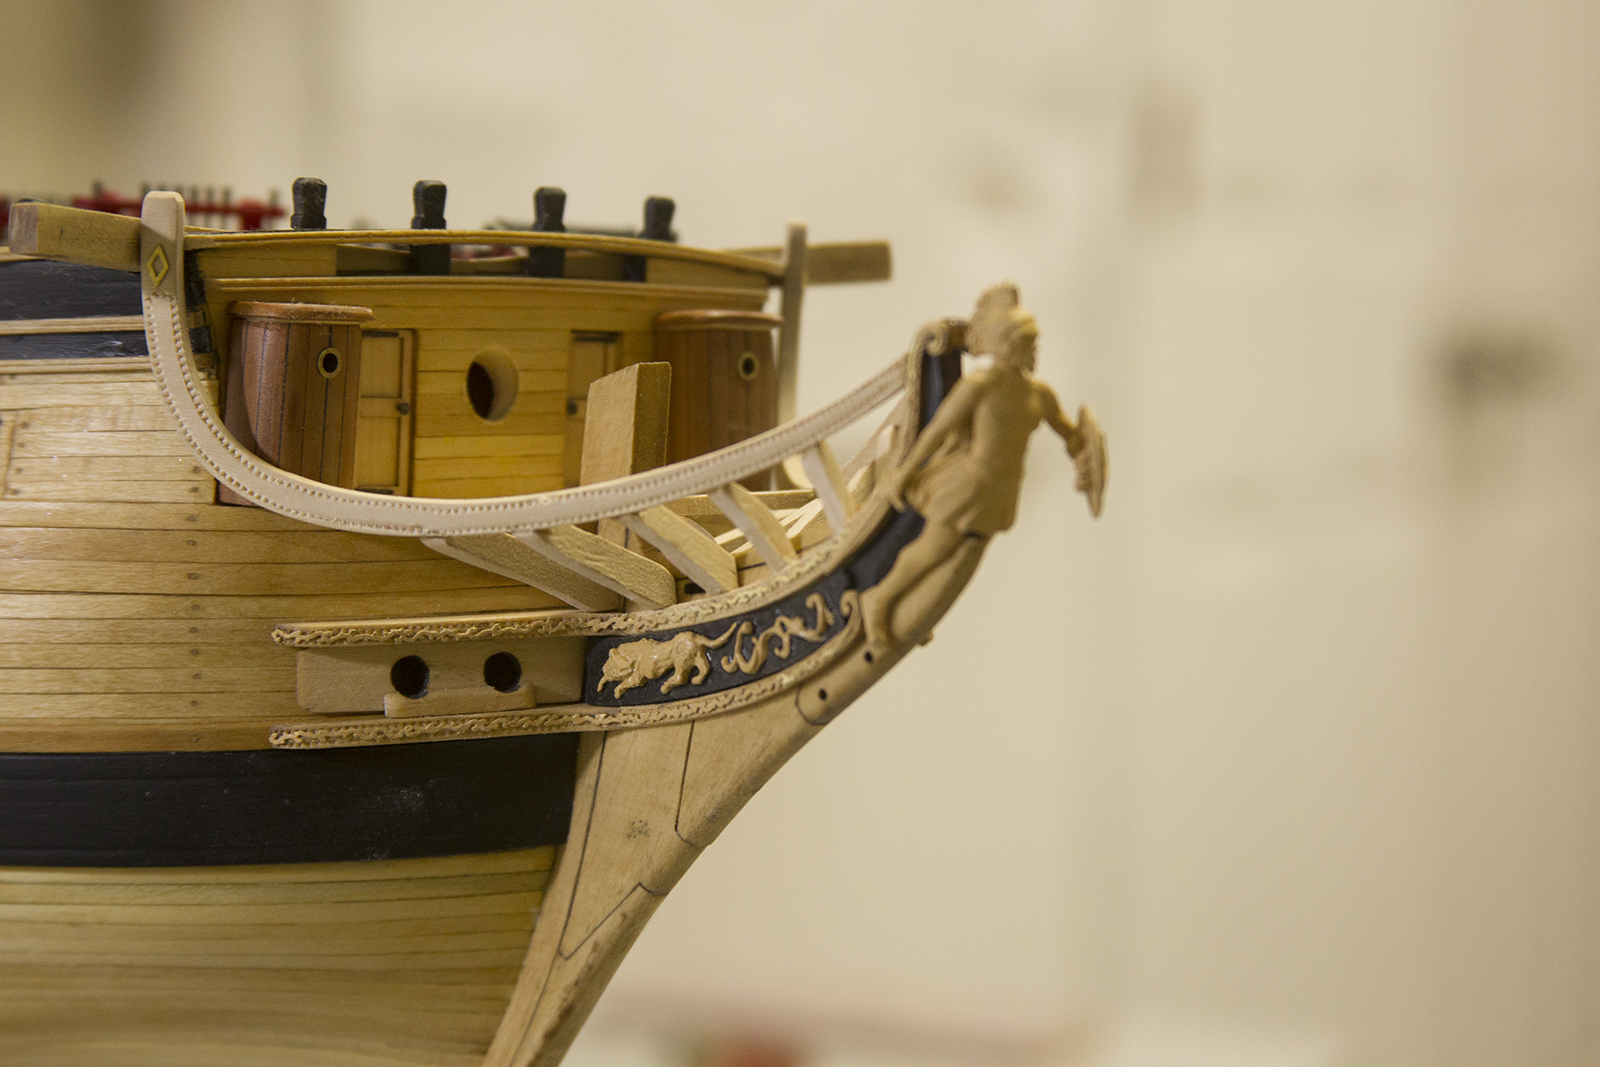
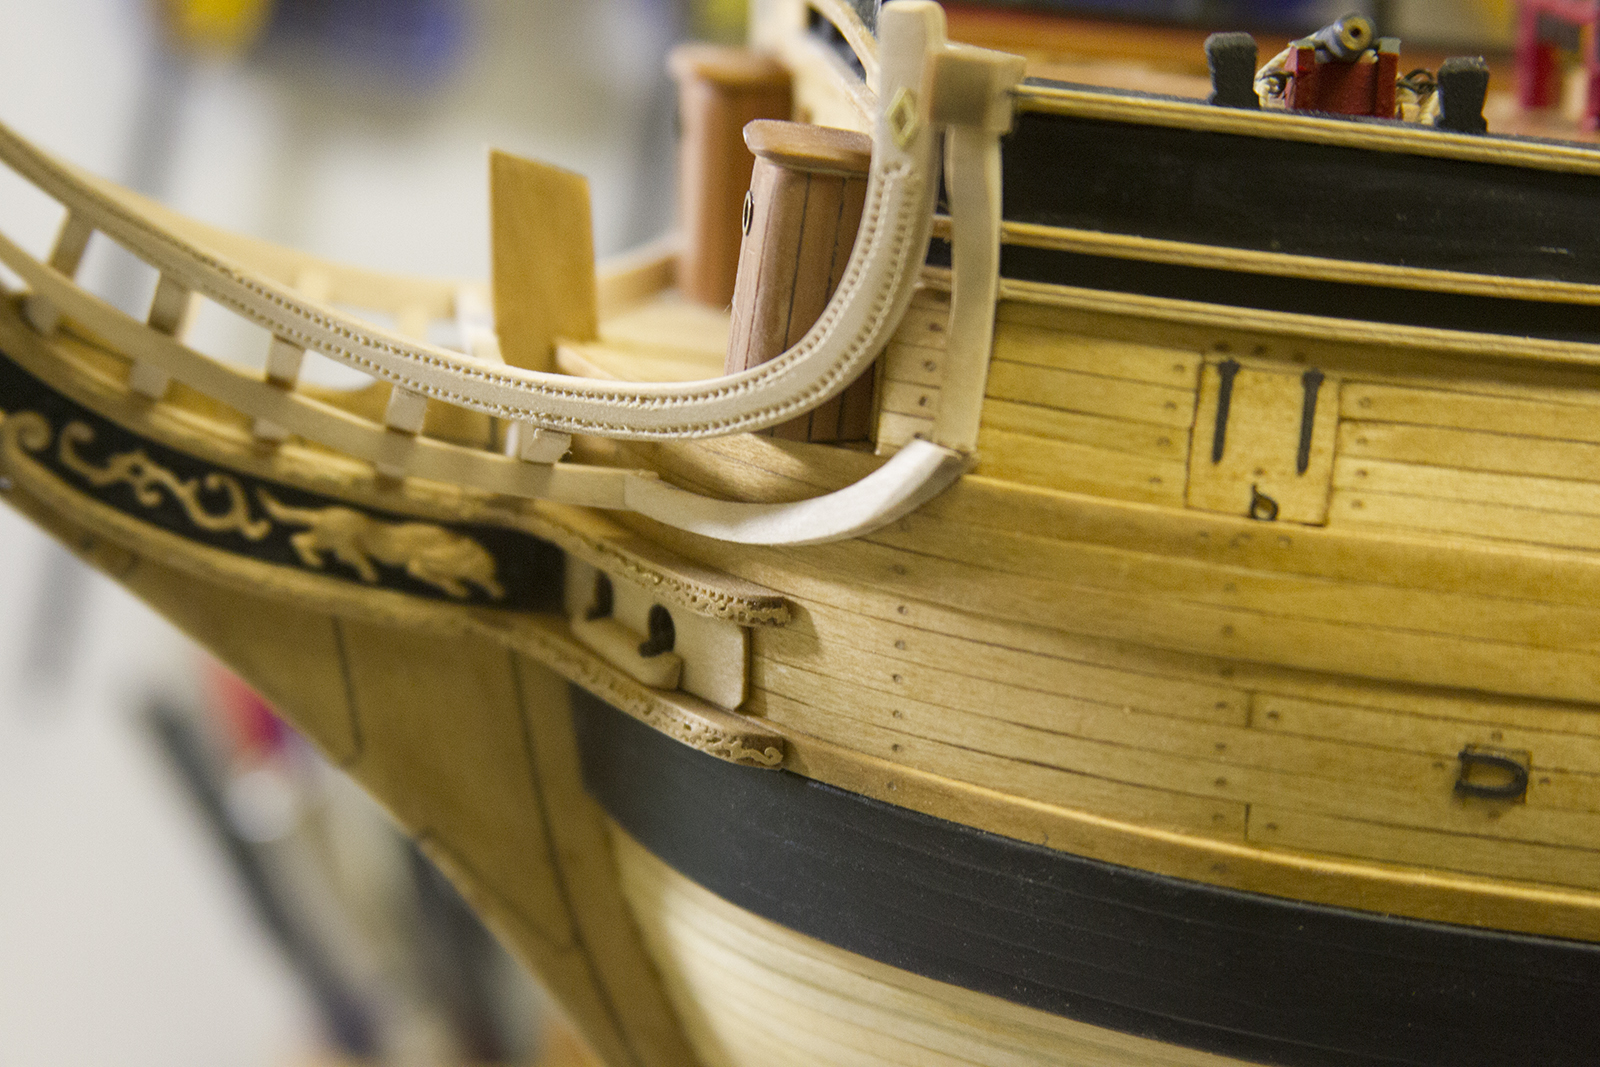
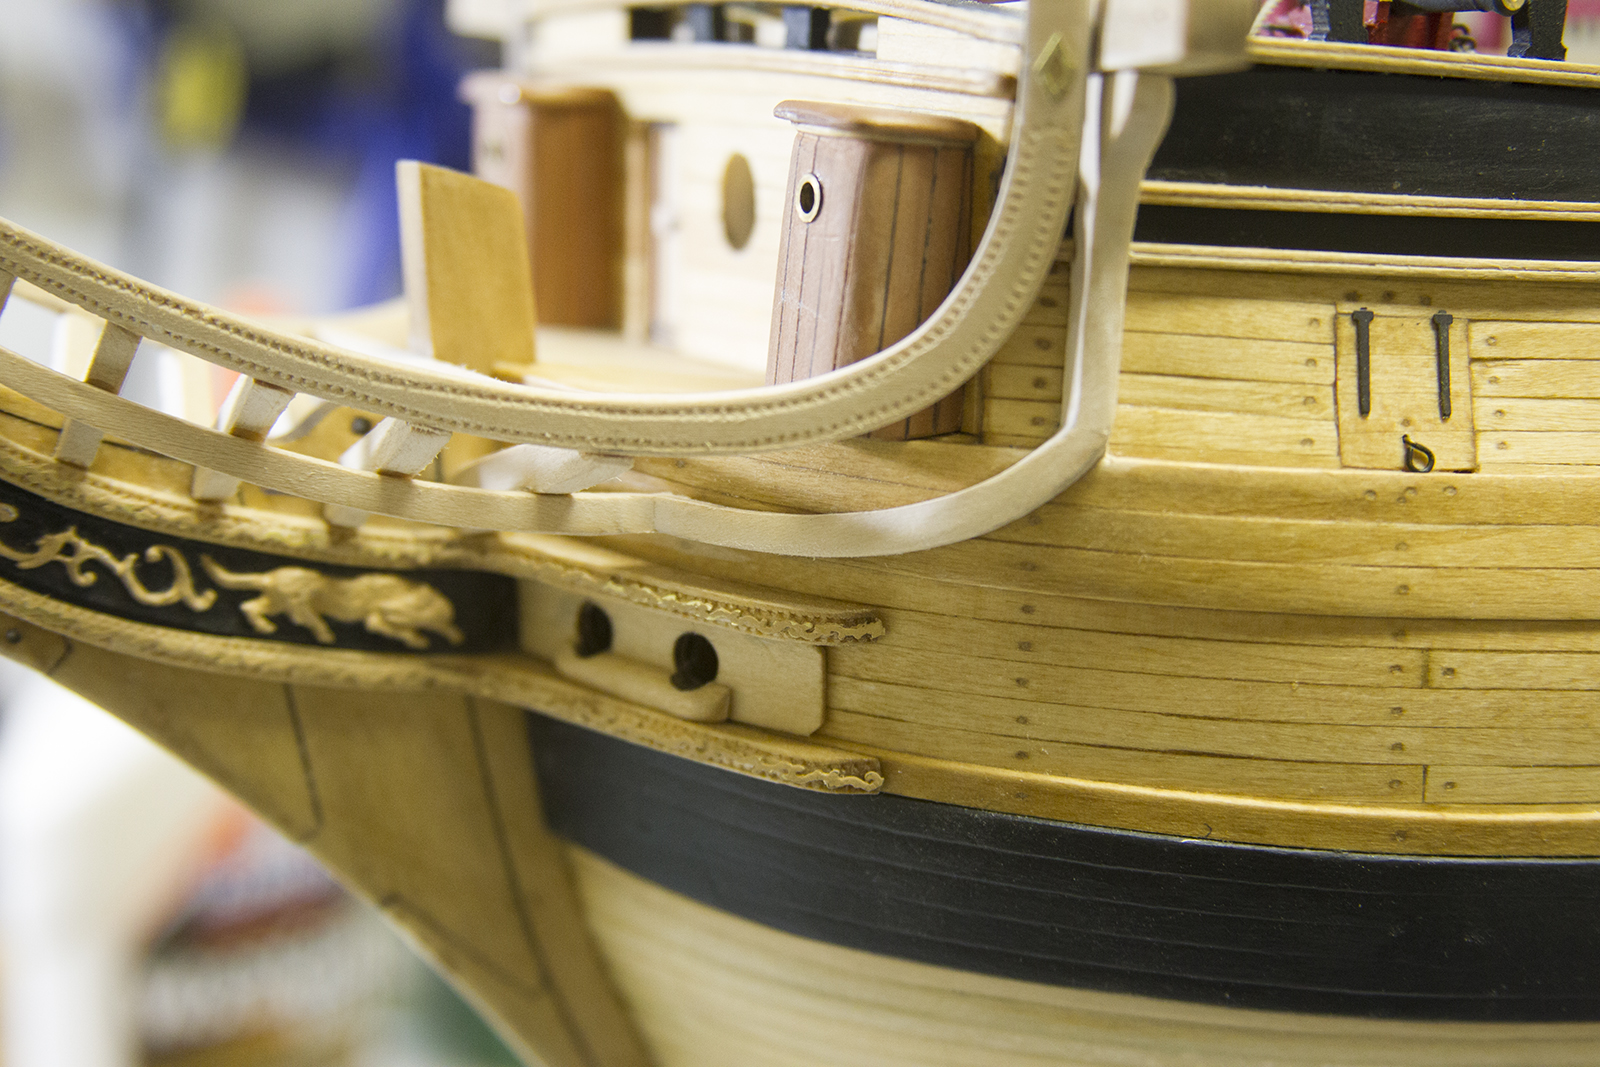
The main head rails and associated parts were up next, but first I needed to finish off the starboard side of the trailboards and decorative trim. The figurehead is (again) just placed in position as a measuring tool and will be permanently mounted later.
Getting to work on the headrails presented a couple of challenges. Obviously the port and starboard sides of the bow aren’t perfectly exact, so I needed to measure the head rails to fit, rather than specific measurements. In order to accomplish this, I installed the head beam first, so I had something to give me a frame of reference. Then, after thinning the head rails and tapering them, I encountered an additional problem at the fore deck of the ship along the rails… a gap.

Now, I wasn’t sure if I should taper the head rail, or if I should taper the ship. I was hesitant to do either, so my solution was to add a little bit of filler, then sand it to fit as nicely as possible.
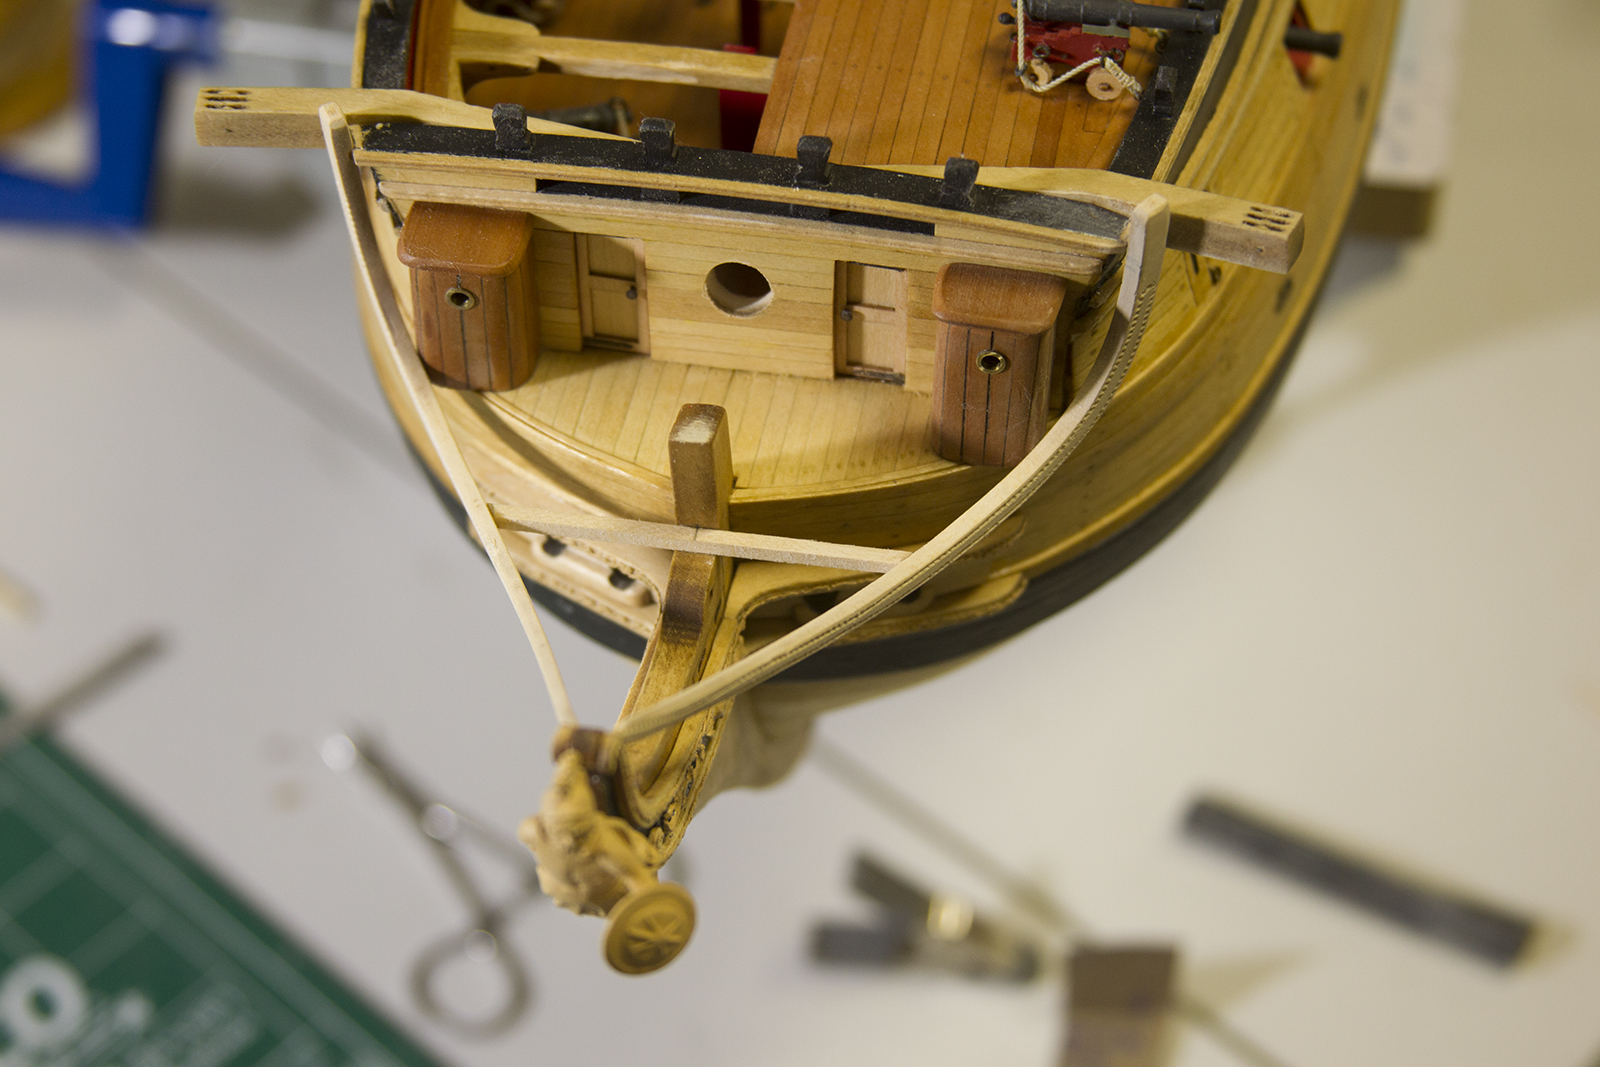
After getting the fit a smooth as I could, I glued the rails to the head beam, the sides of the hull, then bent the rails slightly to fit each to the foremost part of the bow near my mascot.
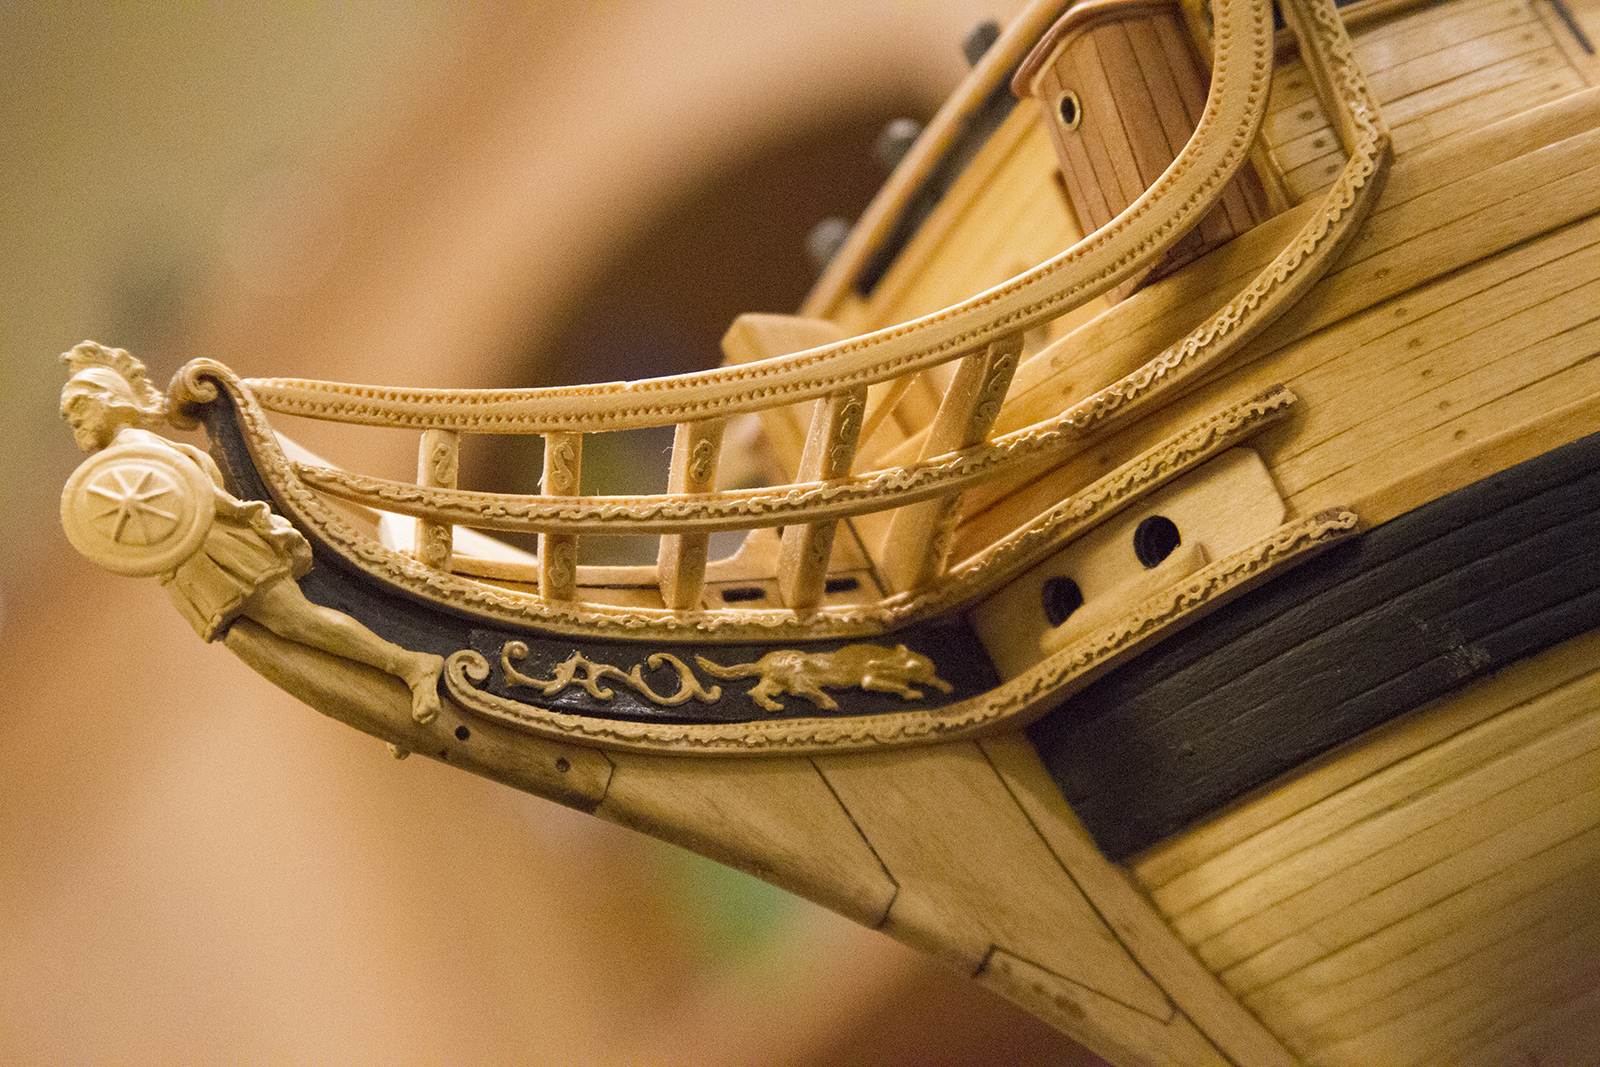
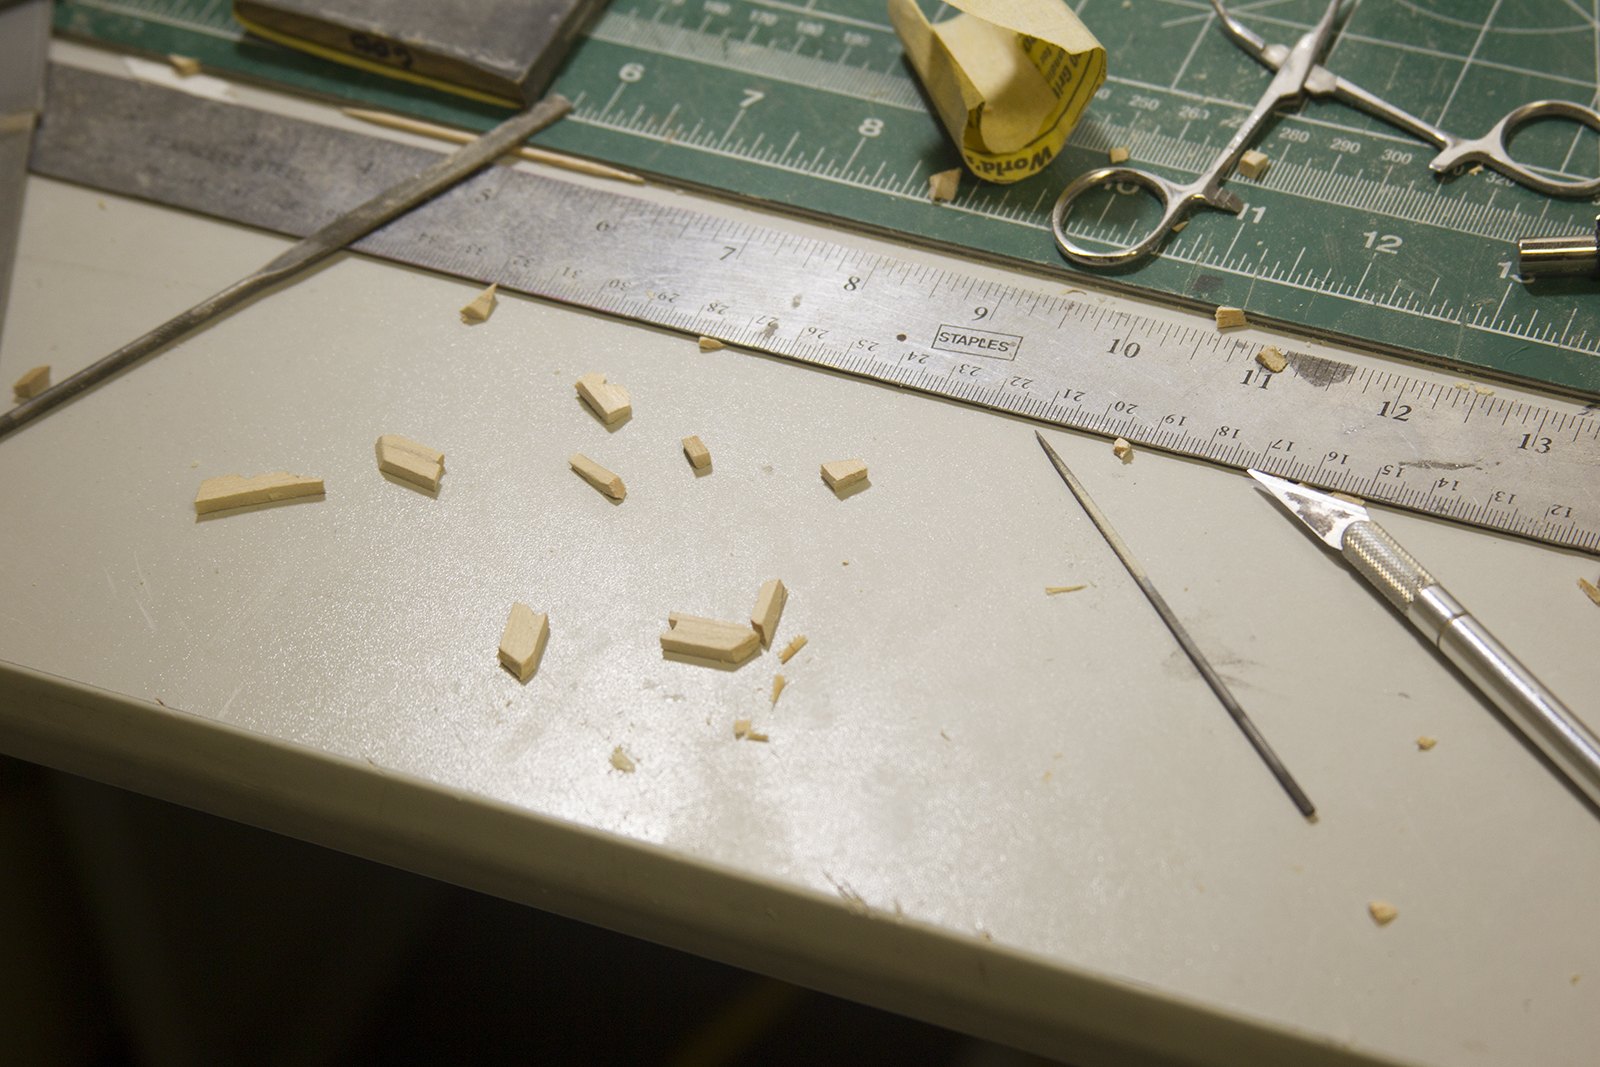
Next up, the head timbers that reach out from the fore keel to the head rail. These little buggers were by far the most fiddly parts of the ship so far. Although some reasonably shaped paper templates were supplied in the kit to measure the timbers fairly closely – they were of no use what-so-ever as the bow and head rails did not line up the way the plans would have suggested.
Essentially, this came down to trial and error. Lots of error. Each head timber was measured and sanded to fit individually. There were far more “misses” than “hits” before I was finally able to fit them in place.

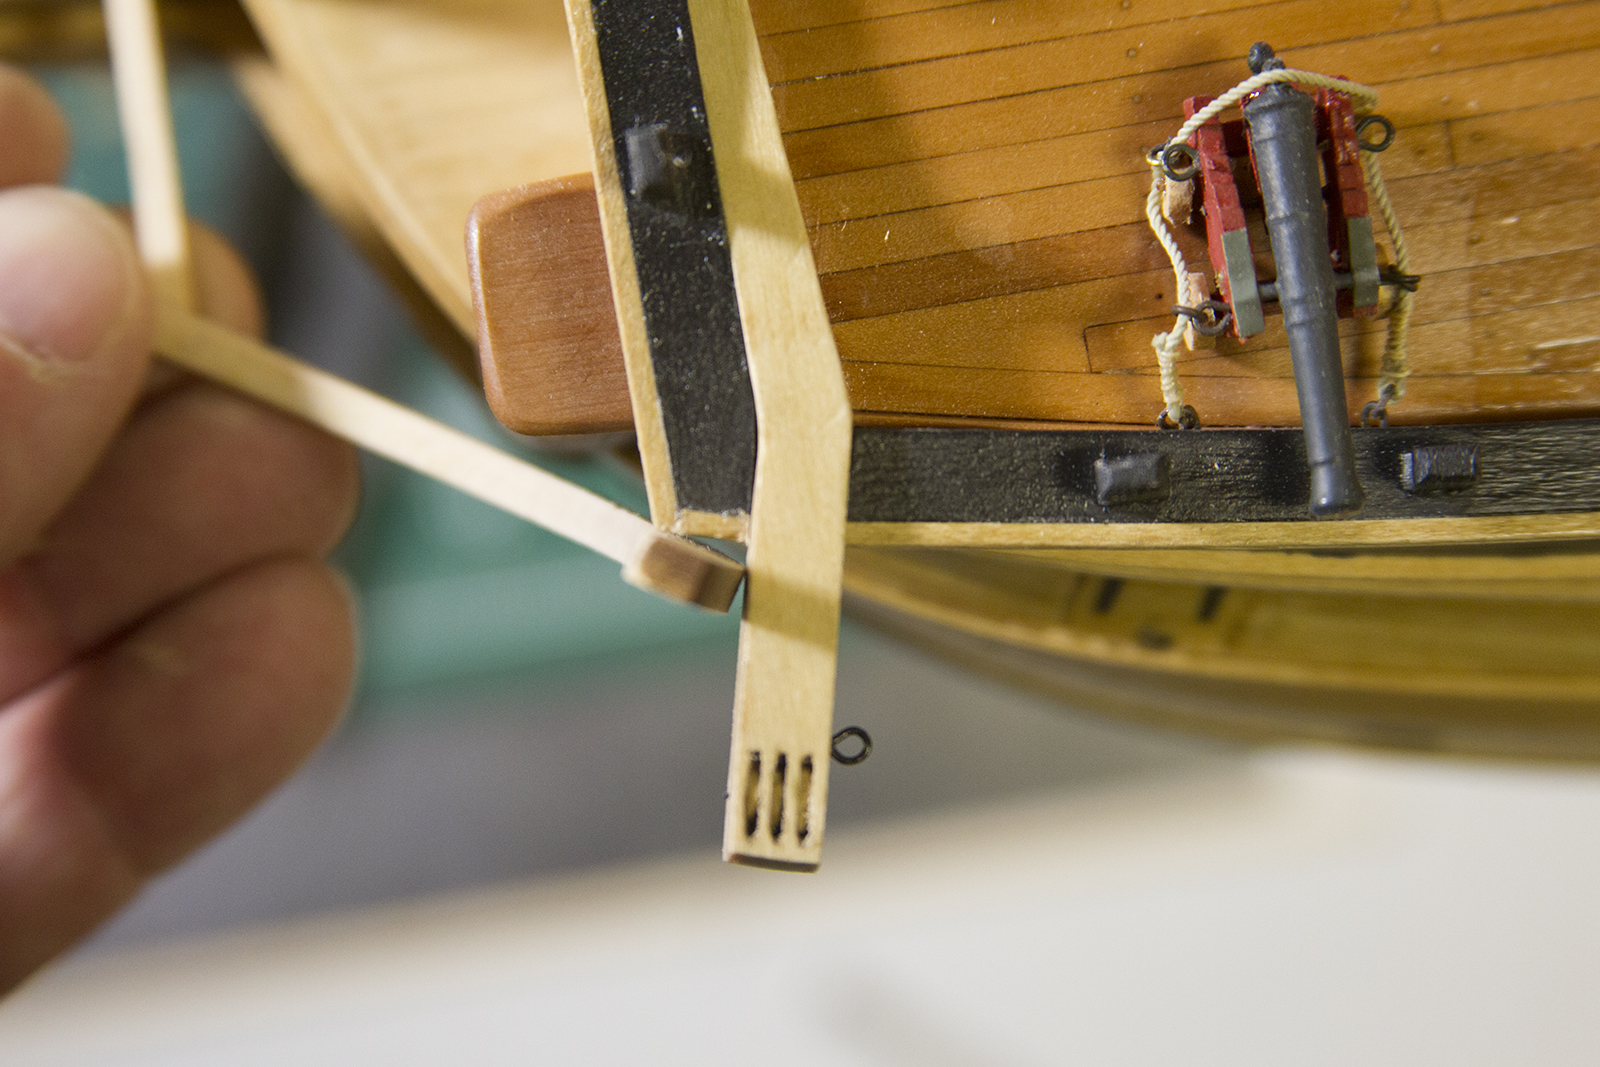
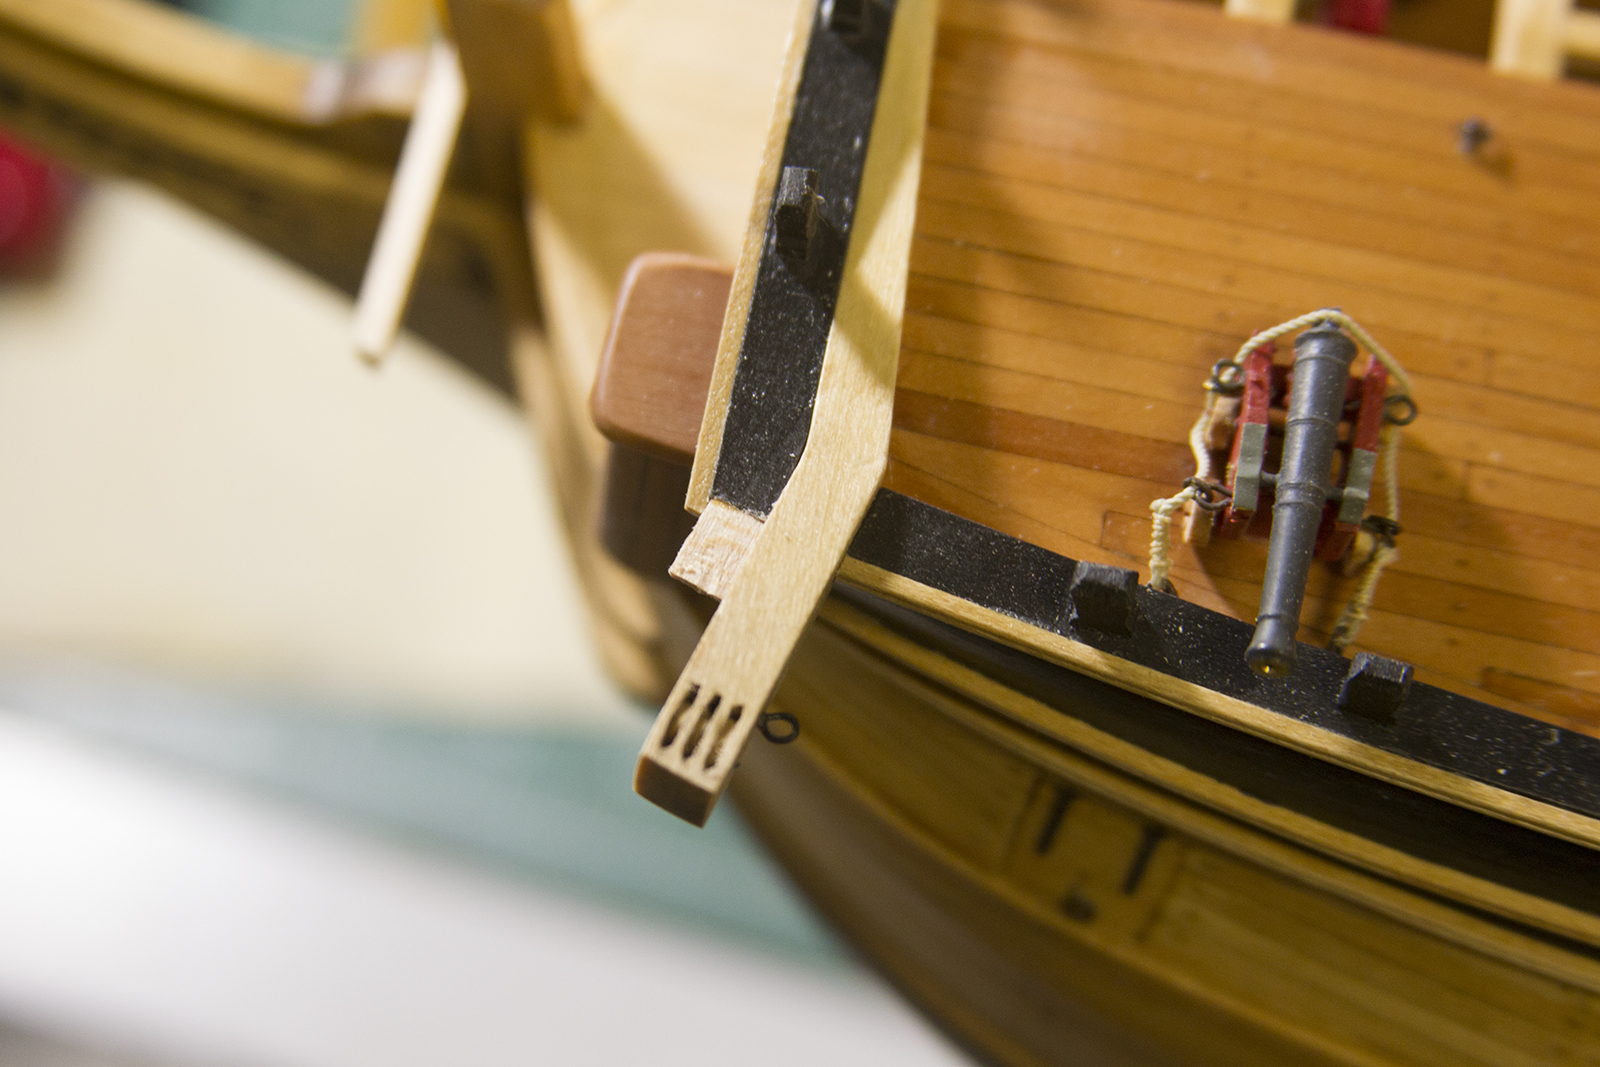
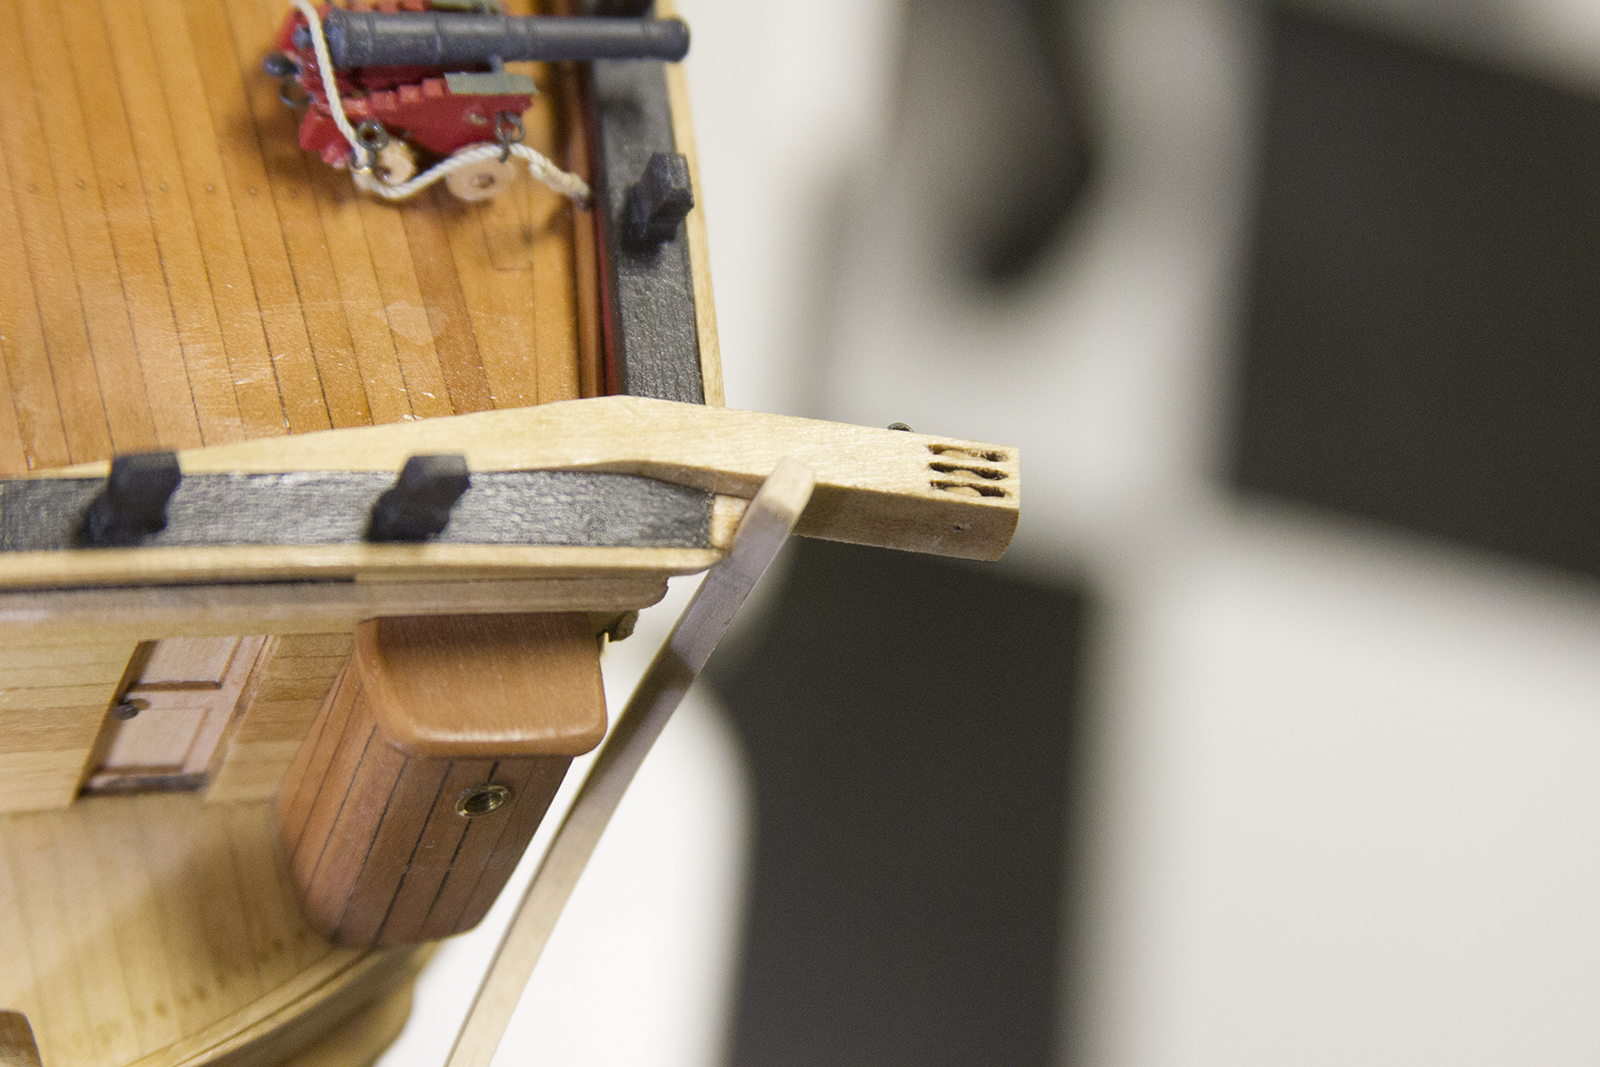
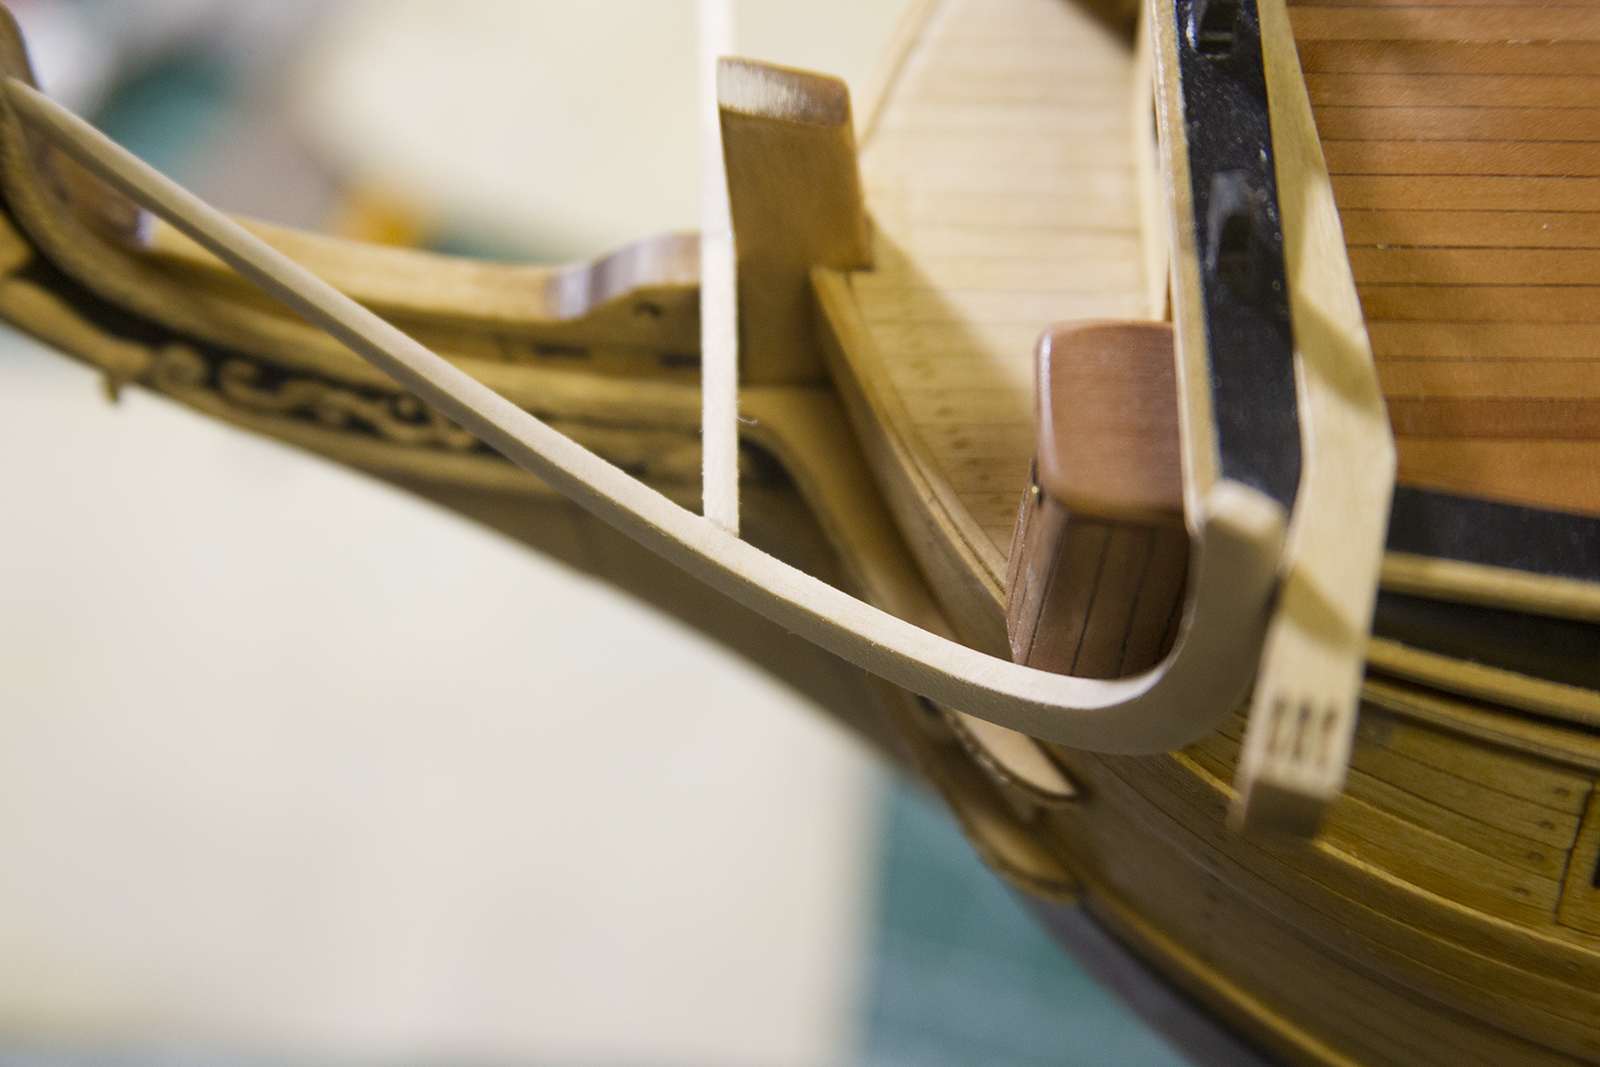
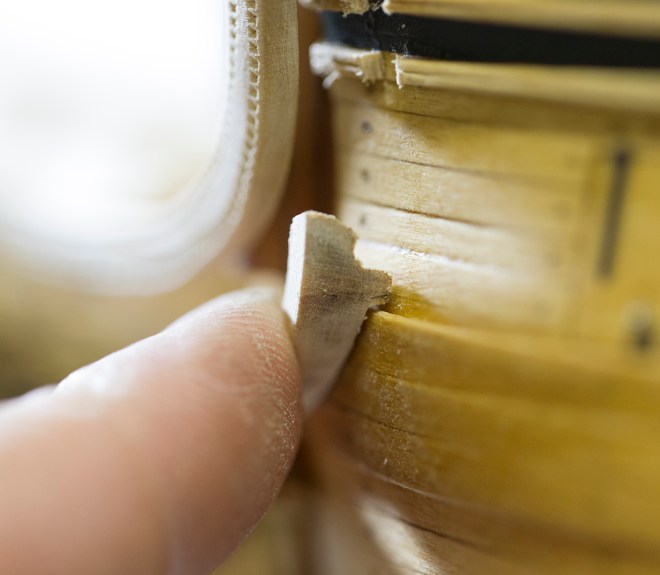
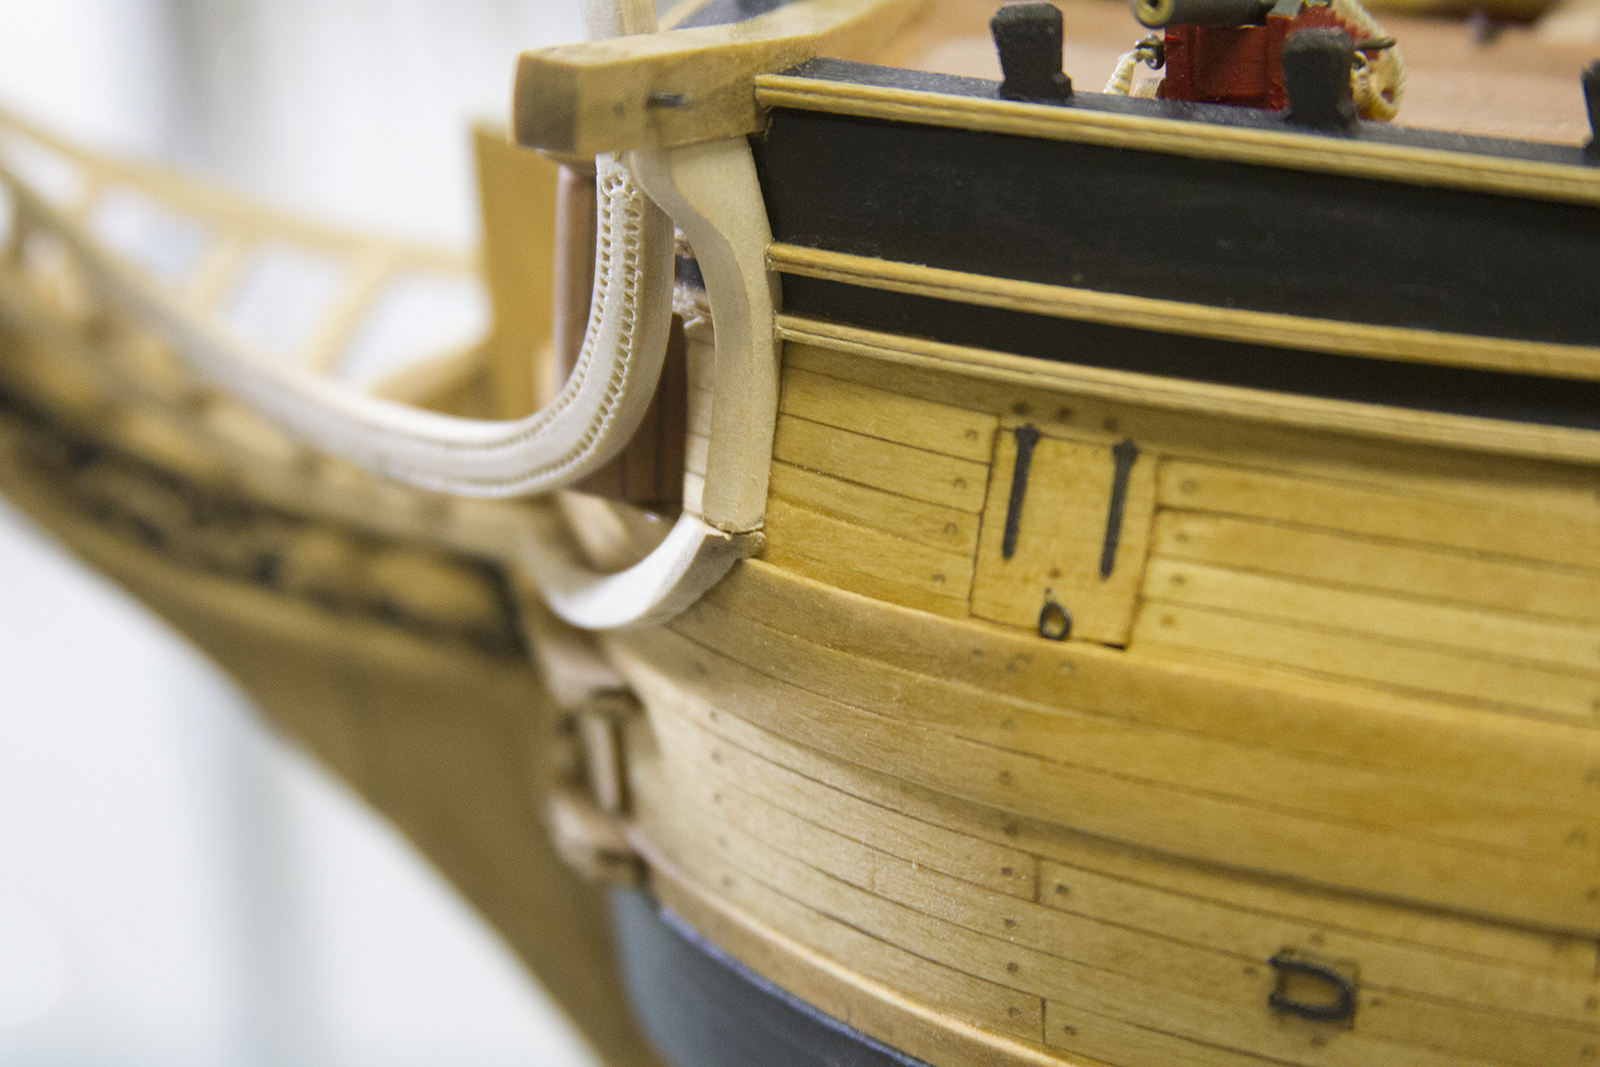
The cathead support knees run from the catheads down to the middle rail and must appear seamless the length of the bow. Understanding that truly ‘seamless’ was likely an impossibility (particularly with the light stain on the ship) I matched the pieces as closely as possible before just sanding them together.
Going from the support beams to the middle rail was a tough bit. Although the guidance warns against permanently putting the mid rail into position until everything is fitted – that didn’t work for me. I had to glue the mid rail in before I could measure anything out.
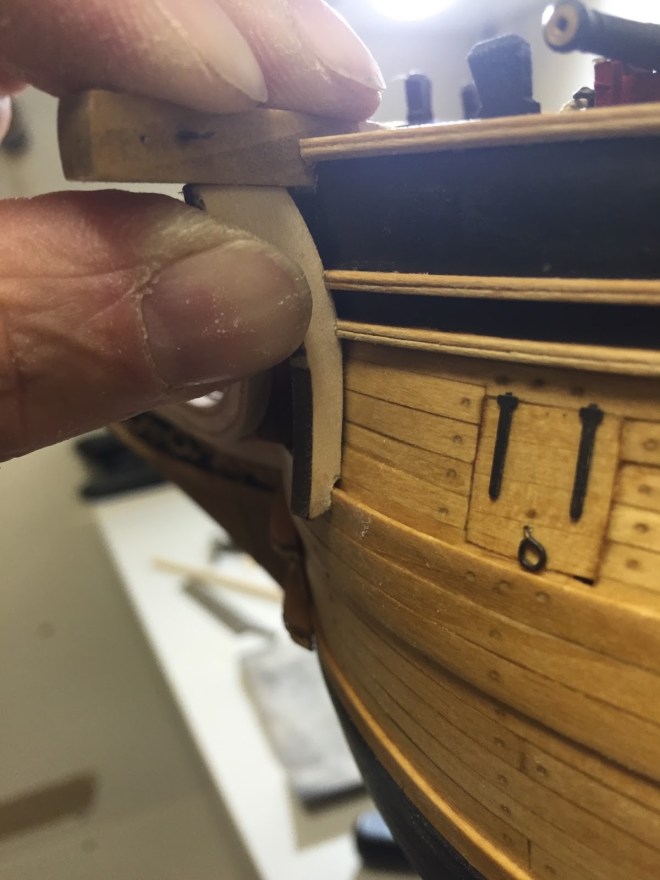
I started with the cathead knee, carving out a spot for it along the side of the ship and making an adjustment where the bottom meets hull.
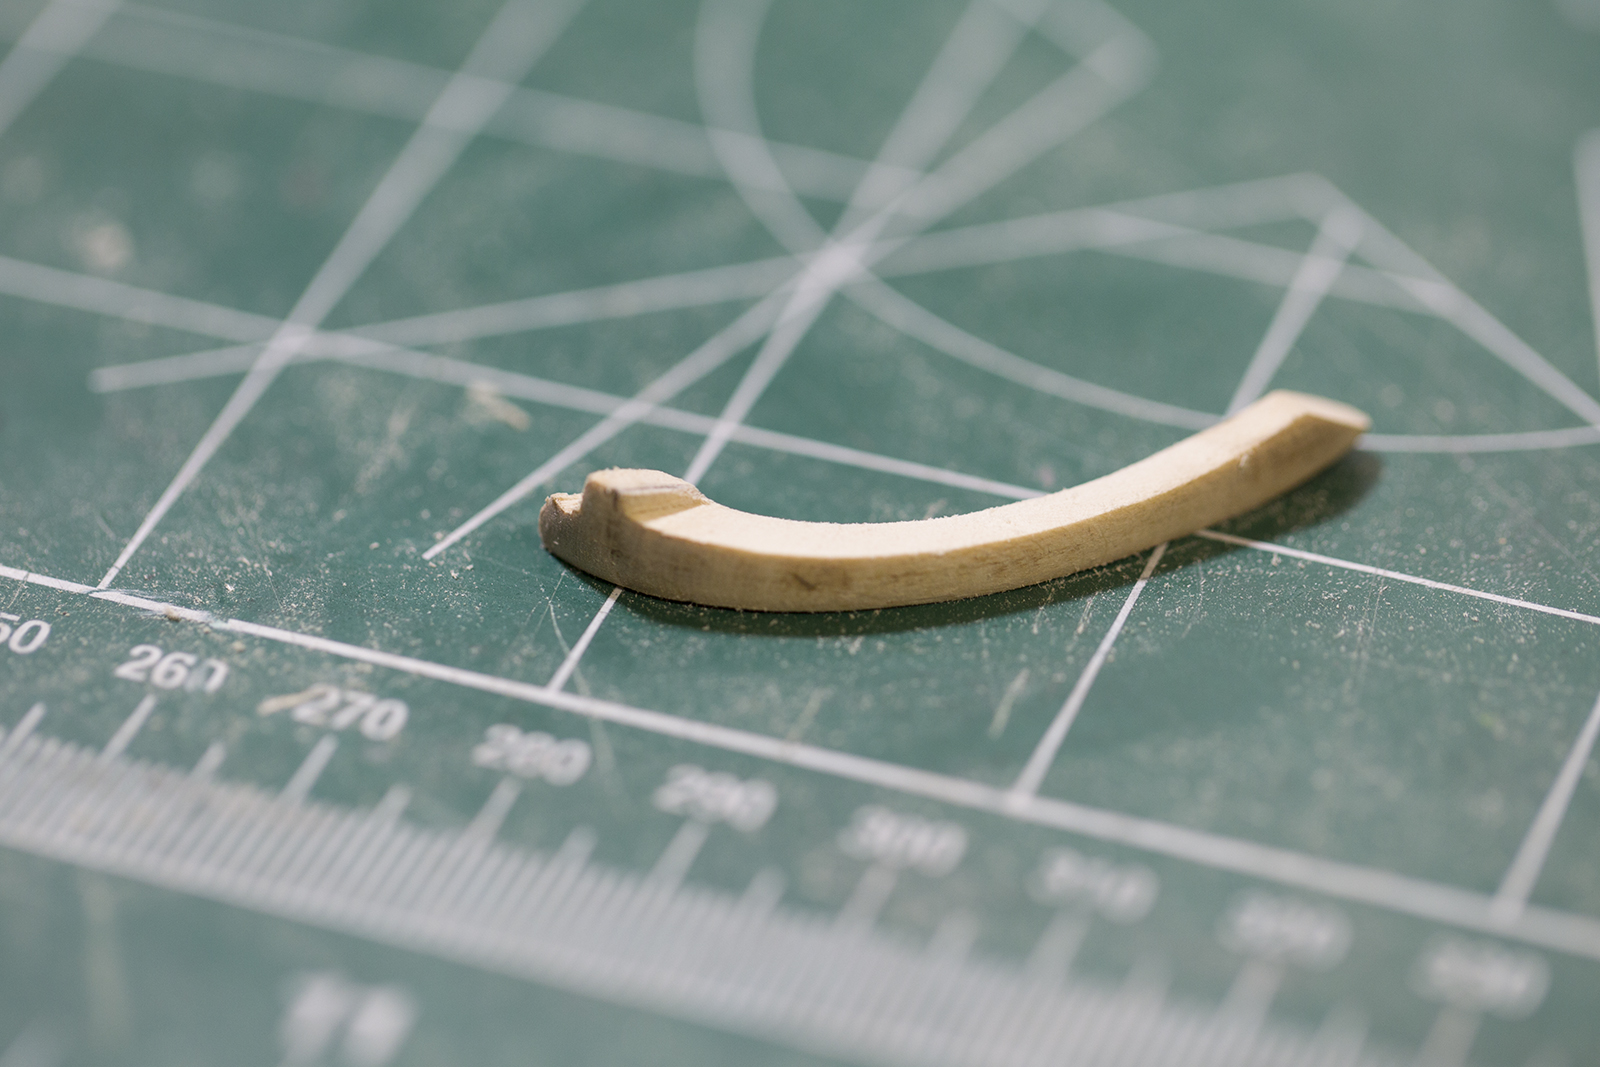
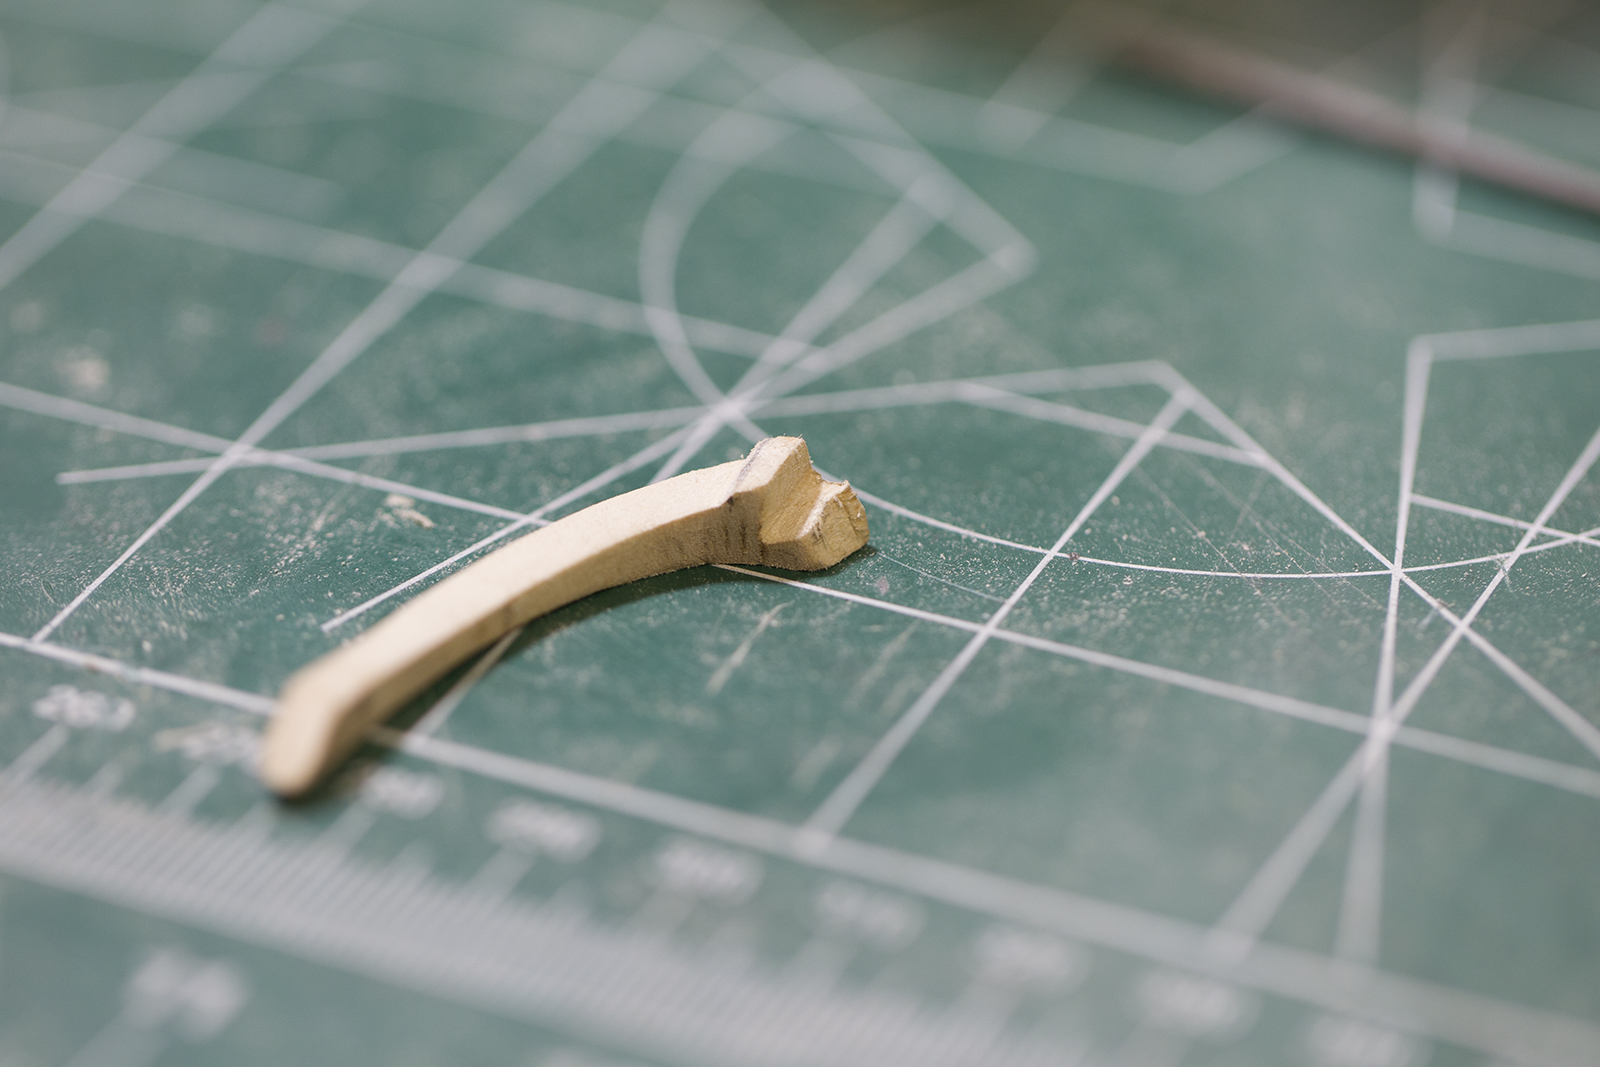
However, I ultimately changed my methodology, and use the middle portion that links to the mid rail to the cathead knee as my focal point. I shaped and shaped and shaped some more to fit it along the hull, then notched out a spot against the hull where it would hopefully meet the cathead knee with as little deviation as possible.
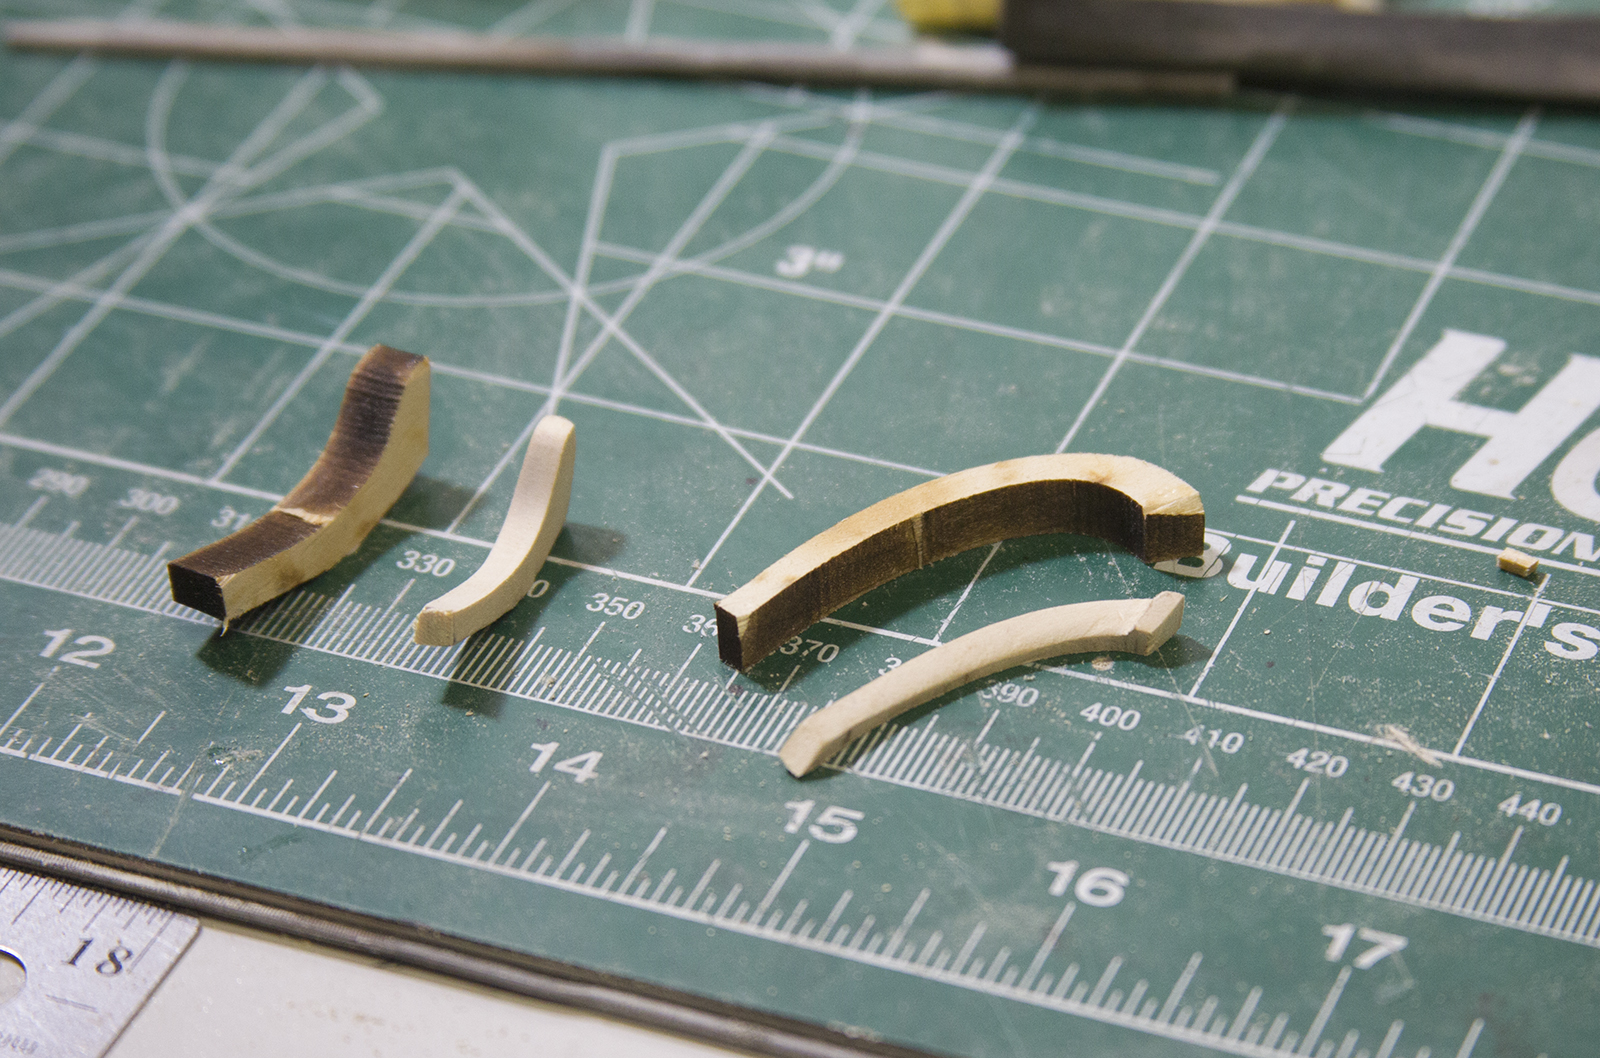
Here’s a good comparison of how the parts started, and the degree to which they needed to be shaped.
Once everything was aligned, it became a sanding fest a VERY small amount at a time until everything could get smoothed out. I also added a bit of glue to the cracks of the moulding so that as I sanded, the sawdust would get caught in the cracks and fill in the gaps as much as possible.
It was also important to sanded the moulding along the shape of the hull so the final product is the same width consistently throughout the bow. In the end, it was a bit of funky tweaking, and each of the pieces has a very slightly different shade to it based on the grains and the sanding. But overall, it smoothed out pretty well I think.

The head rails were “decorated” using a leathering tool as with the trailboards. Finally, I added the pre-stain and the stain, then touched up the decorative trim. Although the instructions only show the decoration to the base of the middle rail, I thought it more prudent to continue it the length of the middle rail.