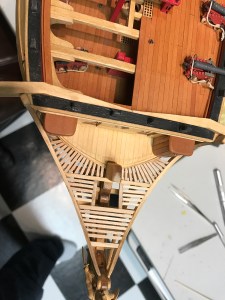
Once the headrails were all in place, etched and stained it was time to move on the the head grating and other finishing details to the bow. At first, the head grating looks quite intimidating with a number of cross beams, etc. But, with a little bit of patients, it went pretty smoothly.
The important thing was to measure each beam separately then install it separately. Even after measuring the distances and gaps, none of the beams were EXACT since the bow itself is very, very slightly asymmetrical. Not noticeably so, but enough that 1/2 to 1mm gaps are created if the beams are all pre-cut.
Once the head grating is complete, the “seats of ease” were up next. Of course, this is an elegant term for where the sailors “did their business.
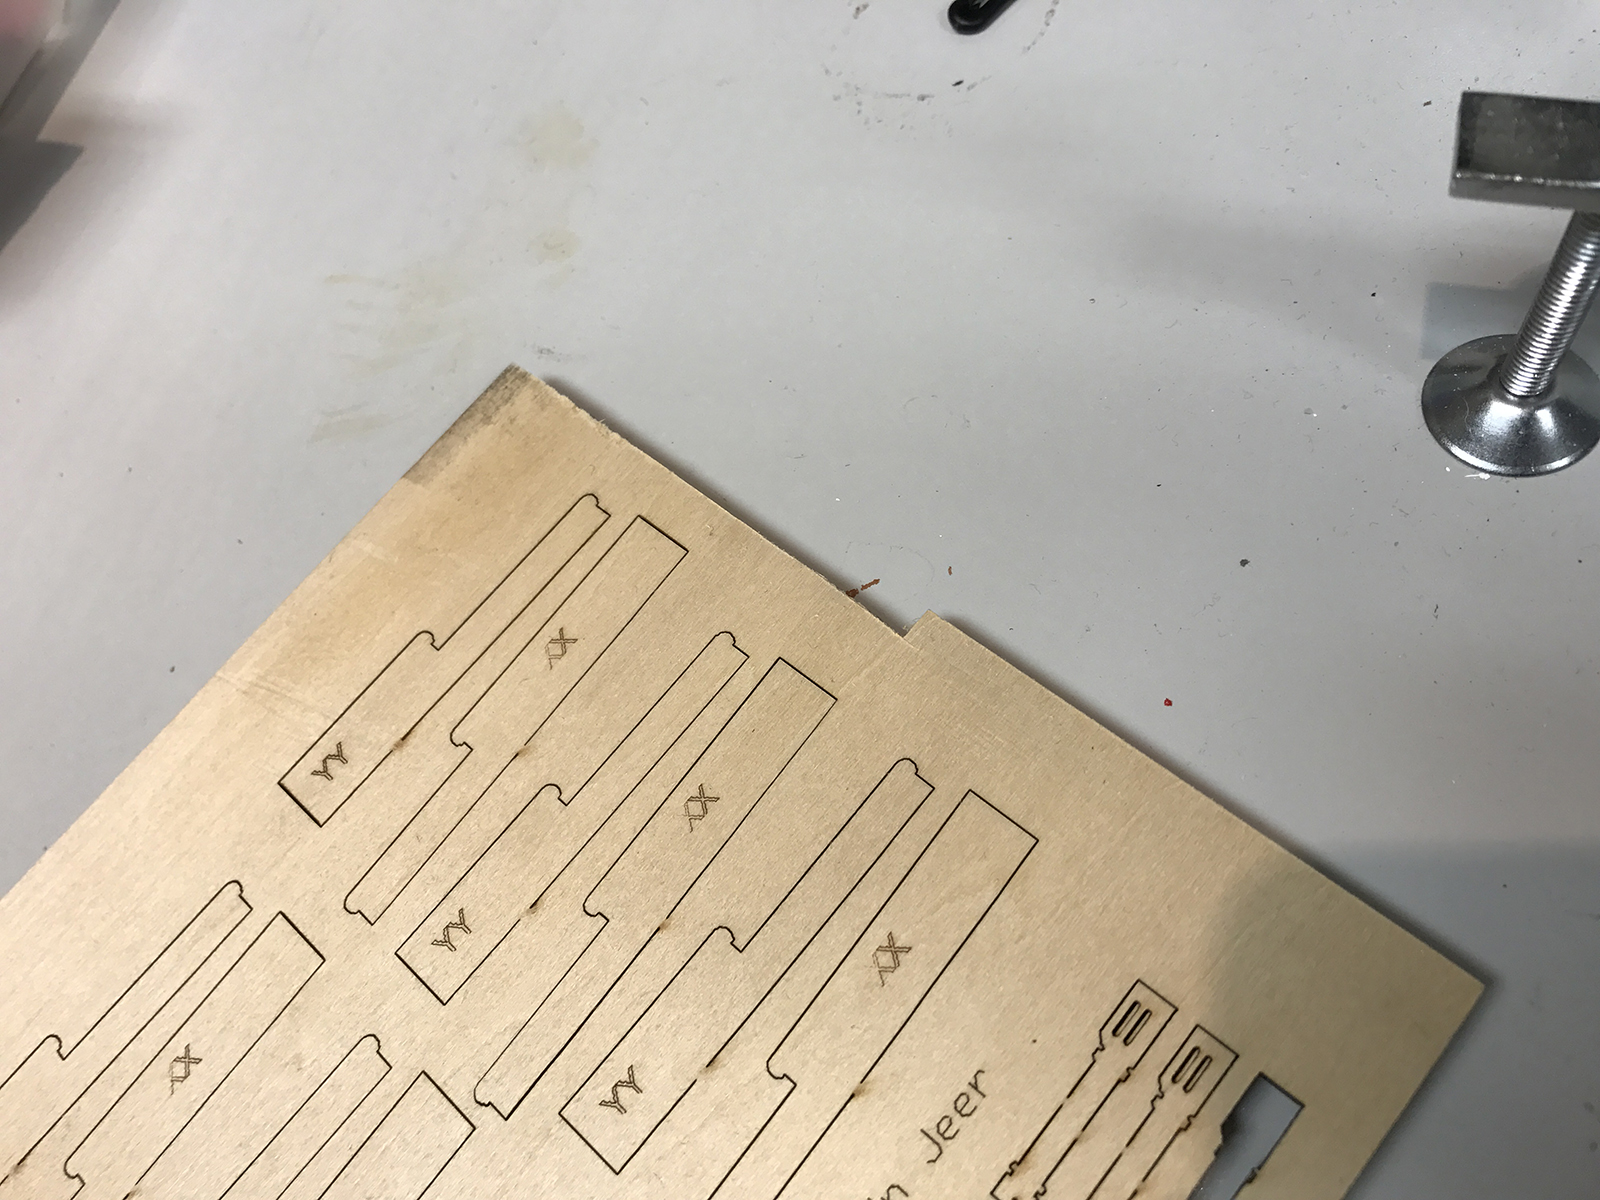
The plans call for the seats of ease to be created using this plywood and precut seats. However, this was very, very challenging for me to get the sides of the seats to line up square. So I scratched that idea and decided top create my seats out of a solid piece then drill a hole into them. Obviously, this would make the seats much less functional, were a sailor two inches tall decide to use them – but plenty effective to simulate the look.
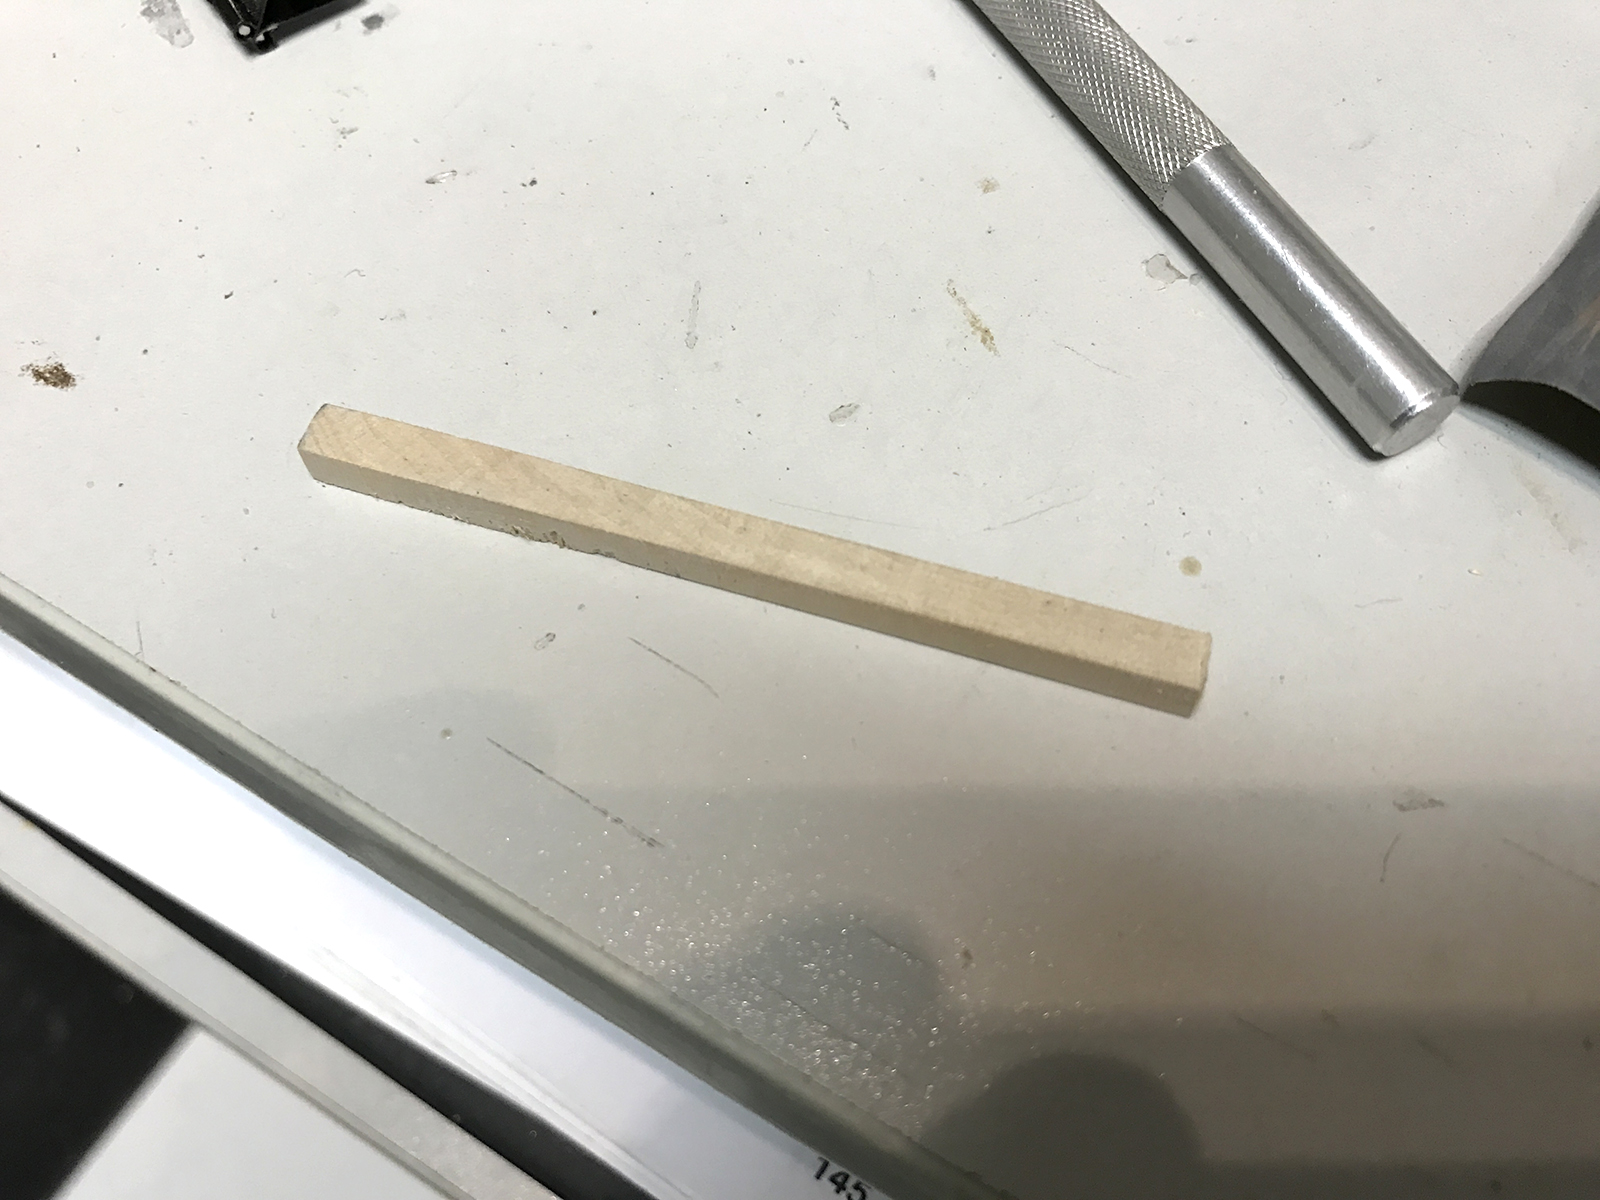
I cut a piece of extra trip, sanded it down, added the seat, then sanded the edges to match the angles of the roundhouses and headrails.
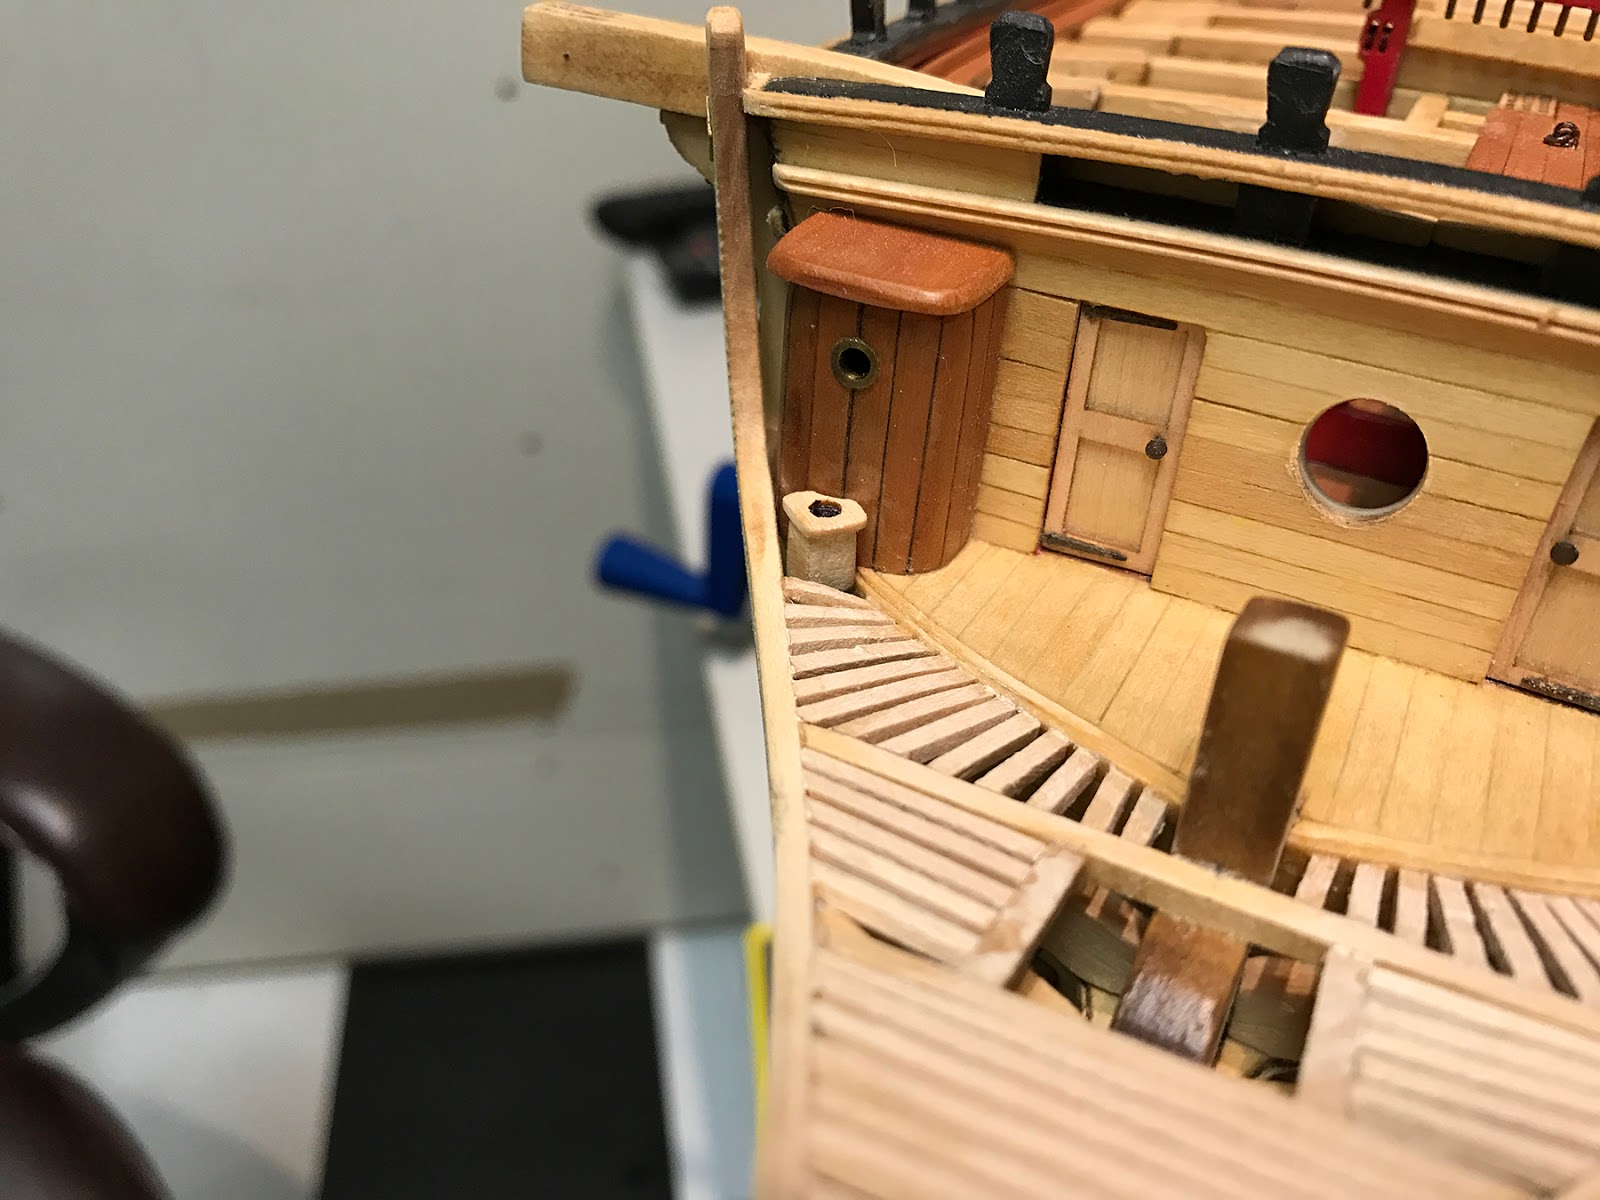

The false rails (the decorative, curvy rails on either side) are then added. Their primary purpose was to shield the sailors using the seats from the elements so they had at least a little peace.
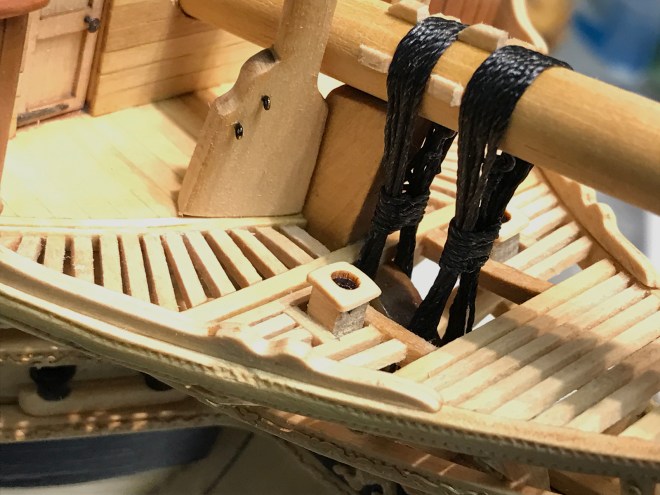
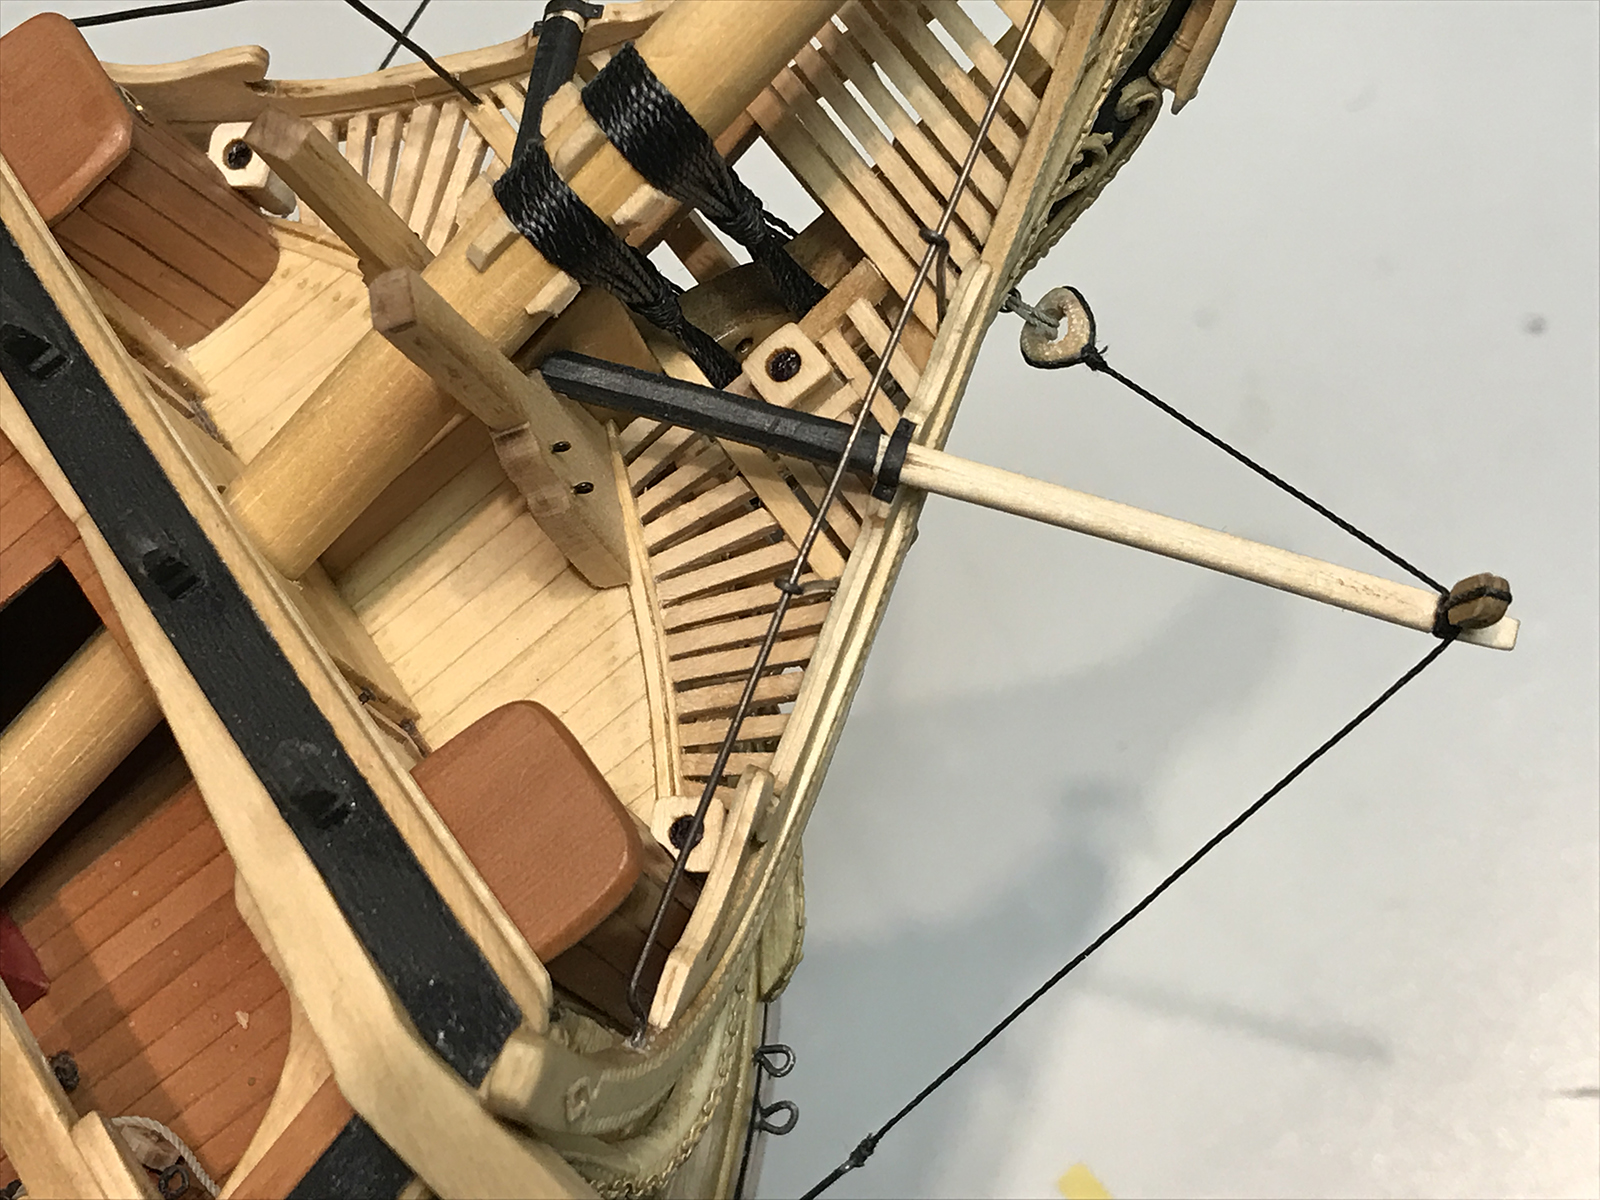
The two forward seats are added, then the bowsprit was permanently mounted as well. The two knightheads on either side took some delicate sanding to mount flush onto the bow, as well as accept the curvature of the bowsprit. Finally the bowsprit itself is attached in place with two sets of gammoning (the heavy rigging that wraps down through to the gammon hole in the keel).

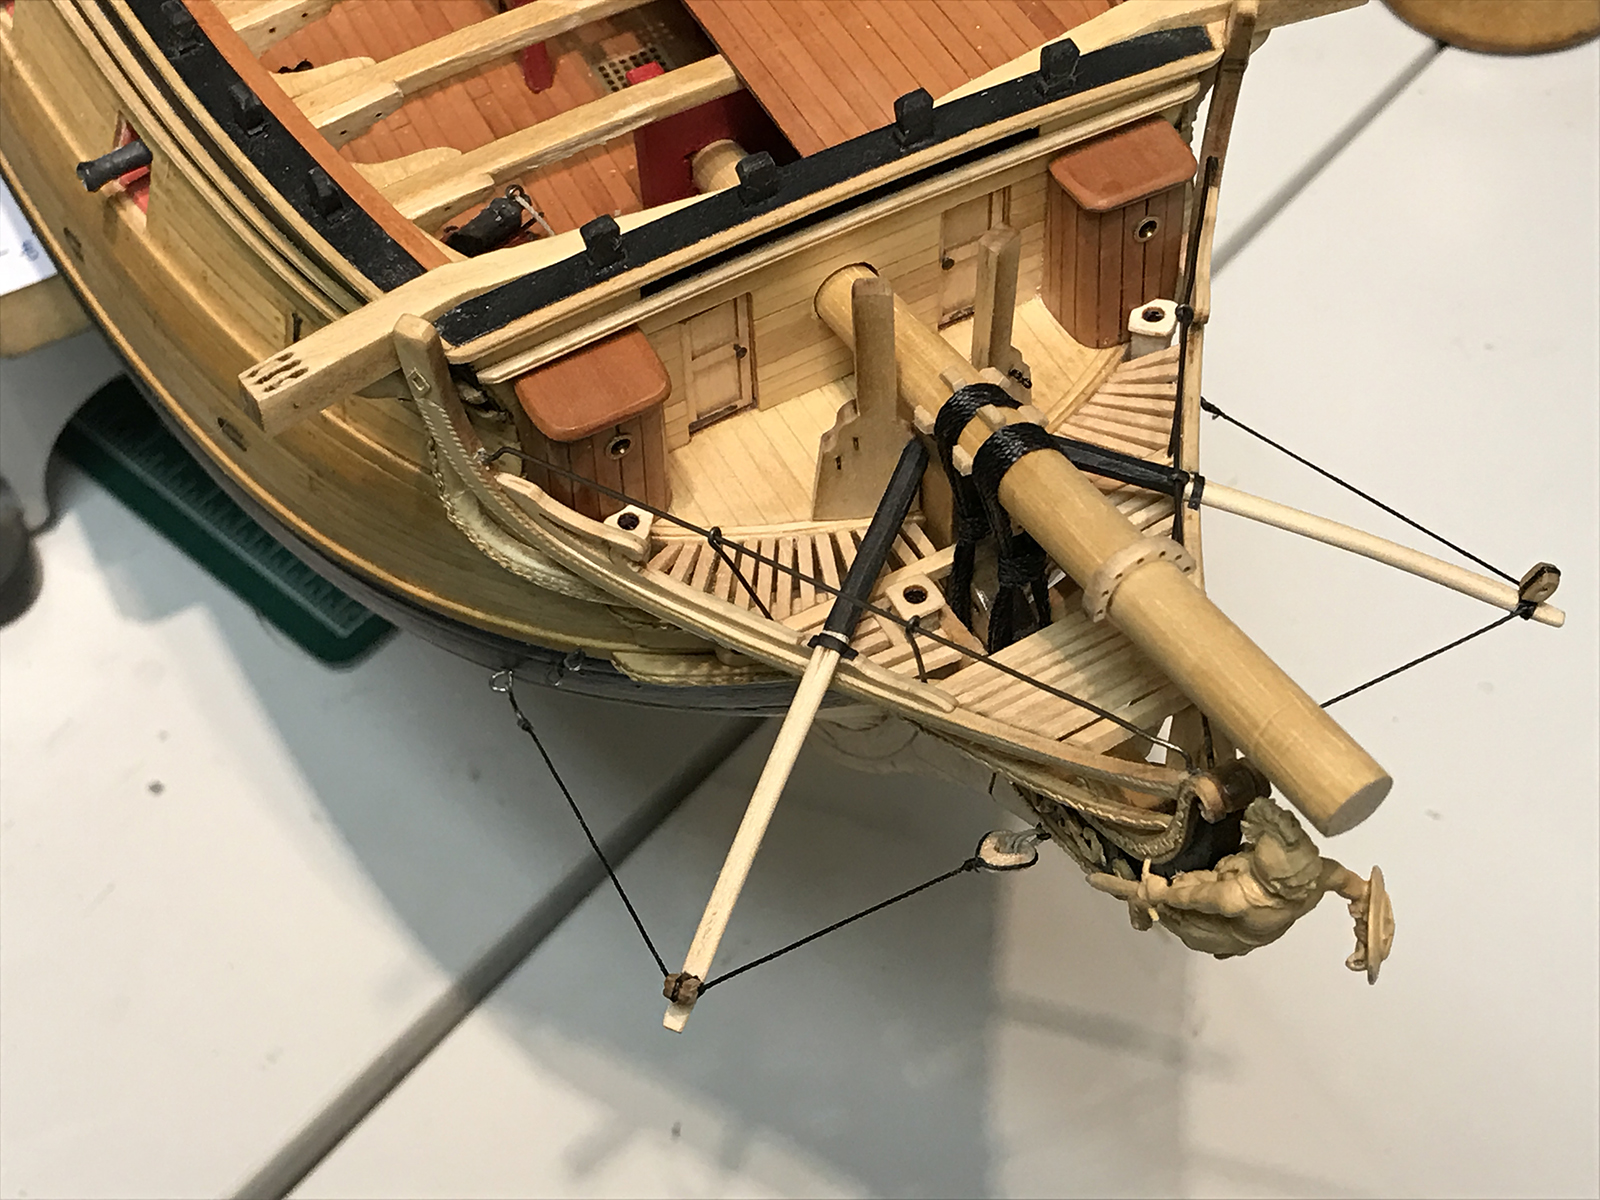
The two boomkins are shaped to meet the apex of the knightheads, then the inboard end is painted and mounted into place. They are accepted by notches in the false rails and held in place by a small capsquare. One single block is seized to the outer end of the boomkin and then secured to the hull using a triangular block.
Finally, the birthing rail (small metal railing along the bow) is added.