Down the stretch… and starting work on the out board hull details. Much of this will be repetitive, assembly line style work. I’ve found – at least for myself – that when I’m assembly a number of similar items, it’s always important to make sure I focus on each item individually to make sure they are precise and consistent.
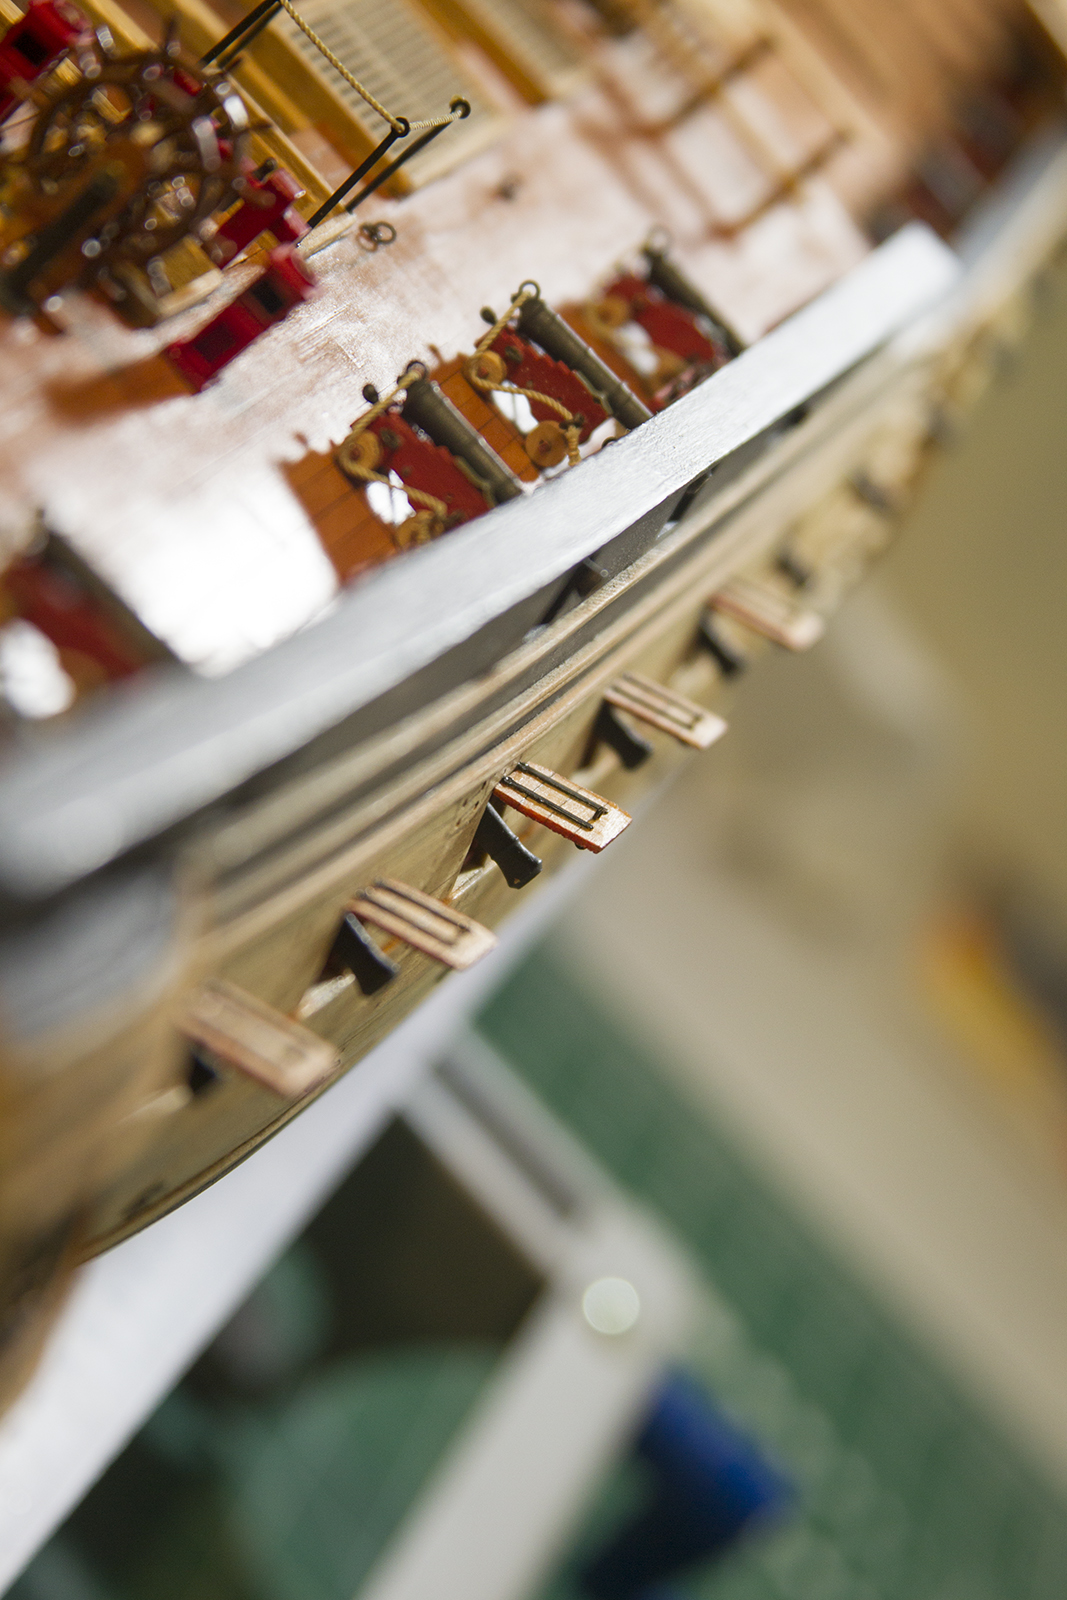
The outboard work started with the boarding ladder, as well as the fenders and chesstrees. There wasn’t anything mysterious here, just measuring, cutting and sanding/shaping. I did find it much more beneficial to notch out the fenders to accept flush against the hull.
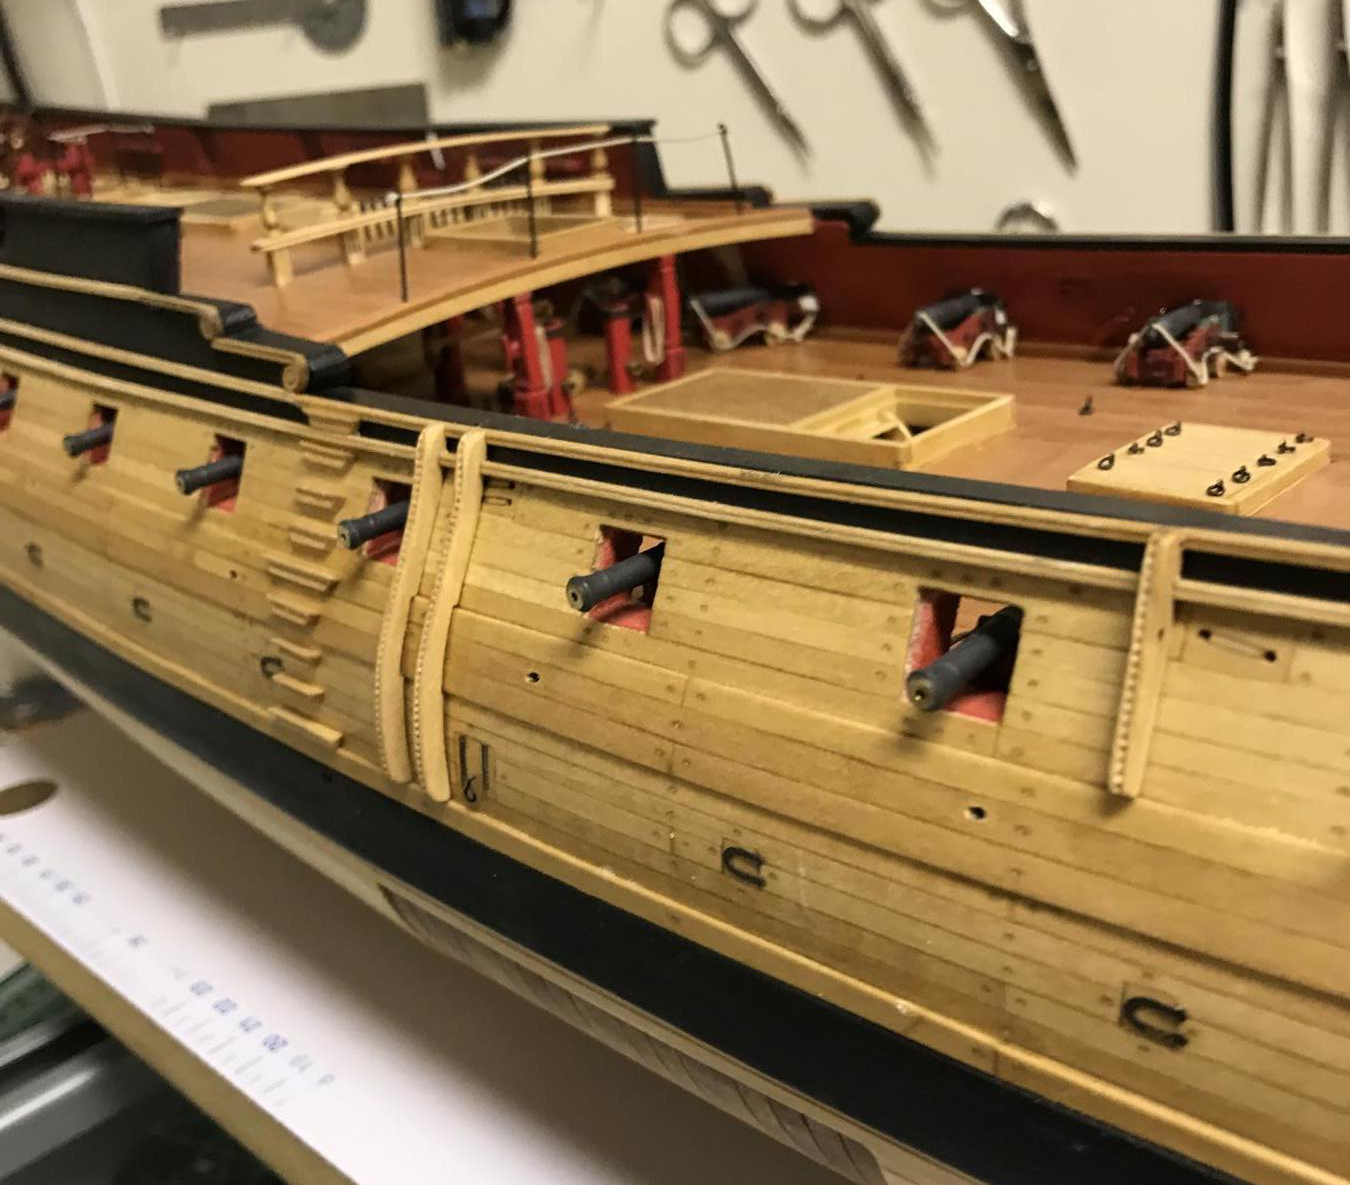
Next up – the gunport lids. I was initially confused as to the number of gunport lids that were required. There are 14 gunports on either side of the ship. Augie already had the most forward port closed off, with a cannon tied off on the deck. So initially – I planned for thirteen lids per side.
However, after examining the instructions and corresponding with Chuck Passaro (the kit’s designer), I realized that I only needed seven gunport lids per side, as not all the gun ports are “lidded.” As it turns out, having the extra lids became quite beneficial….
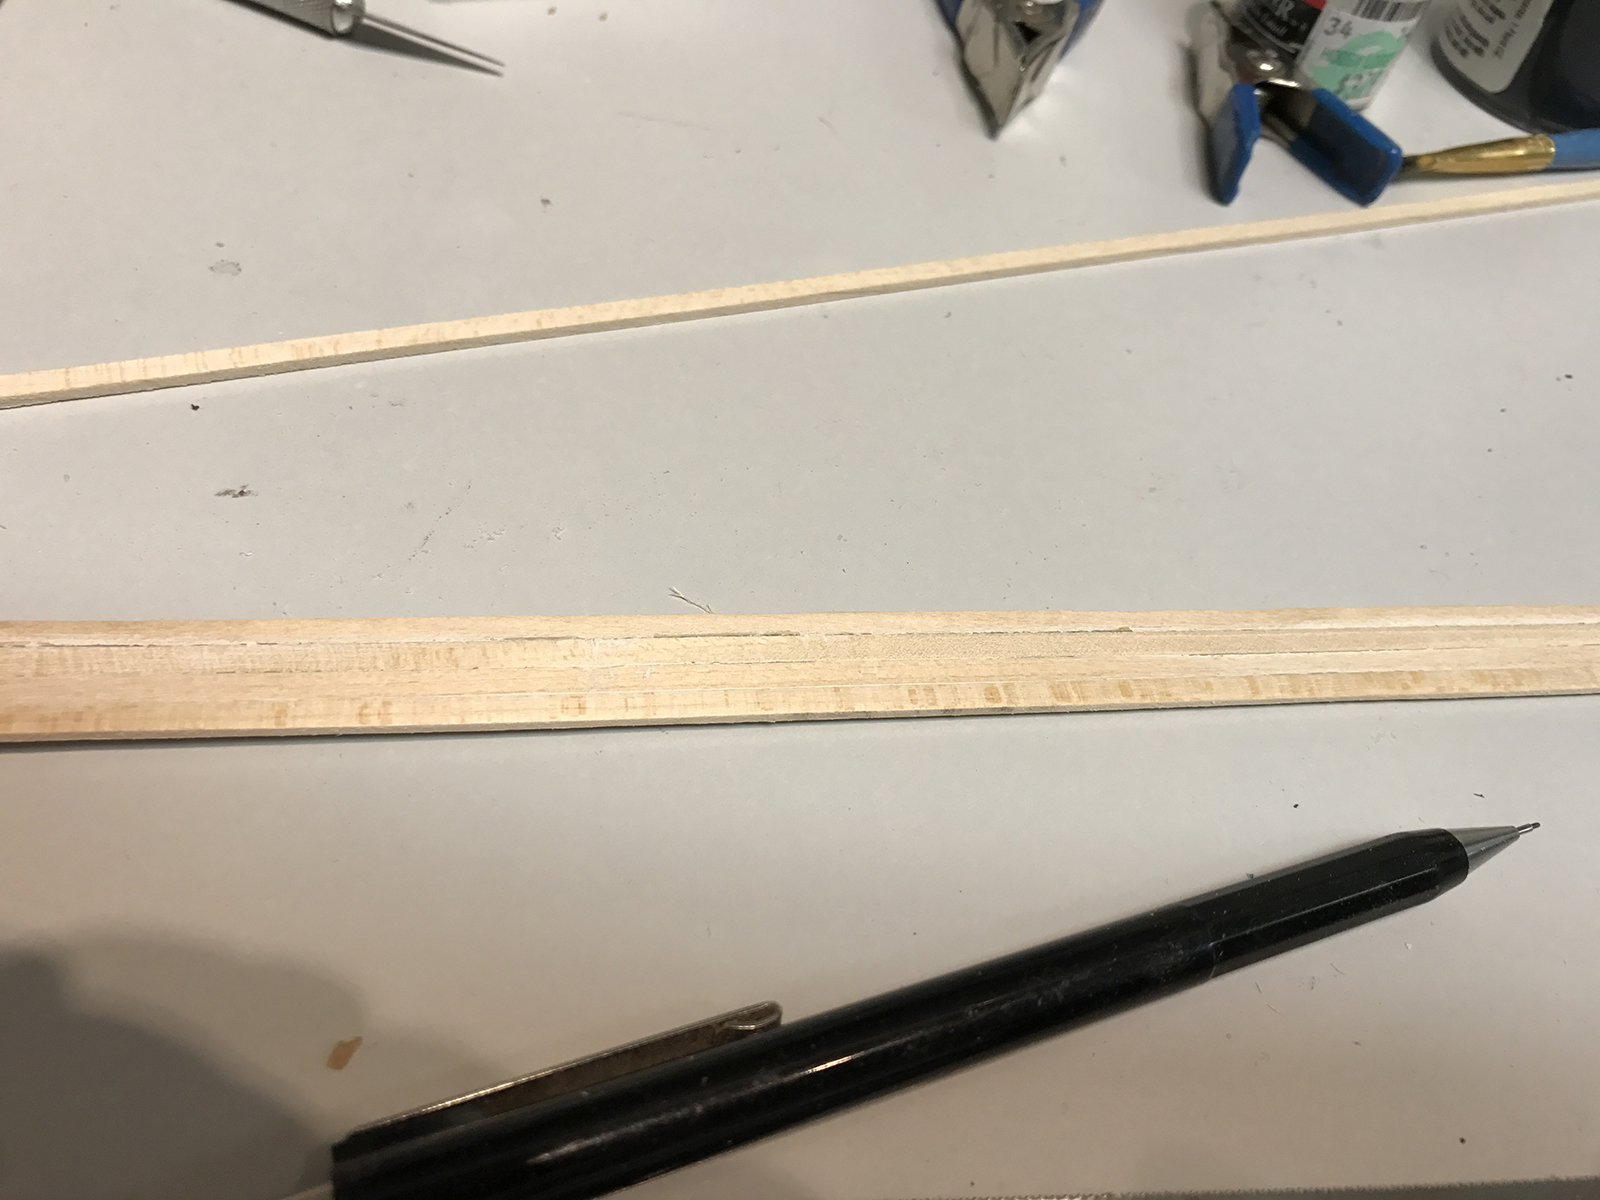

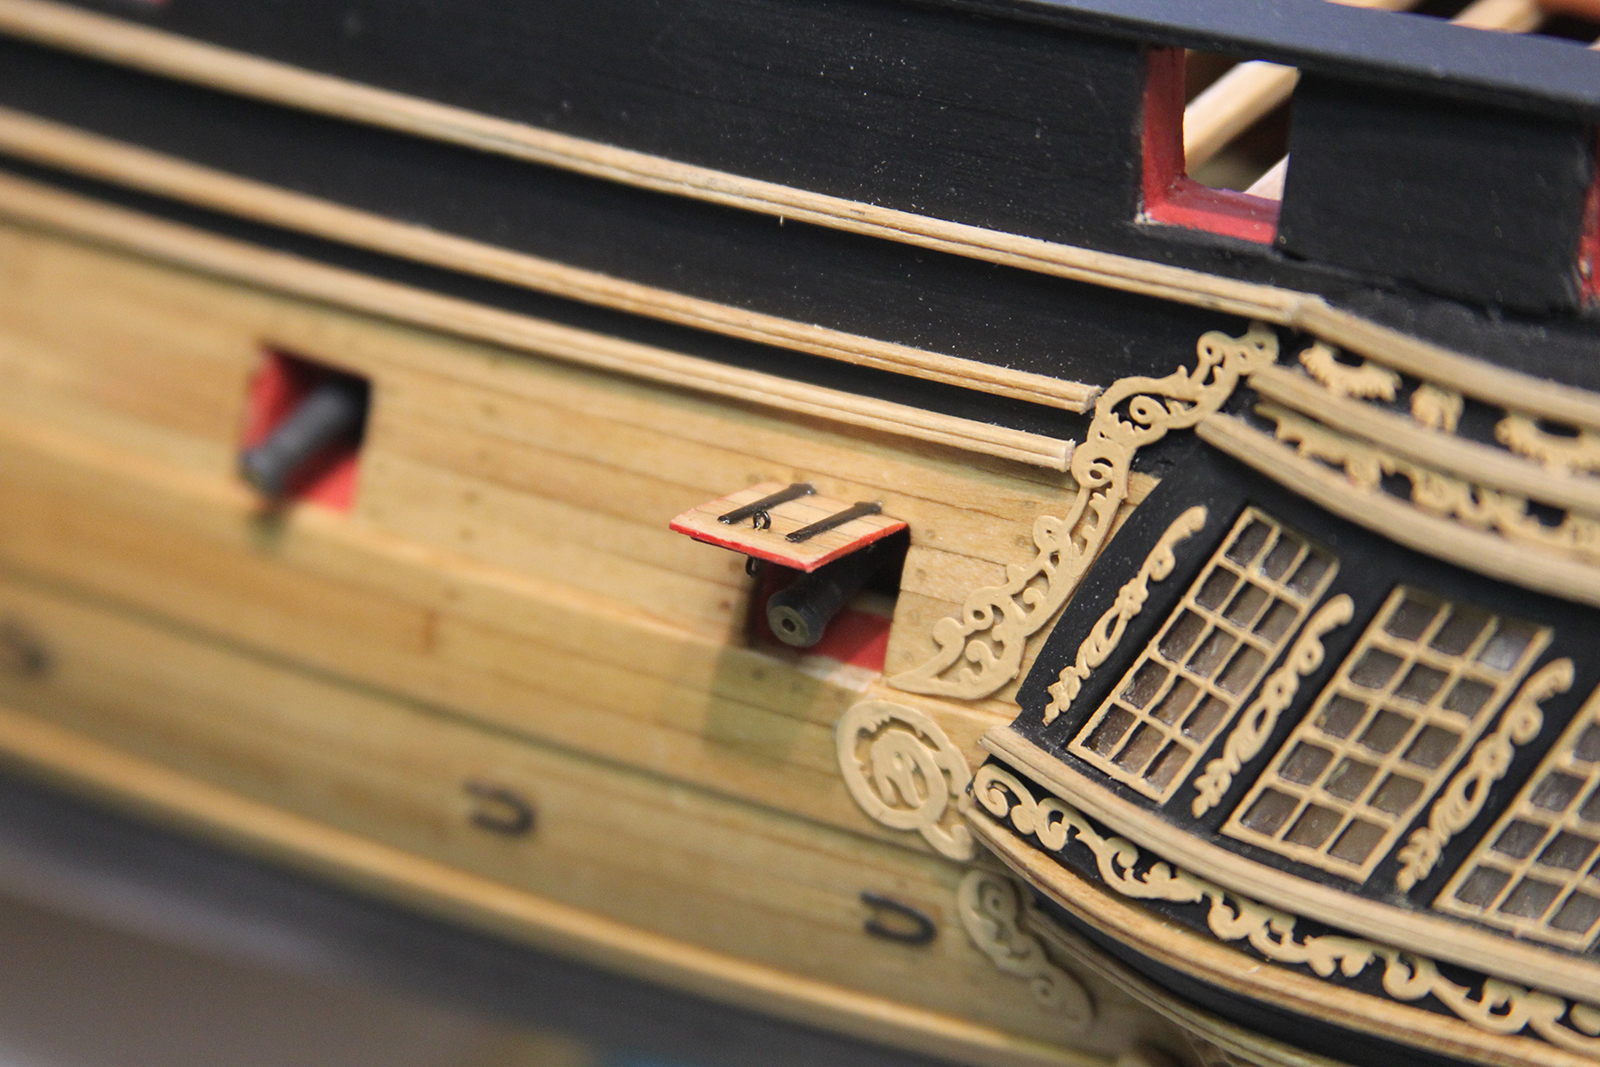
The lids were created by gluing four strips of planking together – after lining the edges with pencil lead to simulate caulking. The gunport lids are cut to match the sizes of the gun port openings, then carefully bevelled on all four sides. The beveling was extremely delicate even with the smallest of my needle files, and led to a number of “re-dos” – just one of the reasons I was happy for the extra lids.

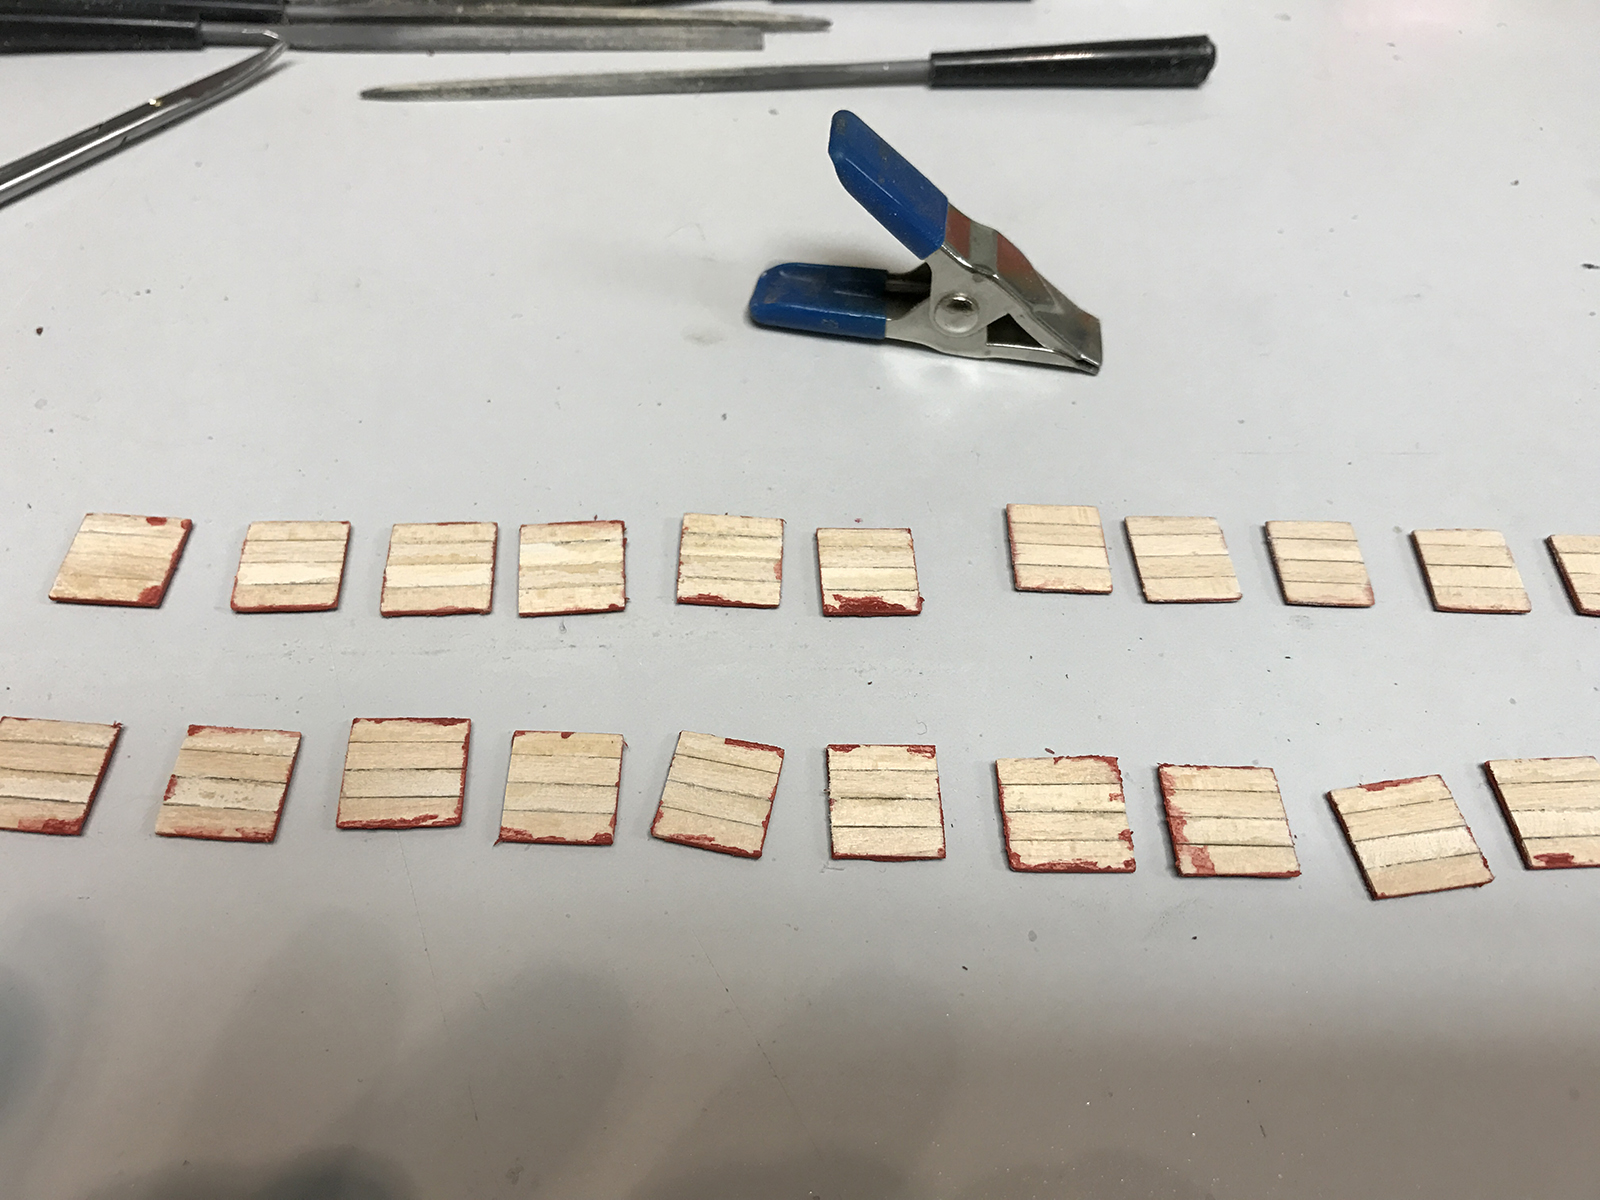
The lids were then taped down and painted with the same bulwark red used on the insides of the ship. And what a DISASTER that ended up becoming…
First off – the paint had not been used for a long time – since Augie had built the deck and bulwarks. So most of it was dried beyond use. Rather than try to make an exact color mix – which I felt was likely impossible – I decided to reconstitute as much of the paint as possible using water to dilute and a dremel and old bit as a high speed “stir stick.” Not only was this messy… but it was not super effective. The result… the red painted leaked and seeped into the sides and cracks of the wood of the gunport lids. *Sigh*
Trying to clean the lids just smeared the paint. I eventually recut even more lids, then sanded the tops and sides to get rid of as much paint as possible and clean them up for further assembly.
Further assembly:
Hinges and eyebolts are cut from the metal photo etched templates and blackened. Usually I’d use a mix of “Black-en It” to patina them, however it ended up being much easier to just paint. Two hinges and two eyebolts are added to each gun port lid.
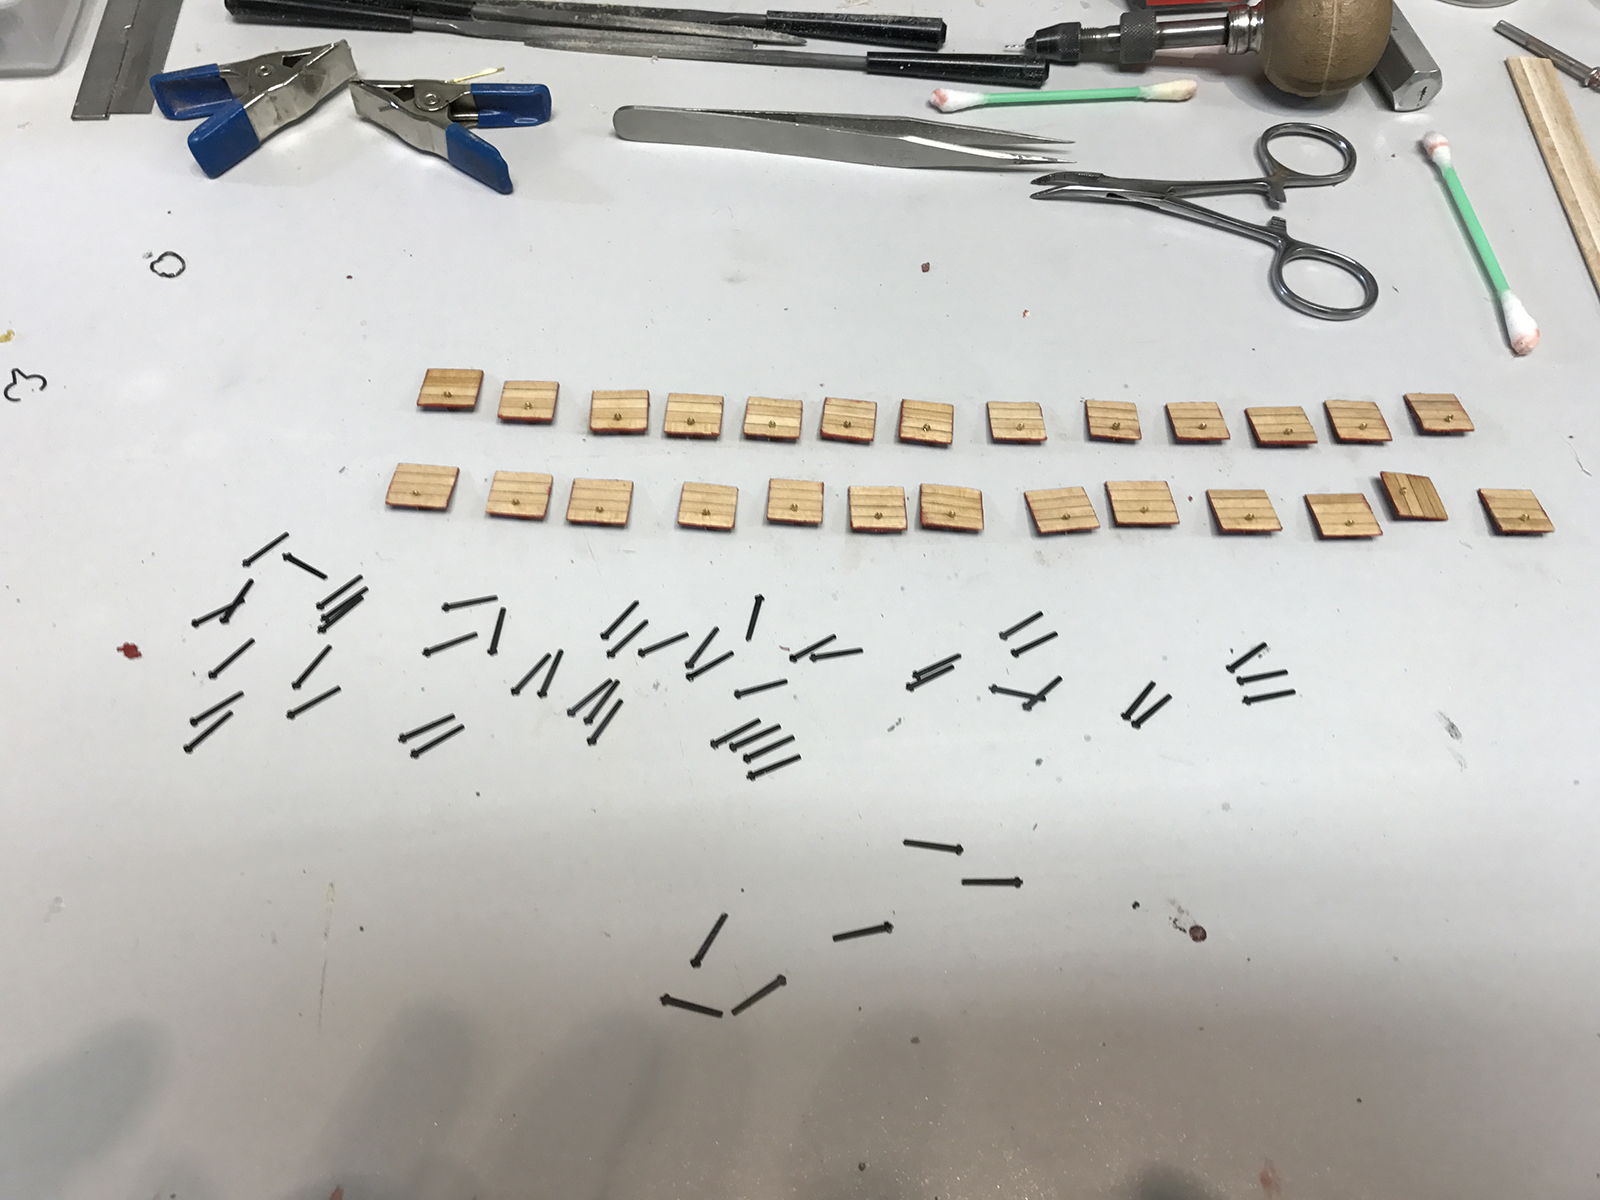

The gunport lids are each attached to the hull.