I’ve been working a little bit of double duty as I get closer to the finish of the Confederacy. I’ve started the ships boats, but have also been working on anchors and small details of the ship.
Nothing particularly complicated with the anchors. As with most of the laser cut parts, the anchor stocks are pretty beefy and required a fair amount of sanding. I used pin files to notch them of course, but the wood itself is soft, so I used nothing grittier than 400 grain sandpaper to ease them down bit by bit and bevel them.


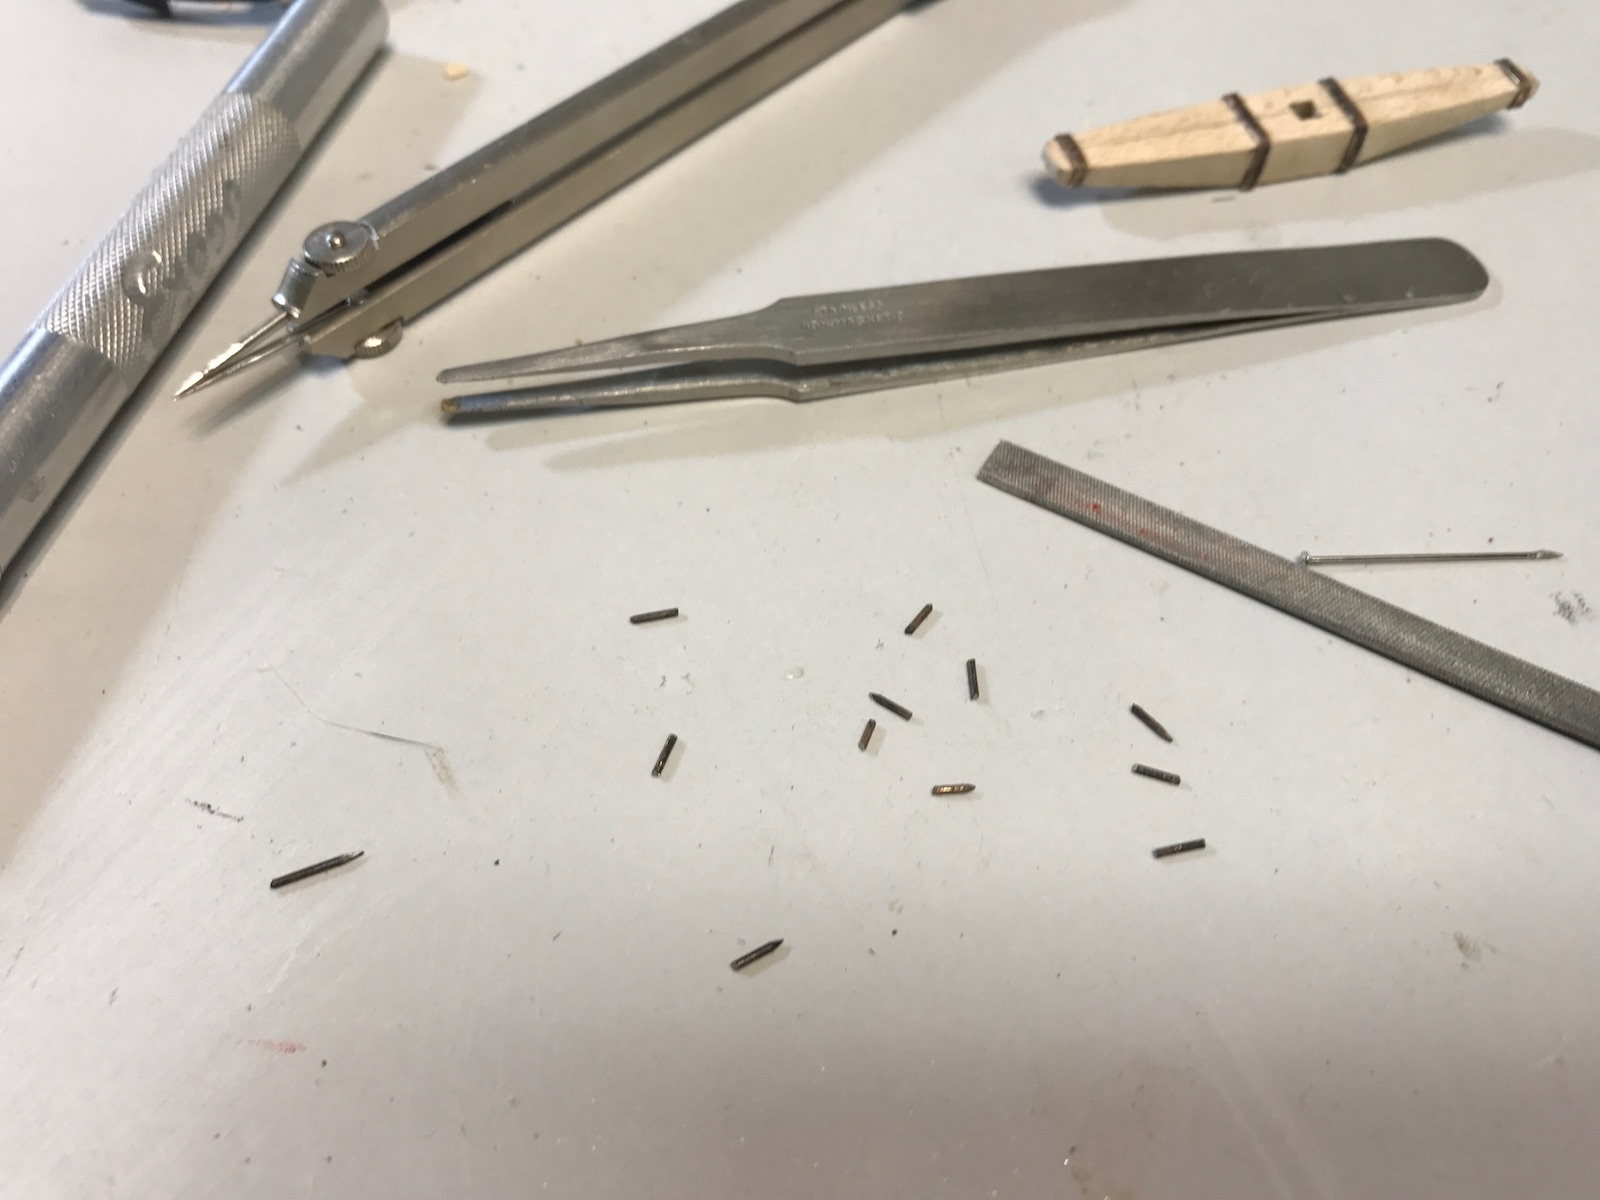
The anchors themselves are made from a die-cast soft metal – essentially pewter. Everything is sanded and fitted. The anchor stocks are then glued together and secured with pins. Each pin is a cut nail that’s sanded down clean, then blackened.

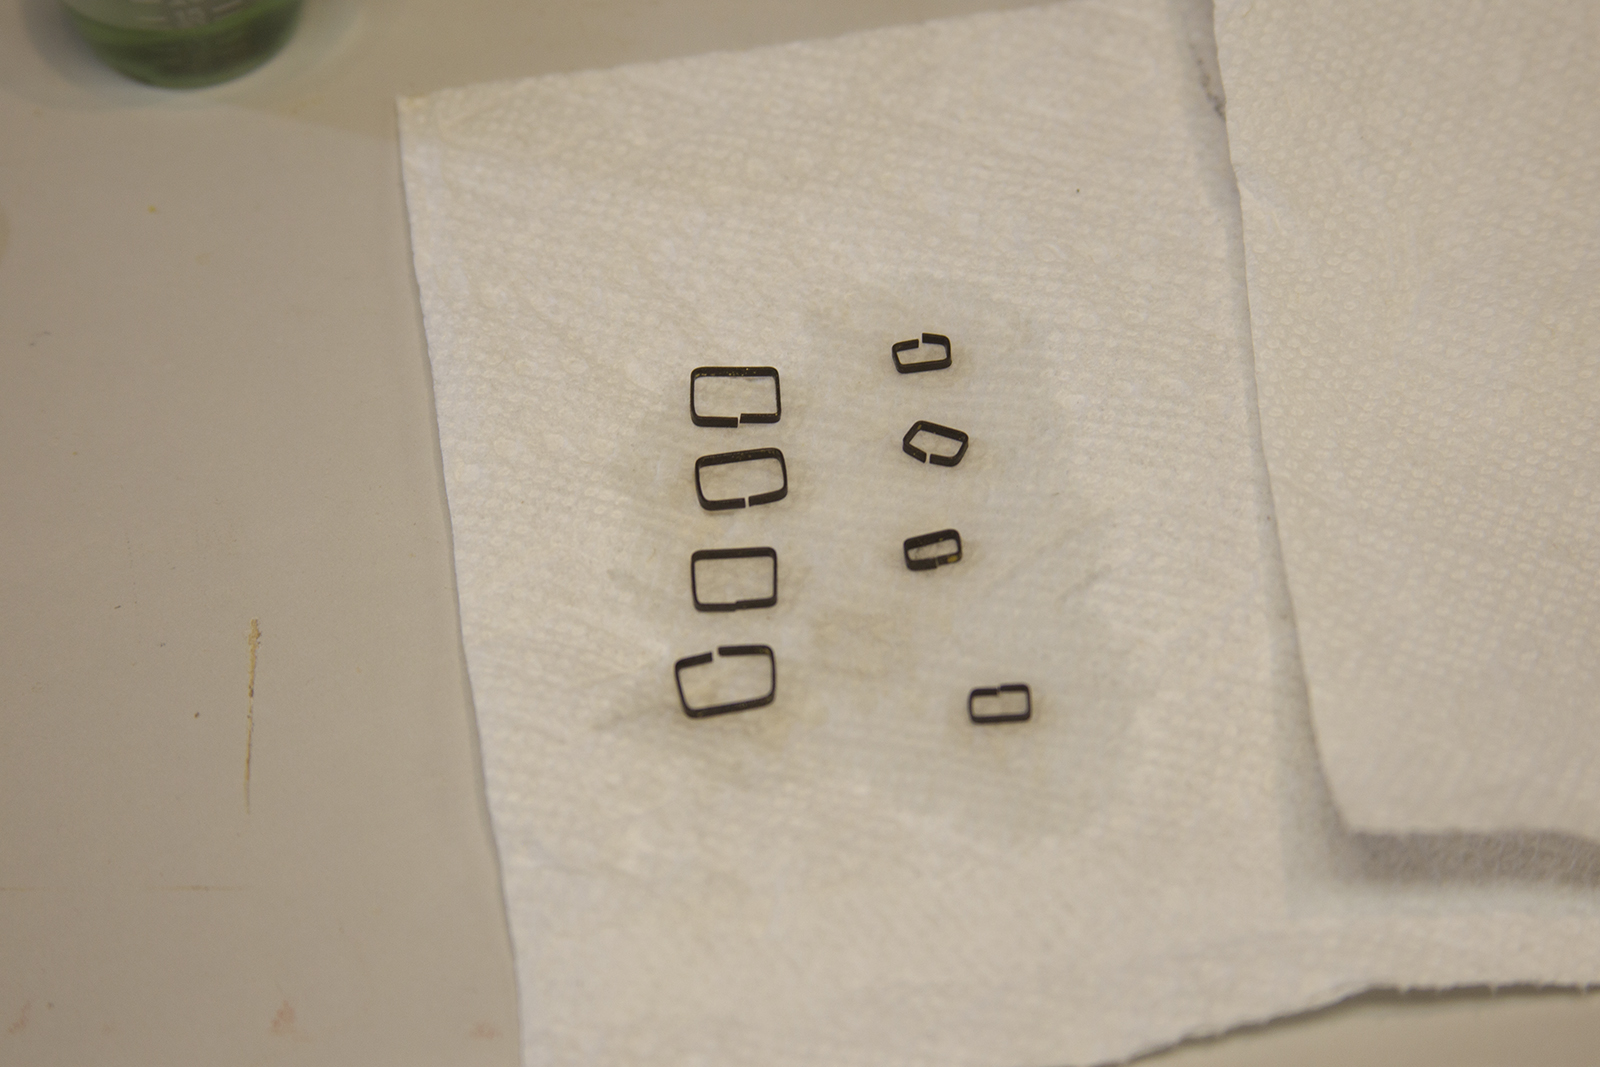
Once again – the recommendation for the bands is thick card stock. Instead, I increased the authenticity by using brass strips that are measured and blackened. Each strip is pretty difficult to glue in place and needs to be clamped securely.
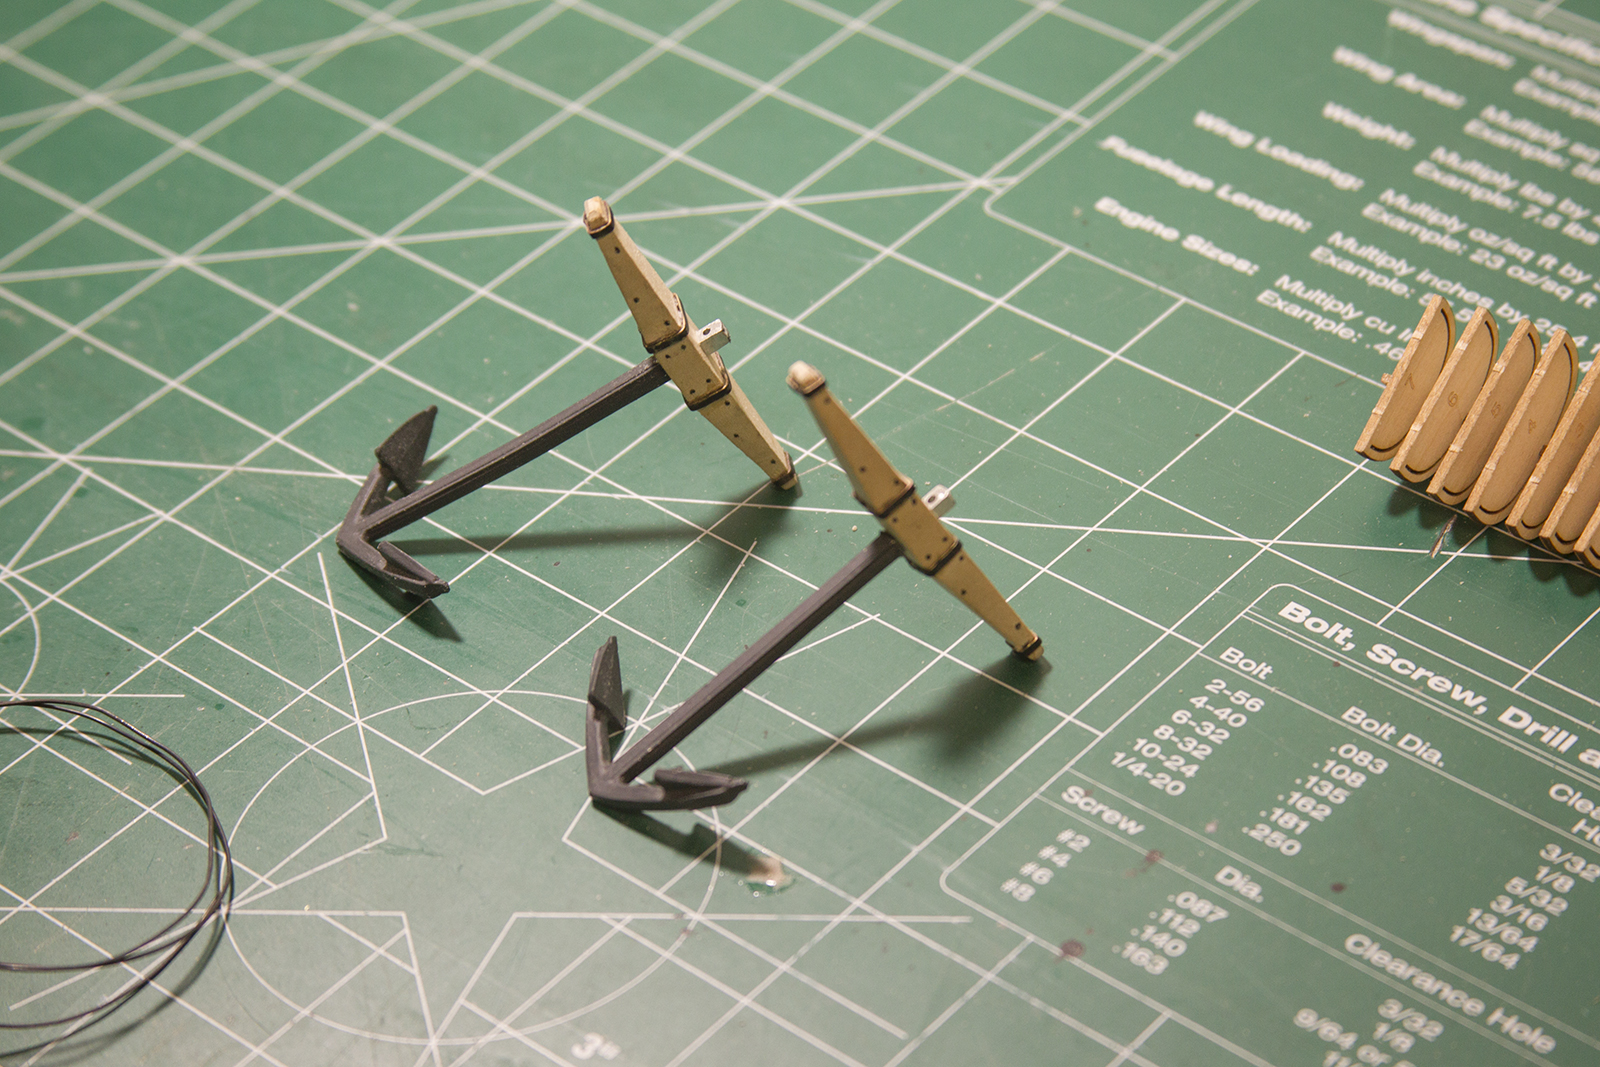
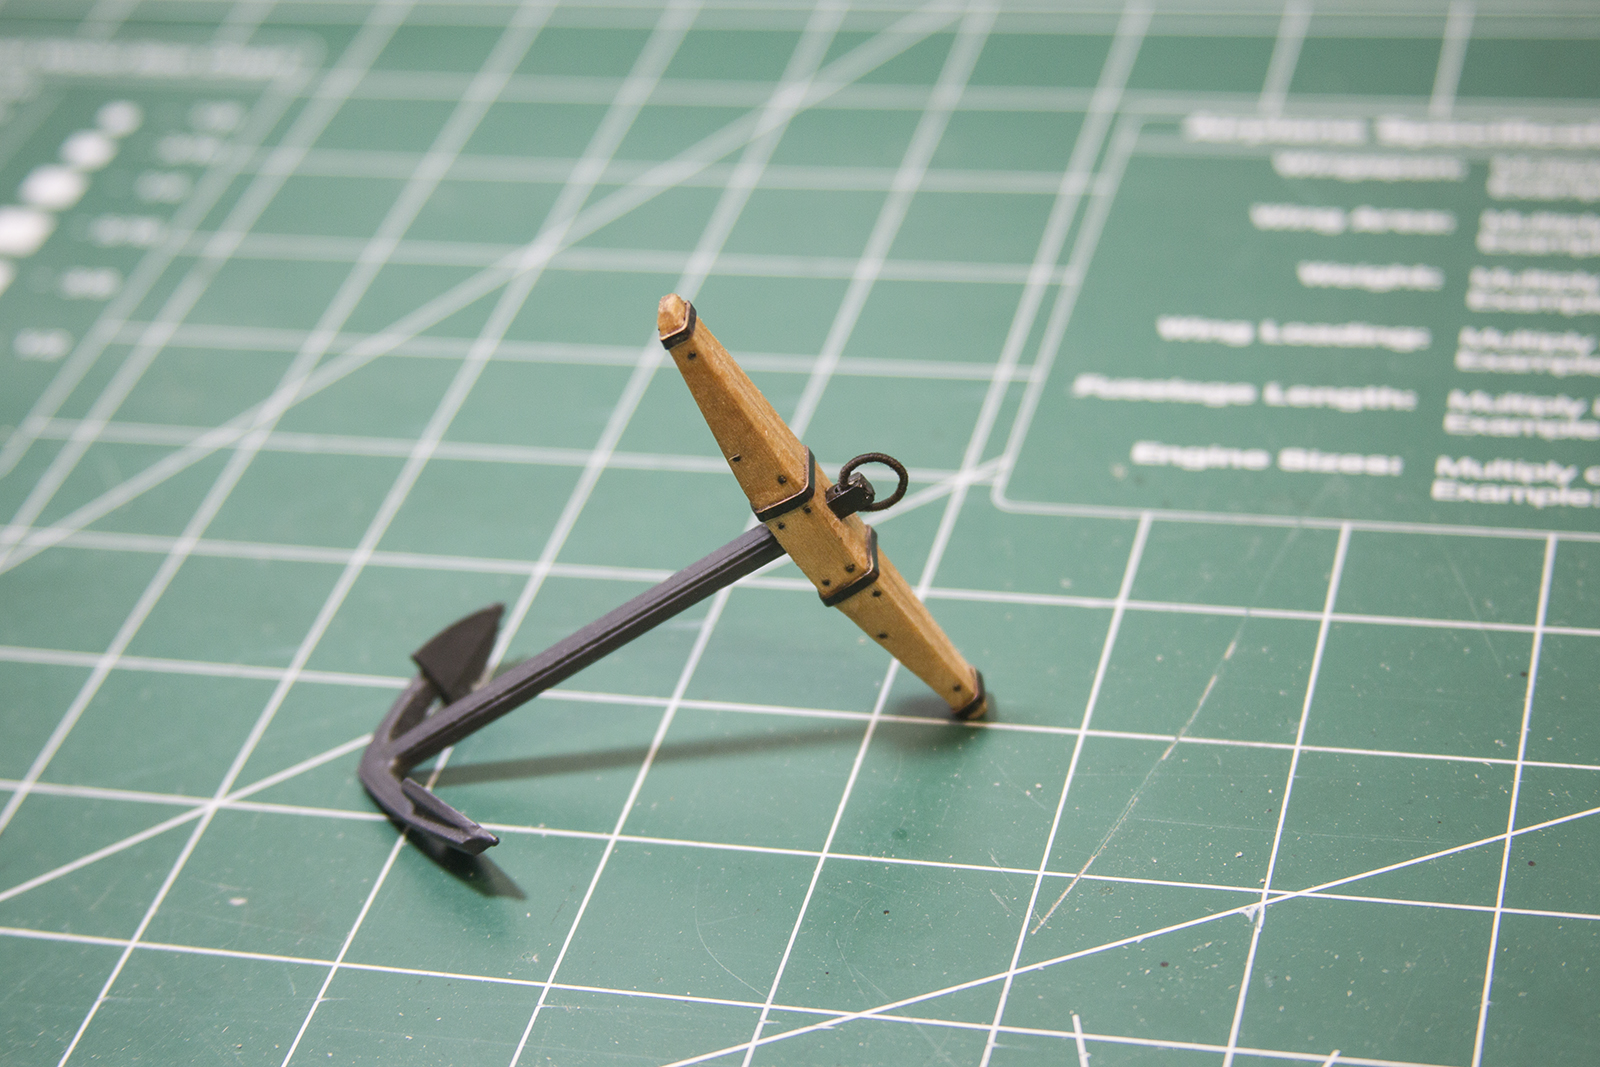
The final step is ‘serving’ the anchor ring by wrapping it in small black rigging. The ring is then mounted to the anchor above the blocks. Once all together, the anchor stocks are stained with a coat of conditioner then natural stain to match the hull of the ship itself.
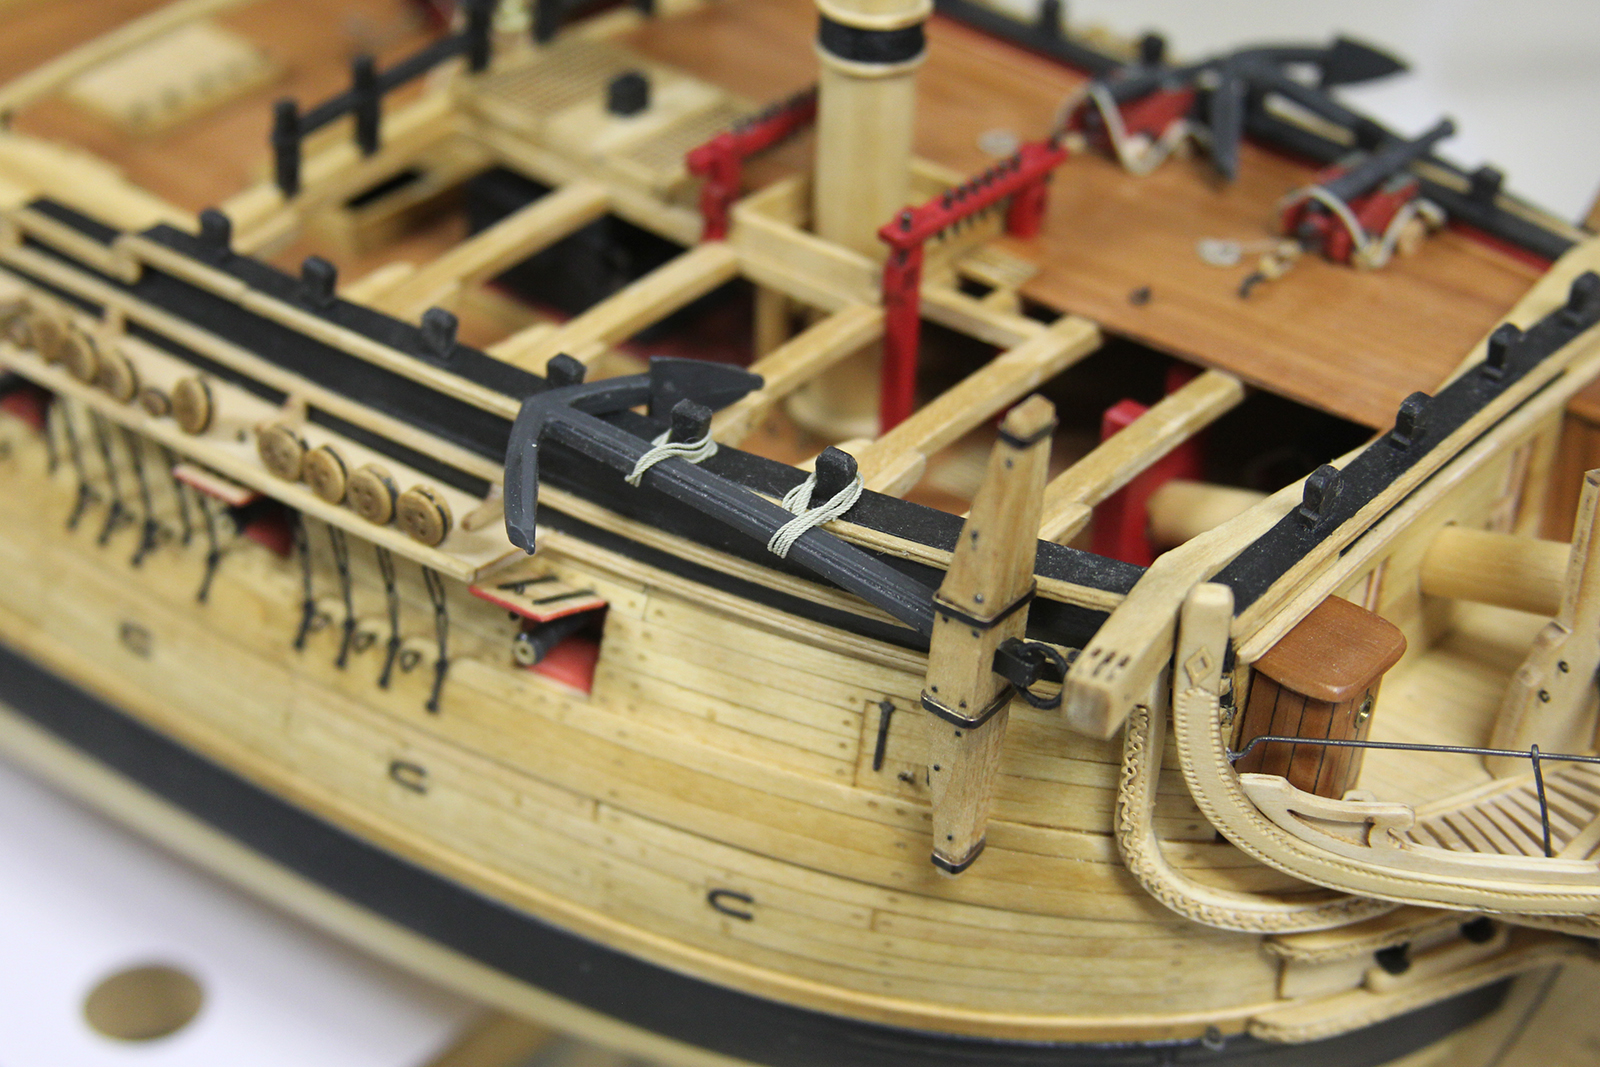
Typically on an Admiralty model, the anchors are merely secured to the side rather than actually rigged to the cathead. This is the procedure I followed for the starboard side of the vessel. However, when I went to secure the port side, I noticed a problem… because I’d added extra guns, merely securing the anchor would interfere pretty significantly. So, even though this will essentially be the “back side” of the ship to the viewer once mounted, I decided to rig the anchor to the cathead.

Not only does this provide for an interesting level of accuracy, but also gives her a little variety. Rigging the anchor to the cathead means manufacturing a rather large pulley with a hook attached, then drilling out the sheeves of the cathead itself. Overall, I’m pleased with the look.

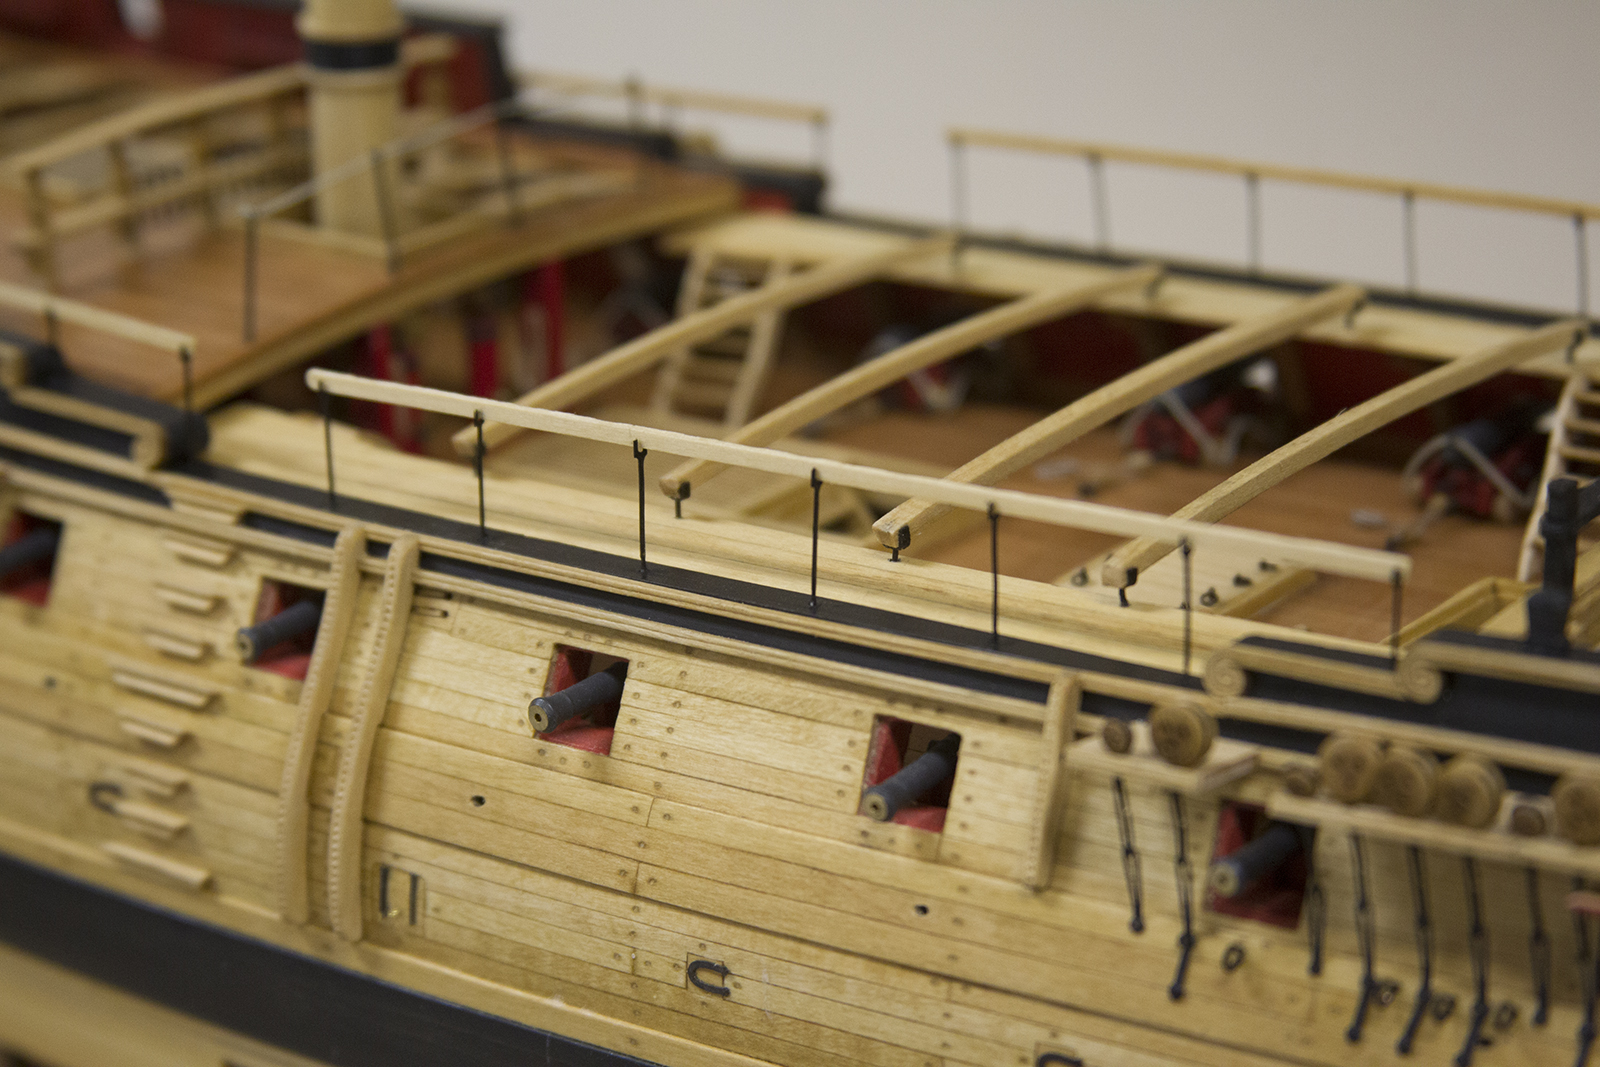
Another small, but important detail – the waist stanchions and railings. It’s pretty straightforward work, but requires a fair amount of precision. Each stanchion is placed in a predrilled hole, but the height of each stanchion is measured independently to ensure that the overall railing remains parallel to the deck.
Finally – I took a small but significant step. To this point, the ship was being worked on by being mounted to a clamped work desk. I’ve made the transition to what will be her permanent stand.