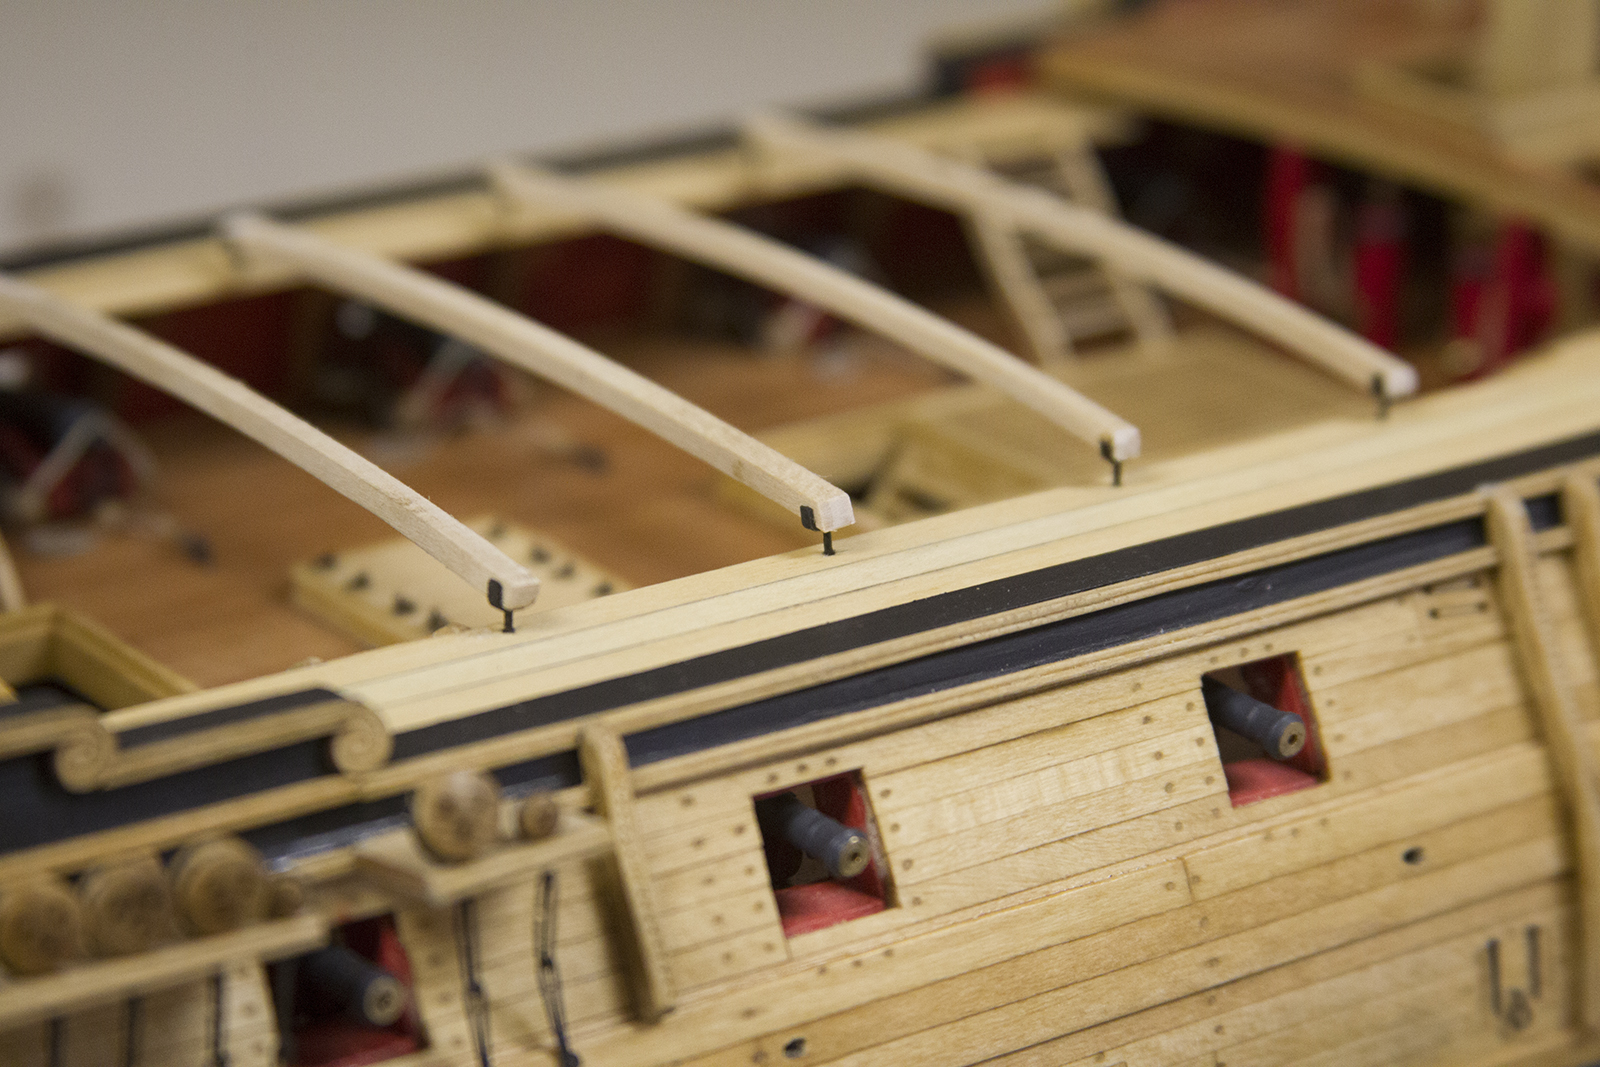
The waist of the ship is the open area that is most exposed to the weather. This section of the deck is ‘closed up’ with gangways on each side, then skid beams that run the width of the ship. Eventually, the two small boats will be secured to the skid beams.
I really struggled with the decision of either closing in the waist with the Swiss Pear that the deck was planked with, or closing in the waist with the lighter wood. Ultimately, I decided on the lighter as a means – artistically – of bringing the two very distinct colors together. Knowing that the cross beams and the small boats would be lighter, I wanted to tie it all together. I figured that if everything was the darker pear, and the beams and boats were light, it’d just be a bit too much of a contrast.
At any rate – I’m not overly confident in my decision, as there is a definite disparity in having the gangways a different color than the rest of the planking. A this point, I’m pretty sure I don’t want to tear it all up and re-do it to see how the Pear looks. I do intend to trim the smaller boats with some pear to bring it all together.
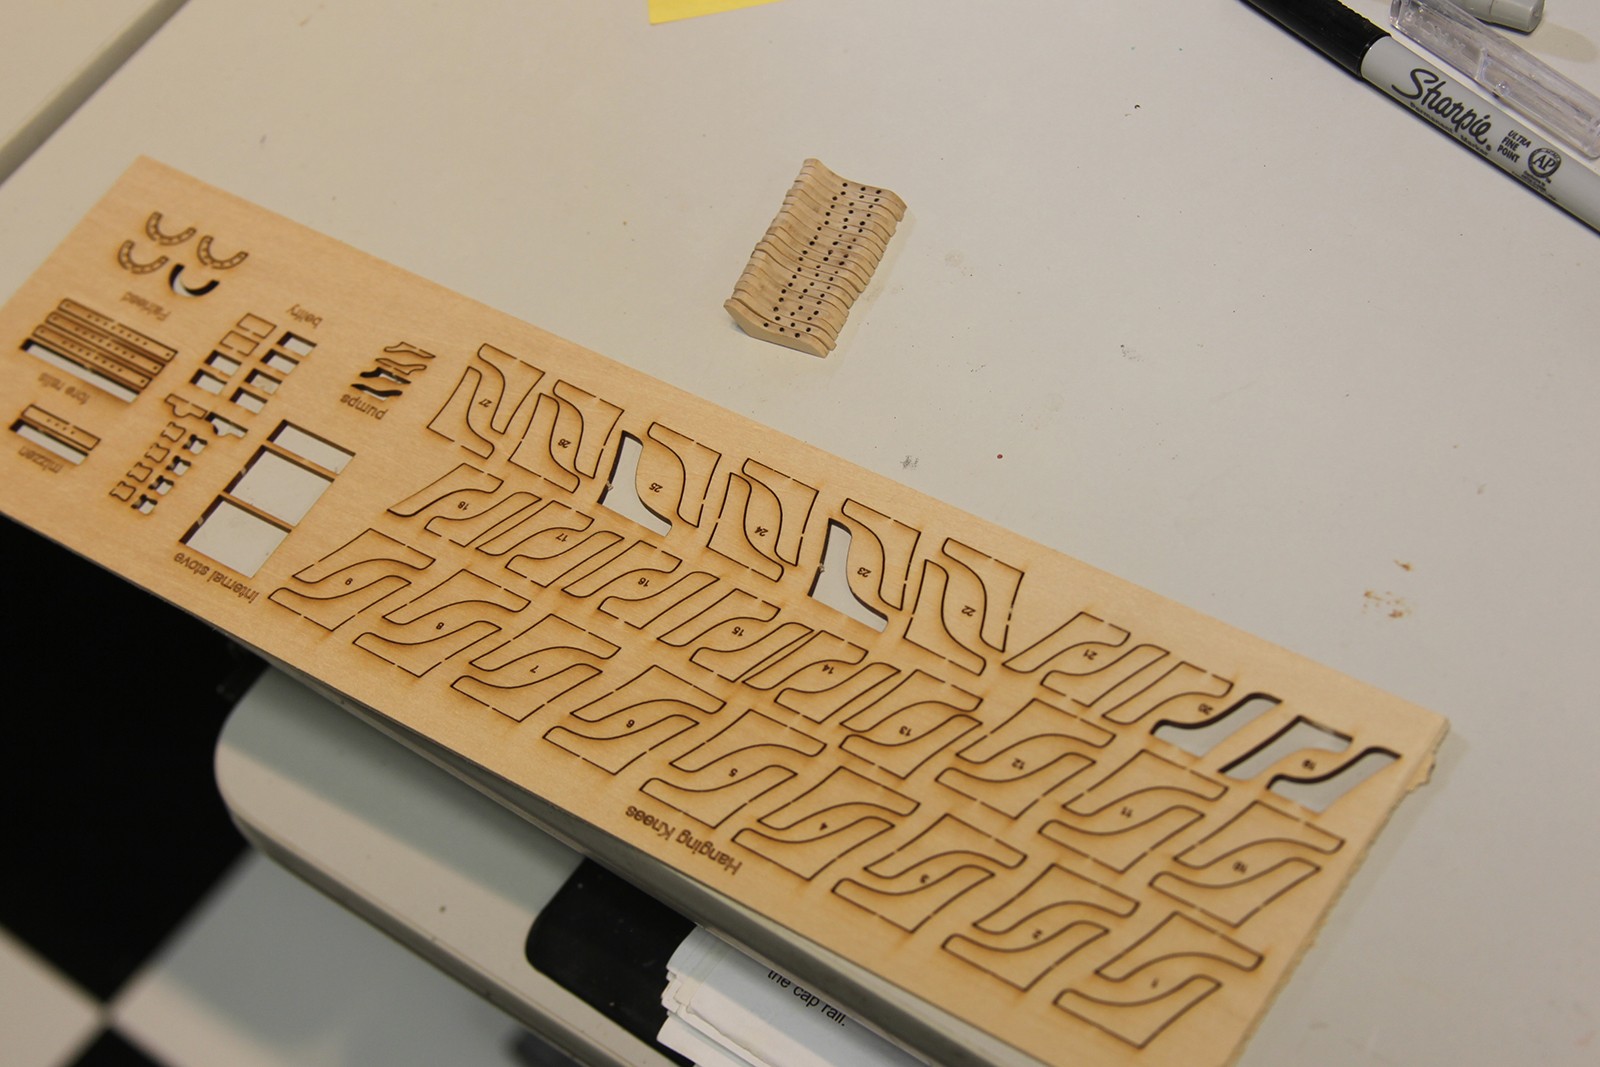
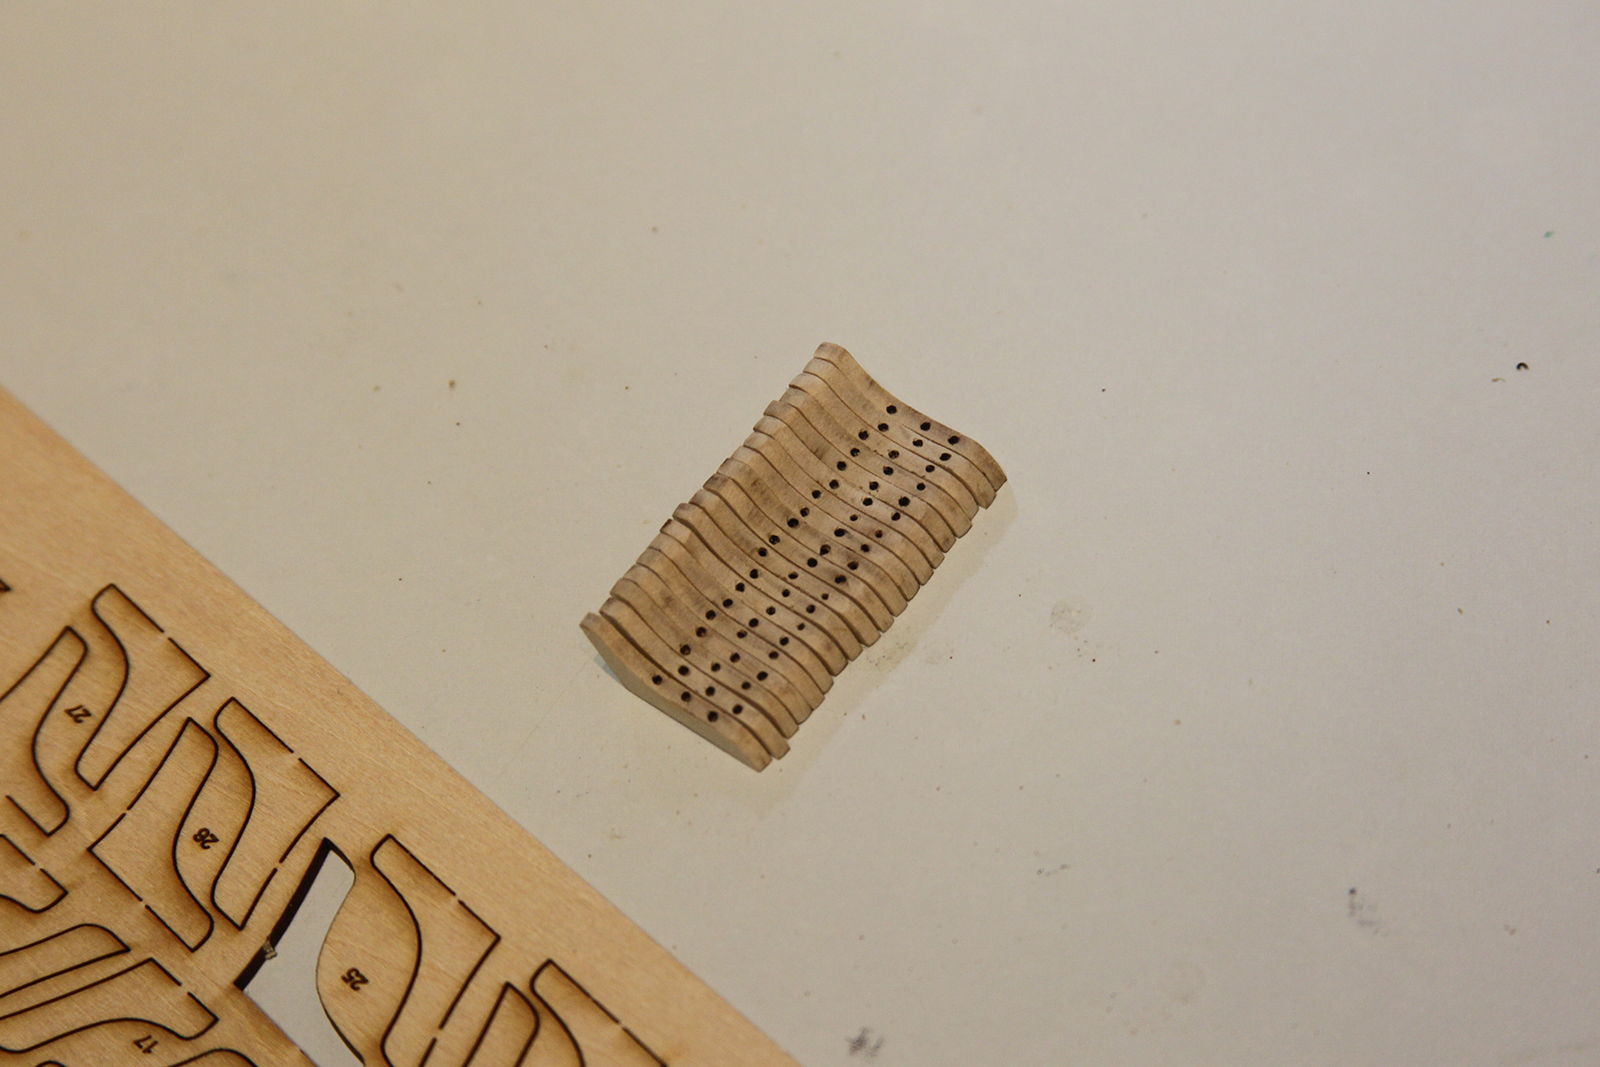
I started with the waist by sanding down and adding holes to all the knees. Pretty straightfoward stuff here. My own personal method of the “nails” was to drill out three small holes, then poke them with pencil lead. I took essentially what Augie did with the other deck knees to try and keep some consistency.
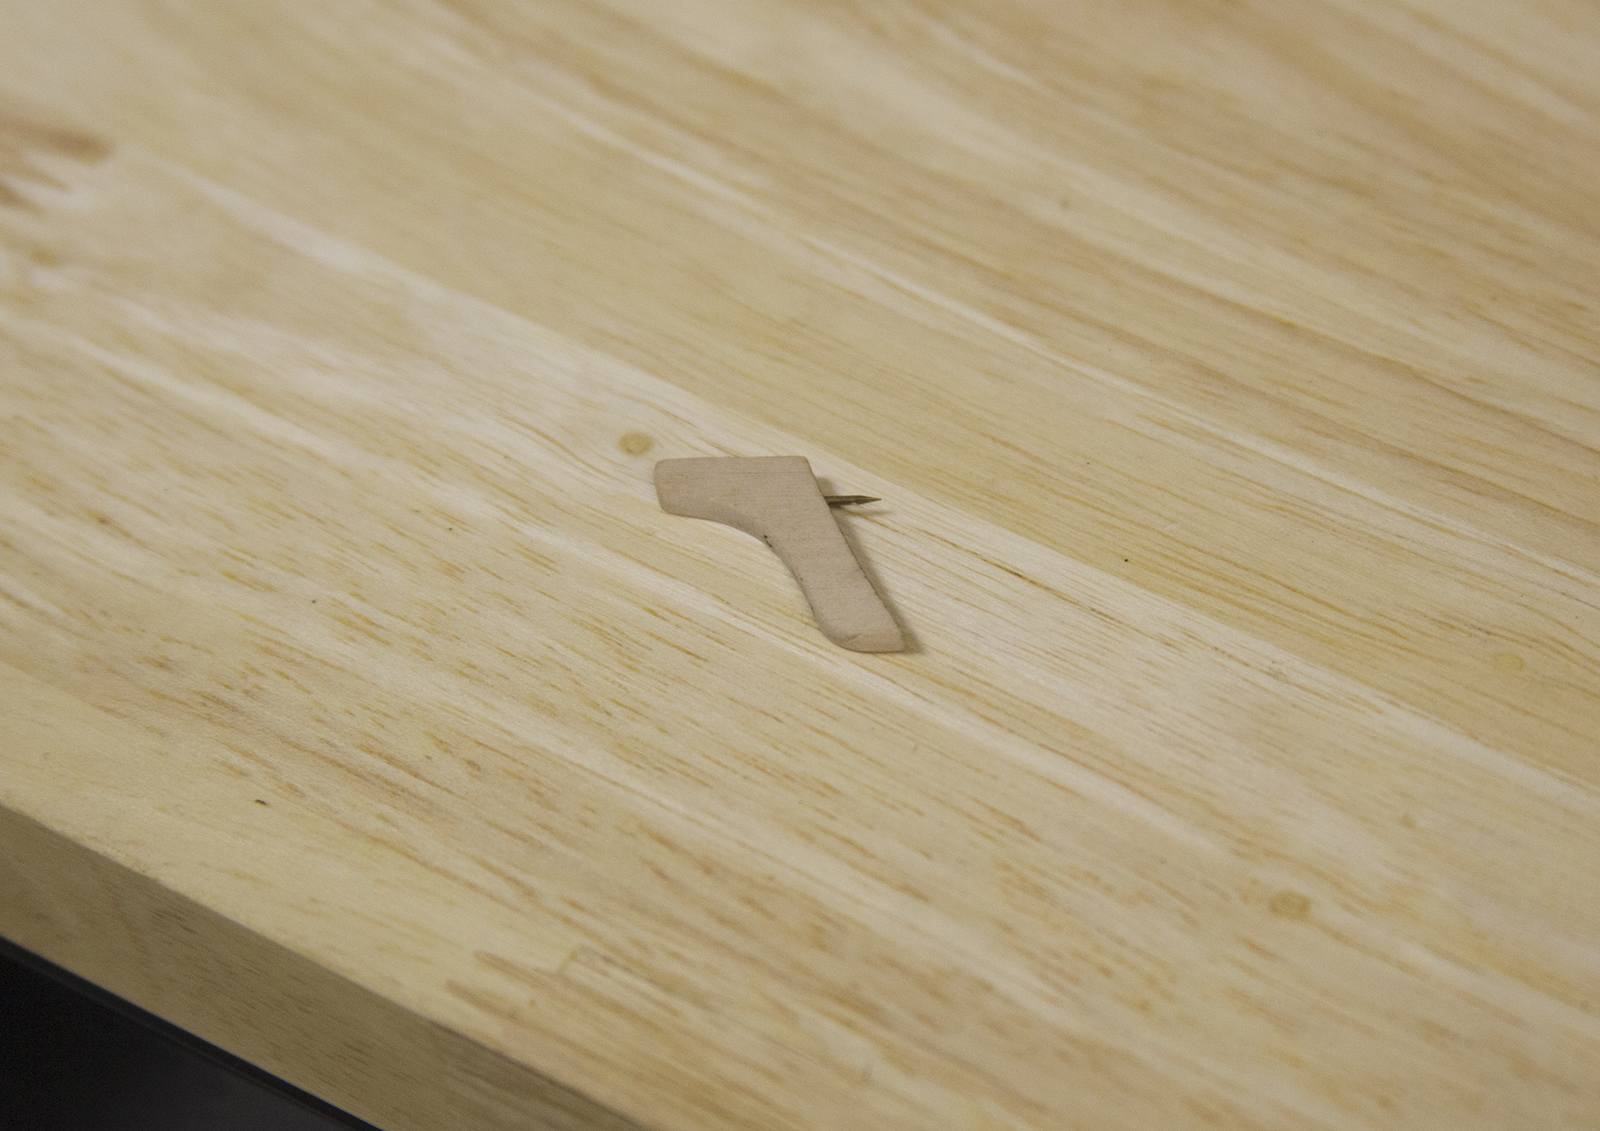
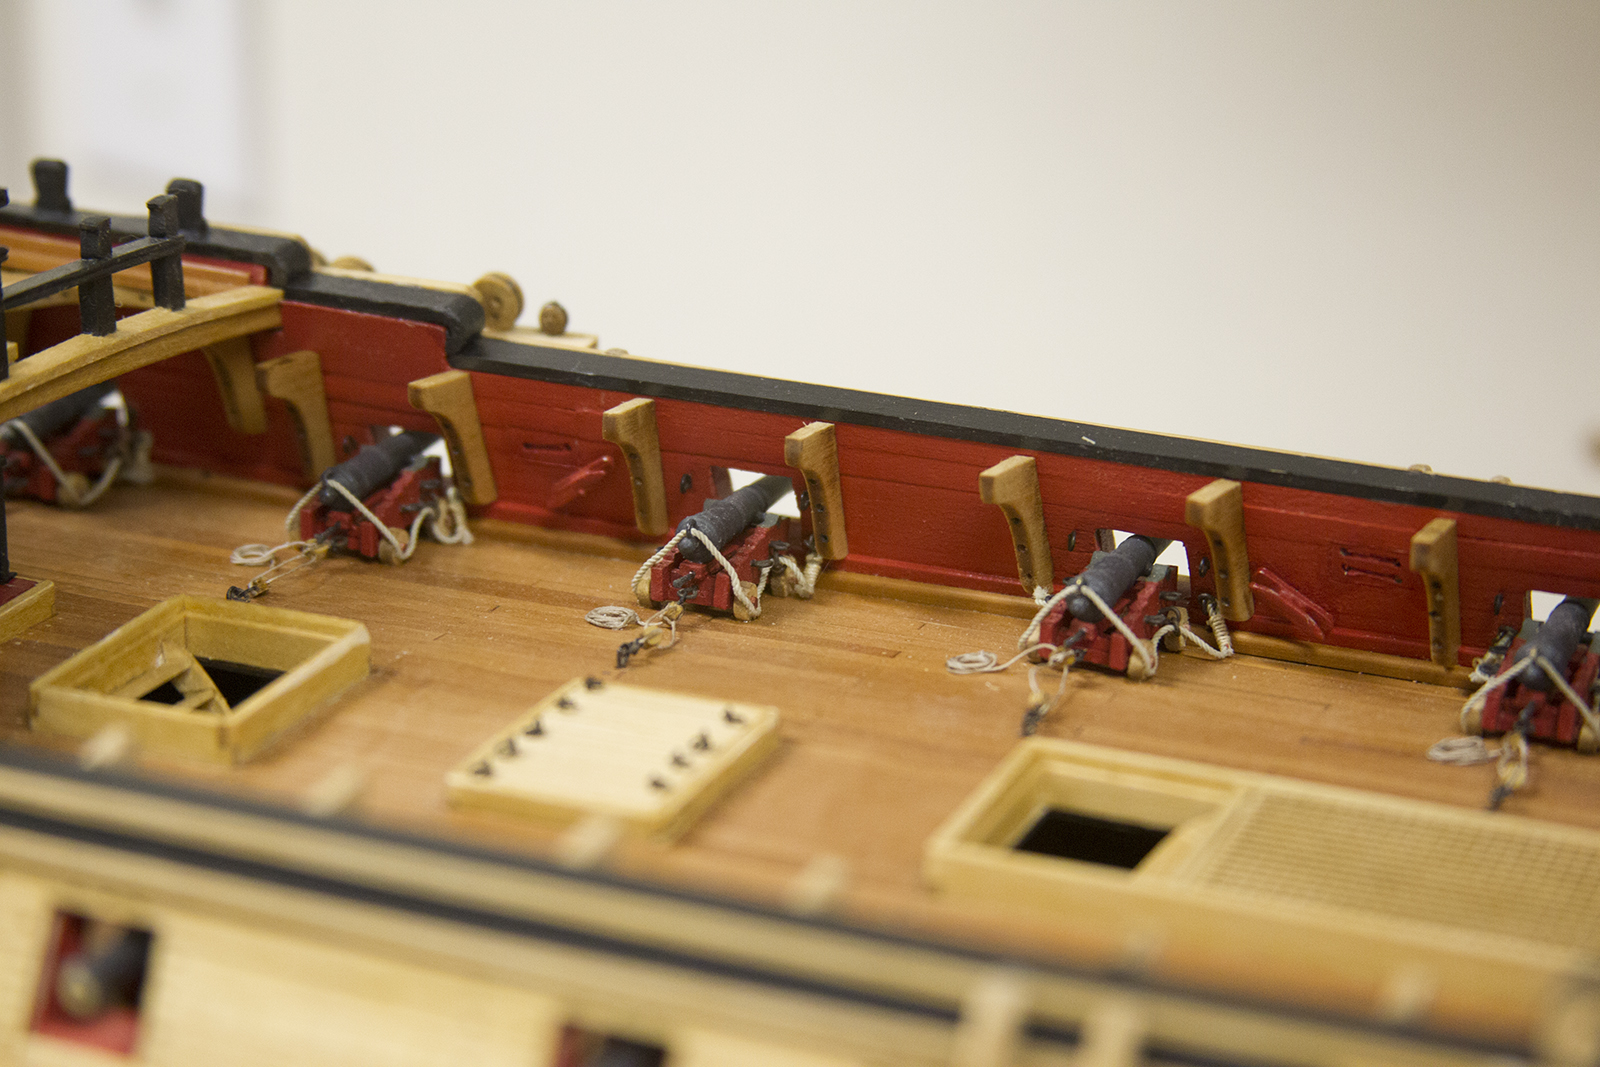
The knees didn’t hold to the bulwarks for crap no matter what glue I tried. Especially with the red paint having already been coated with a satin laquer of some kind. So I posted some brass nails into each knee to get it to hold solidly in place.
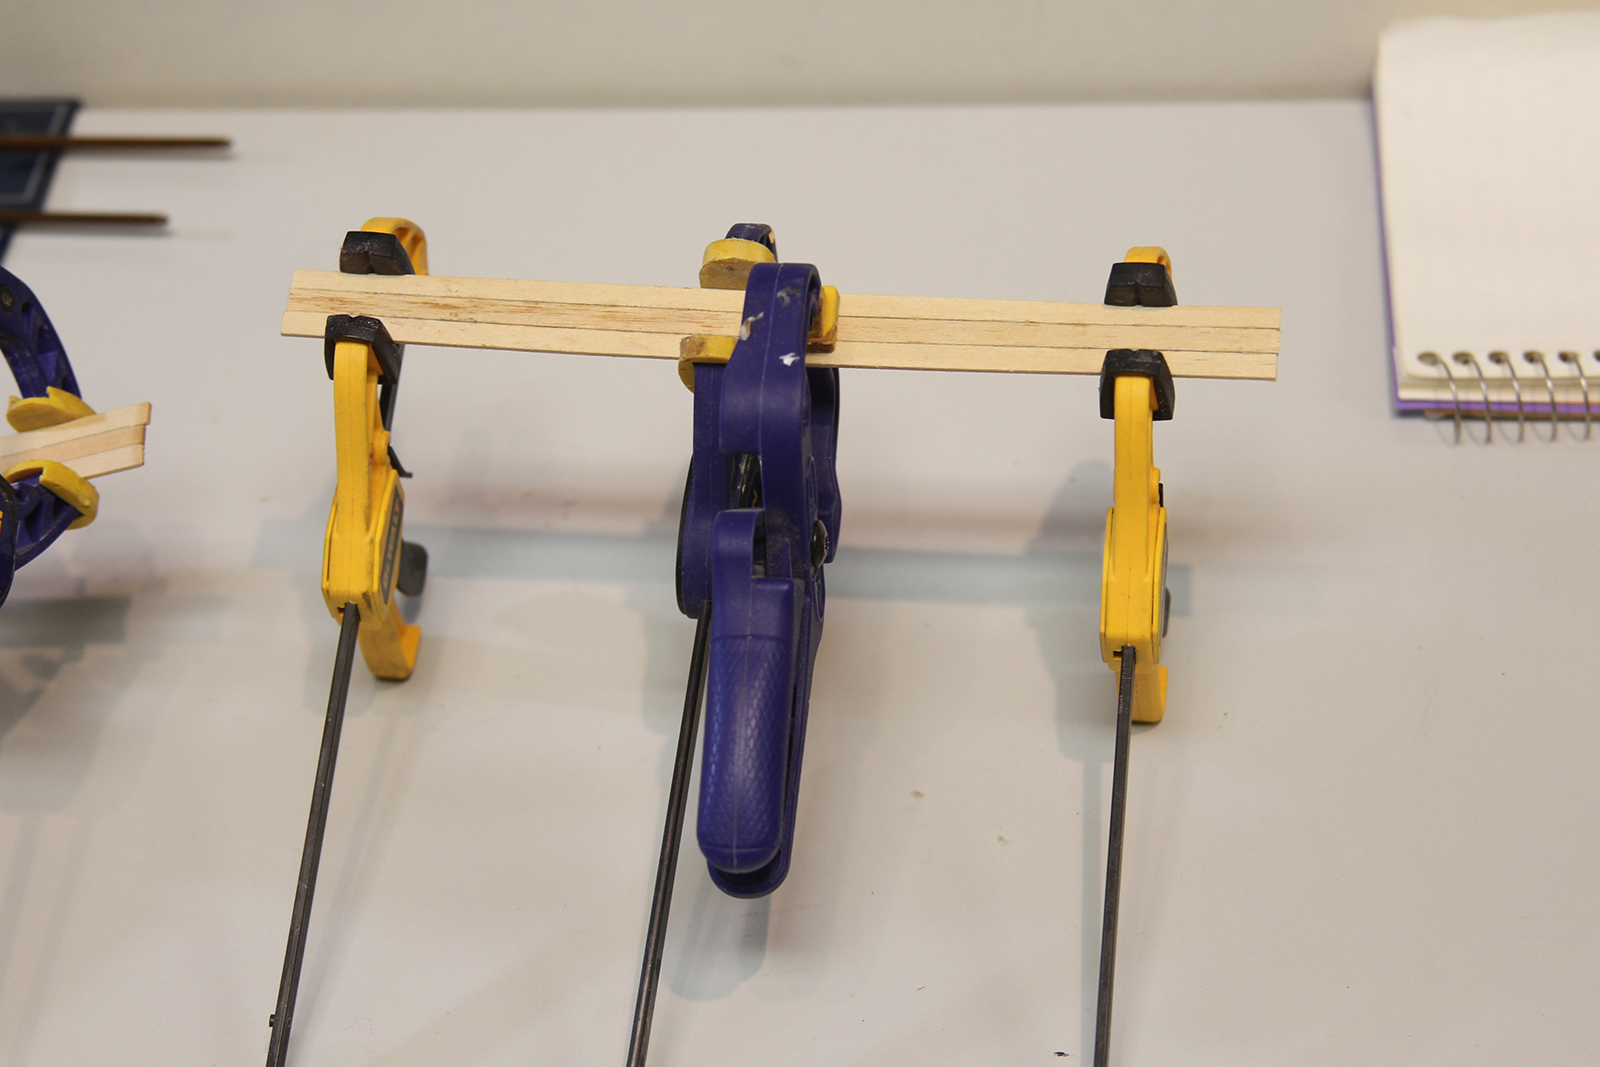
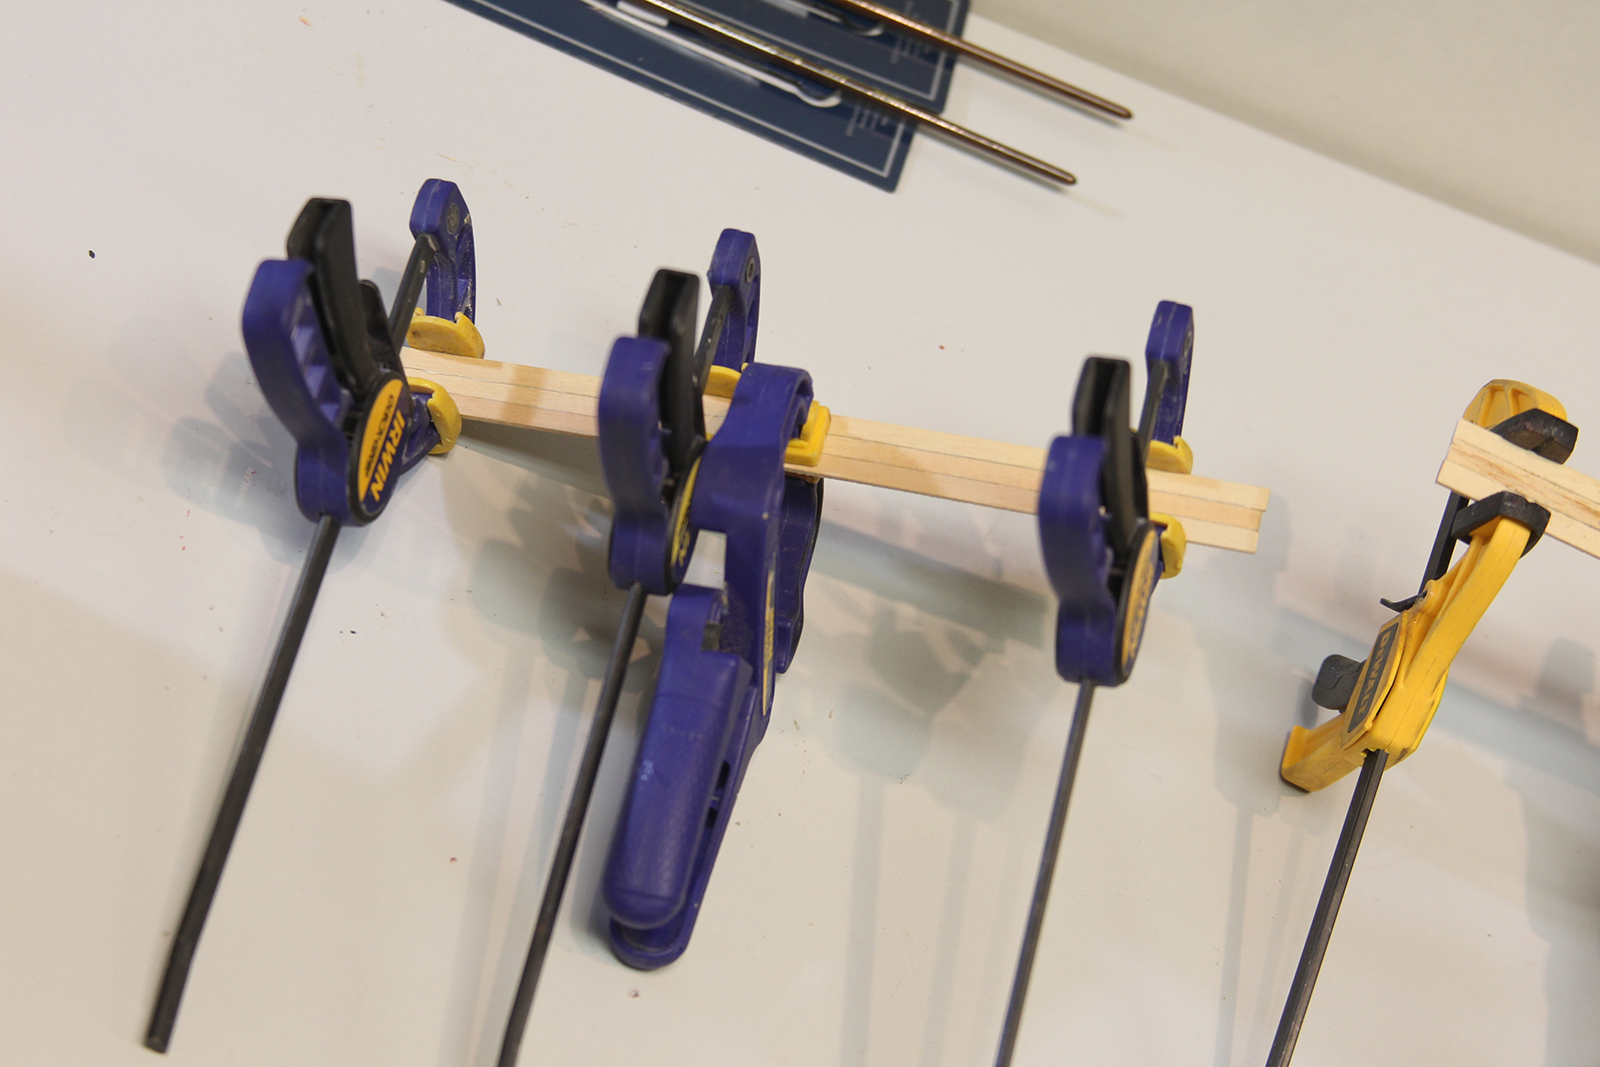

On to the gangways – the usual method of planking, glued some strips together after lining the edges with pencil lead to simulate the calking. Worth noting here that I had to do the Starboard side twice, because the first time I trimmed it too short. Ugh. What’s that old saying – measure twice cut once? (Yeah – and my father was a carpenter for 30 years, so let’s not tell him about this mistake, shall we?)
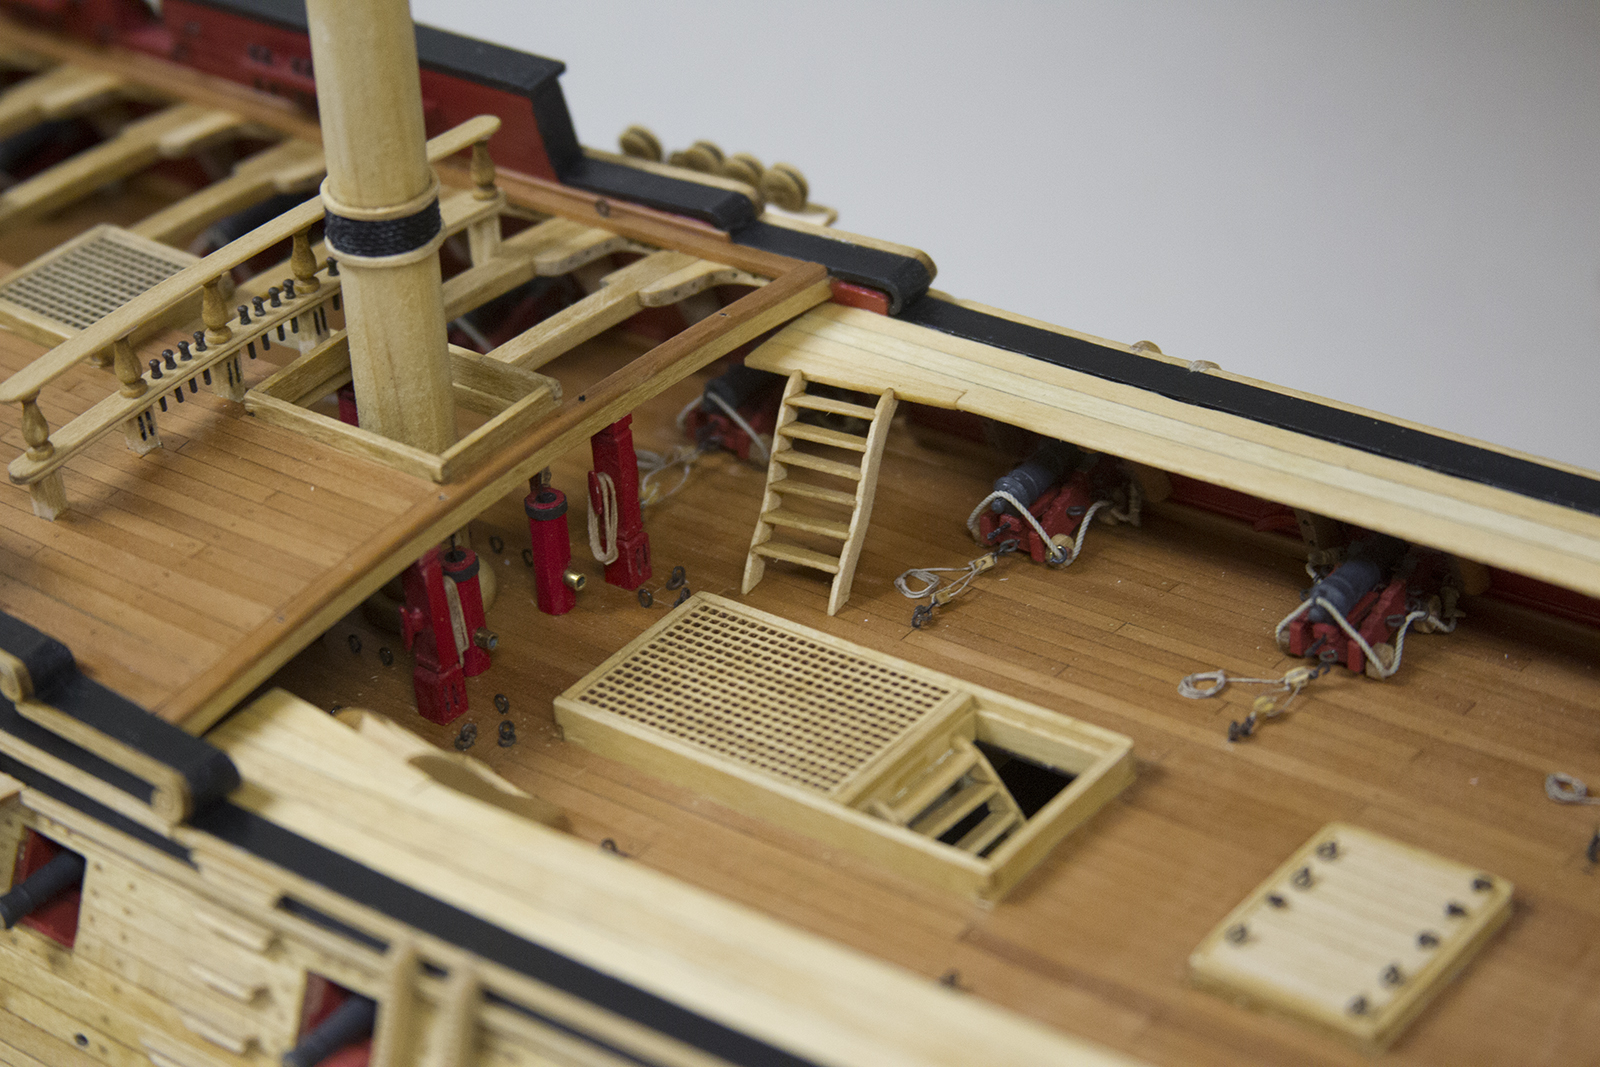

Oh …. ladders…. I pretty much hate ladders. I blow through quite a bit of wood here because I botch them pretty consistently and end up having to red-do a lot of steps, etc. Then, it’s still a struggle for me to get them anywhere close to even. Ladders are truly my achilles heel. The ladders (gangway stairs) are measured using a pre drawn plan for reference – then each side of the stair is sanded to create a groove with which to seat the steps. It’s then all glued together and each is mounted to the gangways.


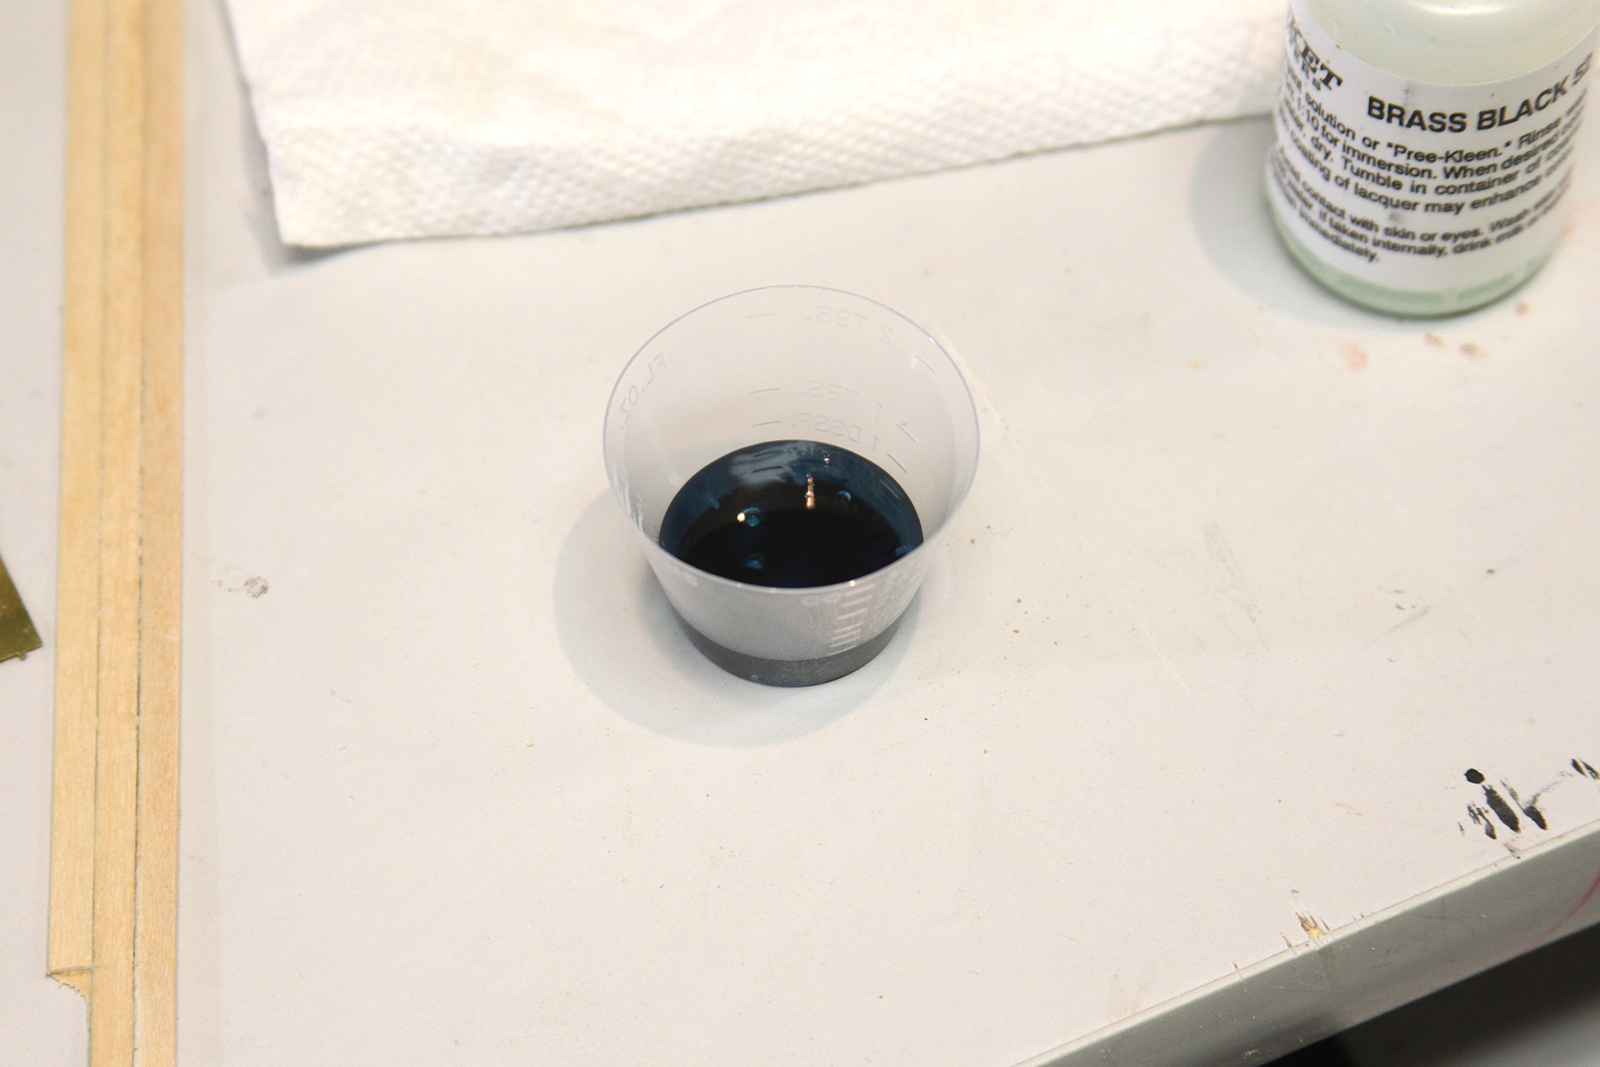

Each of the four skid beams is held in place using a small crutch. The instructions call for each crutch to be made from cardstock, however once again I used small strips of metal – as the patina’d metal is much more natural and authentic looking to me. So I cut up some brass, bended it to fit, then drilled holes in the bottom to fit a brass nail. I blackened all of it, then mounted all the skid beams.