
Mounting and letting the frame dry gave me an opportunity to plan out my deck framing strategy. I’m using 4 plank stagger based on Mondfeld’s book, as well as Danny’s planking example on the lower deck of the Vulture. Since I tend to get easily confused – I like to draw out the lines on the false deck so I stay consistent. I’m planning out 90m planks based on the scale, then I color code the stagger.


As with my other projects, I like to go with a ration of about 70% accuracy and 30% artistic license. I try to keep the history consistent, but also feel a little like a ship’s Captain who may have personalized his ship a bit. To that end – I have a fair amount of Swiss Pear left over from the Confederacy build, and jus loved the way it looked. It smooths out so beautifully and just adds a touch of class in my opinion. So I’ll be using it on Peg as well.

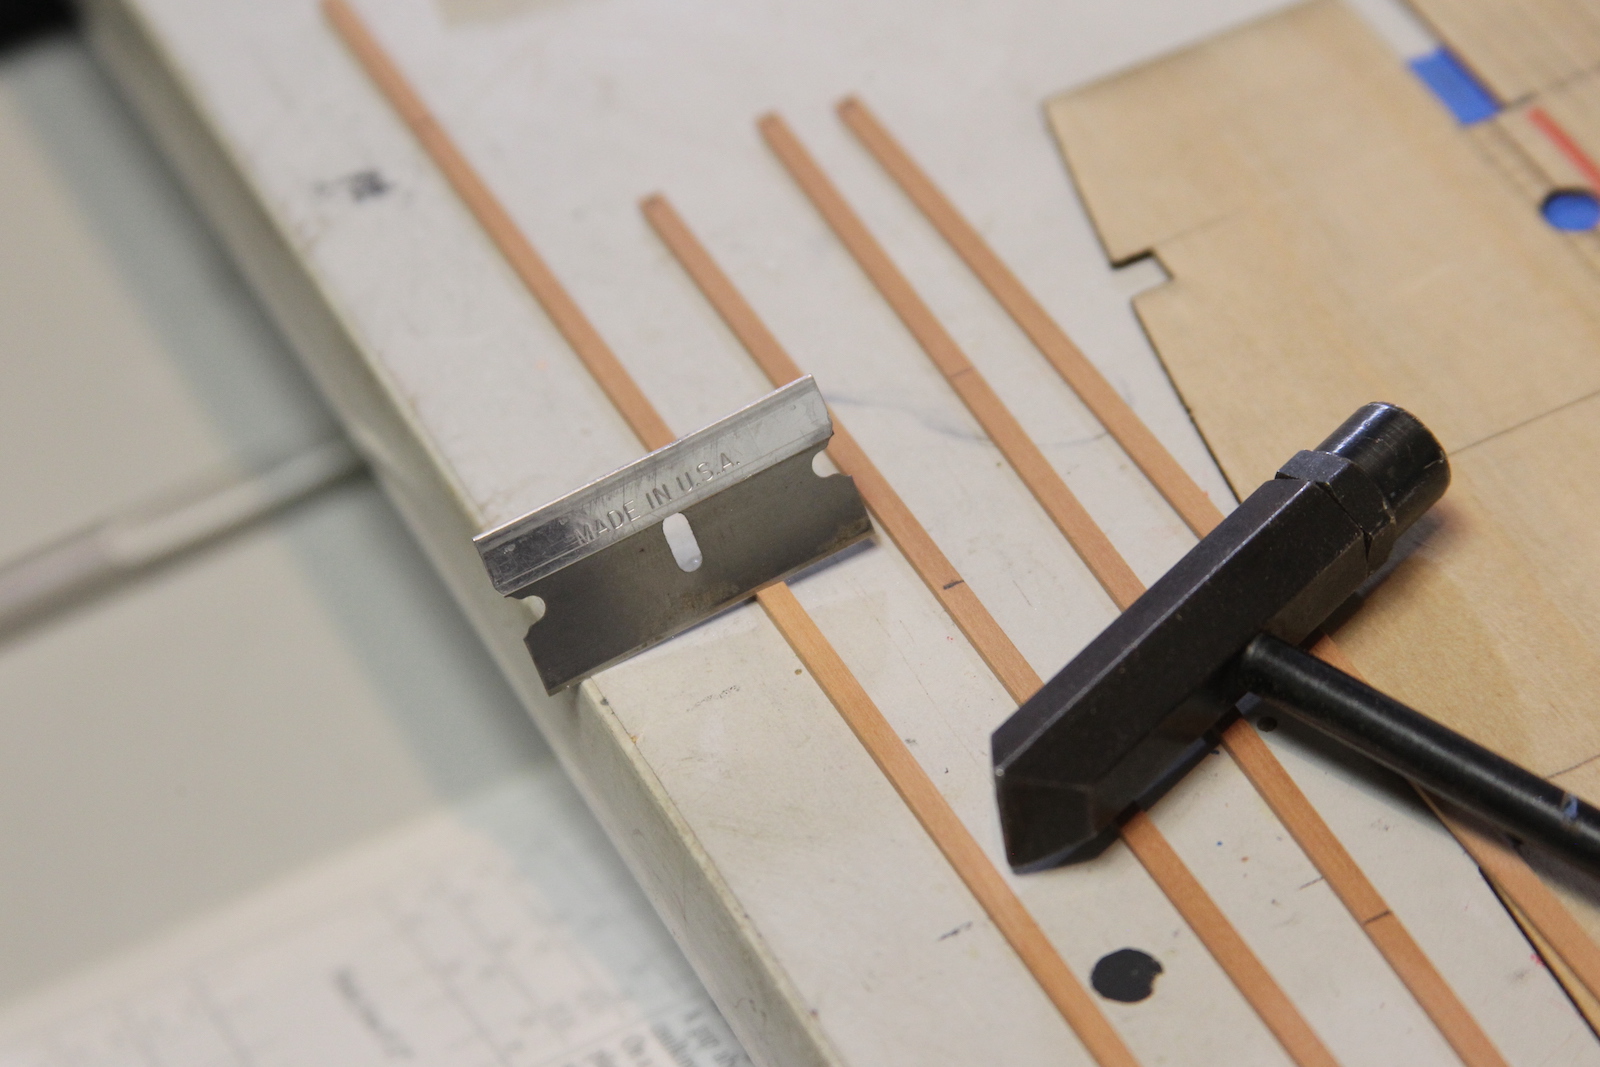
As far as planking itself – I’m going to run a 1/8″ centerline “King” plank, then mirror each side with 1/16″ planks that run the length of the deck. It’s much easier to plank the length, then simulate the end butts with a few taps of a razor blade.
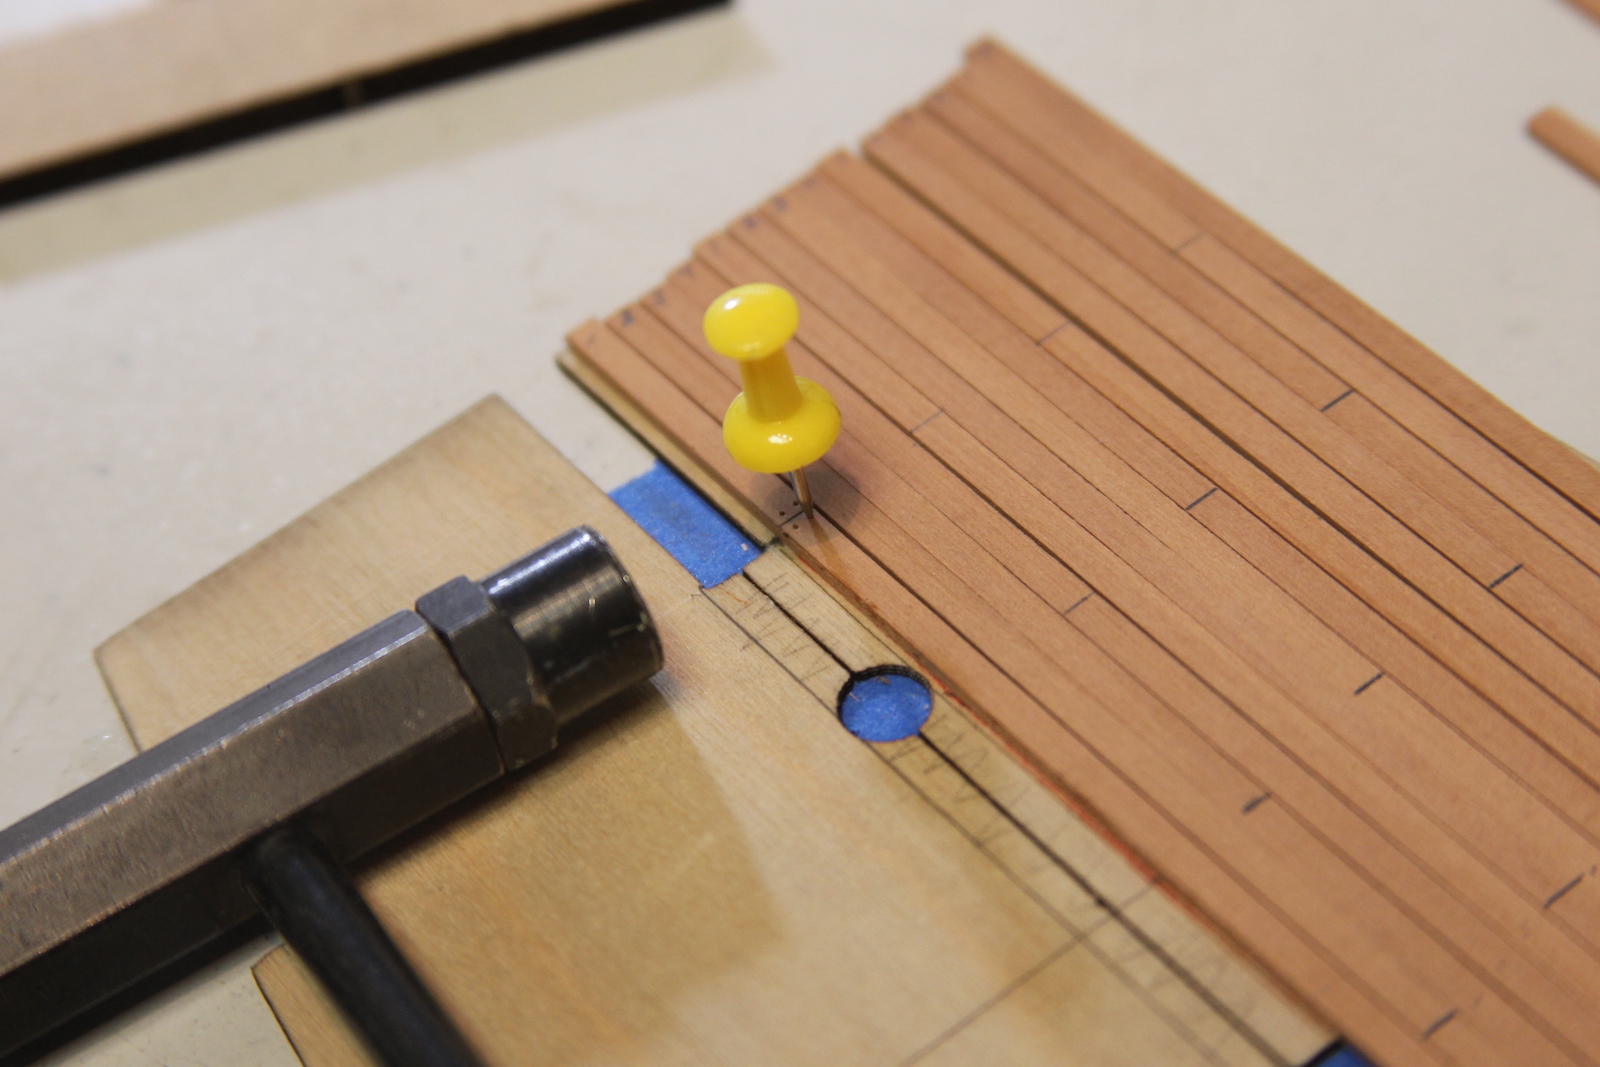

The treenails are always a bit of an issue and very much a personal choice. This time, I’m going to mark them with a thumb tack – double nails on the butts, and a single nail across the beams based on the size of the planks. Planks less than 10″ were singled and not double nailed. Numbering the end of each plank allows me to lay them out and cut/mark all of them before I glue them down to the deck.
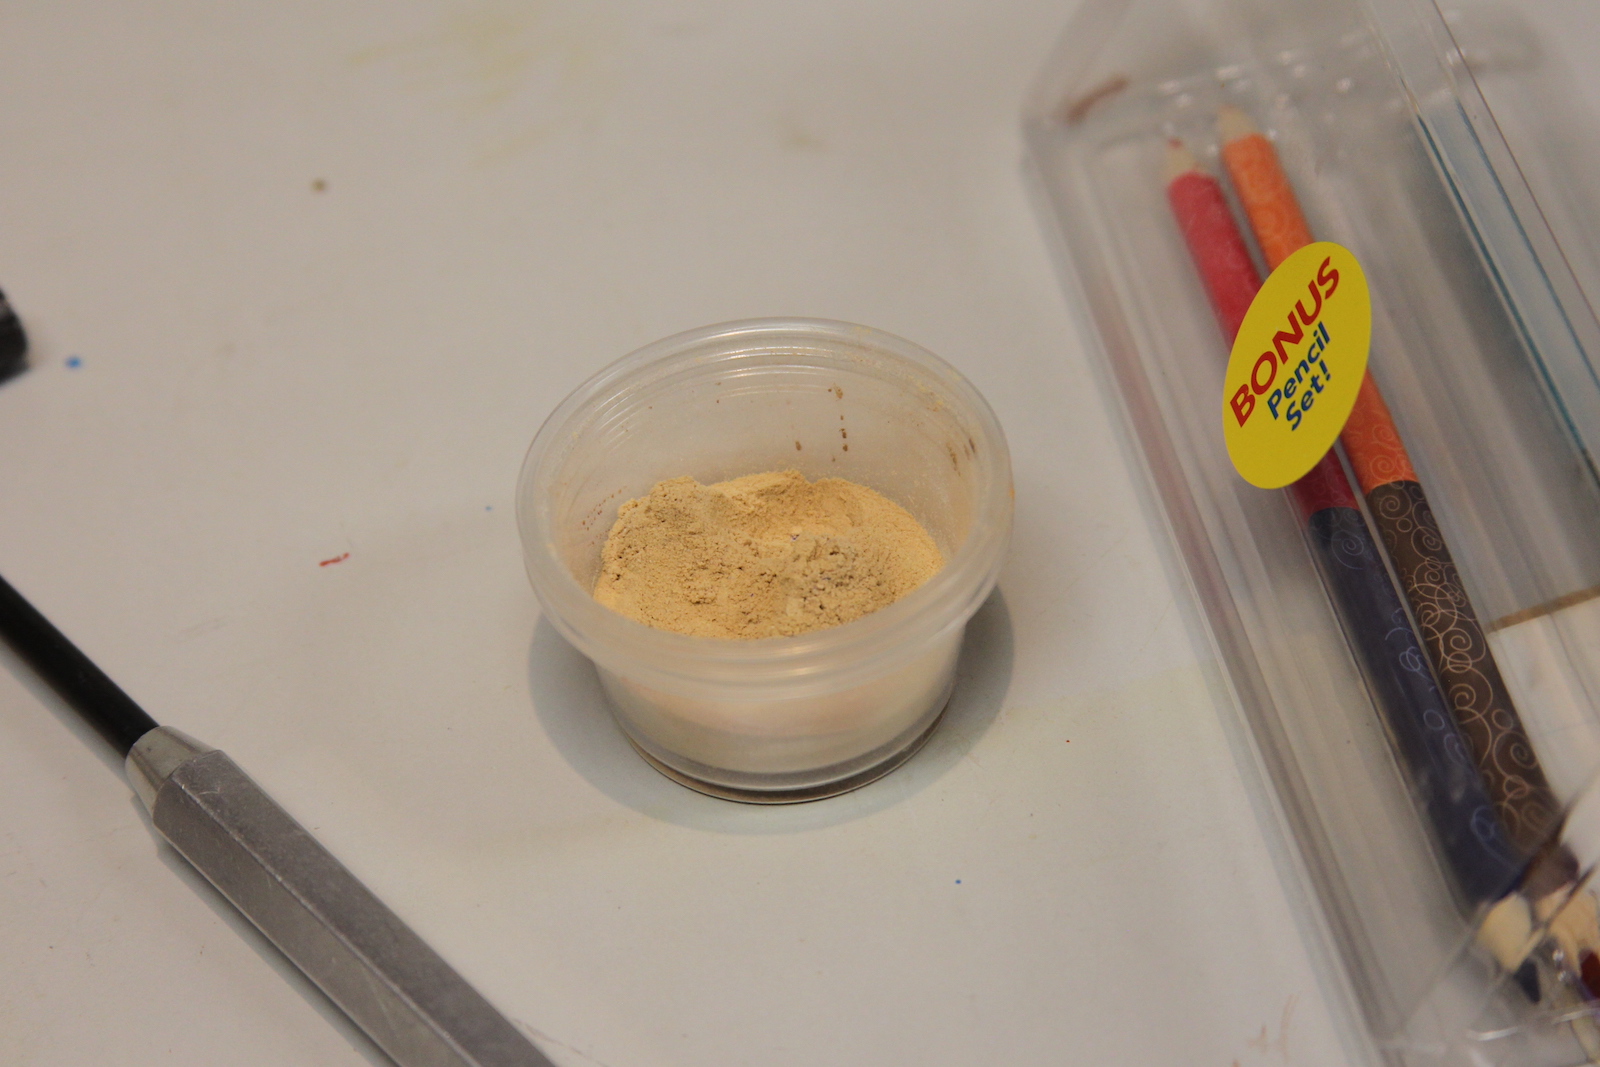
I’ll finish simulating the treenails by laying down some of my old school scene glue (from my train village building days) and filling it with fine sawdust. I’ve always made a habit of collecting and saving the sawdust as it can serve a variety of purposes, including making a convenient filler.


Peg’s plans call for planking the lower deck prior to mounting it to the frame. The false deck (shown above with my color lines, etc) is split into two pieces to facilitate mounting – which is great. But, if I proceed that way, I have no means of mounting the king plank and spreading the rest of the patter outward from that. So – contrary to the plans, I found it much easier to planks the lower deck after it was mounted to the frame. I followed the pattern I laid out on the false deck, keeping in mind that I had to cut and shift the planks as I got near the edges. I briefly mulled over the idea of creating a waterway/gutter (a specific additional water tight plank along the edges of the deck) along the sides, but ultimately ditched the idea for the lower deck as it’s a fair amount of work that isn’t likely to ever been seen; and would prove challenging based on how the frames are put together. Perhaps for the upper deck.


After the deck was fully planked I gave it a light sanding w/ 200 then 400 grit, then gave it a very light layer of wipe on poly to check and see how the treenails would pull out visually.


The lighting on the photos isn’t great – but I’m pretty happy with how the deck turned out. A little crooked on some of my butted plank marks, but that was part of the reason for experimenting with this technique on the lower deck – I’ll refine the technique for the upper decks and hopefully have a cleaner look. Overall, I still love the color and feel of the Swiss Pear even though it’s obviously not an accurate representation of the decking from that period. I really think it’s going to make the deck fixtures and accessories pop.
