Planking the hull is always the most difficult aspect of a build for me. Not only is it tedious, but it’s a challenging and precise endeavour that tolerates few mistakes. Basically, the process entails soaking a strip of wood, bending it to it’s proper shape to run along the bulwarks, tacking it into place, then either drying it with a heat source (or letting it dry naturally), then gluing and nailing it into place. It’s a one-strip at a time process that I have great difficulty getting right. The goal of course is to have smooth and consistent lines between the planks that can be sanded into an overall consistent and smooth hull.
To this end – I’m a pretty big fan of filling the spaces between bulwarks with balsa wood so that I have more solid footing with which to form and mount the planks. I started out by marking and sanding down the bearding line (where the planks meet the stem), then filling the spaces with chunks fo balsa.

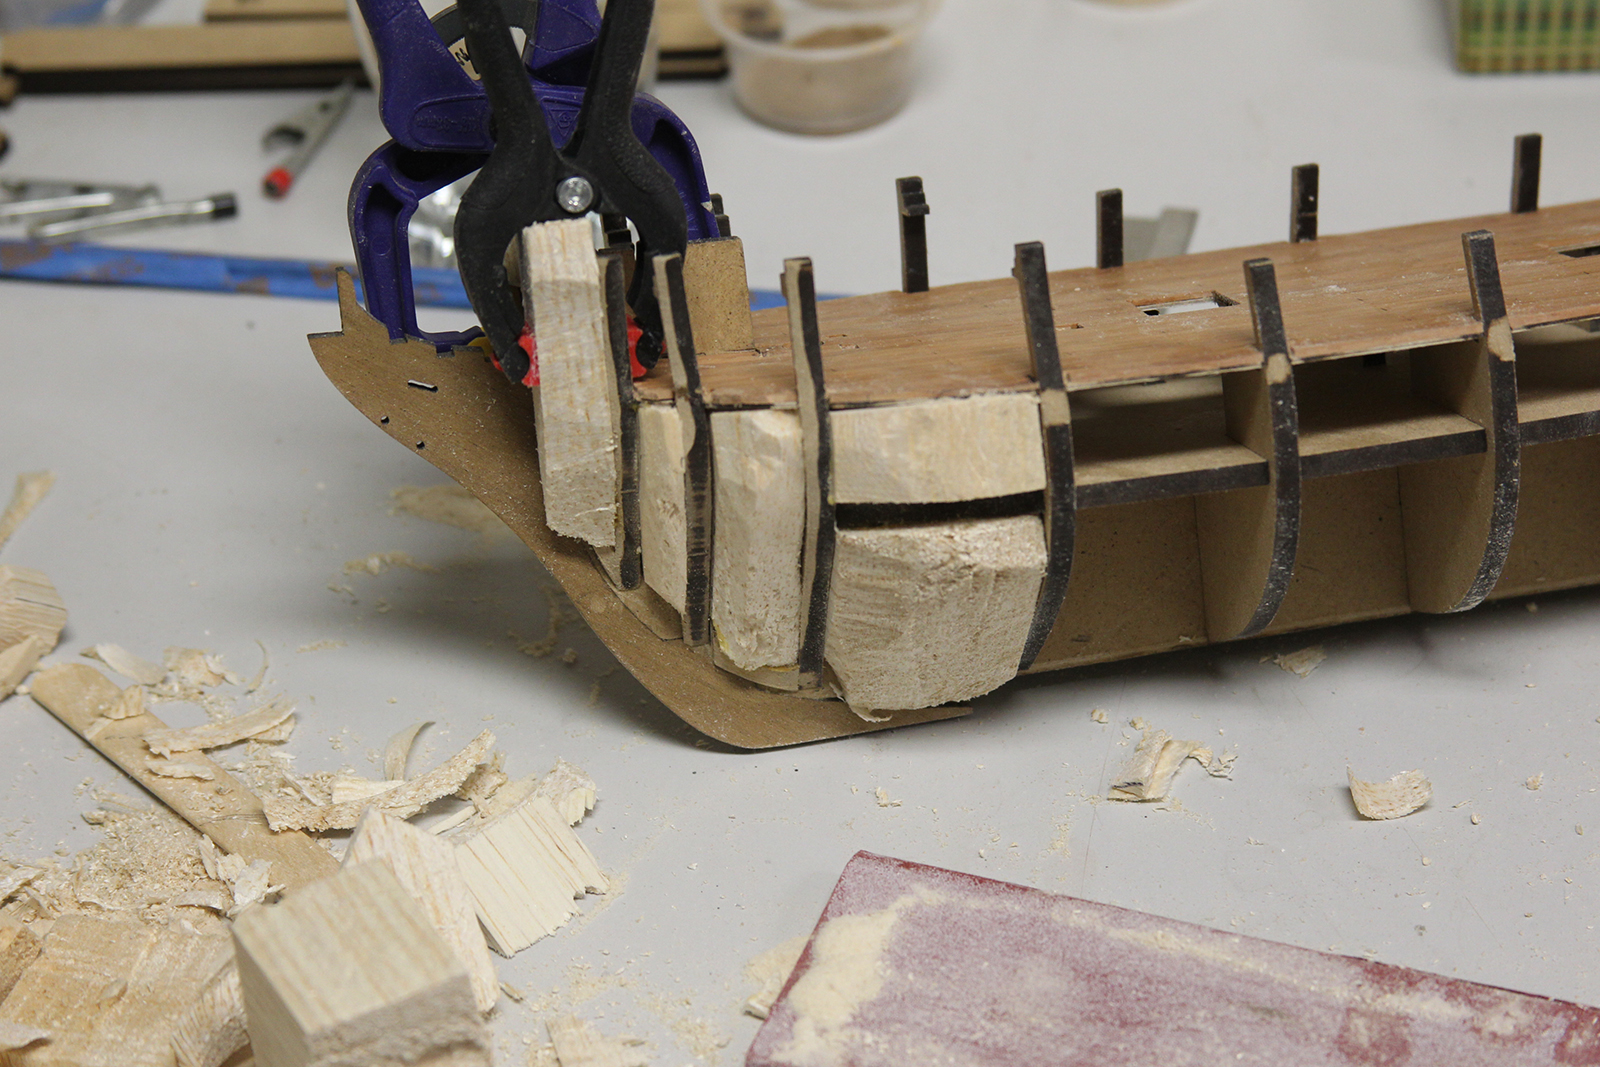

Then there’s just a lot of carving, cutting, and sanding until you get a smooth consistent surface. Inconsistencies are filled in with wood filler, then more sanding. This is one of the messiest parts of the build (probably next to sanding the hull itself), and I kind of wish I’d taken a couple of photos of the hobby room and garage during the process.


Once I get a surface I’m happy with, I can remount the keel. I’ve always had some difficulty with a keel staying in place with just glue (regardless of the type of glue used). So, in recent builds I’ve developed a technique where I drill a small hole all the way down through the keel into the hull, then use straight pins as mounting nails in addition to wood glue. This seems to work pretty well, and is an important strengthener as the keel spends a lot of time in the wooden vise.


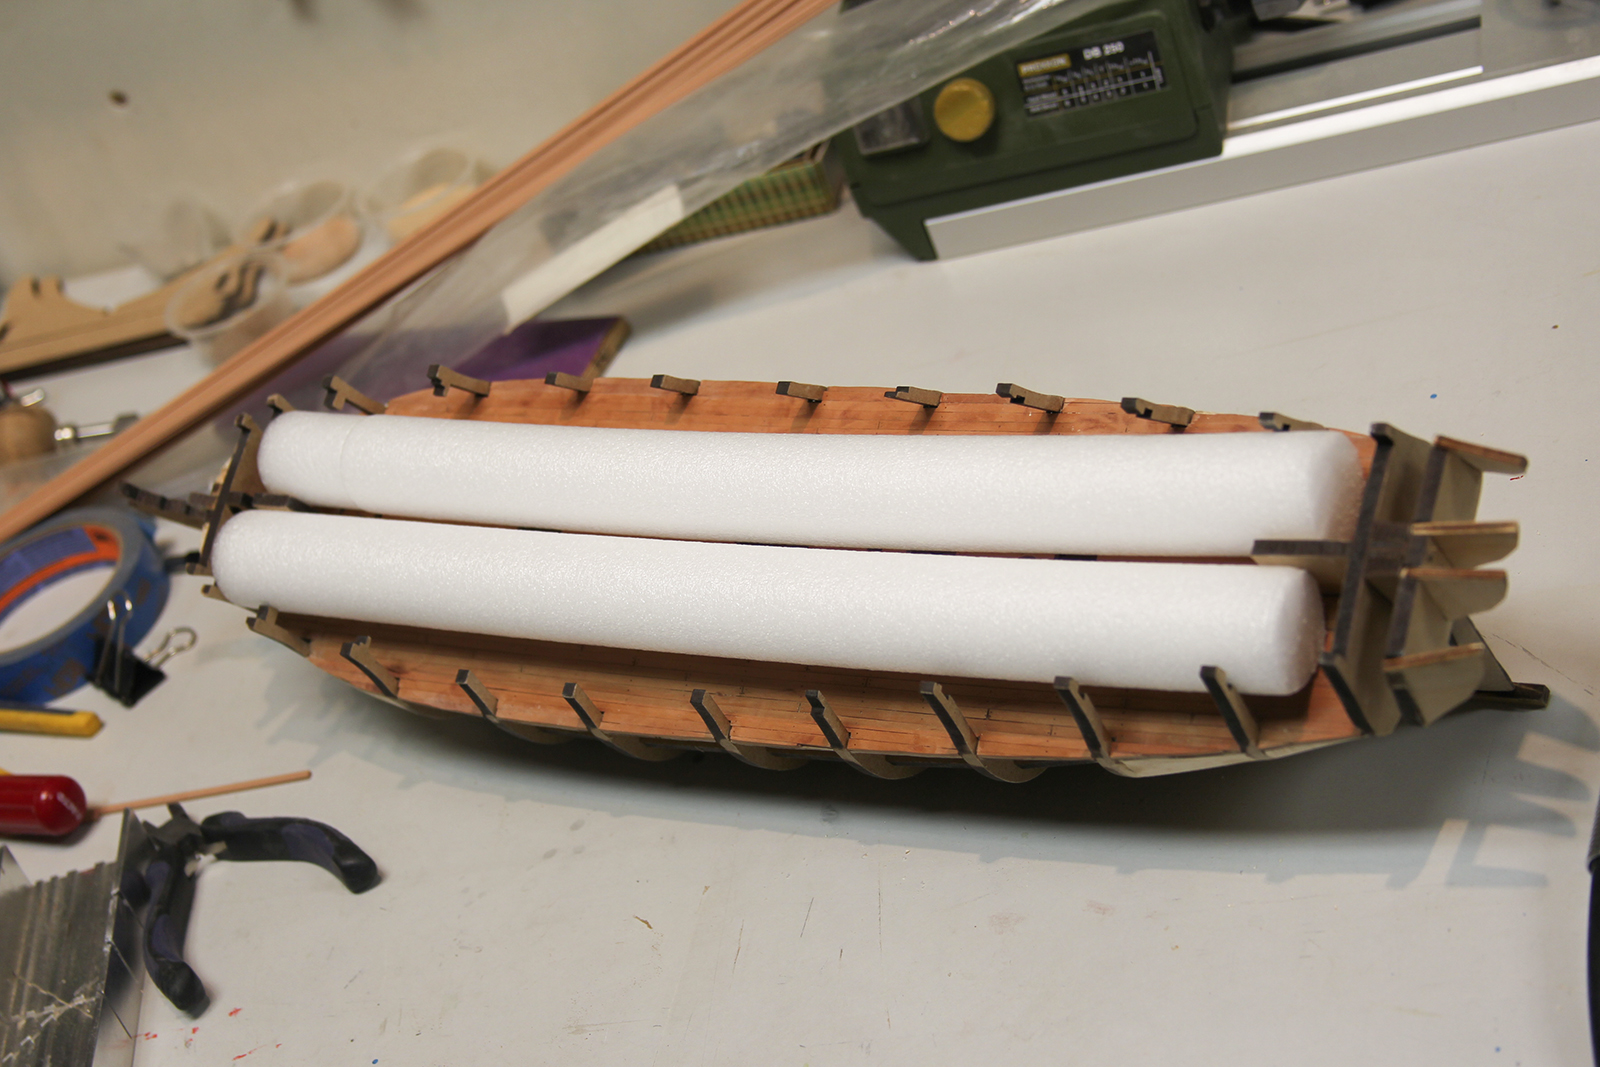
This last photo is just a fun little sidebar – I don’t even remember where I got this soft styrofoam tubes, but they work perfectly to protect the deck when I have to have the ship upside down to work on the hull. An example of using whatever’s handy during these builds.