
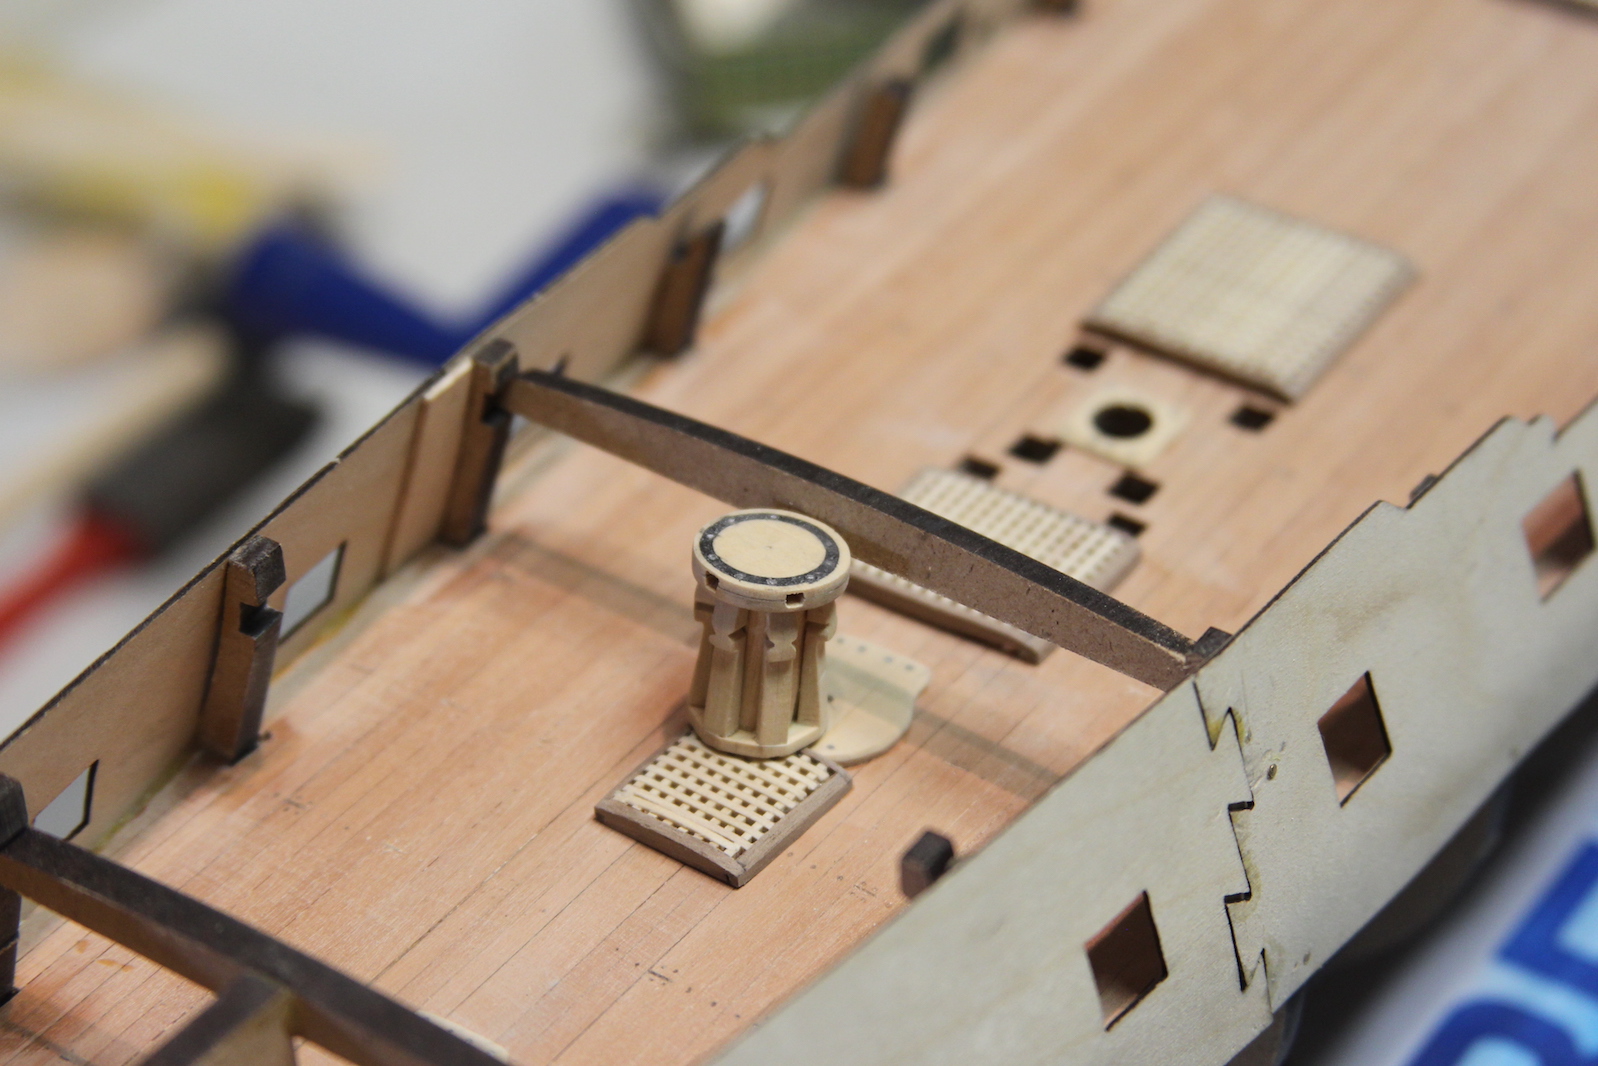
At the risk of REALLY falling off the nerd cliff – I have a bit of an unhealthy fascination with Capstans. The Capstan is a vertical axle (basically a rotating pulley) that multiplies force when hauling ropes and hawsers. It’s made up of a cylindrical base that runs through both the lower and quarterdecks. Each capstan has a drum head with holes where (when in use) bars are inserted and used to spin the base – wrapping a rope around the bottom and pulling up an anchor windlass or some other hawser.
The Capstan is always a pretty prominent and interesting looking deck fixture, so it’s important to me to get it as accurate as possible. While the Capstan parts that come with the Peg are alright, they are a little chunky. So I consulted David Antcherl’s book on Swan Class sloops from the “Fully Framed Model” series for specifics.
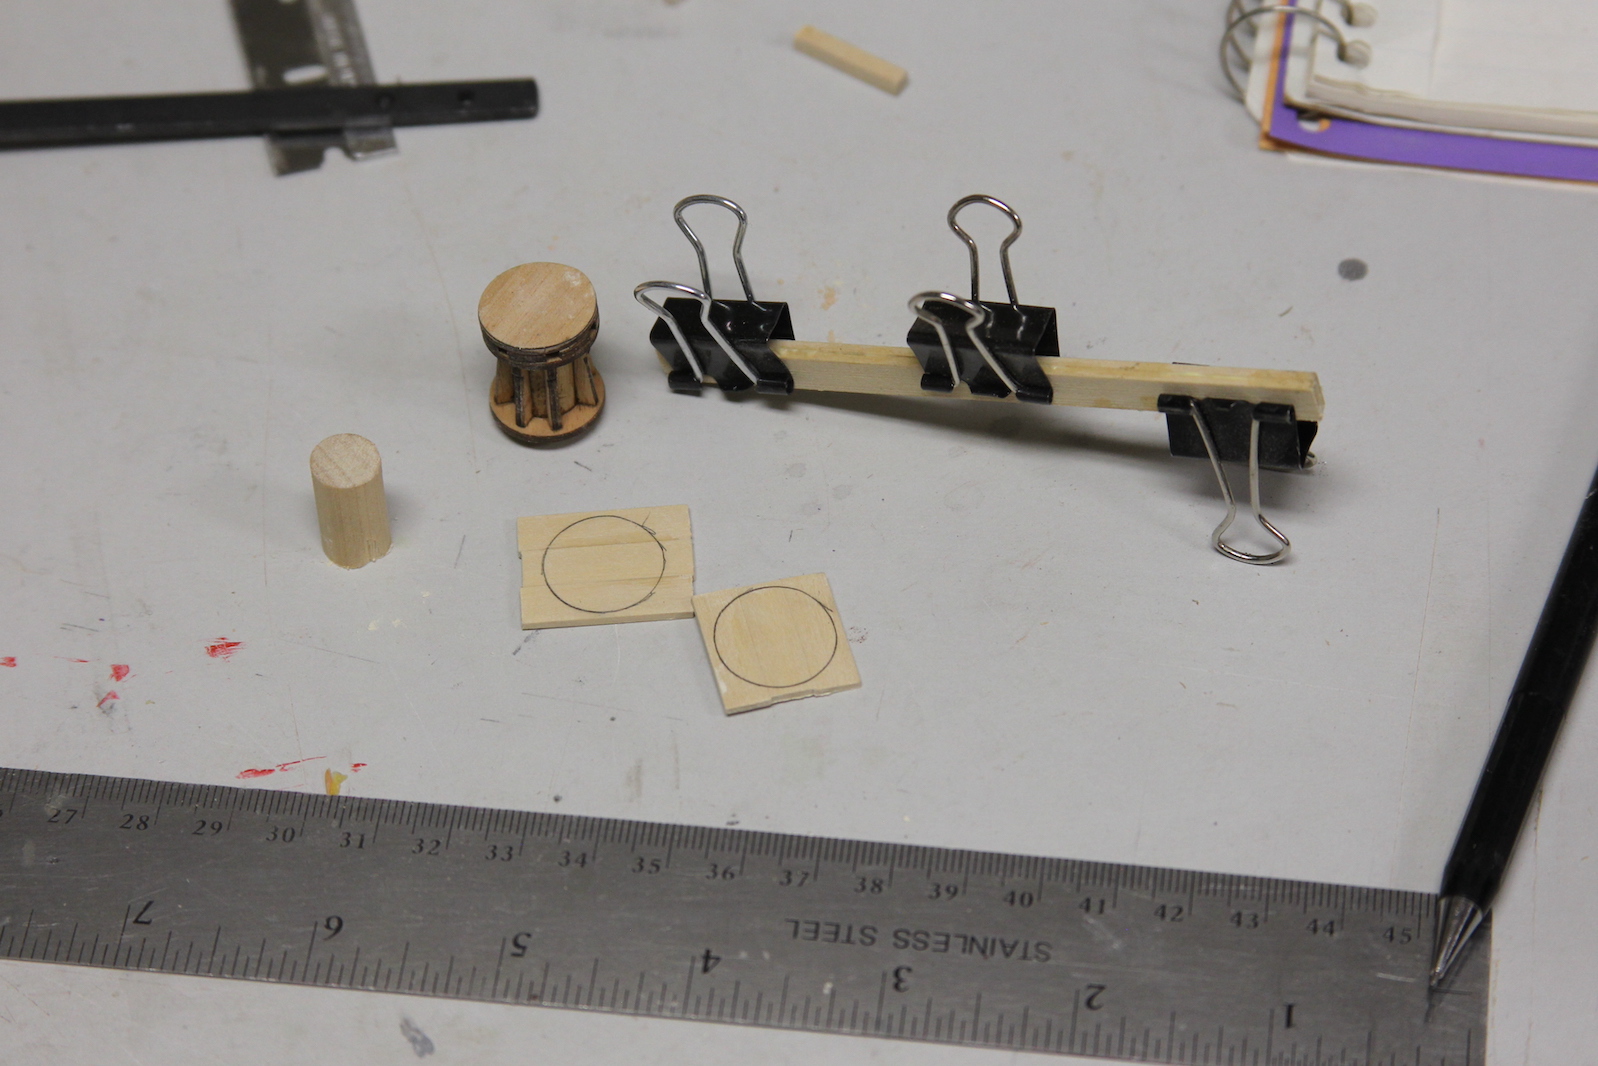
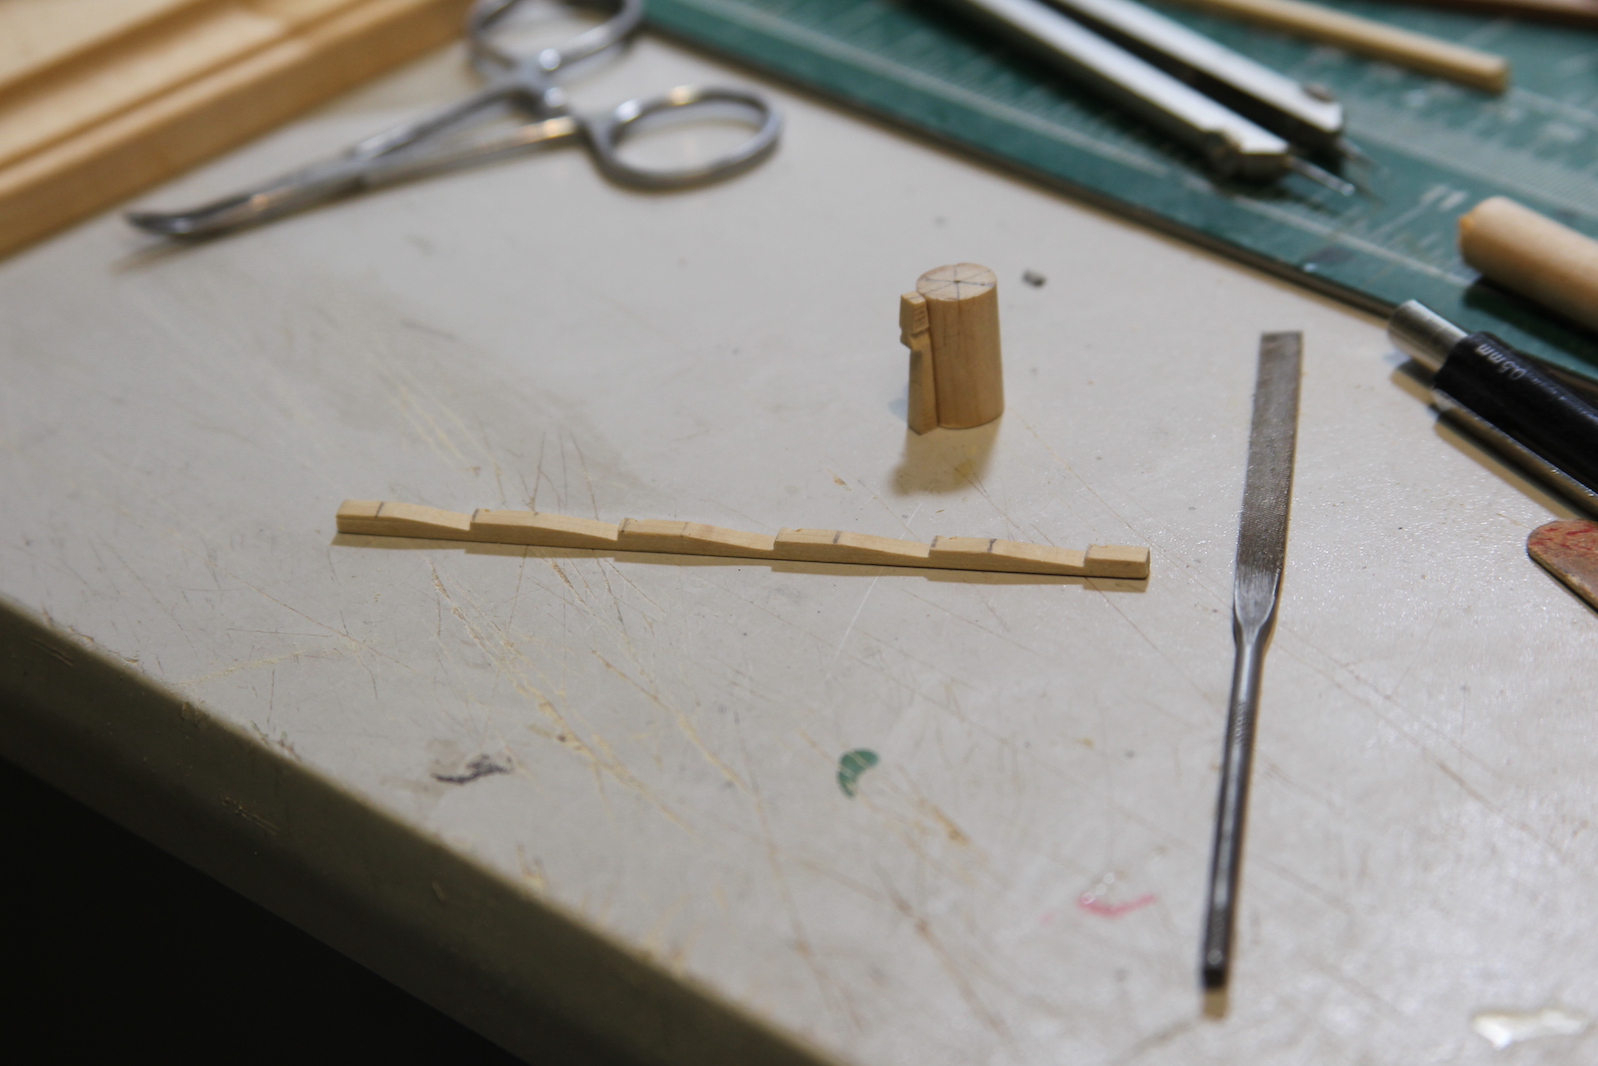
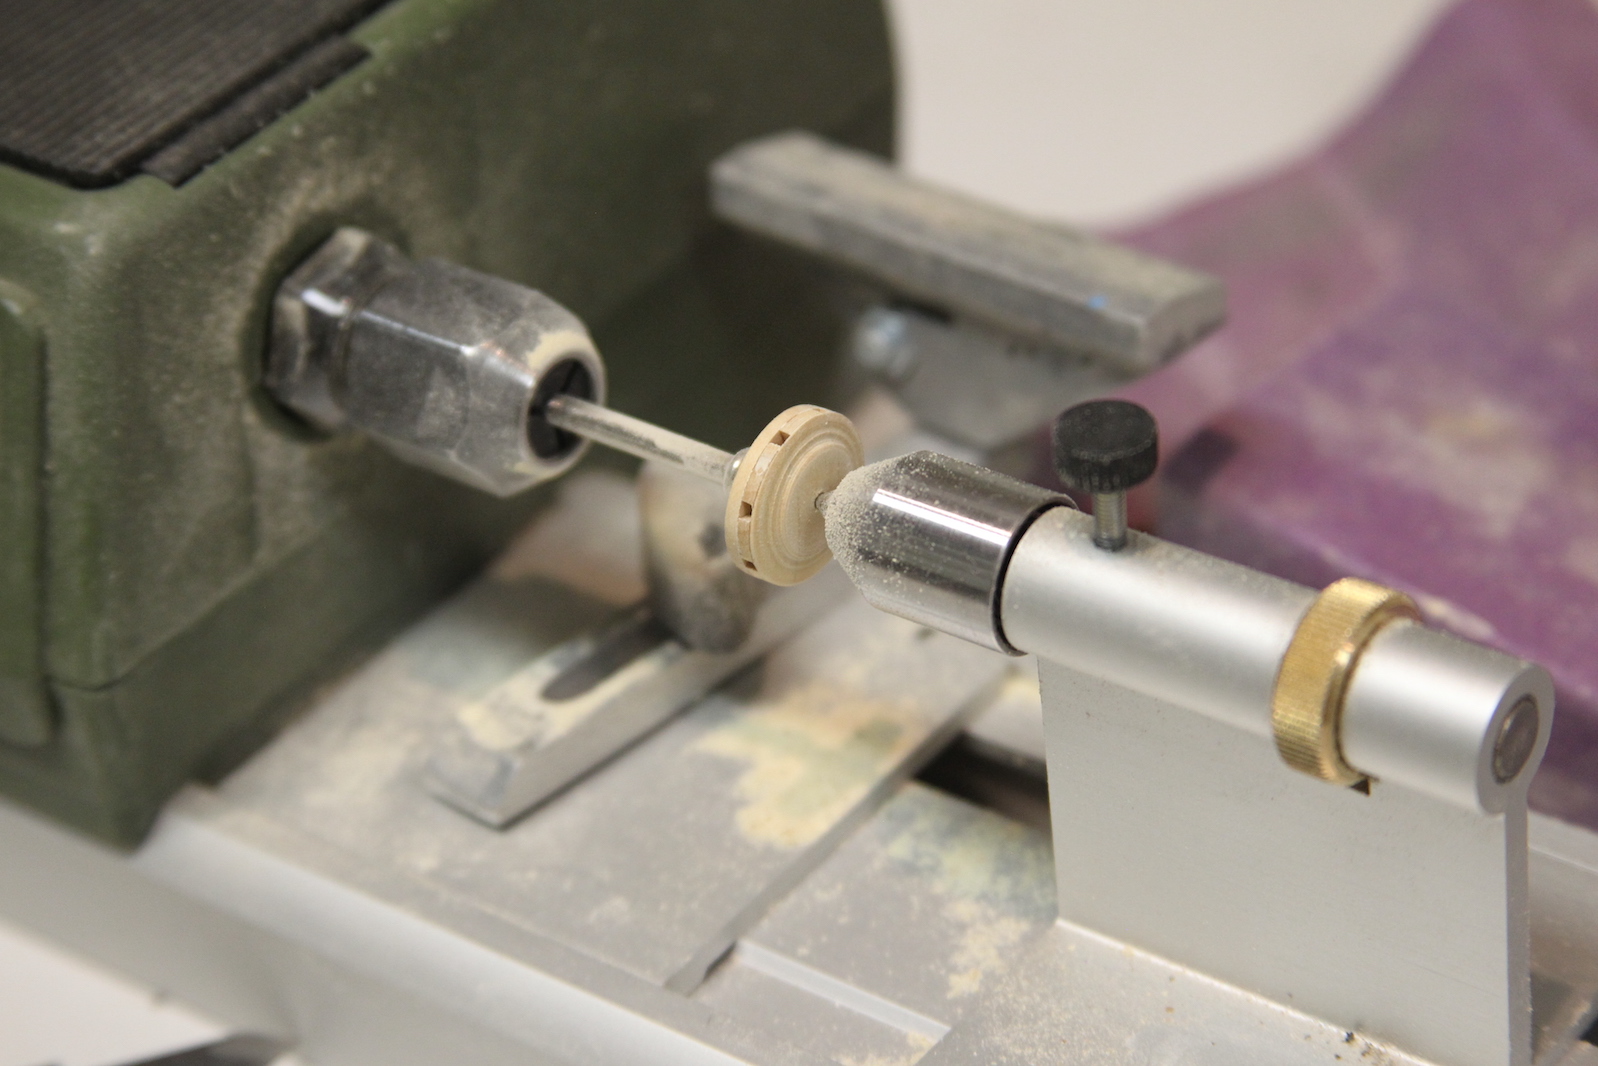
I used the Peg’s kit capstan as a scale guide, and some leftover boxwood strips to build out the parts. I channeled out the slots in two halves of the drum head then worked them together. I had to rig up a way to get it into the lathe, but that allowed me to even out the circle and also carve out a channel for the ebony parts.
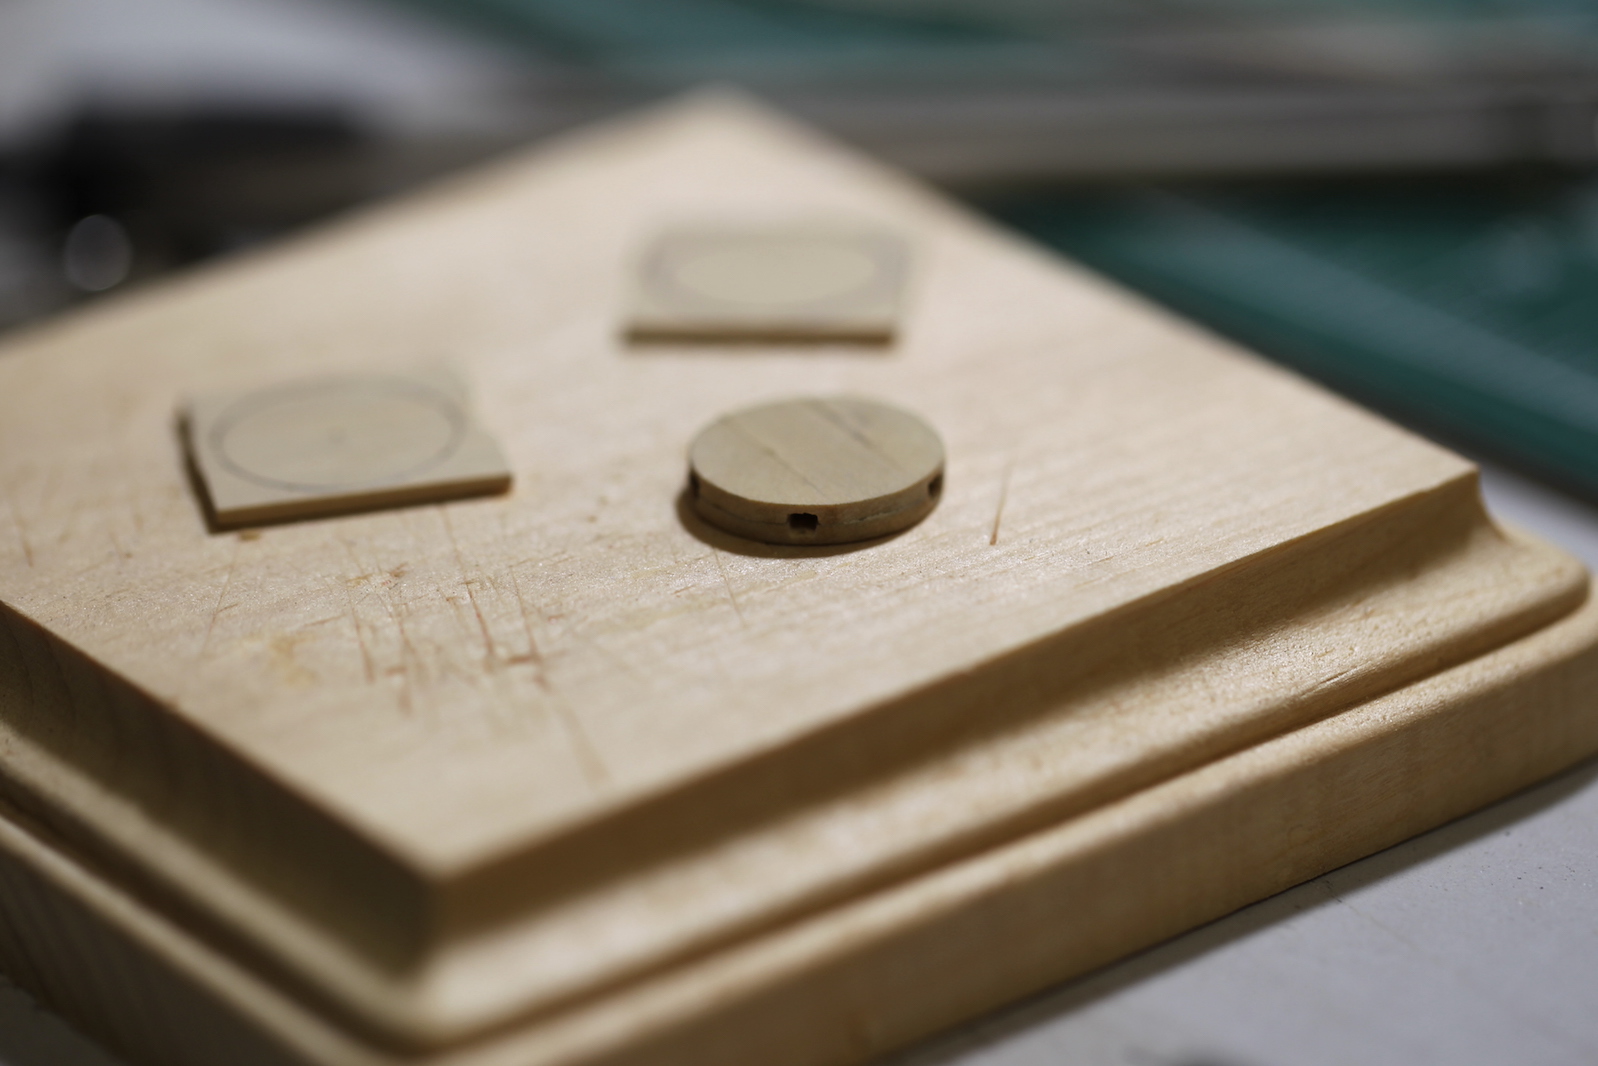

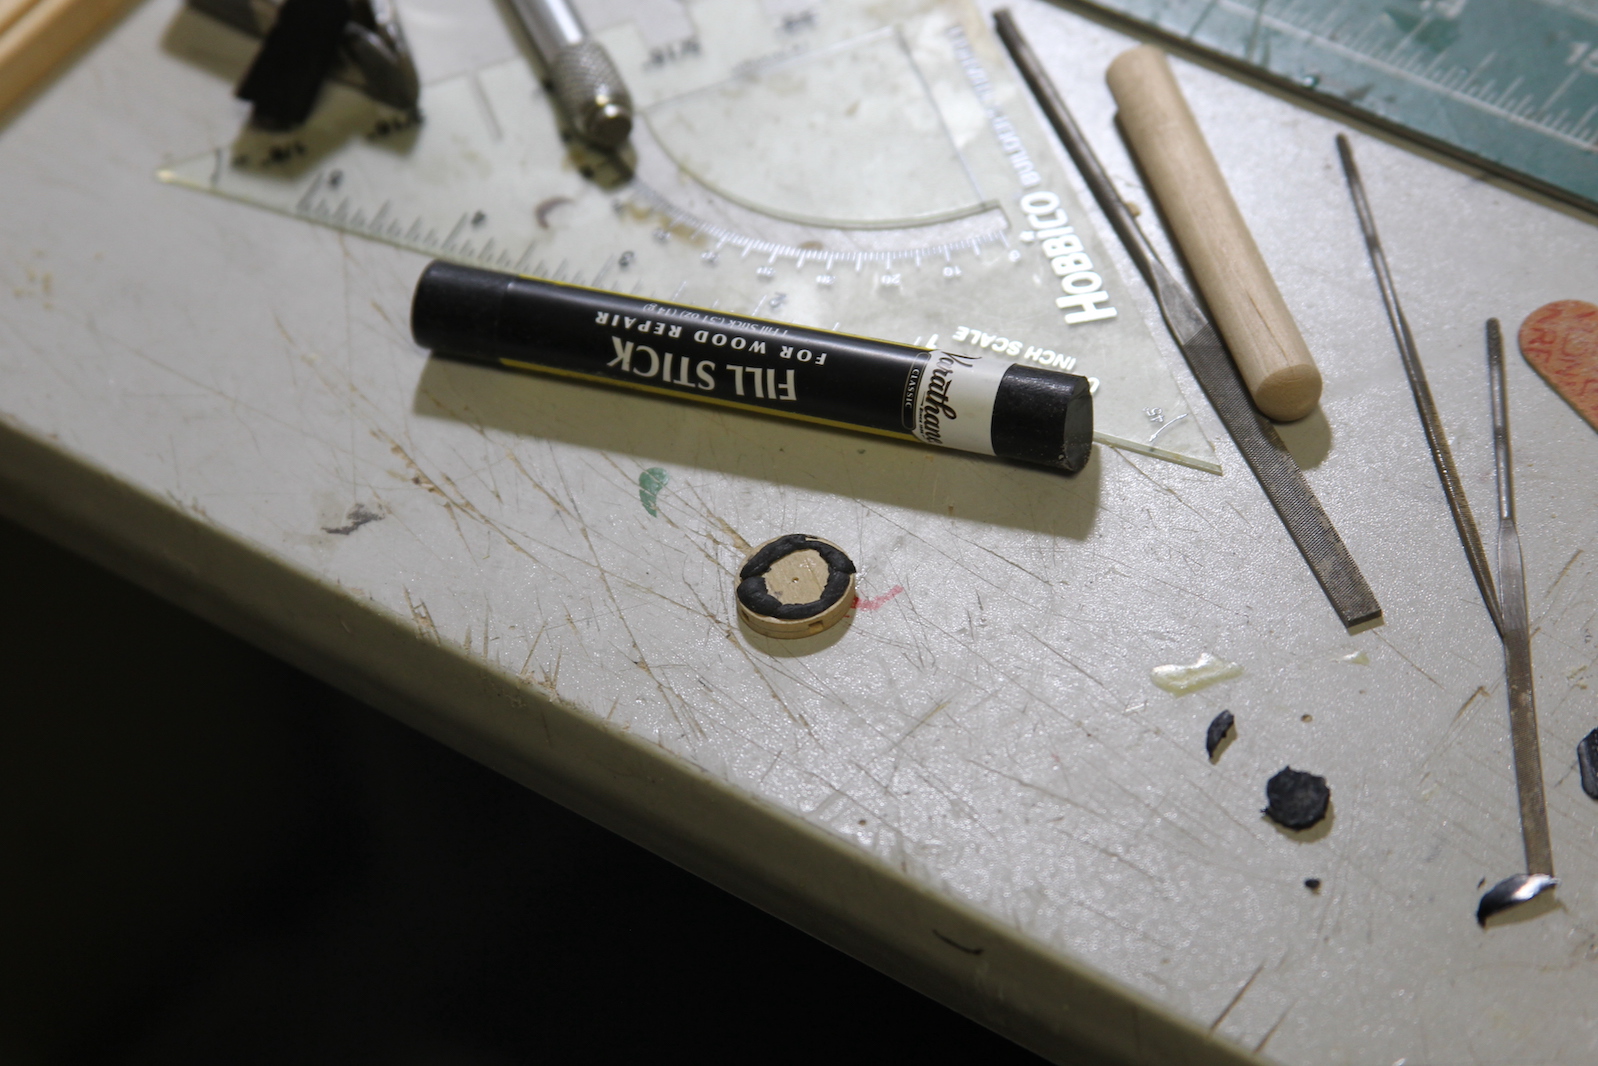
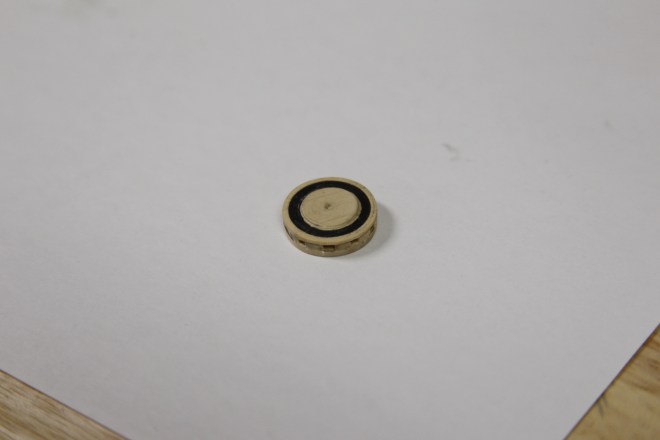
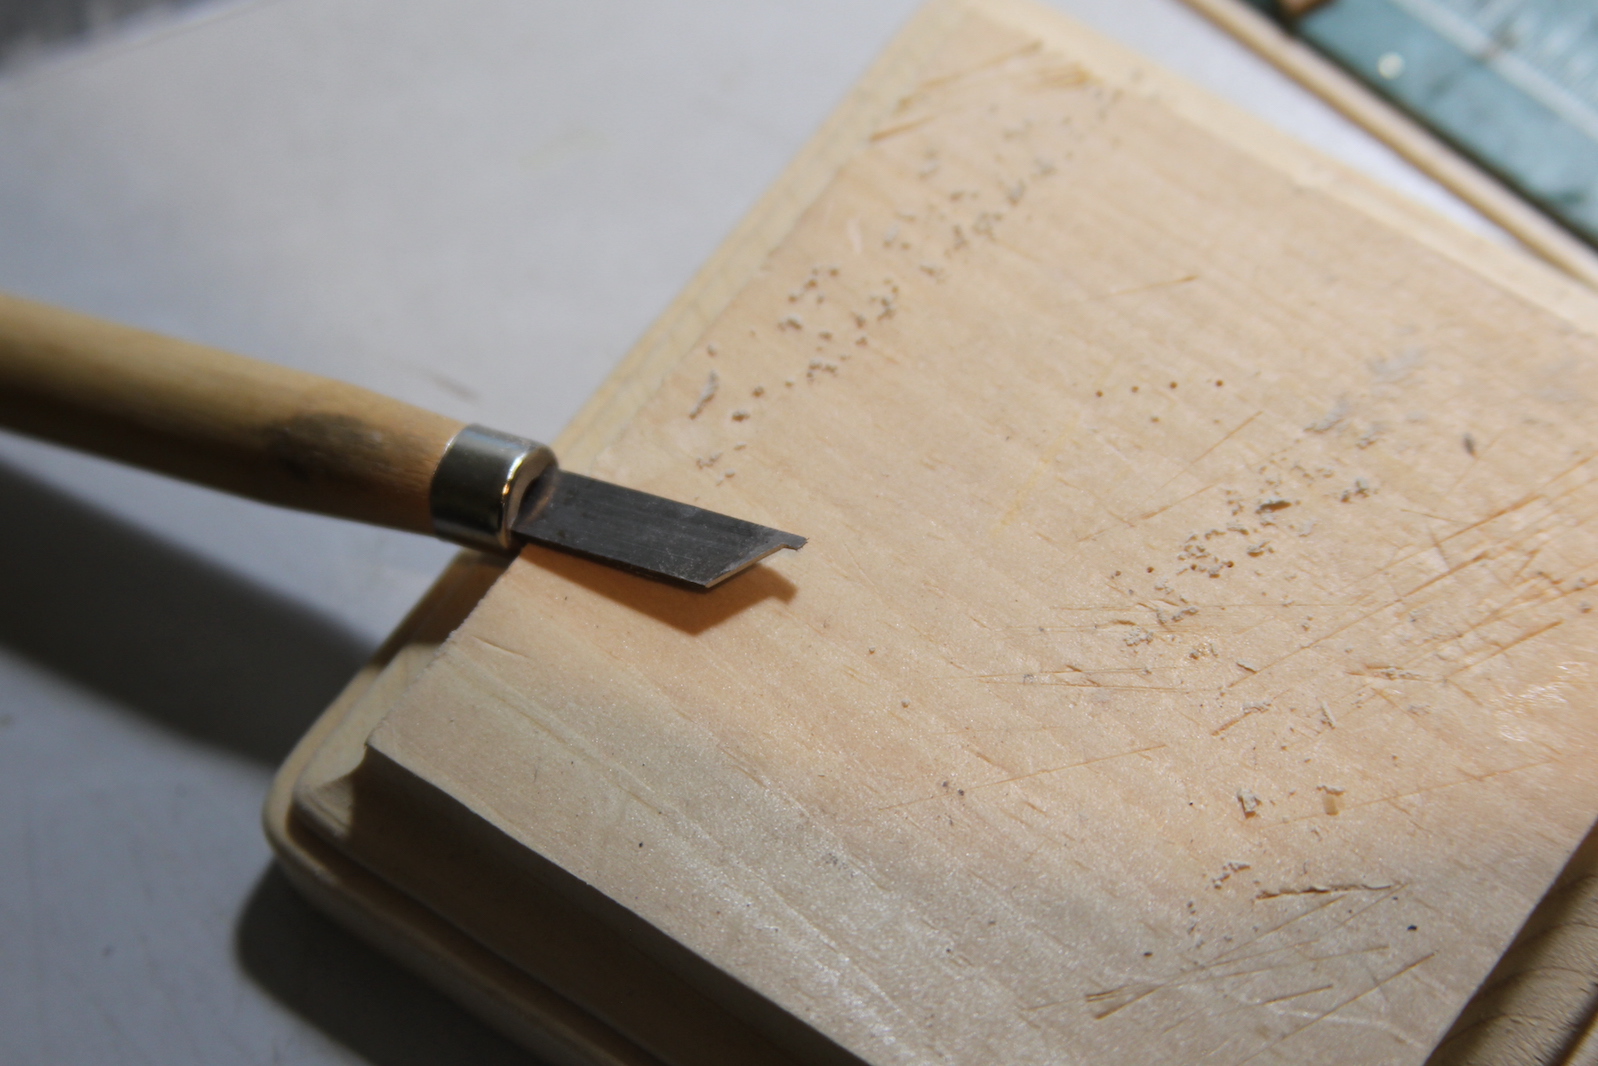
I don’t have much in the way of fancy power equipment in my shipyard (other than my nifty miniature Proxxon lathe), so I had to use some alternate tactics, including much use of pin files, x-acto knives, razor blades, and my handy dentist picks and tools. I also don’t have any ebony or super dark wood in my stash, so I used ebony wood filler which I loaded into the channel, then scrapped it flat and even with a razor blade. This particular wood putty doesn’t dry solid, so sanding it requires at least 600 – 1000 grit paper and a VERY light touch or it just smears. I topped it all off with drilled holes and cut off pins as nails.

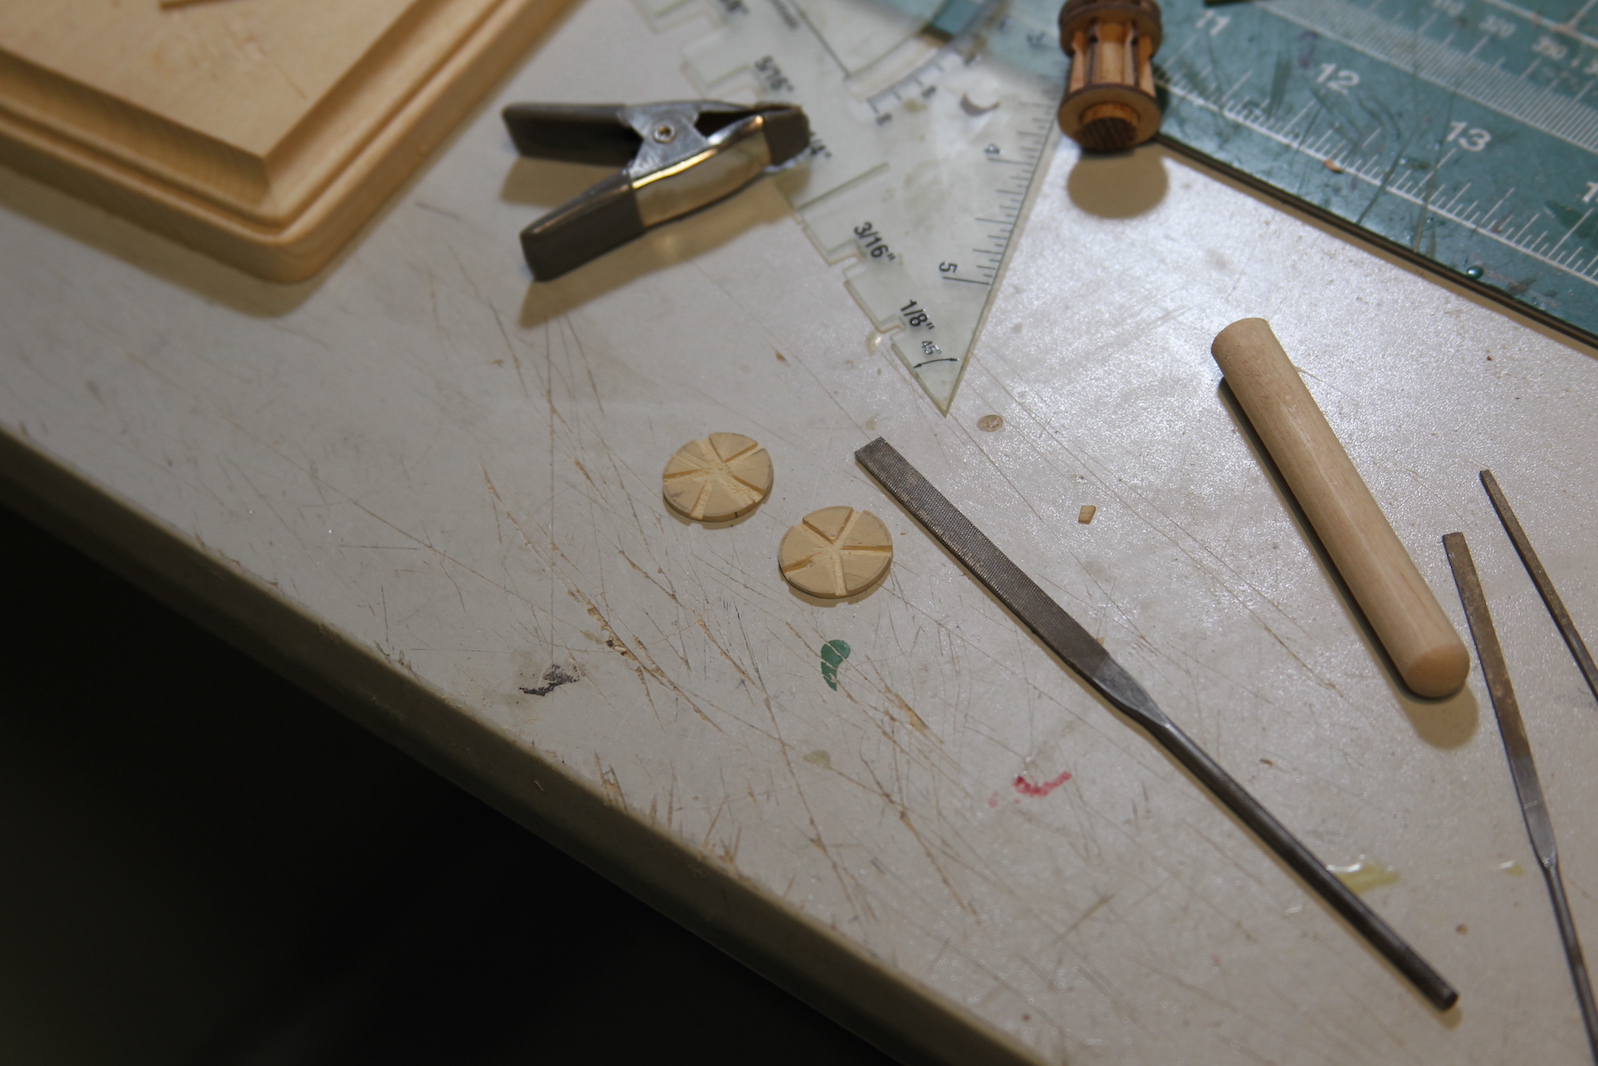
The ‘body’ of the capstan is made up of a series of ‘whelps’ cut into specific shape that strengthens the body of the capstan so it can endure the load. I had to do each of the whelps individually without machinery. I split a couple of boxwood planks and glued them together, then filed out the shapes of the whelps using various pin files. From there, it’s a matter of gluing them to the base, filling in the gaps and sanding it all down. Clearly I’m going to have to do some work with the framing to get this guy to fit, as well as connect the two capstans. More to come on that.

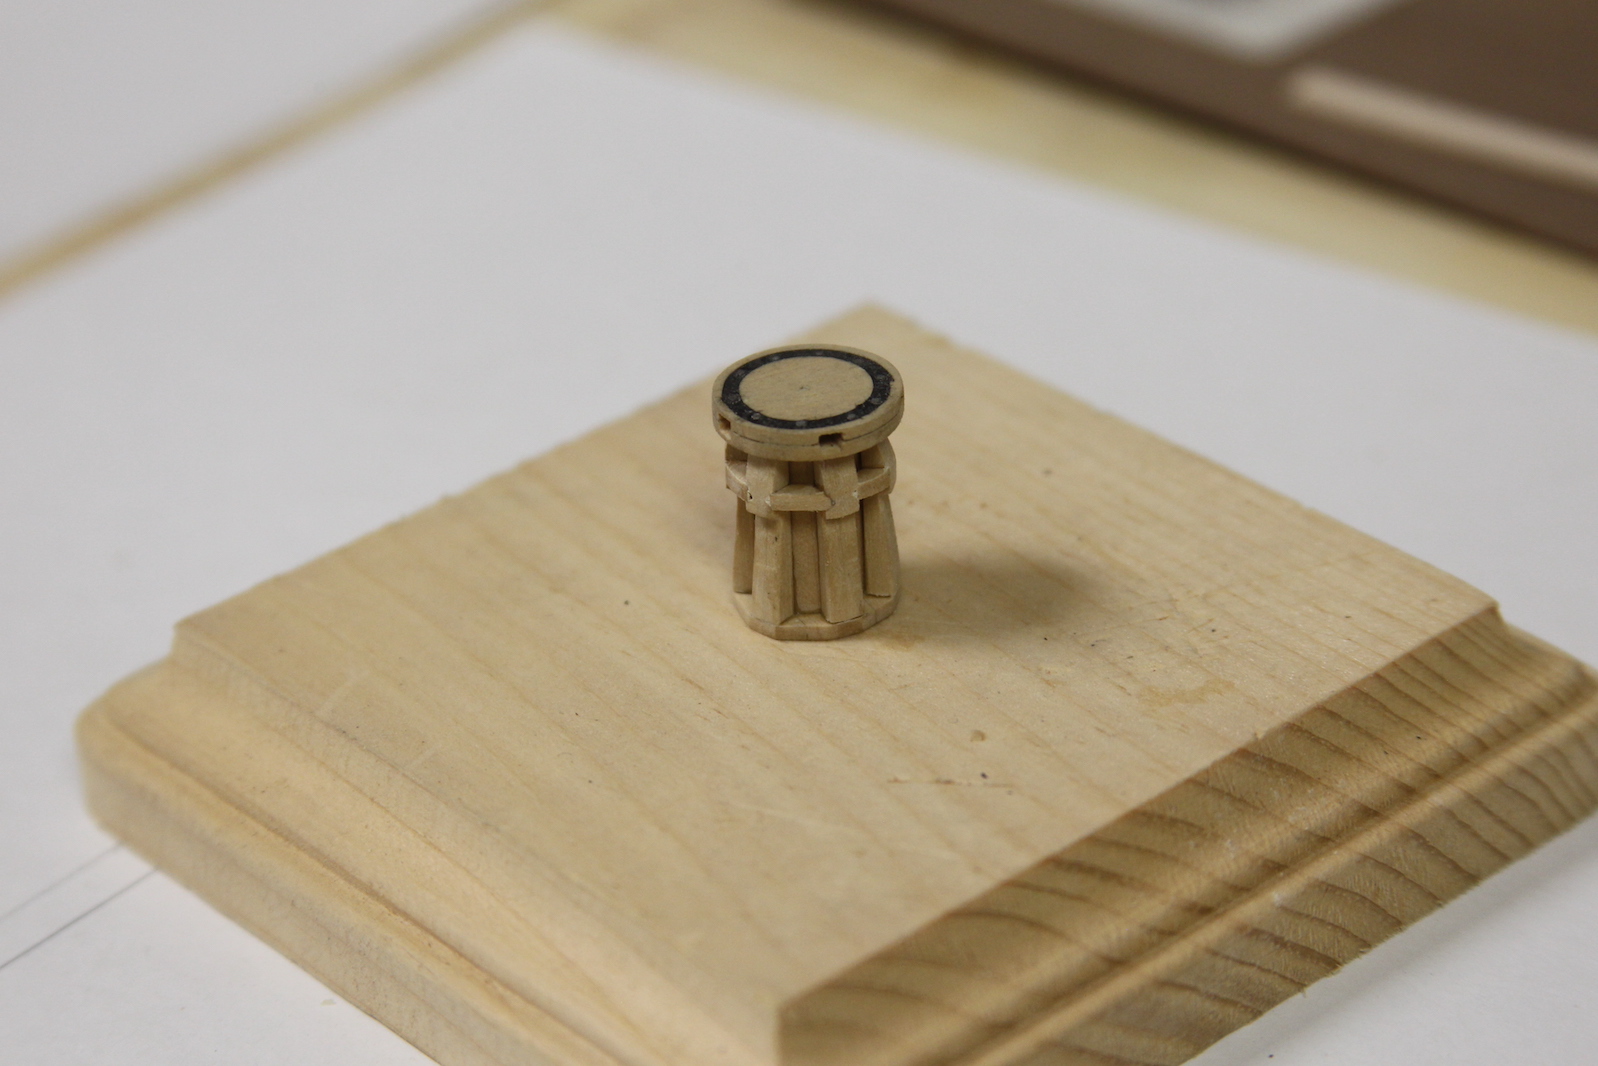
The bottom capstan was relatively experimental, so I shored up my process for the upper capstan since it will be the one clearly visible on the upper deck (the bottom one will be visible – but obscured and difficult to see to the average viewer. I used the same basic process as the bottom for the drumhead, and I put the whole thing back in the lathe to even out the diameter and carve out the channel for the ebony. Lest you think this all went smoothly – my first attempt at the upper capstan turned out pretty crappy. Too wide of an ebony circle, kinda thin, and overall just kinda crappy looking. Back to the drawing board.
For my second attempt, I used three sections of boxwood instead of two, carving out the capstan bar holes from the middle piece. This extra thickness gave me some wiggle room when it came to shaping the drumhead. I sacrificed one of my chisels to get the right sized notch for the ebony ring then used the same wood putty filler and smoothing the whole thing out.

Finally, after adding the whelps and filler pieces, I connected the two capstans for mounting later. For some perspective, the entire process of making these two capstans took around 15 hrs or so.

