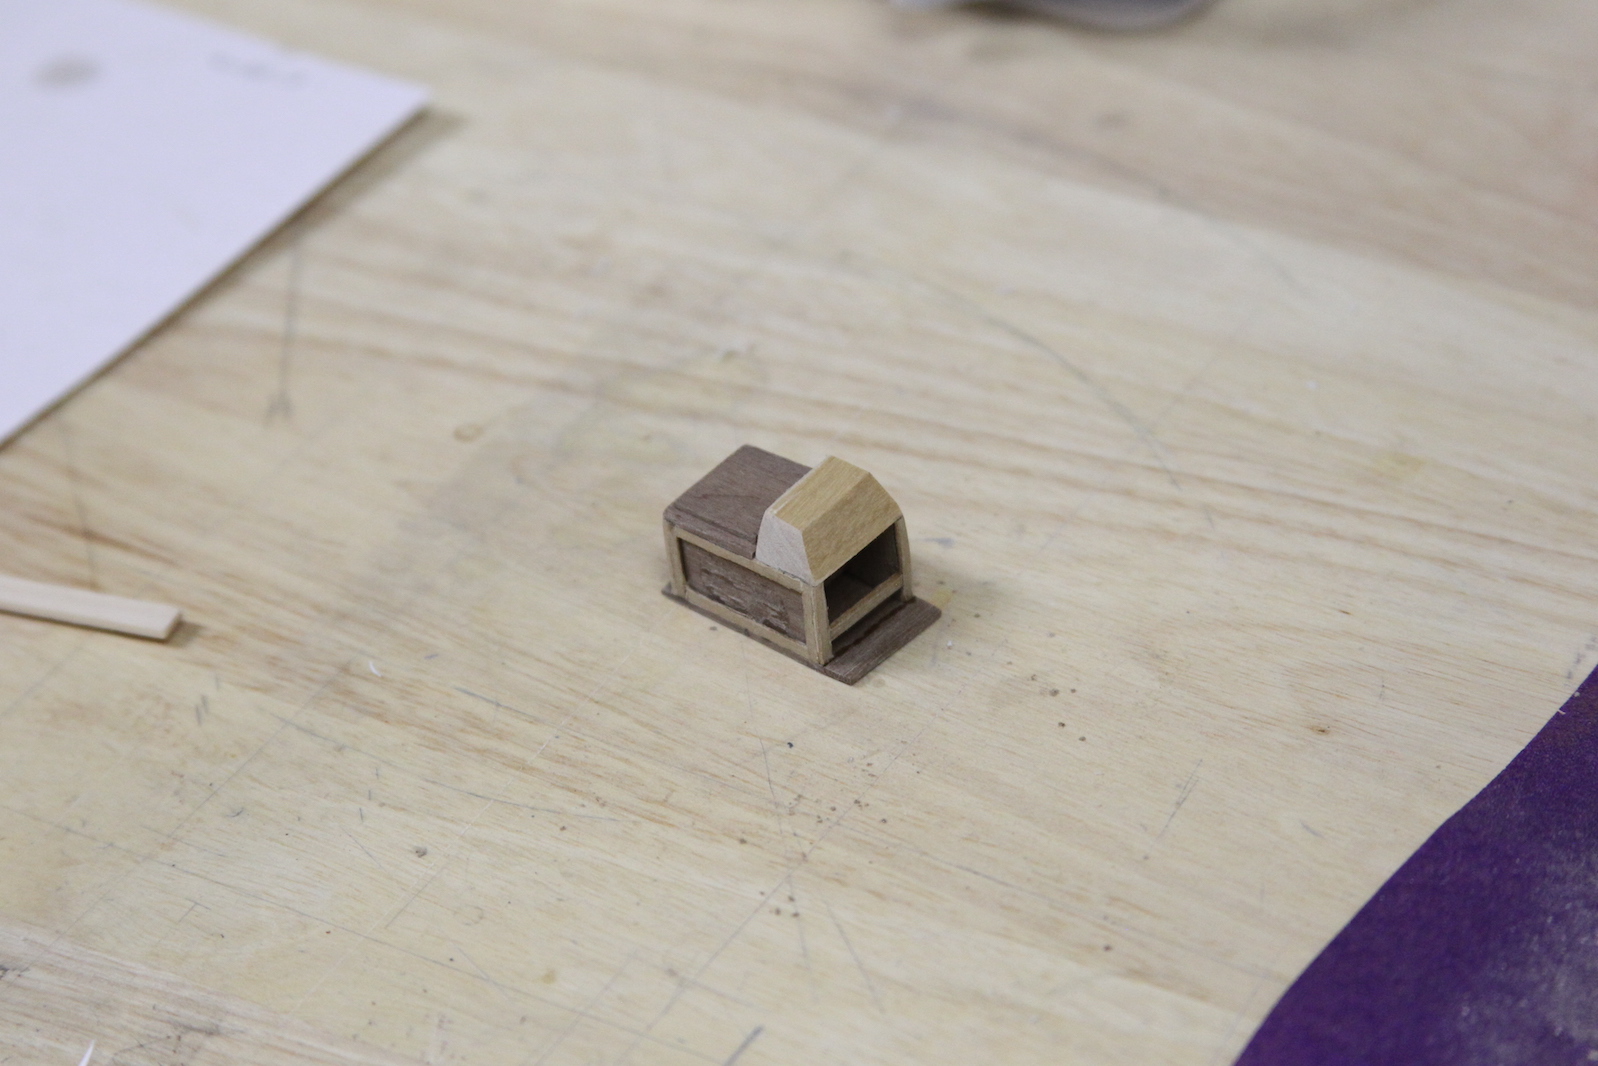
The ship’s stove is one of those great little elements that will be really challenging to see, but is totally worth it to me to get right. My version of the stove comes directly from David Antcherl’s book on Swan Class ships. Some folks have recreated this stove out of metal, but I relied on the medium with which I am most comfortable – wood.
I began by carving out and putting together the basic frame of the oven, then I needed to measure it’s scale on the deck. The stove barely fits between the bottom and quarter deck with the vent/chimney sticking through the upper deck. In order to accomplish this measurement, I had to go ahead and trim the bulwarks so the upper deck would lay flat.


Once I had the basic size and shape figured out, I started adding the small elements of the stove like the side doors & hinges and the grates. I dove into my little trove of miscellaneous little scraps and cut and shaped brass strips left over from other builds – mostly the Stagecoach I built for Sharon.
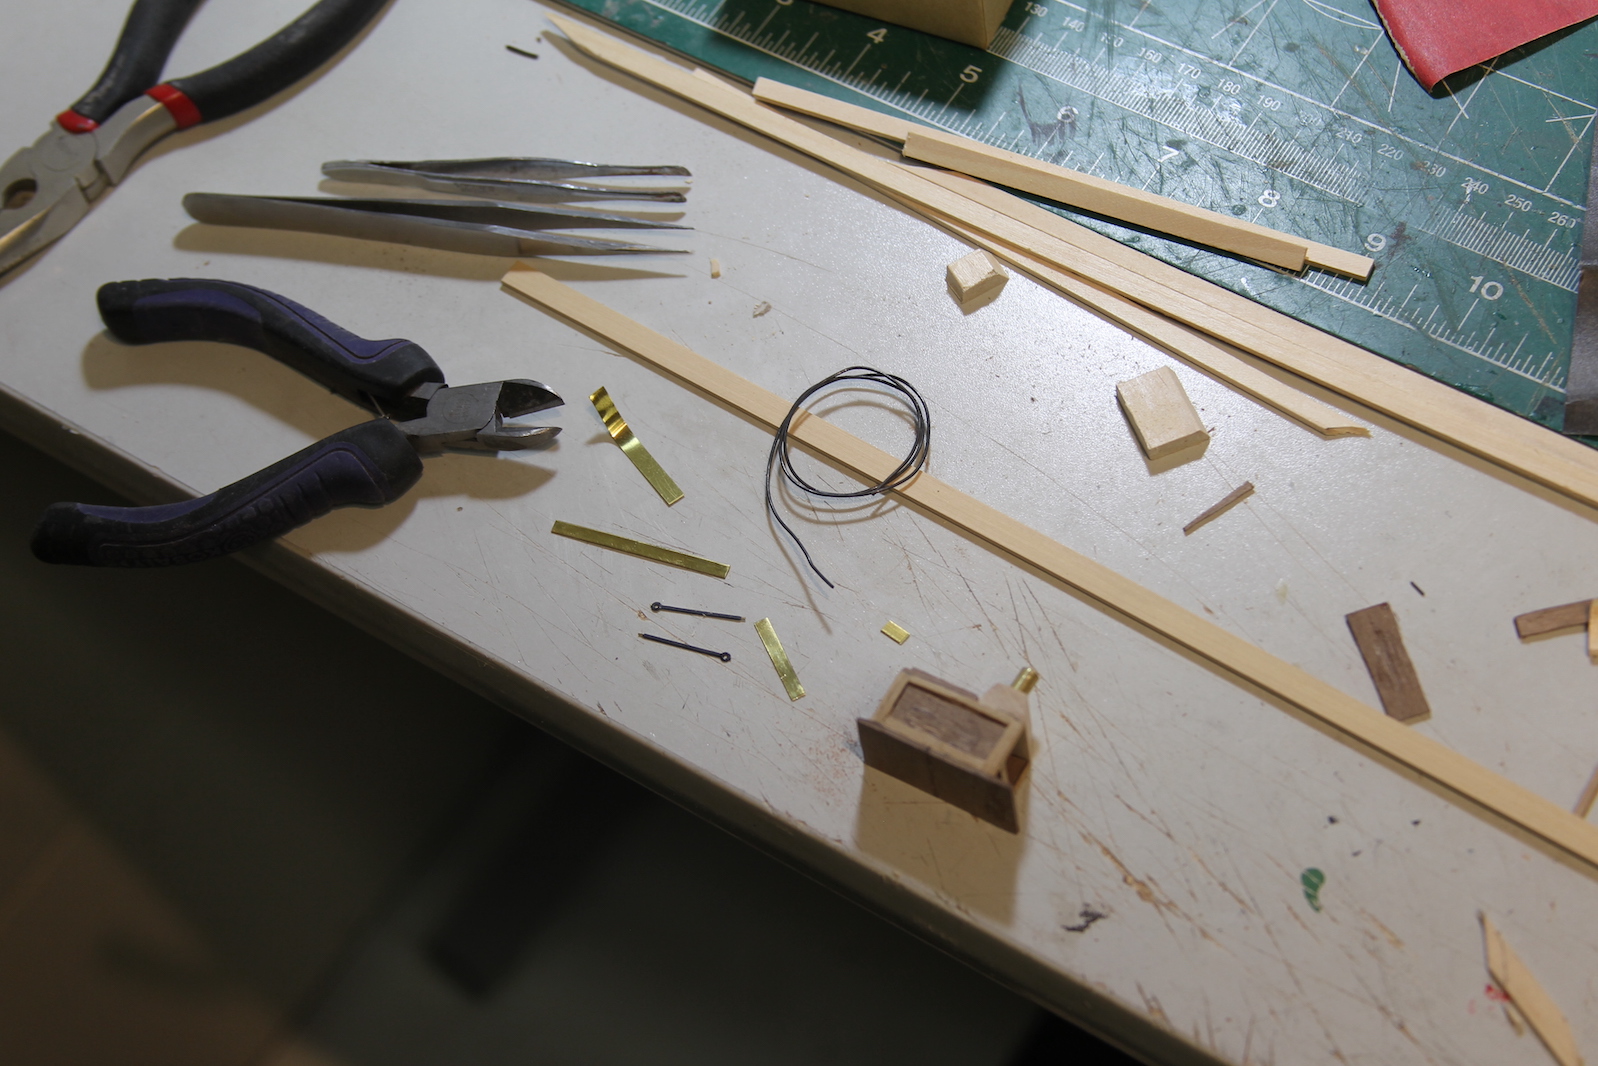

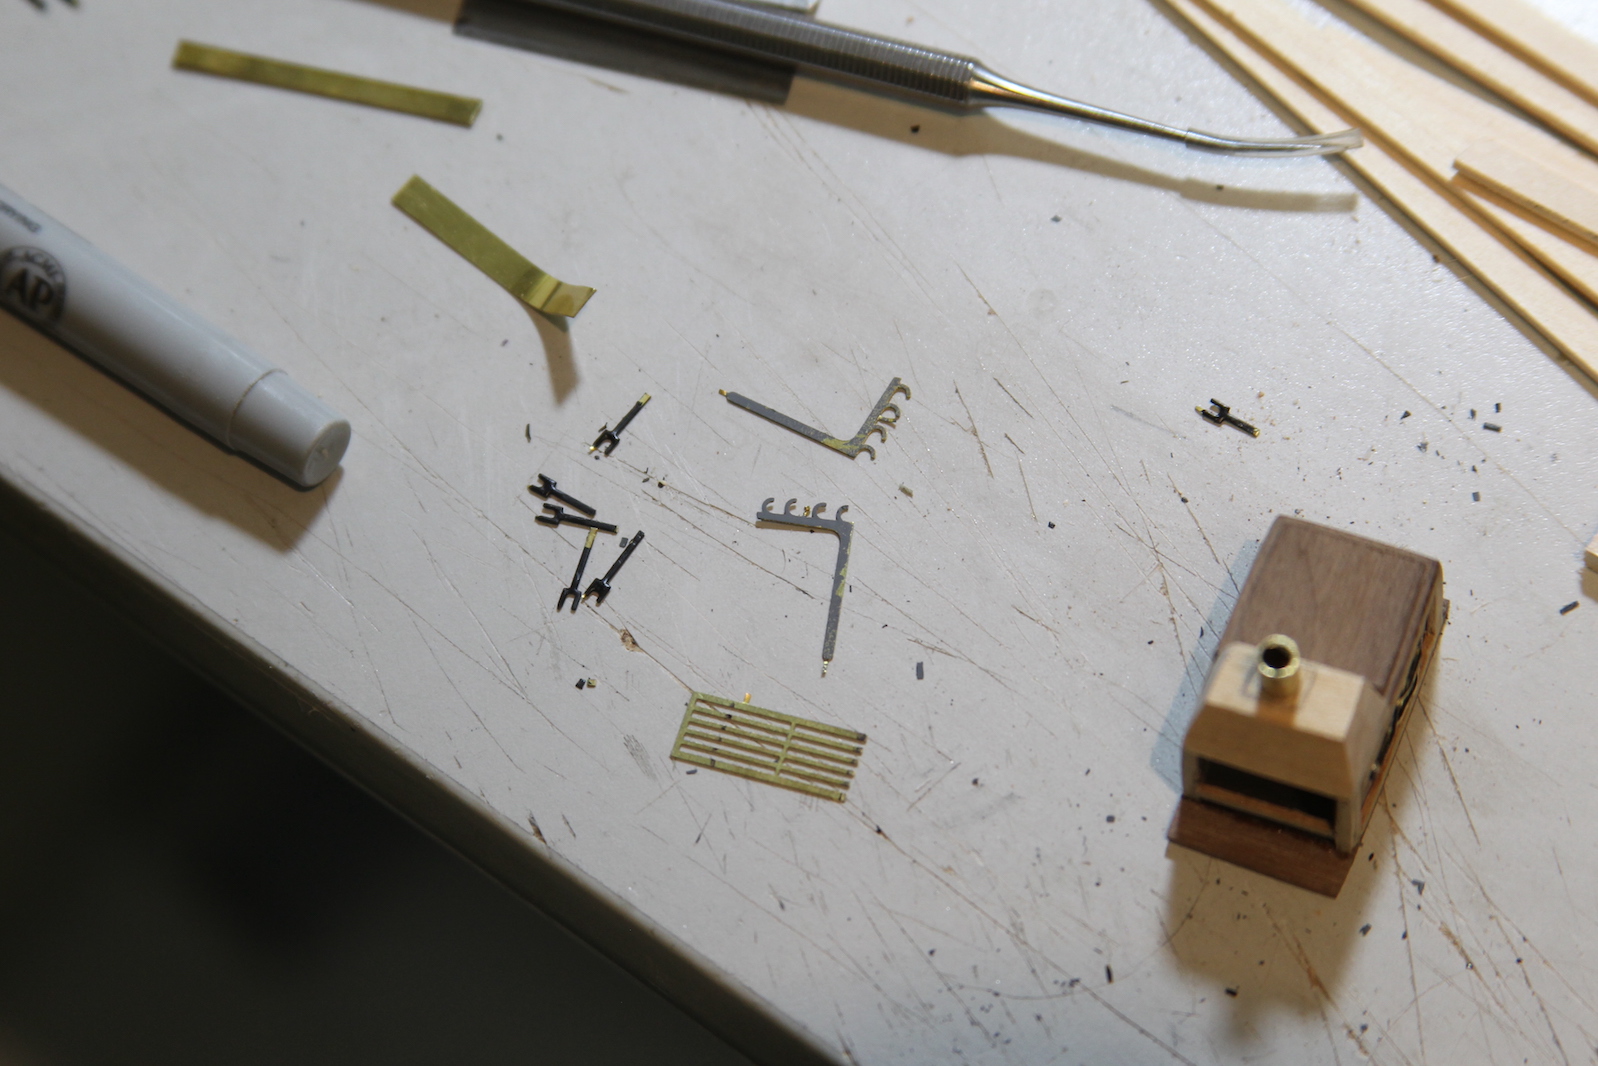
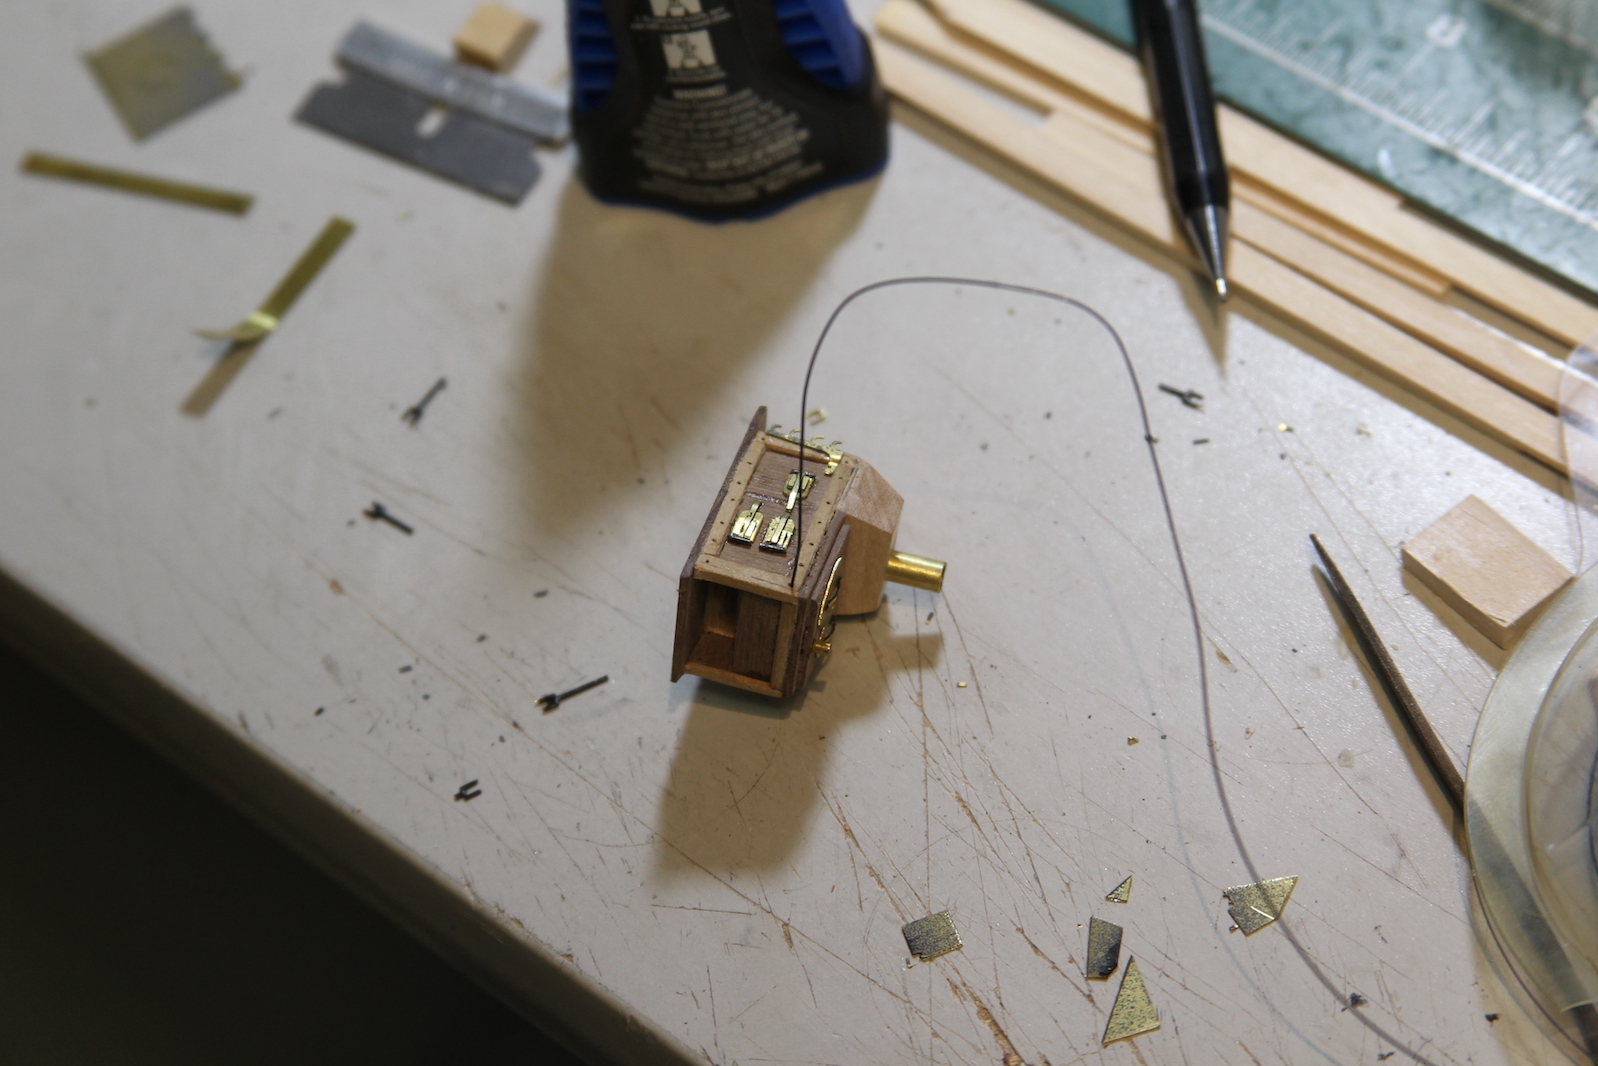

There are a couple of really specific pieces for the stove – the grate and also the hooks that hold the rotisserie bit on the front of the stove. This is where it’s really handy to have built other ships – especially, in this case, Chuck’s USF Confederacy. Not only is the Confederacy also a 1/64 scale, but there were a plethora of extra laser cut pieces. So I looked through my handy stash of extra bits and found just what I needed.
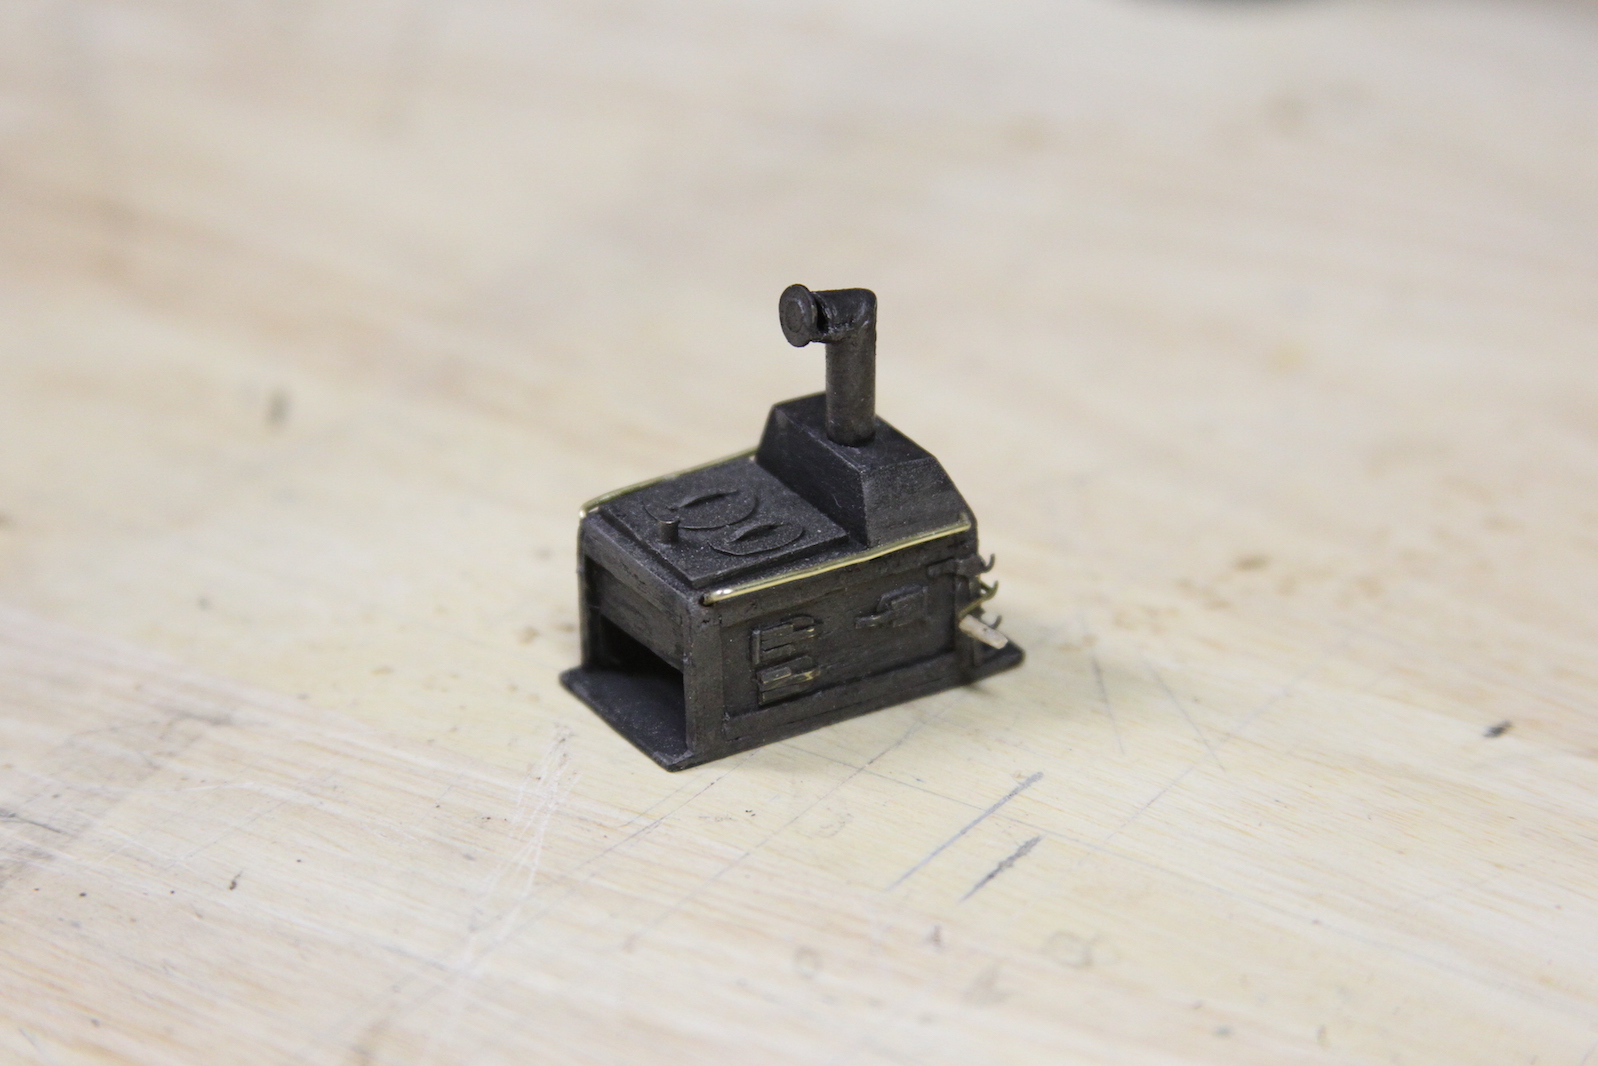
So… this is just a paragraph and a couple of pictures here, but this represents a solid three days worth of work in between setting planks on the hull to dry to shape. After it was put together, I hit the stove with a layer of flat black, then a coat of an enamel metal-izer. As an additional touch, I added the brass rails and the little skewer


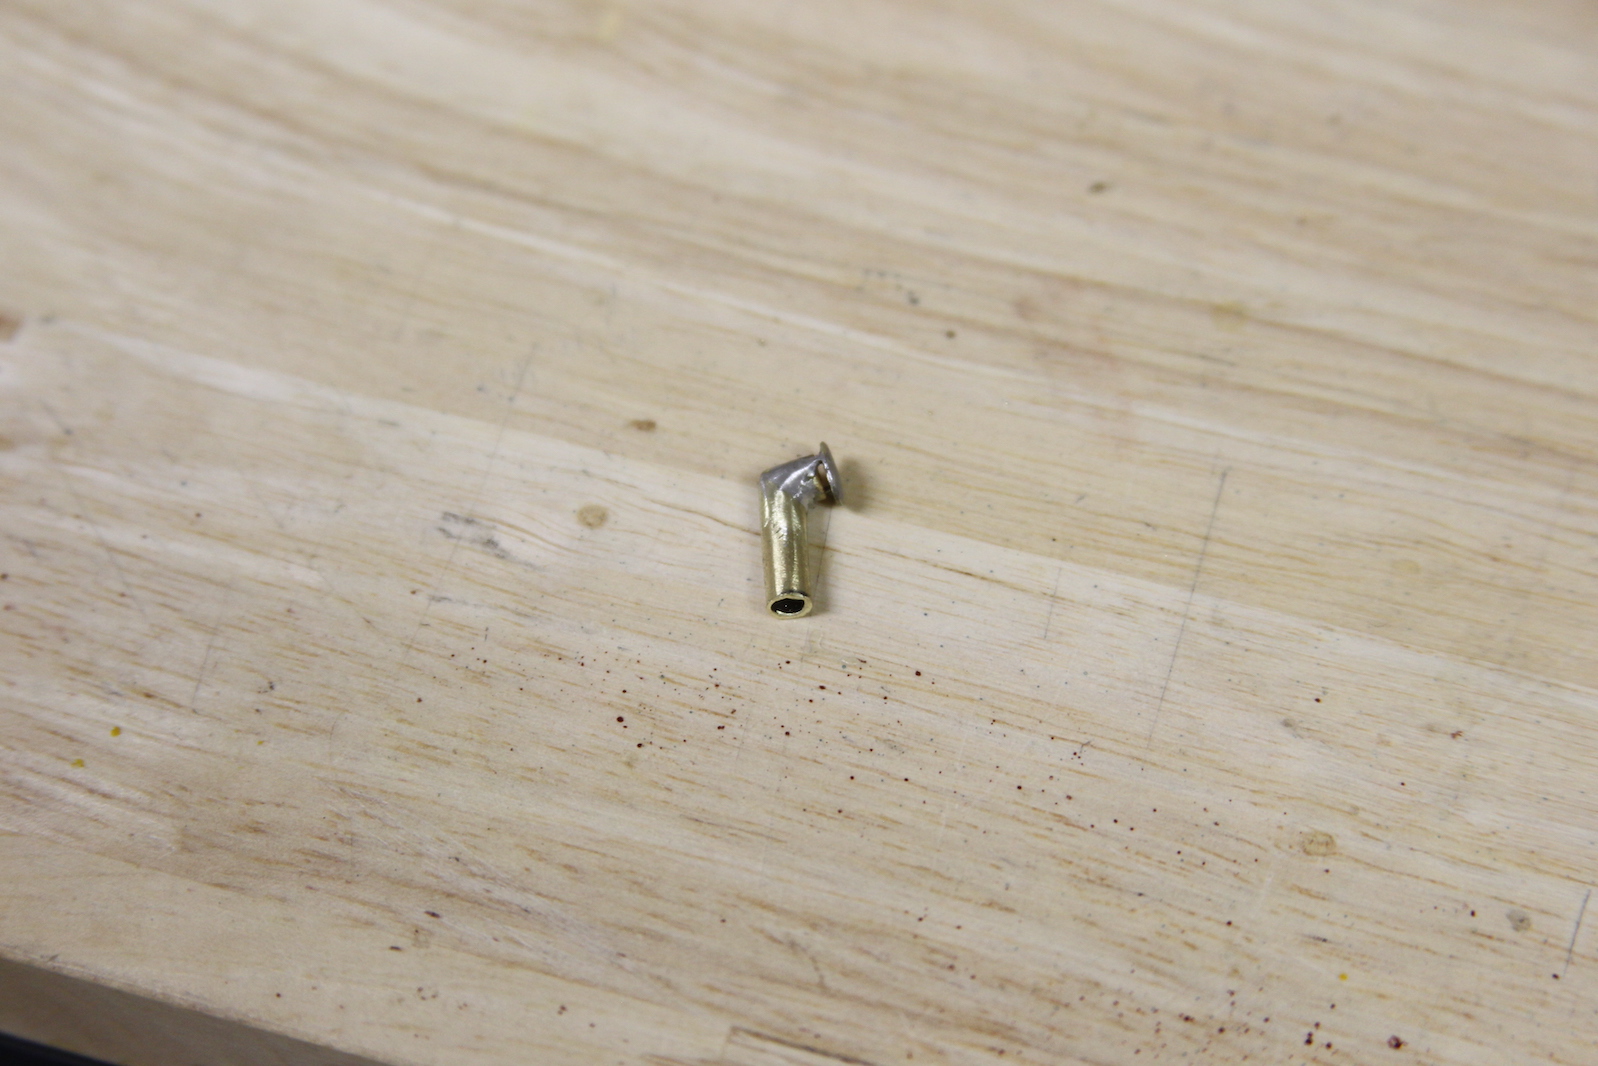
The vent that is in the stove above is removable and temporary. The actual vent needs to be inserted through the quarterdeck into the stove after assembly. The realistic vent caused me quite a bit of consternation in determining exactly how to make it happen. It’s a very visible piece, so needs to be a good representation. I’m not particularly adept at silver soldering, but that was pretty much the only way to go here. There really isn’t any kind of glue that works well for small metal bits – and JB weld or other epoxy is just super messy. At any rate, I cut a small brass tube at a 45 degree angle, then reassembled it ‘backward’ to create a 90 degree vent.
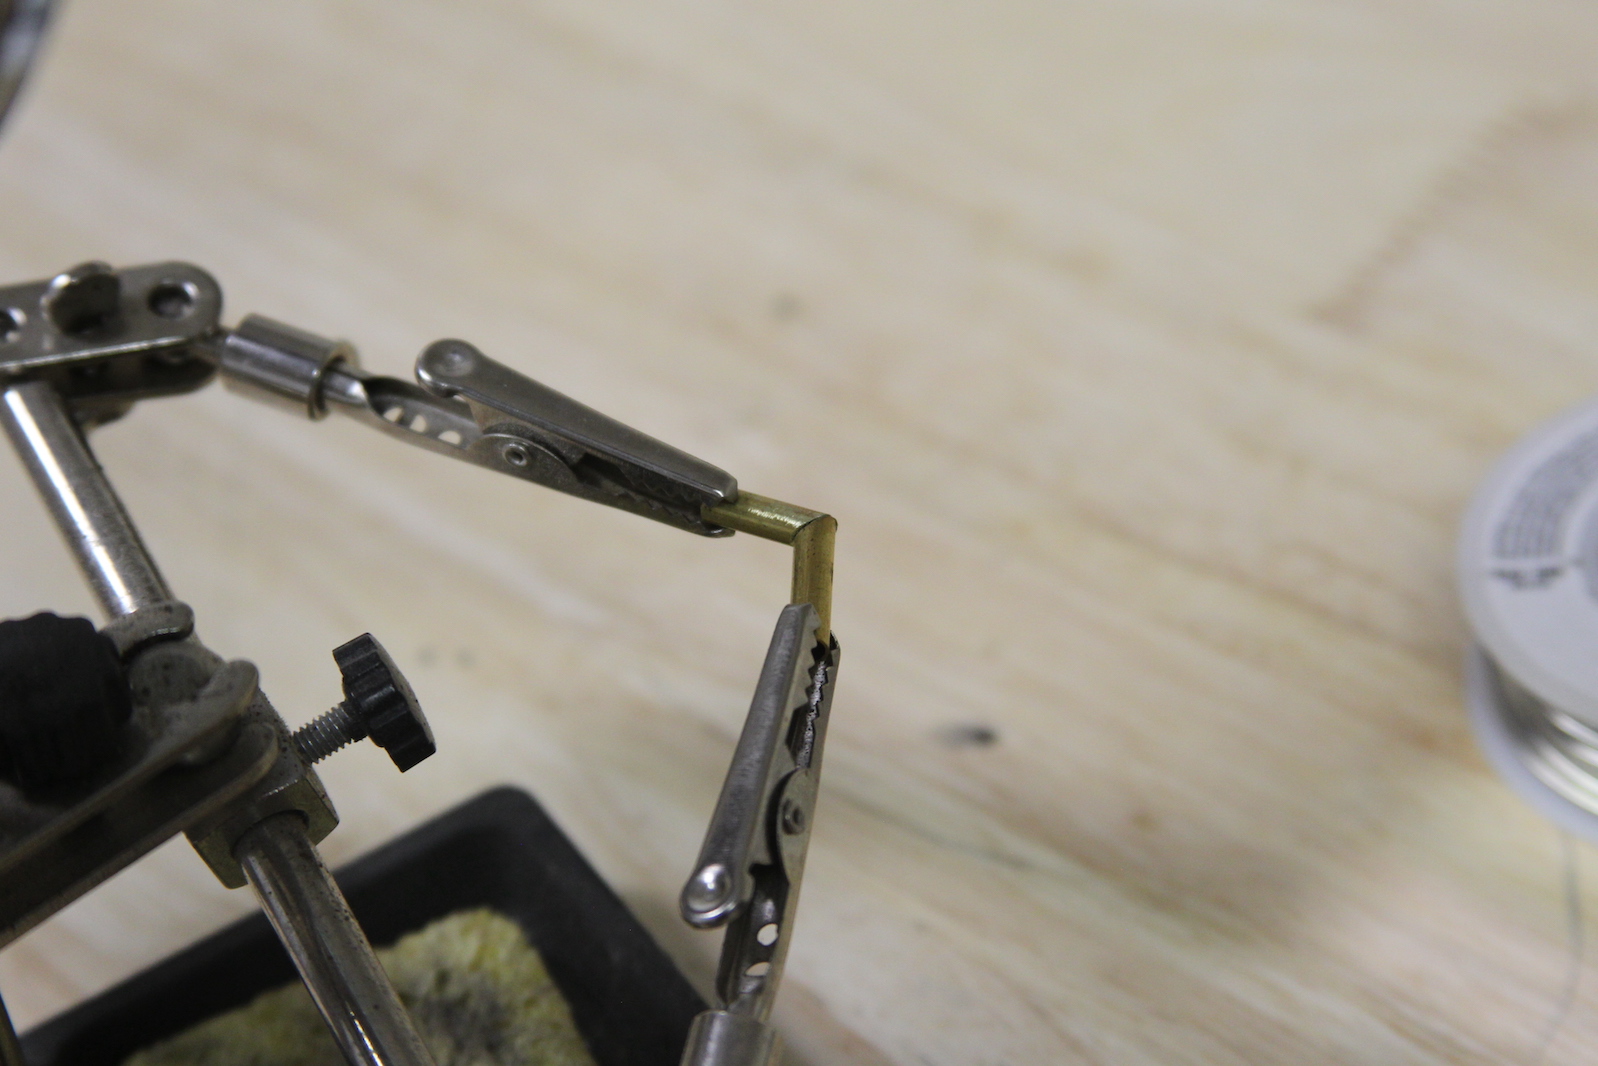
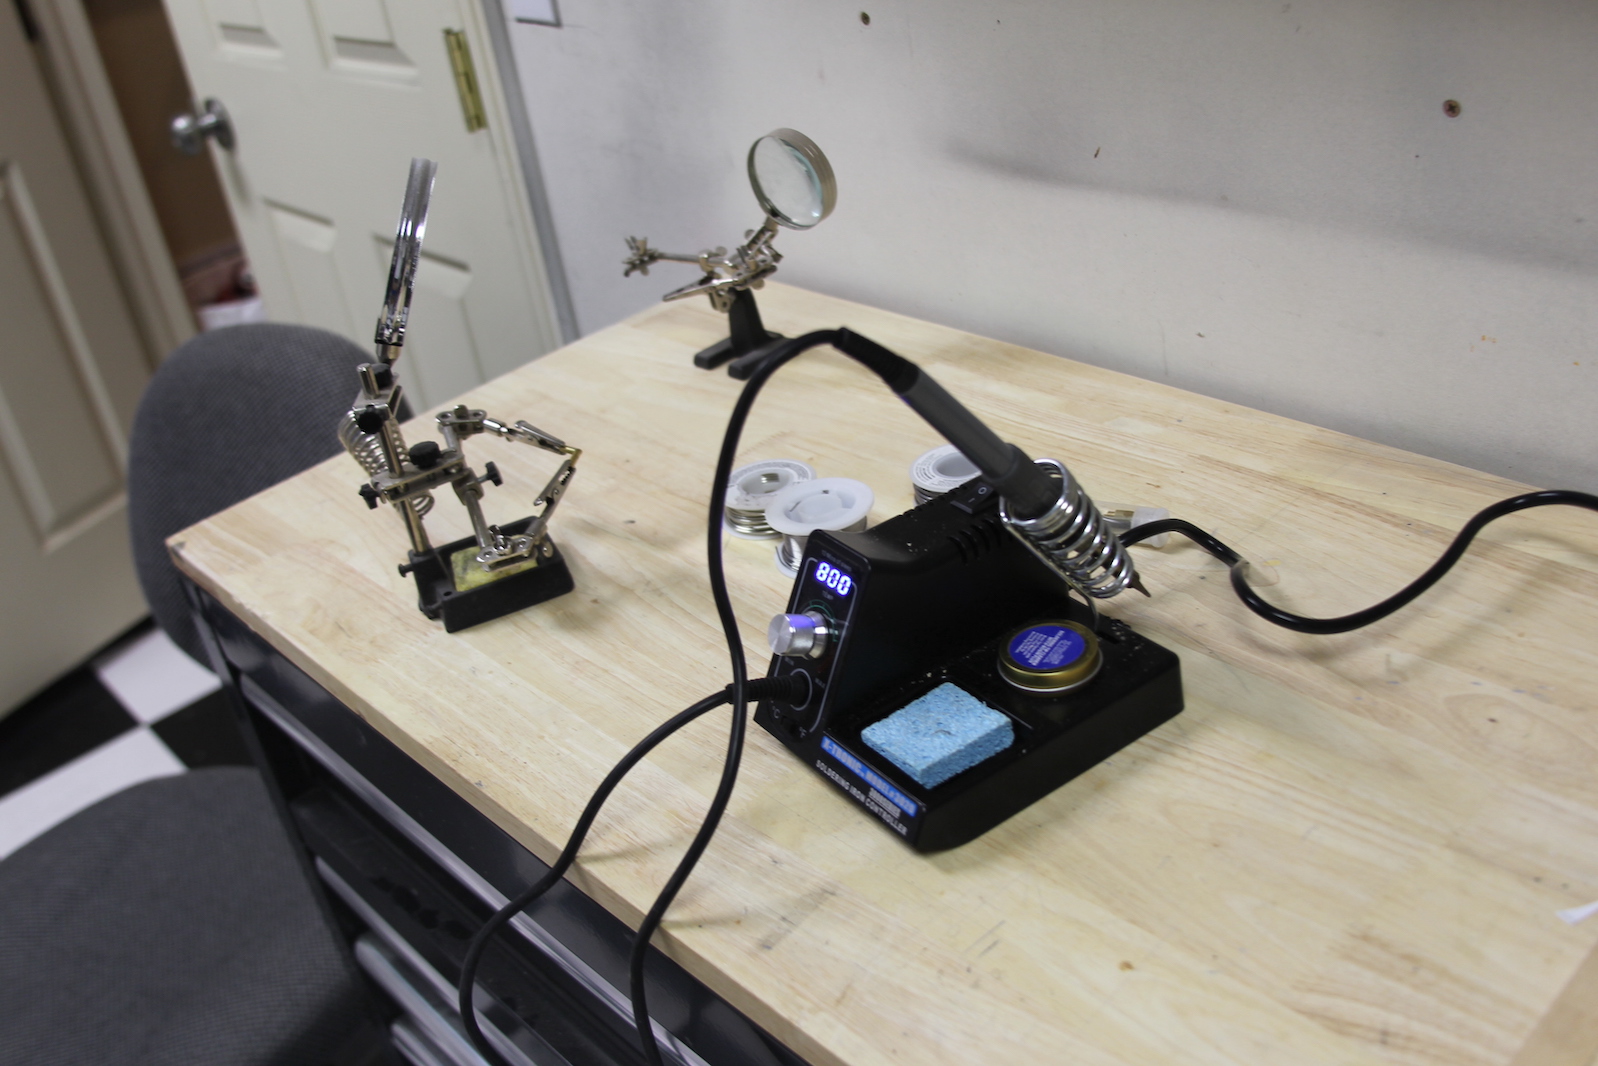

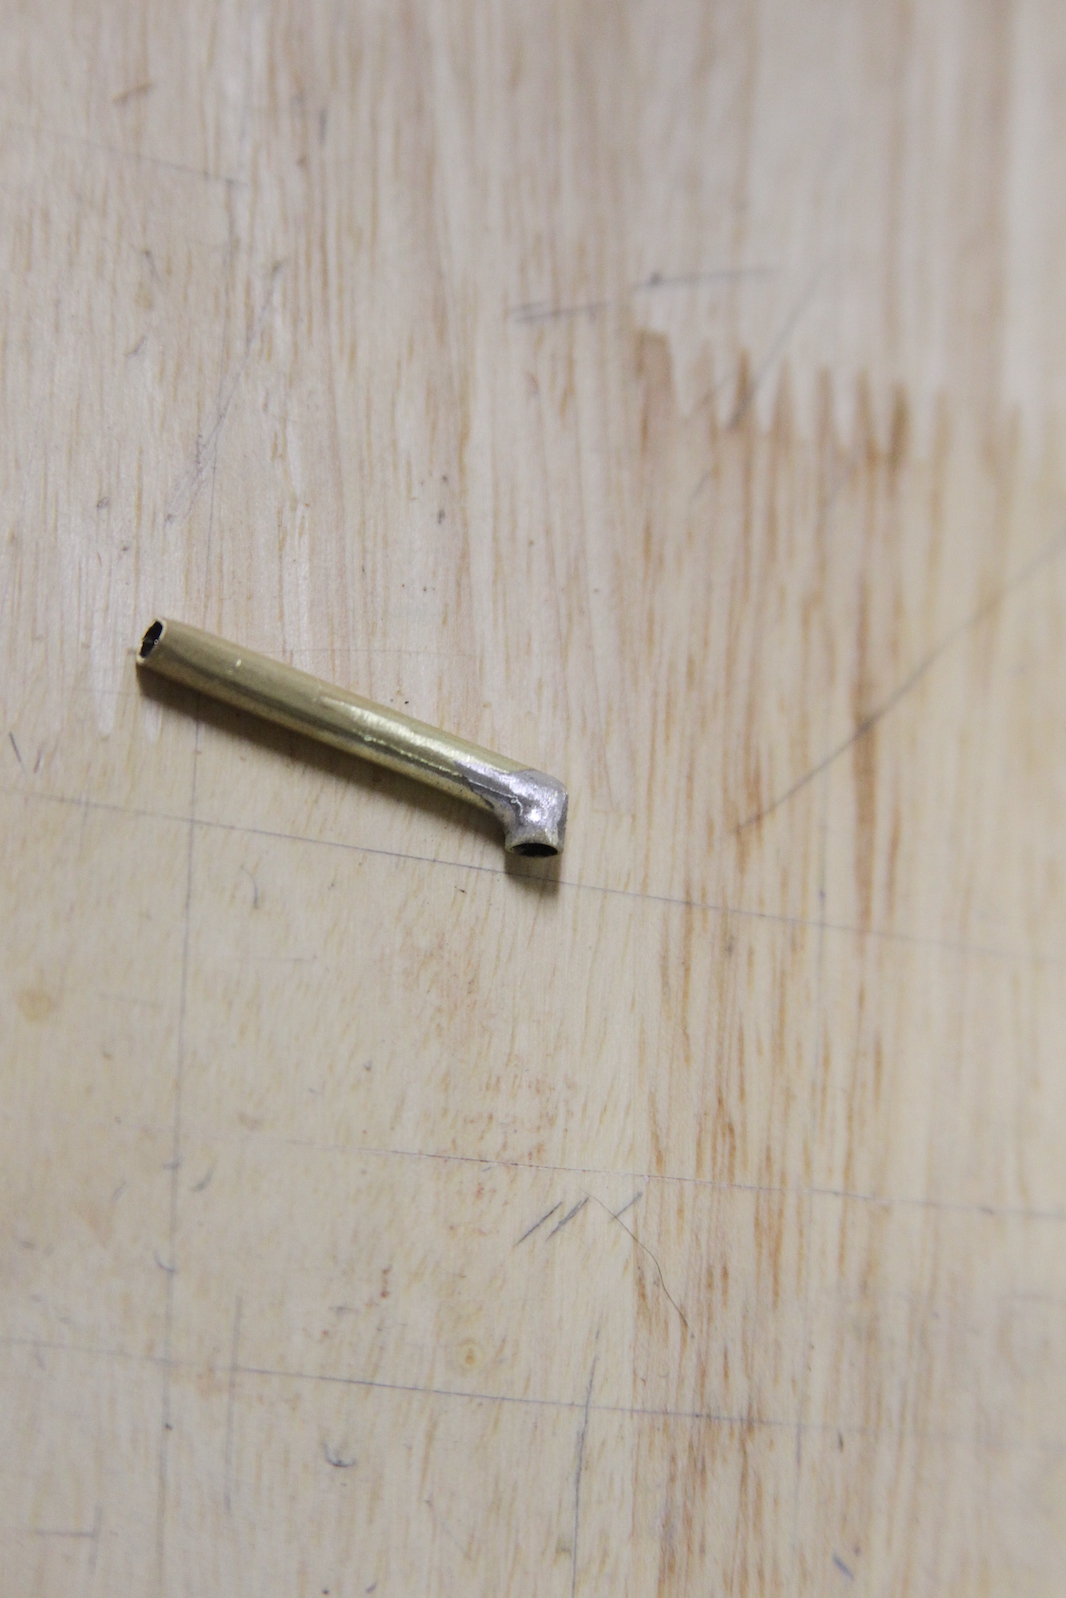

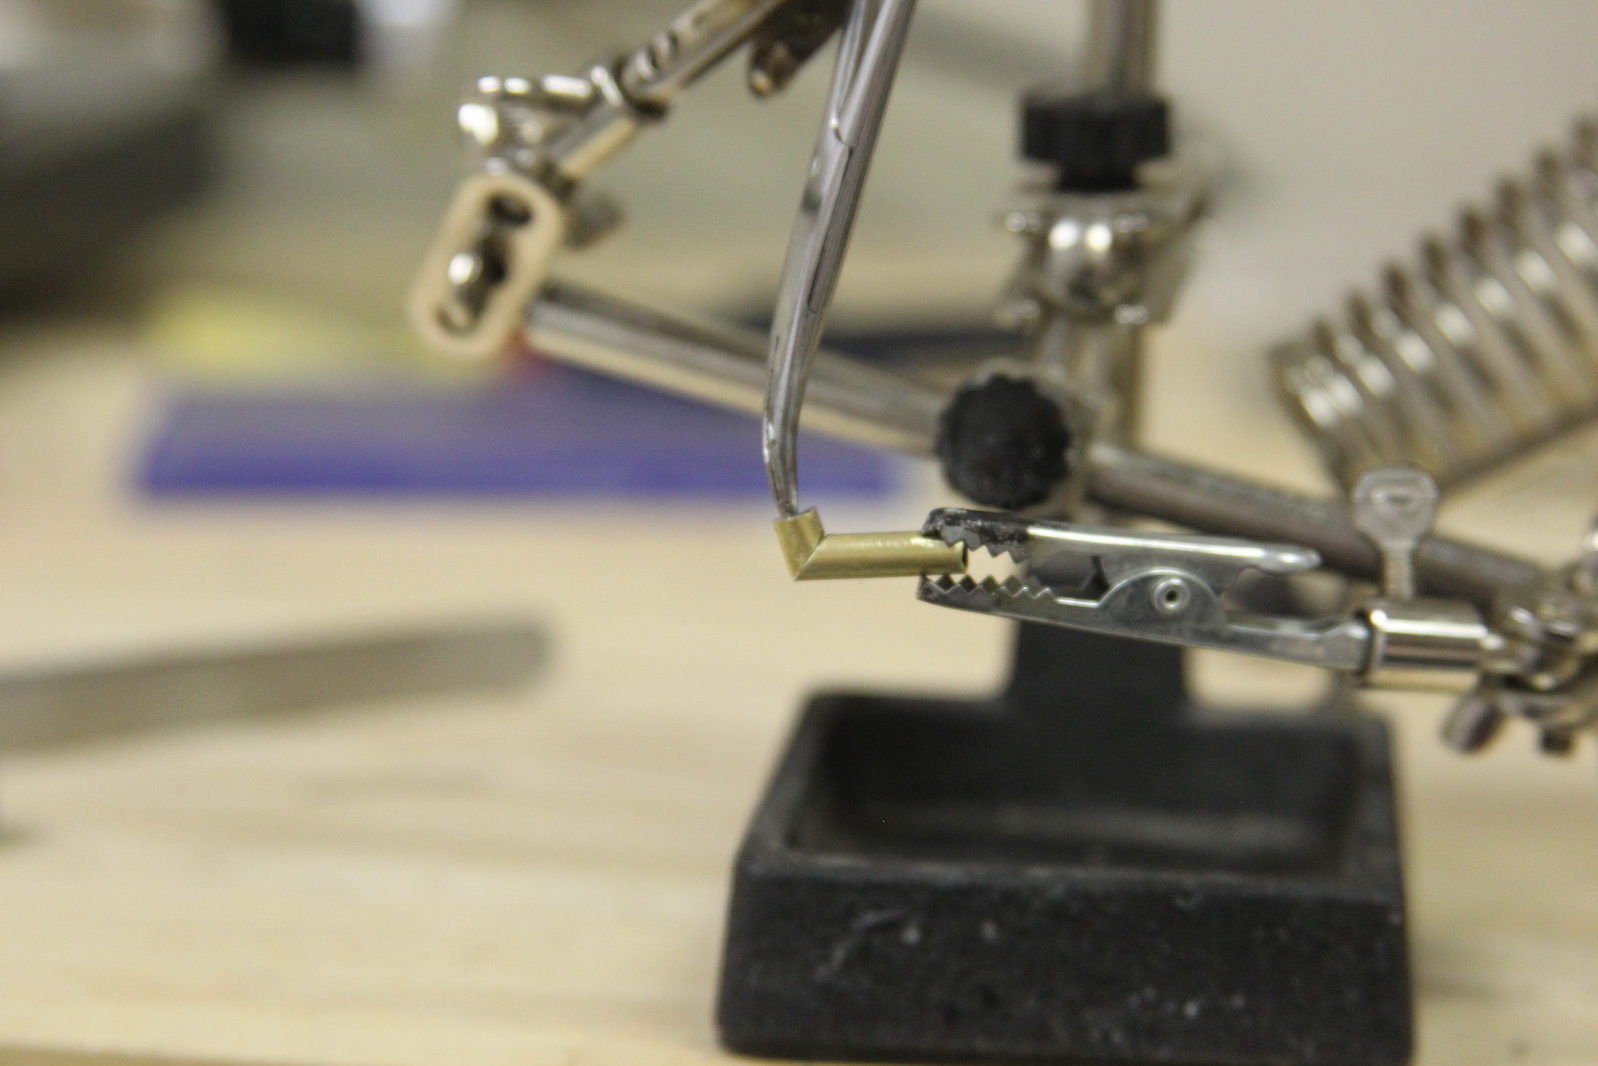
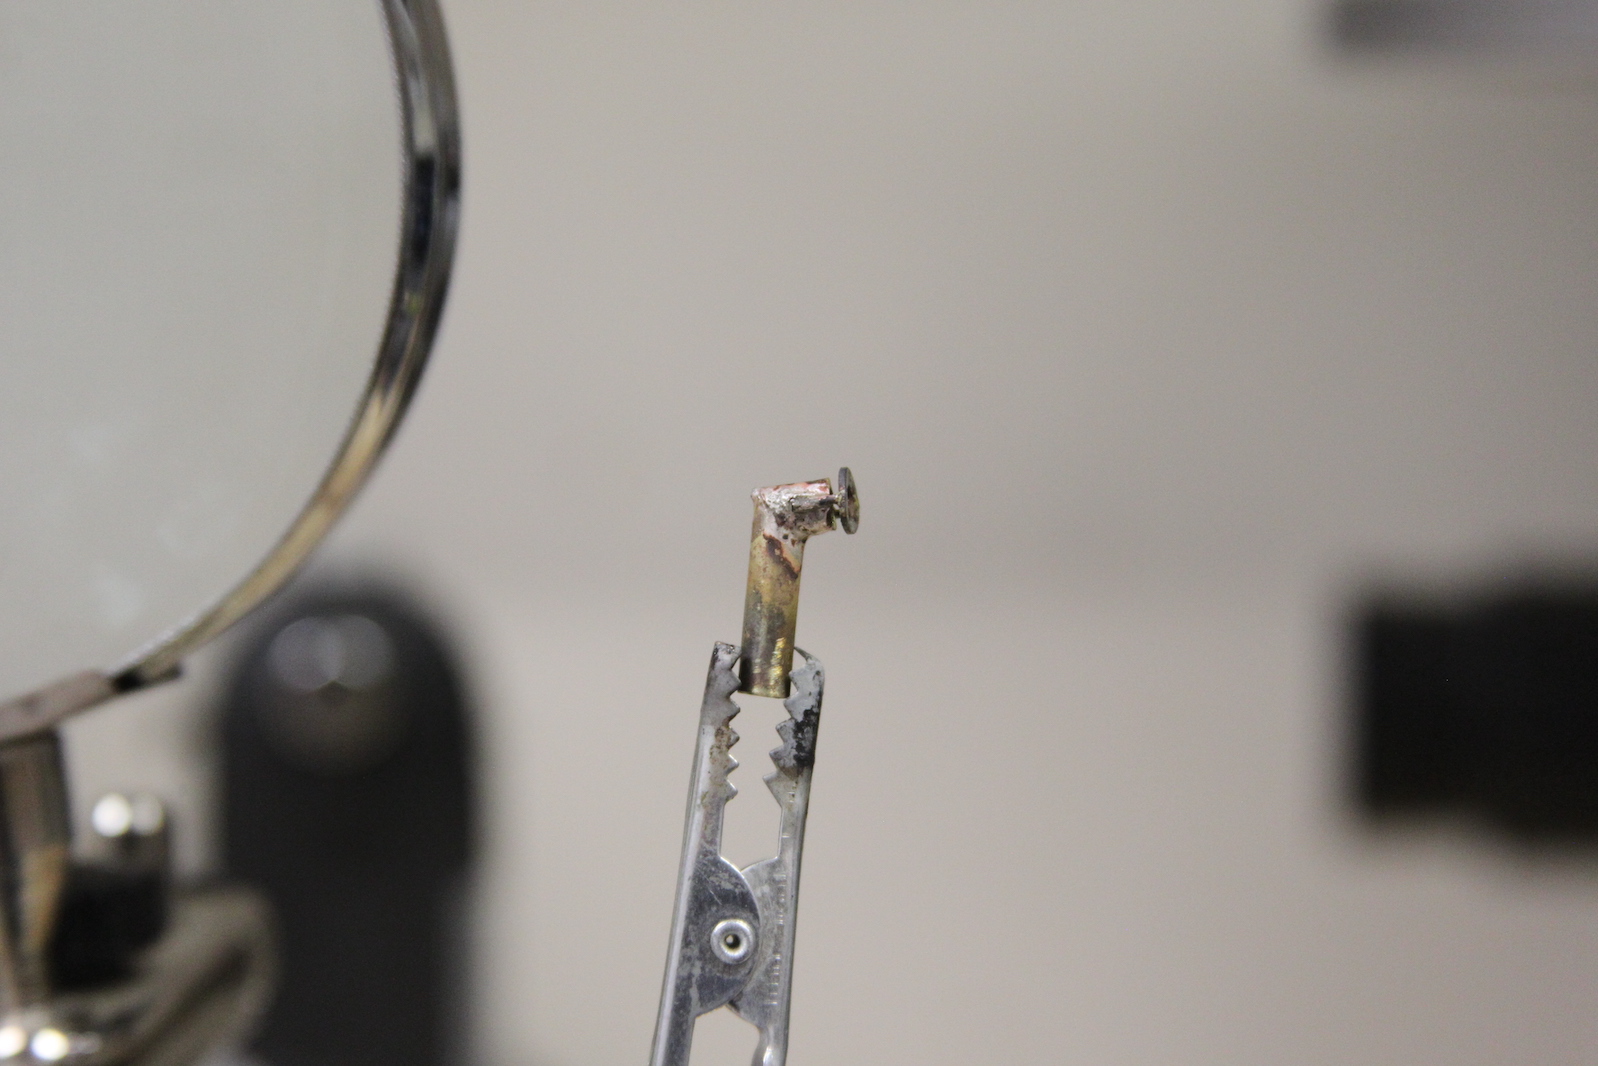
This took me a few tries before I got it right, and got it to stick. Each time I tried to either sand down the newly soldered vent parts or cut the vent to size, it would break off and I’d have to start again. The vent cover was a really tricky little bit. I drilled to small holes into a circular piece of brass and used cut off straight pins as mounts. Essentially, this all only “sorta” worked until I got tools to silver solder – then I re-did the entire vent with much better results. Here is the second attempt.
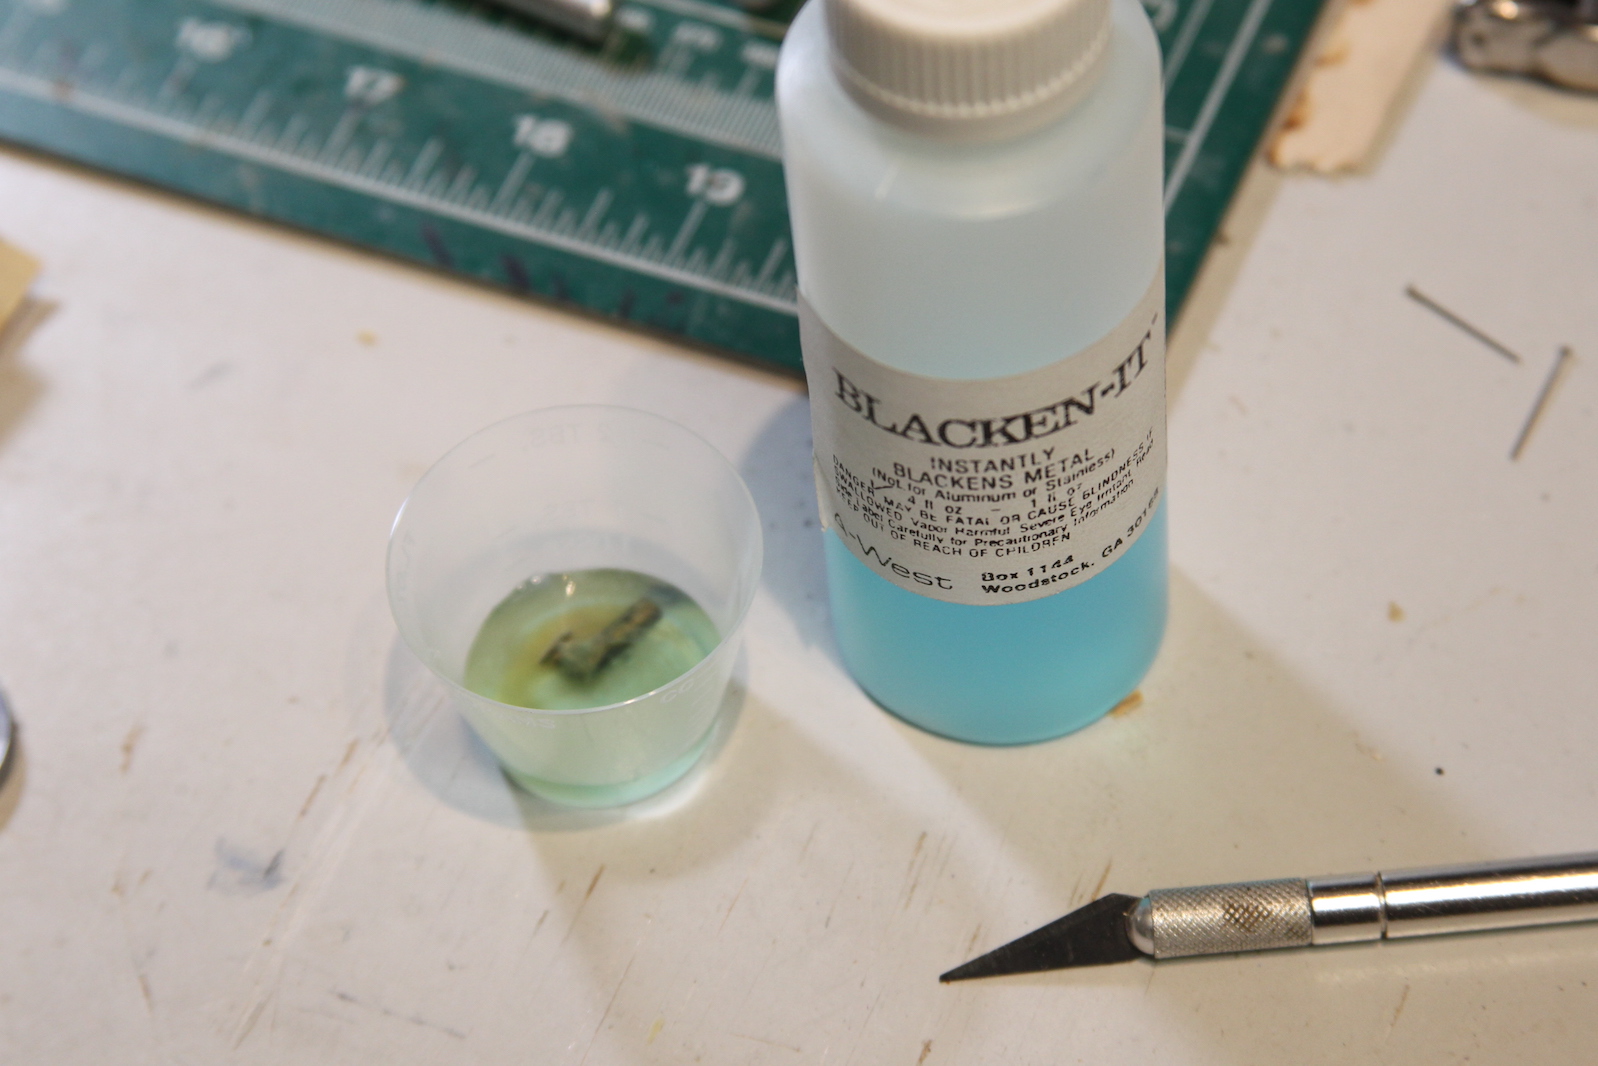
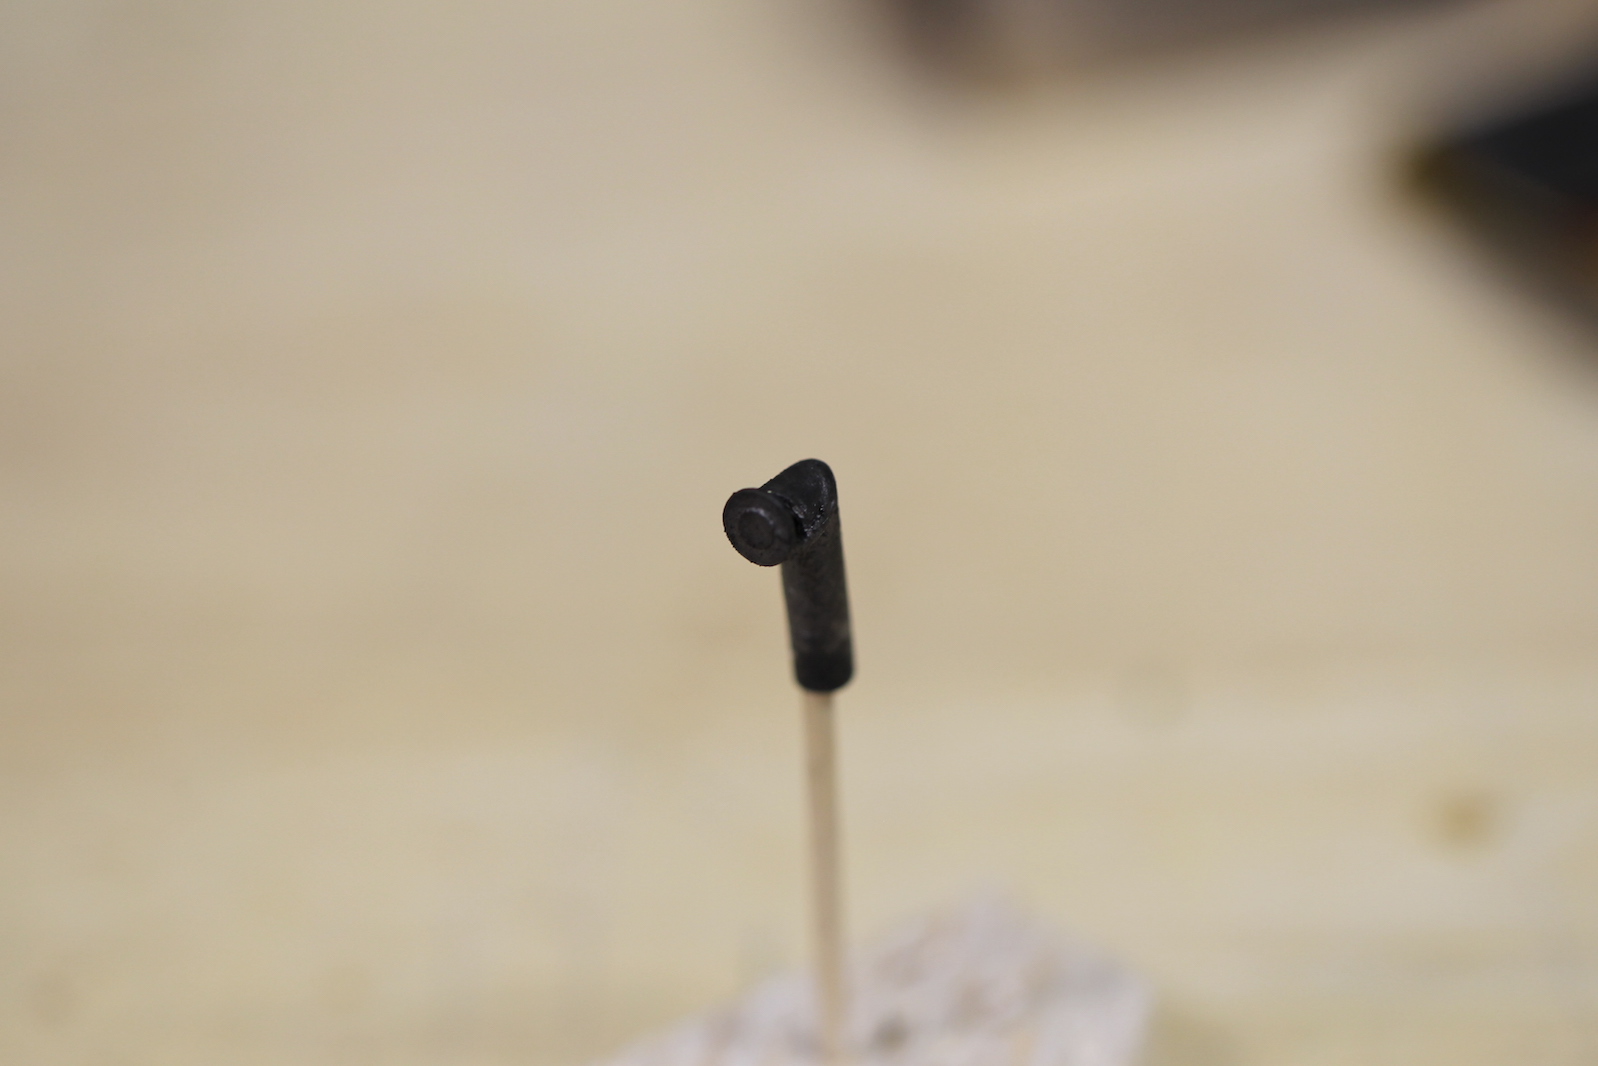

After measuring to the quarterdeck I sized out the brass vent, then blackened it (which only partially worked). I ended up having to give it a light coat of matte black paint, then the same metalizer as used above.