
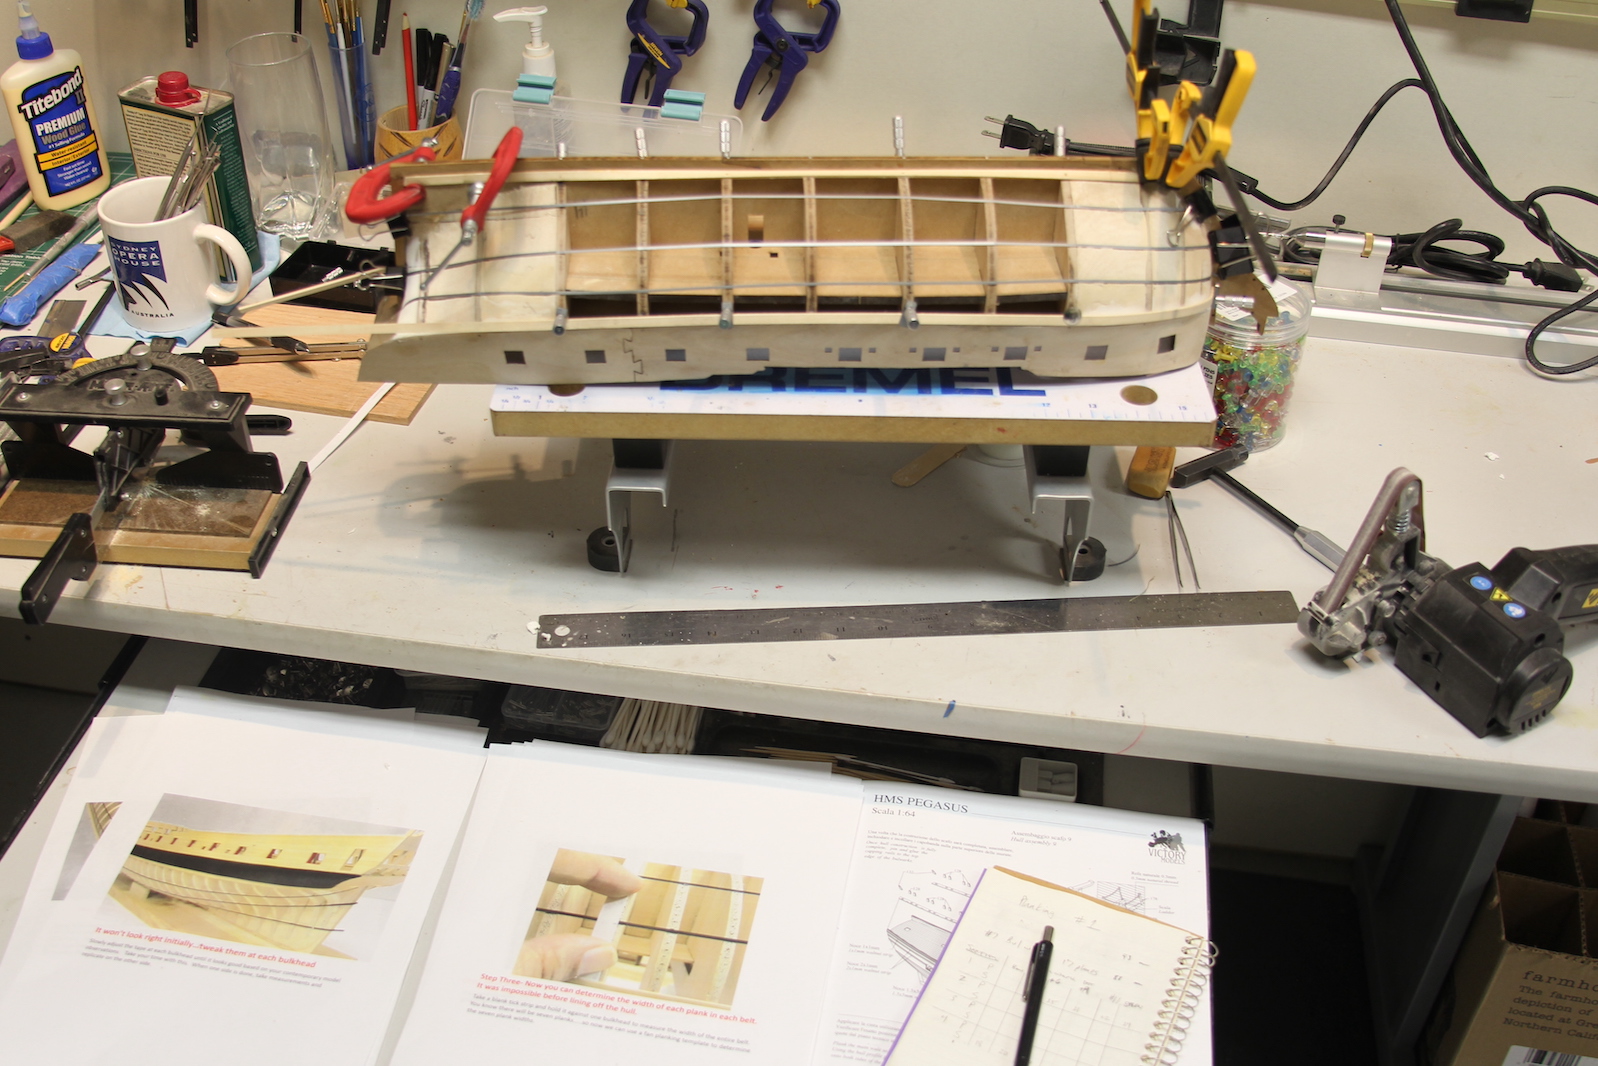
Like many contemporary kits, the Pegasus is a ‘plank on frame’ ship; which means the bulwarks are lined up along a keel (see previous post), then the planks are mounted along the bulwarks. However, the planks do not necessarily line up ‘straight’ along the bulwarks because a ship’s lines flow along the hull to create efficiency as she sails through the water. Obviously the shape and flow is different in the bow of the ship vs. the aft of the ship. This means that the planks need to be ‘shaped’ appropriately to not only sit flush agains the bulwarks, but so they line up against one another consistently along the hull.
This (at least for me) is a very challenging part of the build. Fortunately, the Pegasus (like many other kits) is double planked – which means you lay down a solid planking to create the foundation of the hull, then an additional – usually thinner and more decorative layer. Obviously ‘real’ ships only have single layer of planking. But, the double plank method allows for some errors to be made on the initial layer that are covered up.
That said – it was/is important to me to get the first layer as close to accurate as possible even though it’ll be covered up. This does a couple things: it makes it much easier to smooth out the hull and get the lines of the hull correct and subsequently requires a lot less sanding, etc. It also makes it much easier to lay the second layer and line up the planking that everyone will ultimately see.
Luckily, there are a handful of tutorials and training guides for planking the hull from some of the foremost model builders in the world – and I was happy to make use of them. Ultimately, the planking process is slow and deliberate and taking any shortcuts inevitably leads to mistakes.
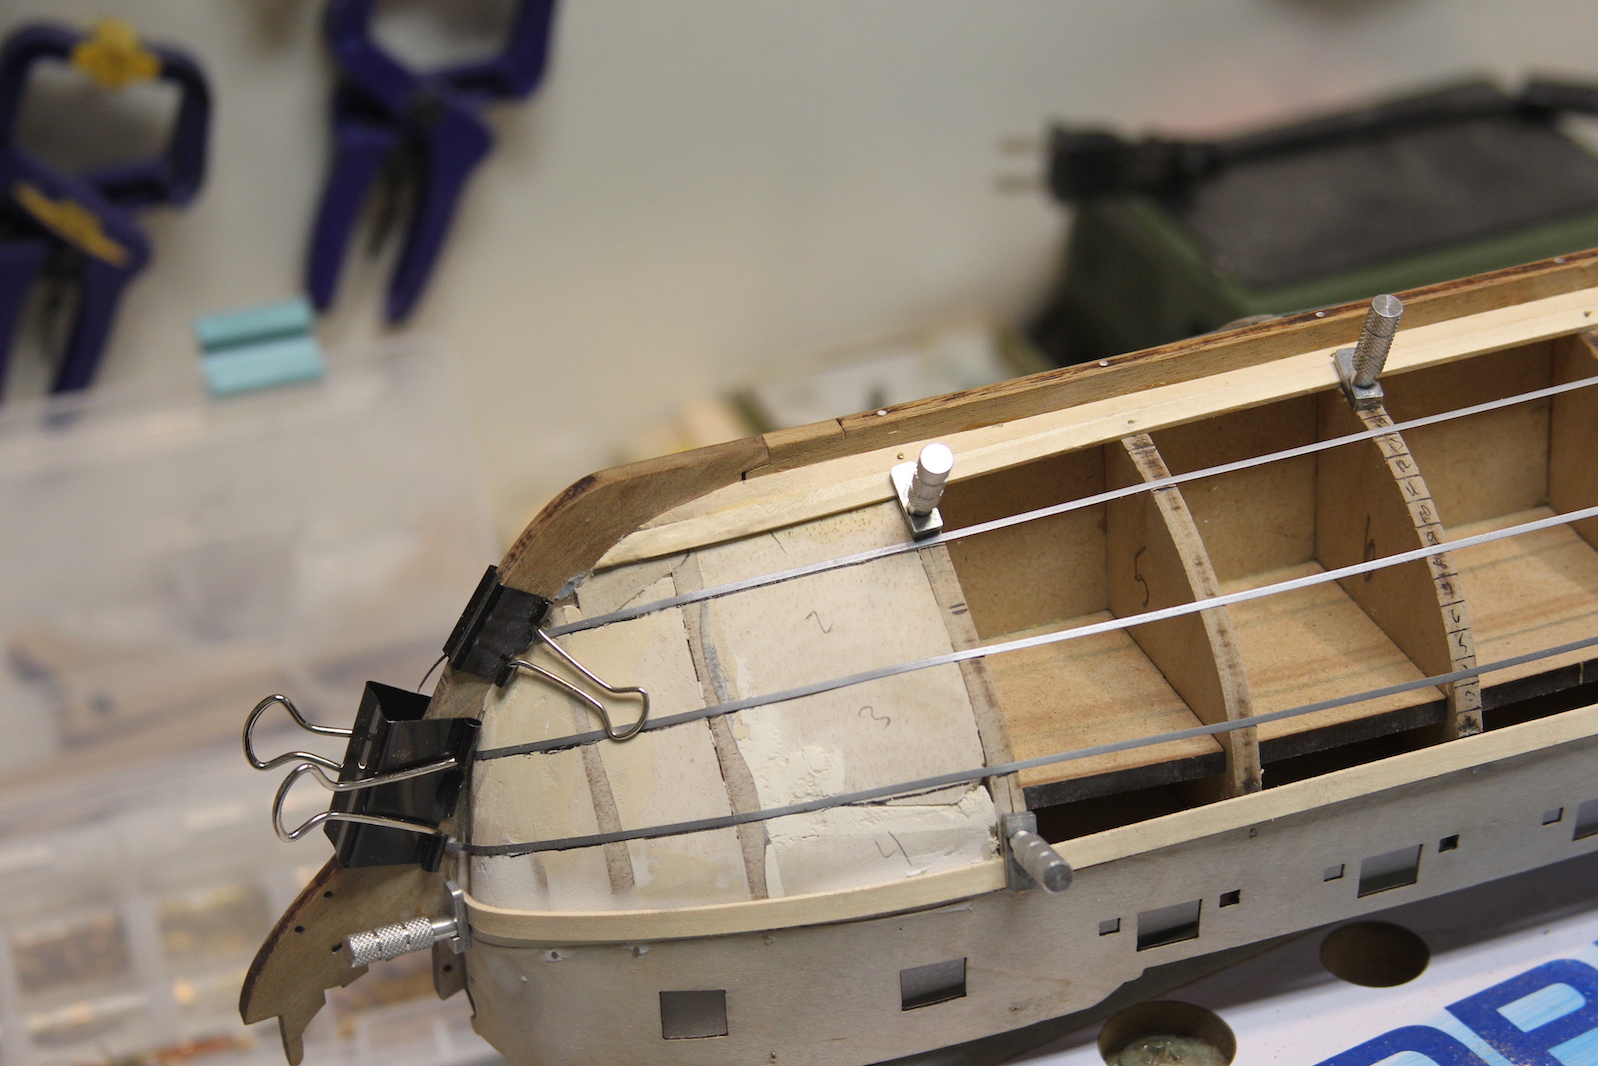
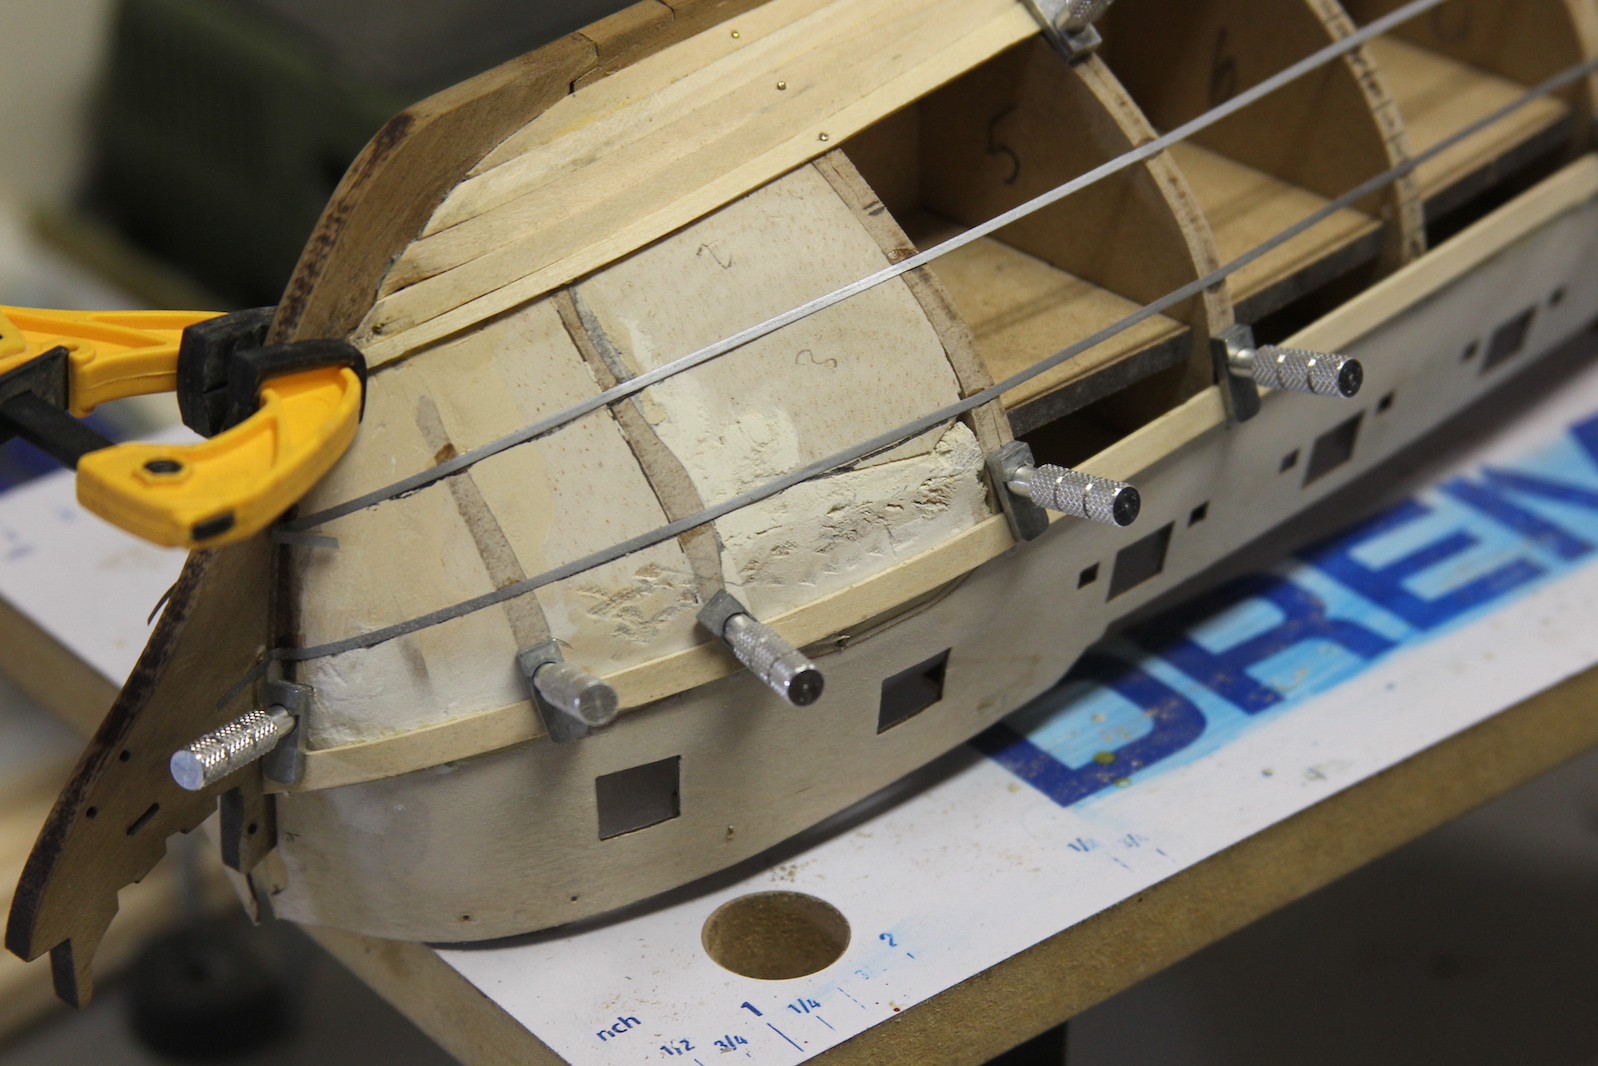
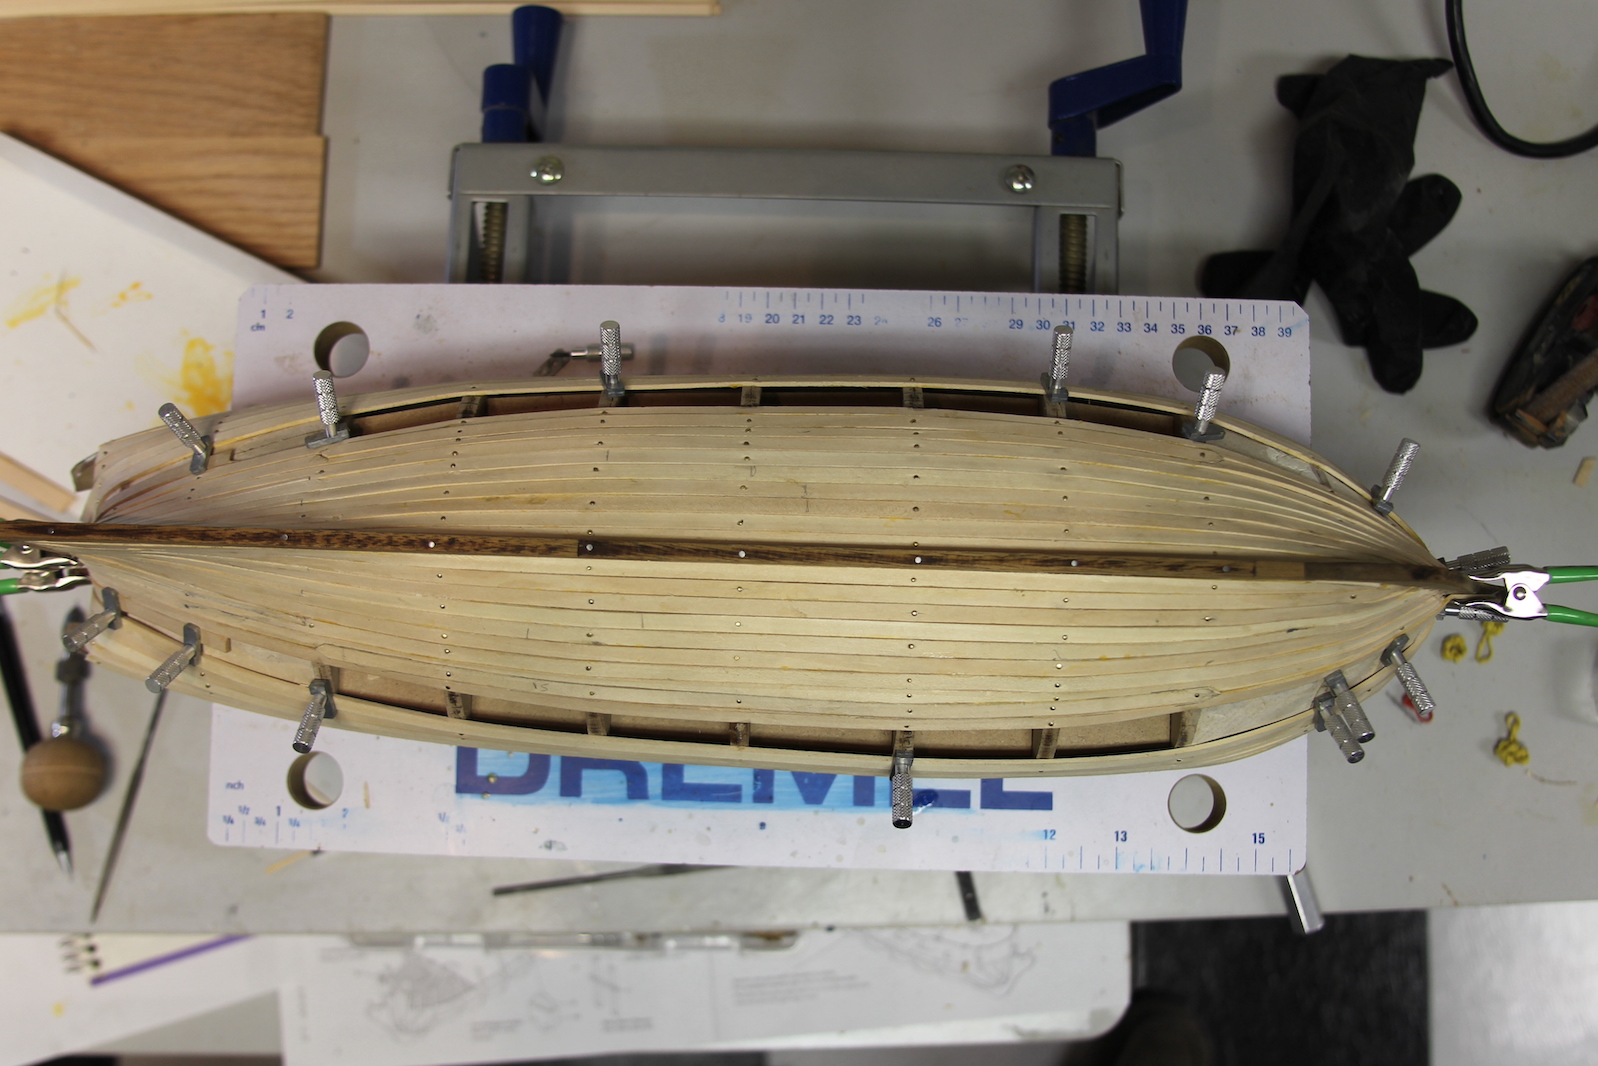
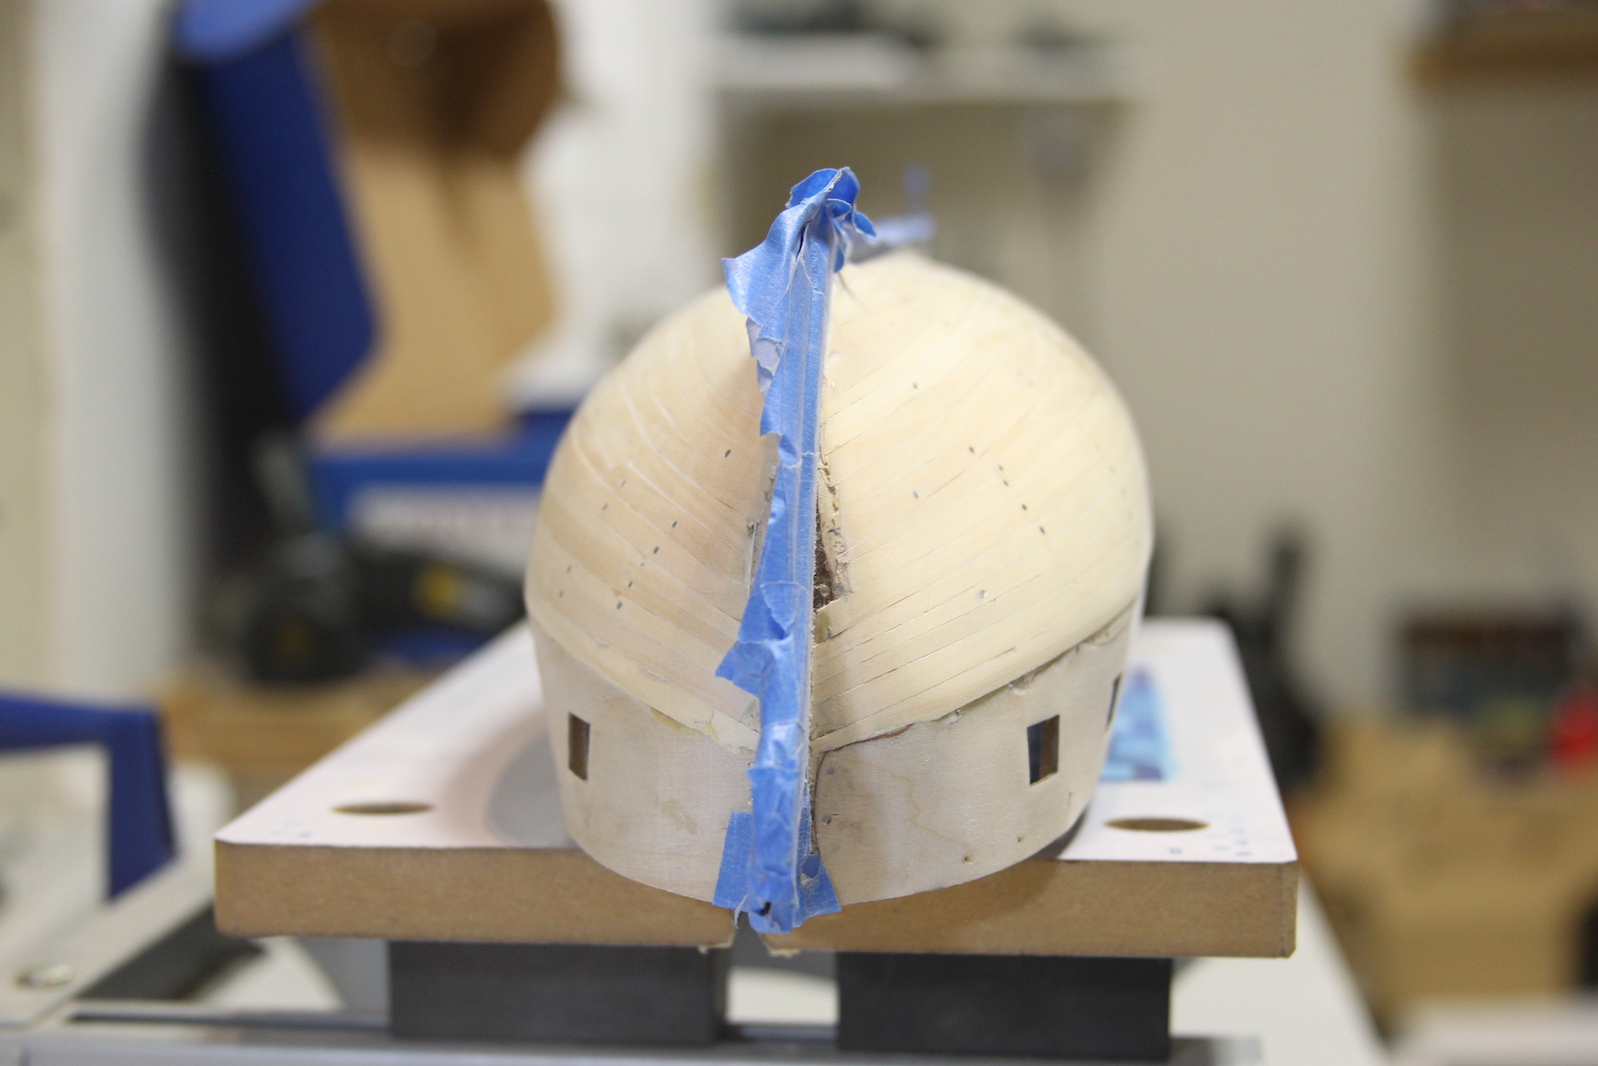
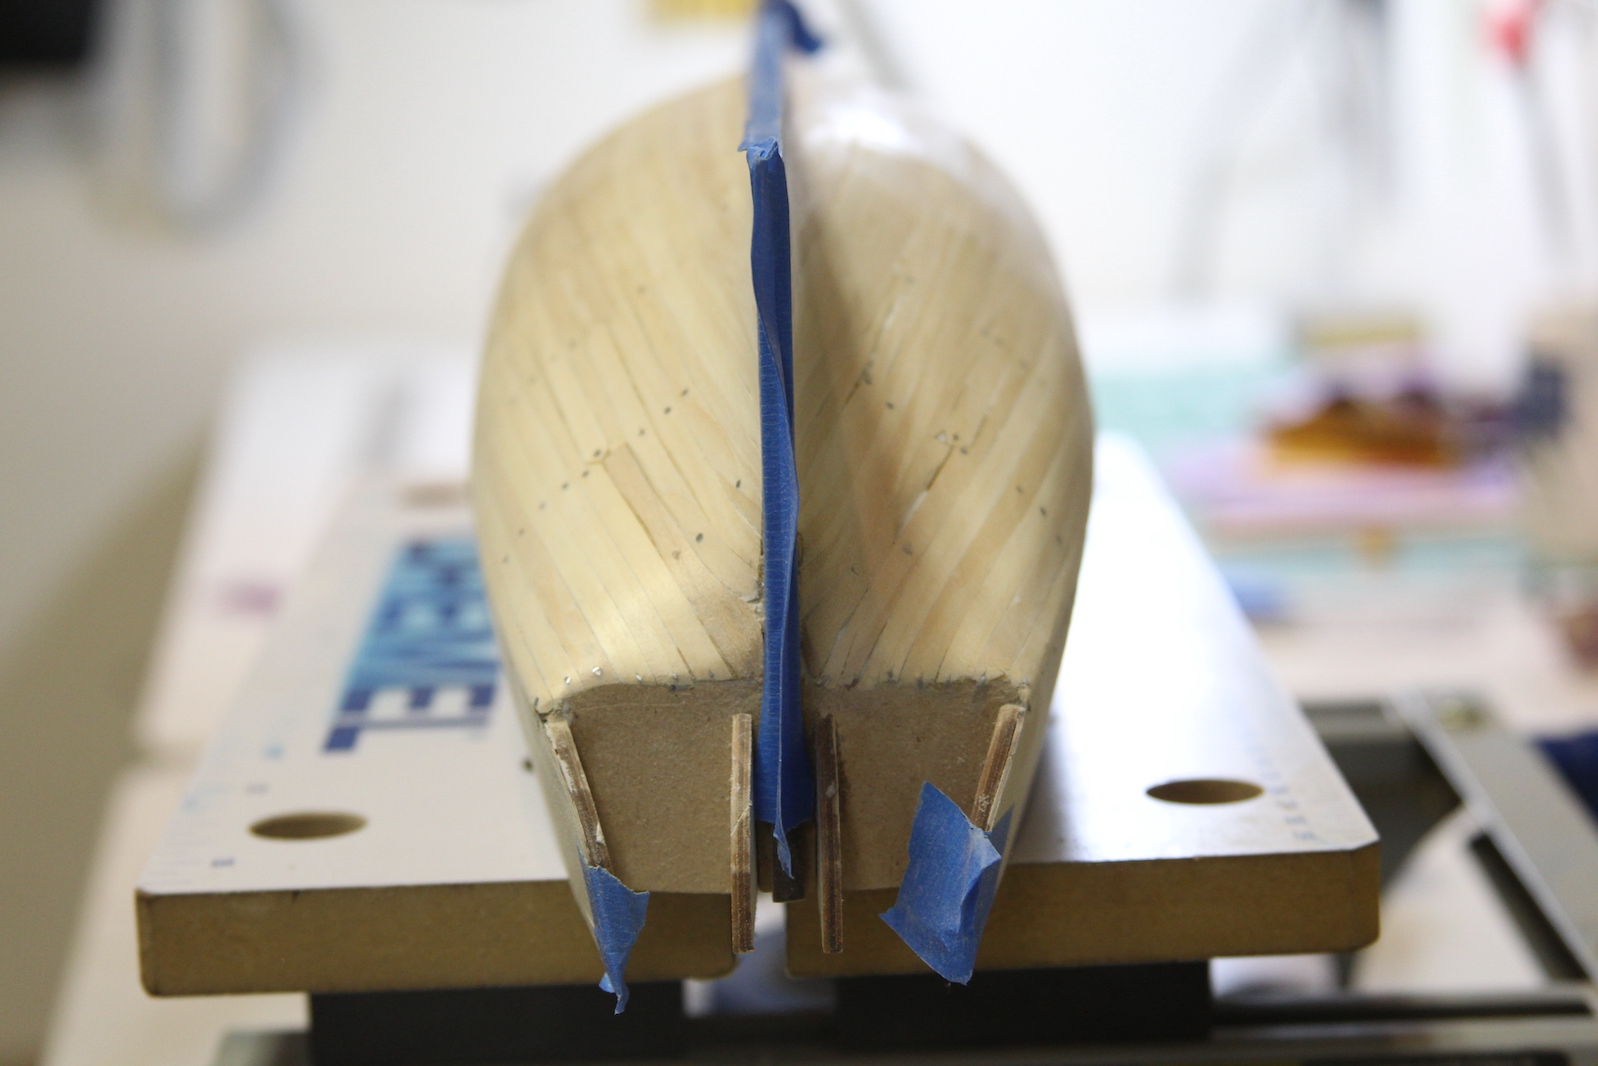
So here we go: I measured out the plank sizes and divided the hull into four sections. I used some old pin-striping tape to mark. This allows one to better count the number of planks needed, differentiate the differences between the bow and the stern, and determine the amount of tapering needed. Then, lo and behold I actually laid the garboard strake – the first plank along the keel of the ship. Each planked needs to be measured and placed individually – which is a slow process. First, you approximate the length, then soak the plank in water until it’s fully absorbed. Then, you attach the plank to the ship giving it the shape it needs as it dries and forms to the shape of the hull.


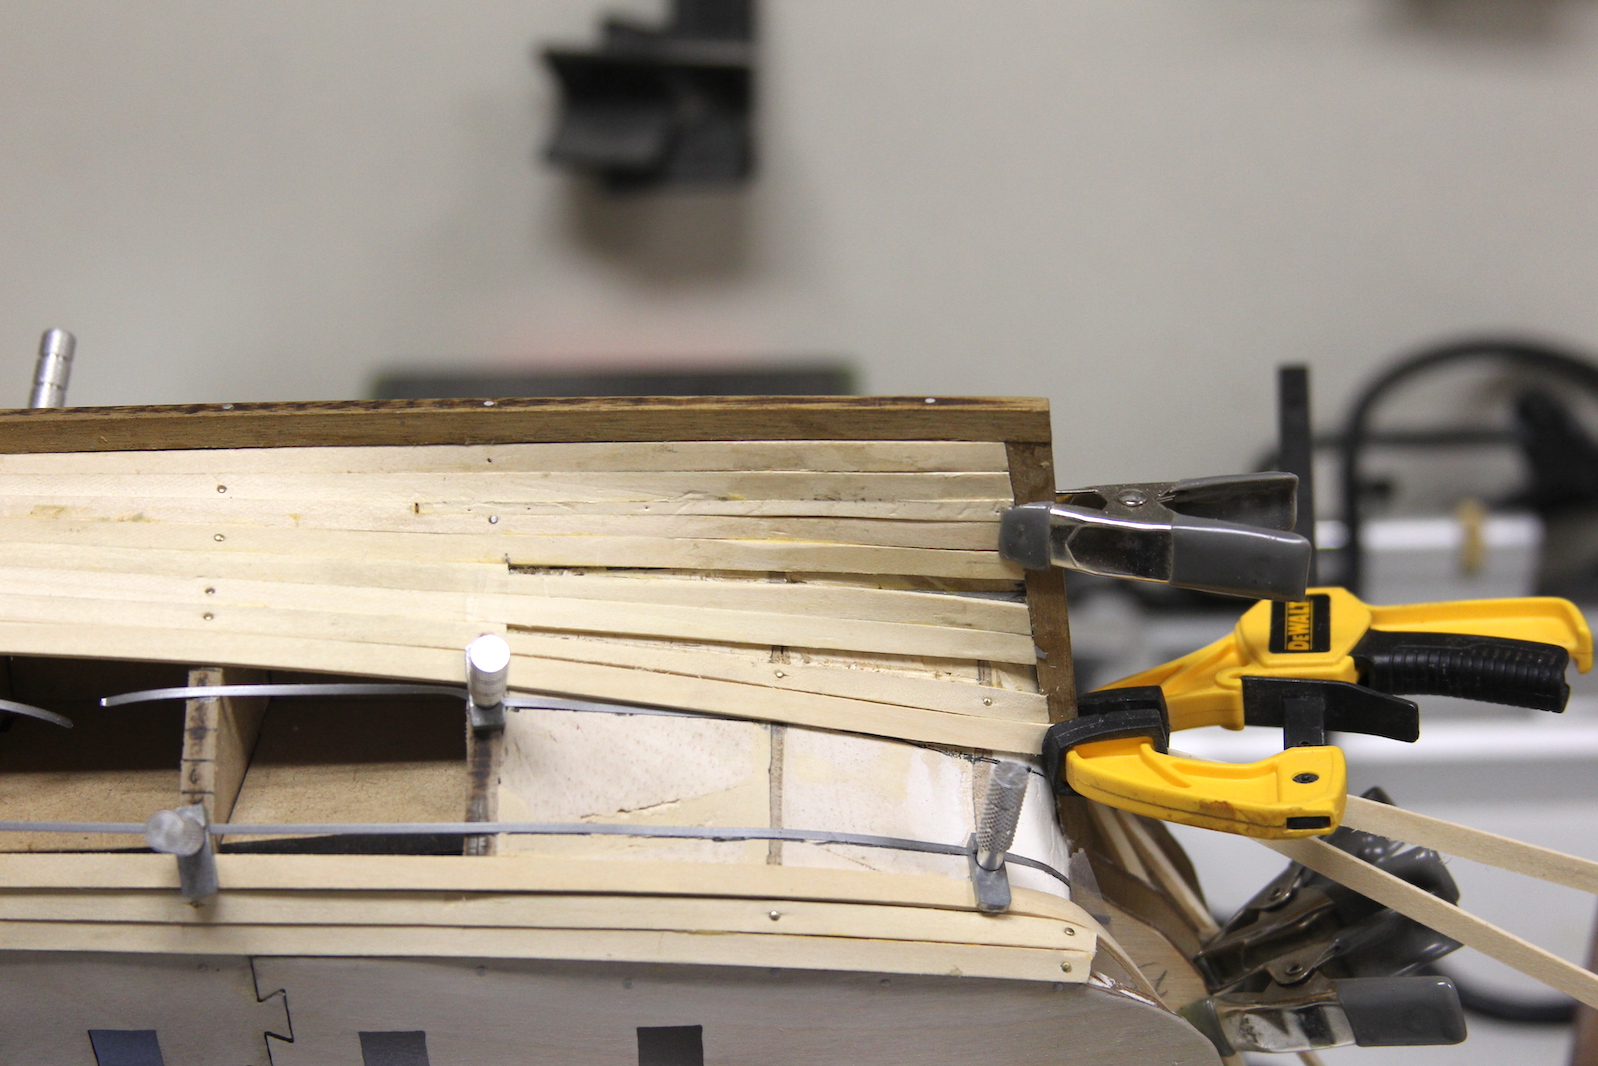
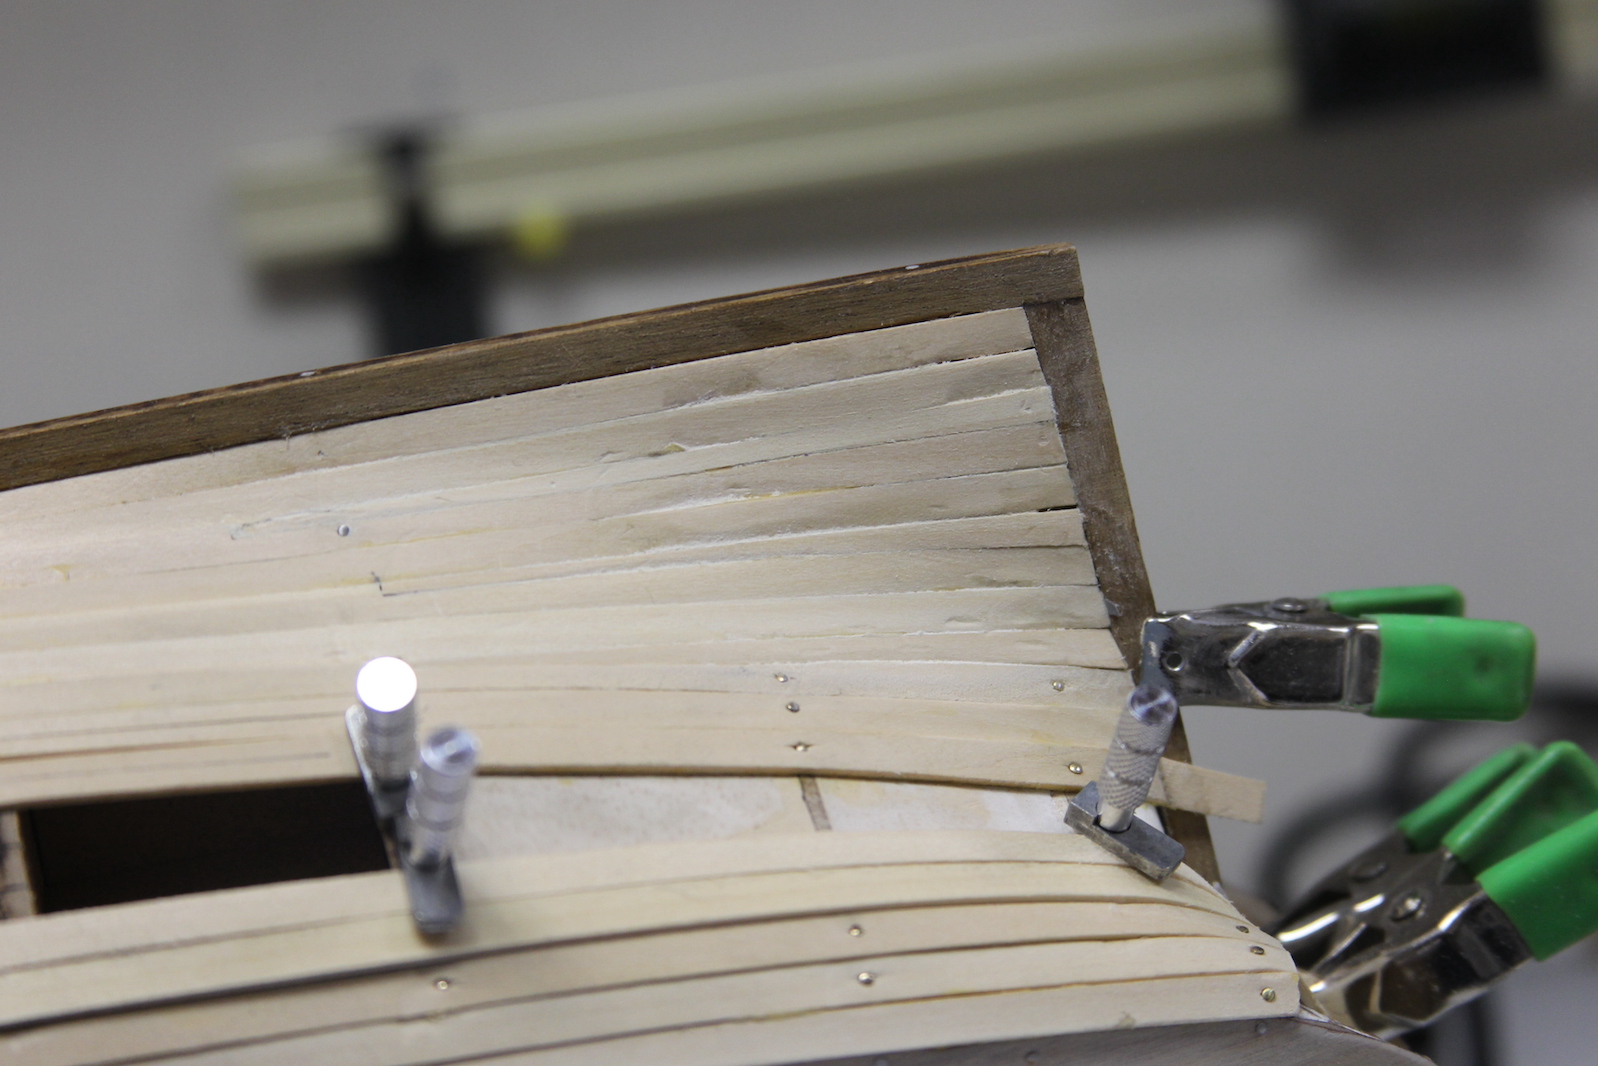
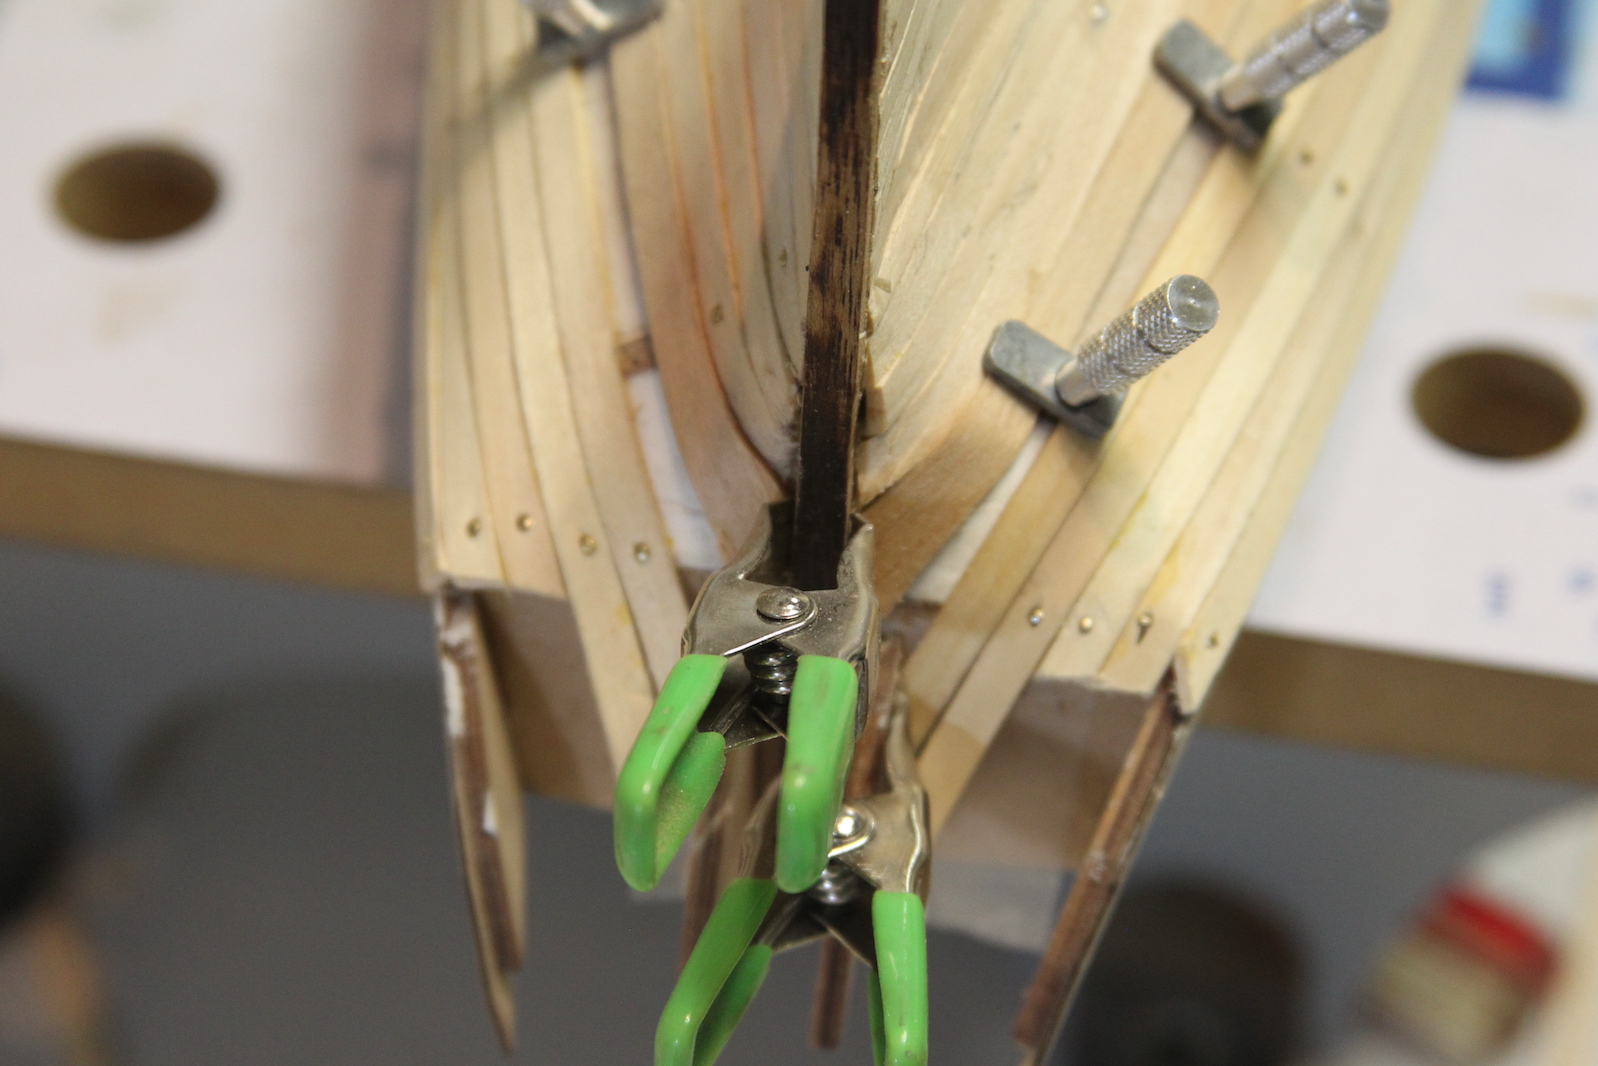
The shape of the bow and stern are also quite different when it comes to the curvature of the plank. If you try to curve it along the bow too much, the plank pops out from the hull and is no longer flush. It’s one thing to bend a flat piece of wood along it’s wide edge, but curving it along the short edge is an other thing entirely. This requires a delicate touch and in ship building is called “spiling’ the plank. To accomplish this, I soak a plank and then curve it as much as possible prior to it’s splitting point and clamp it down to drive. I then mounted it to a piece of wood to create a ‘jig’ I can used to replicate the process.
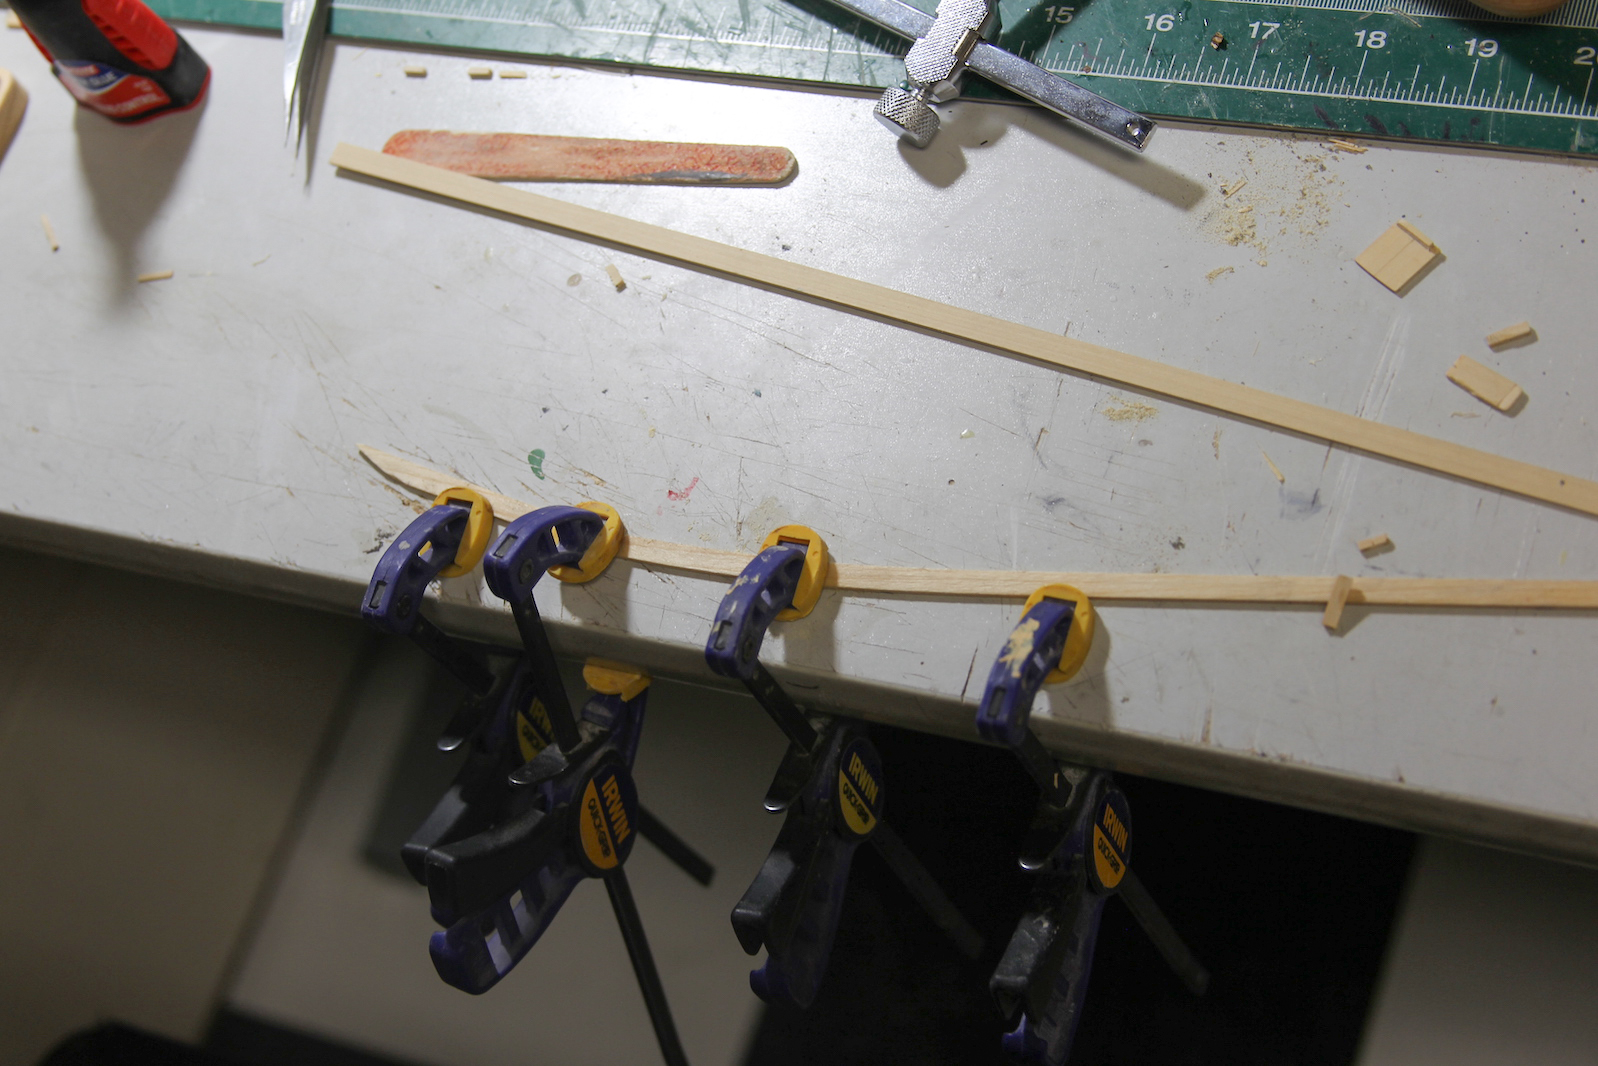

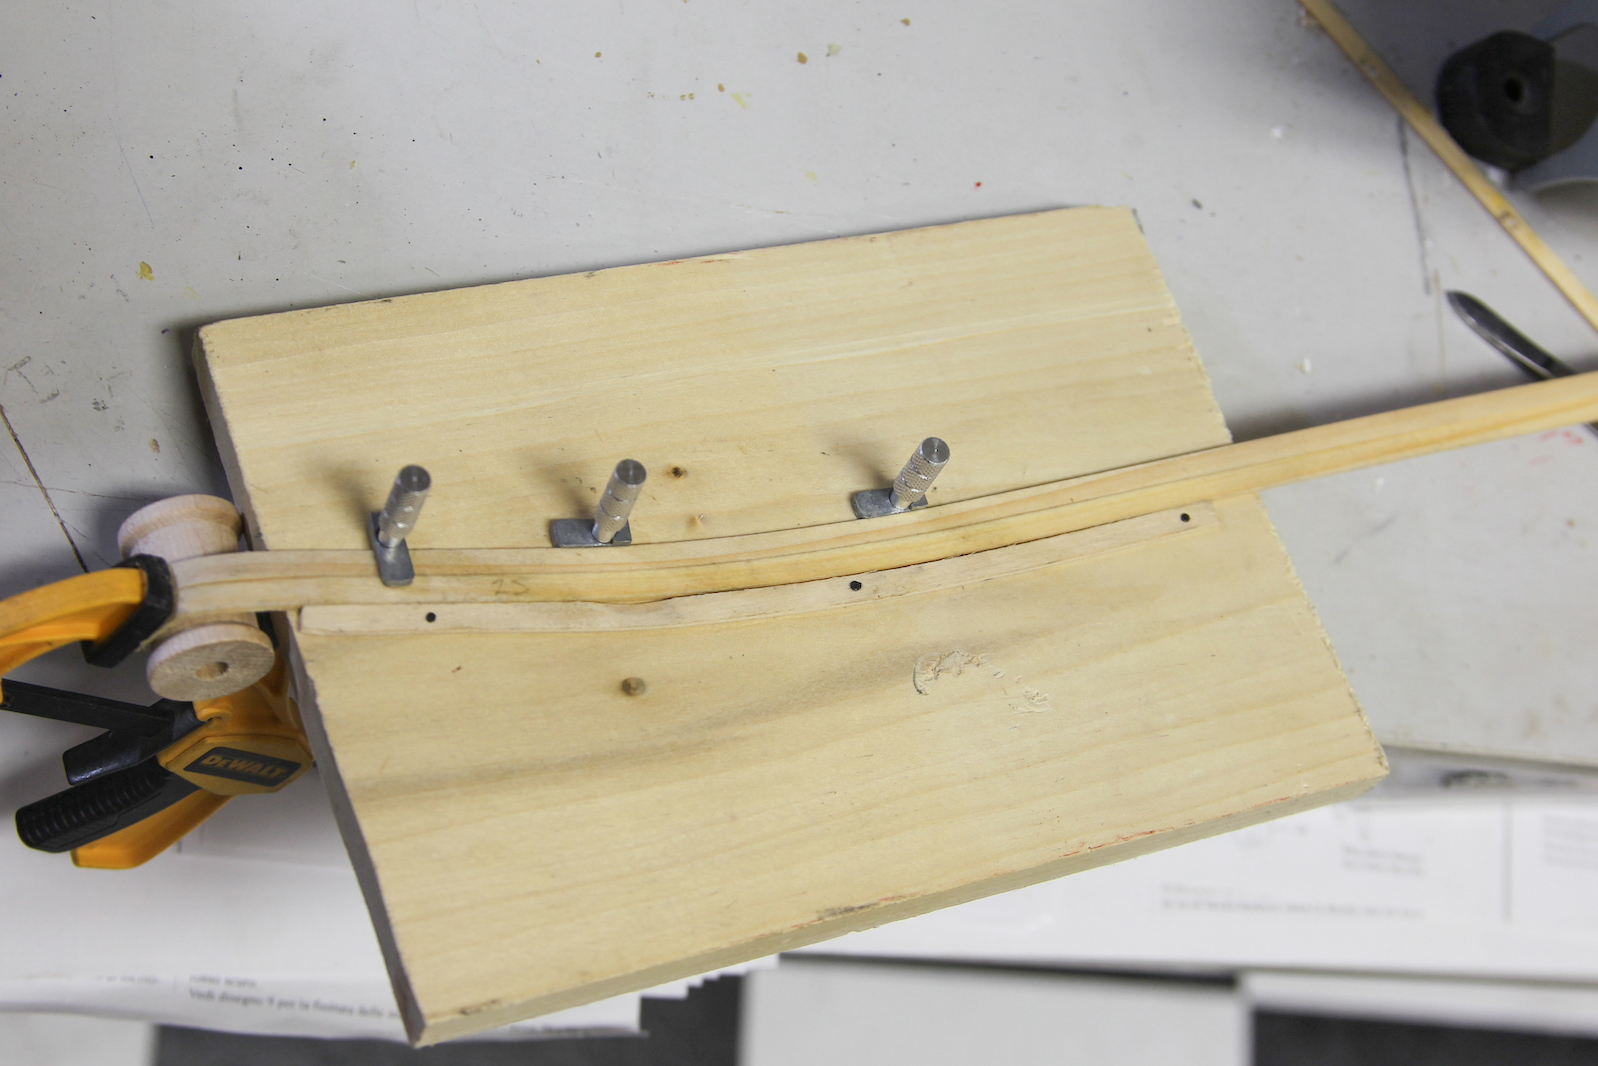
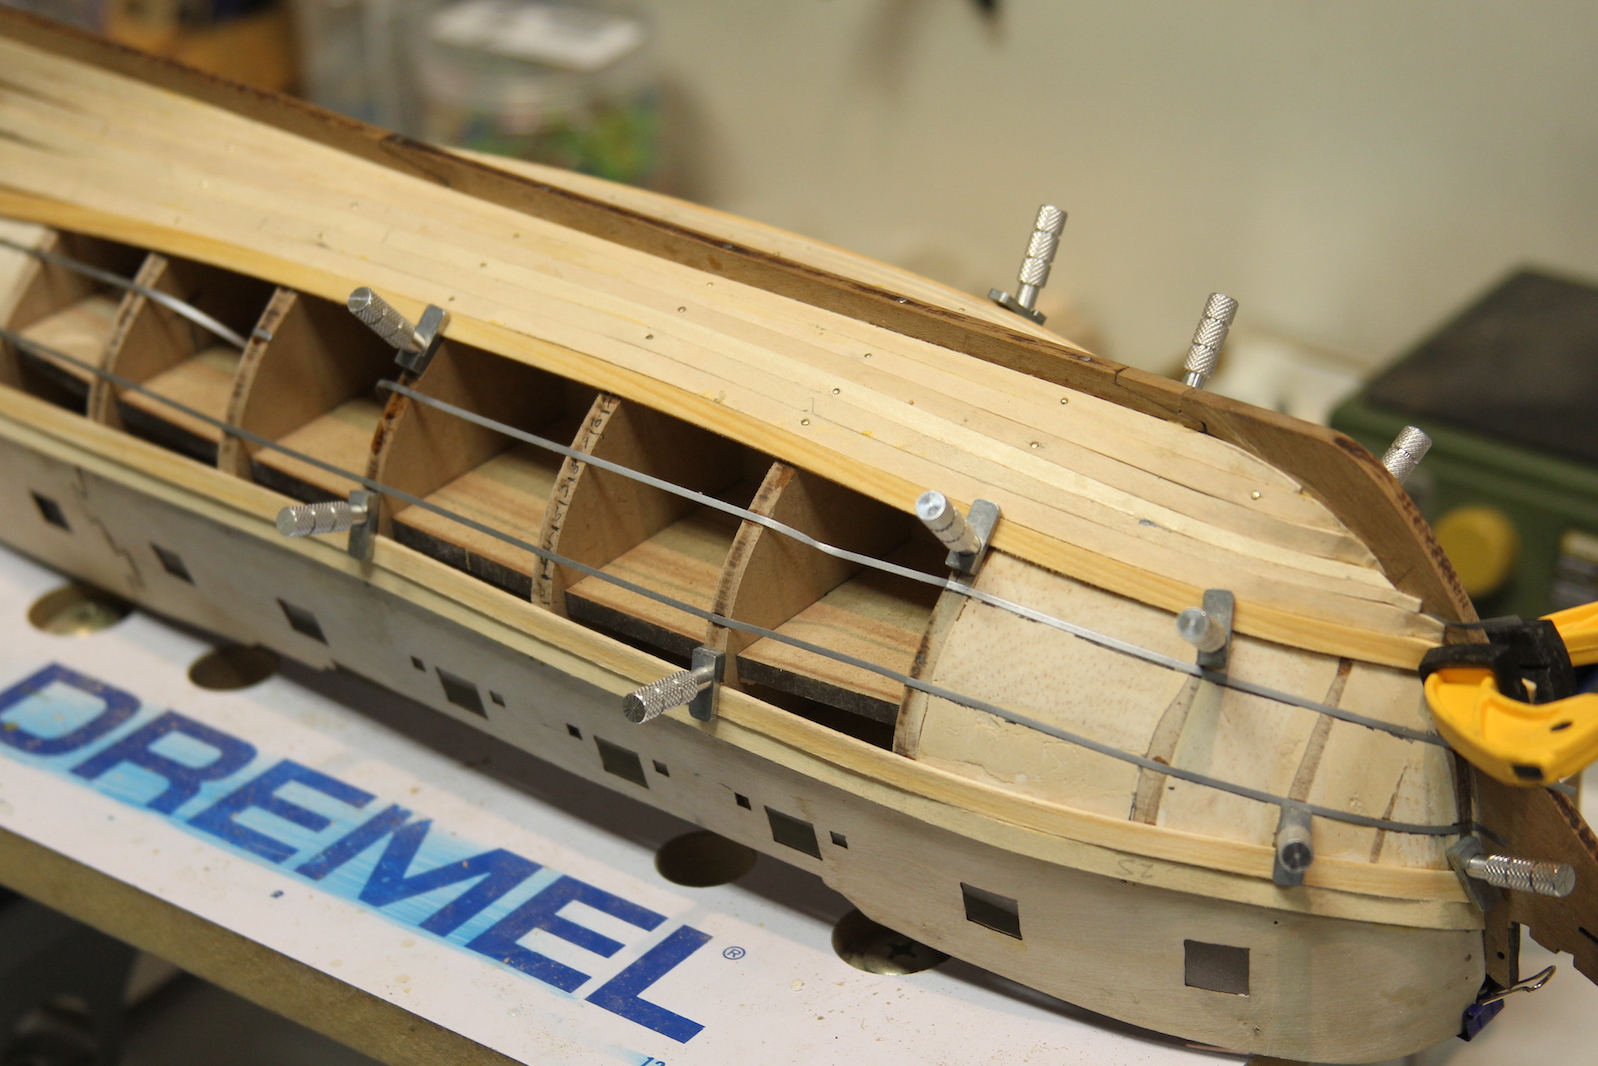
The jig allows me to spile a couple of planks at a time. Once they are dry with a proper curve, they’re much easier to shape against the hull as they now lay flush. You can tell by the different color of the planks which one is still wait waiting to dry against the form of the ship.

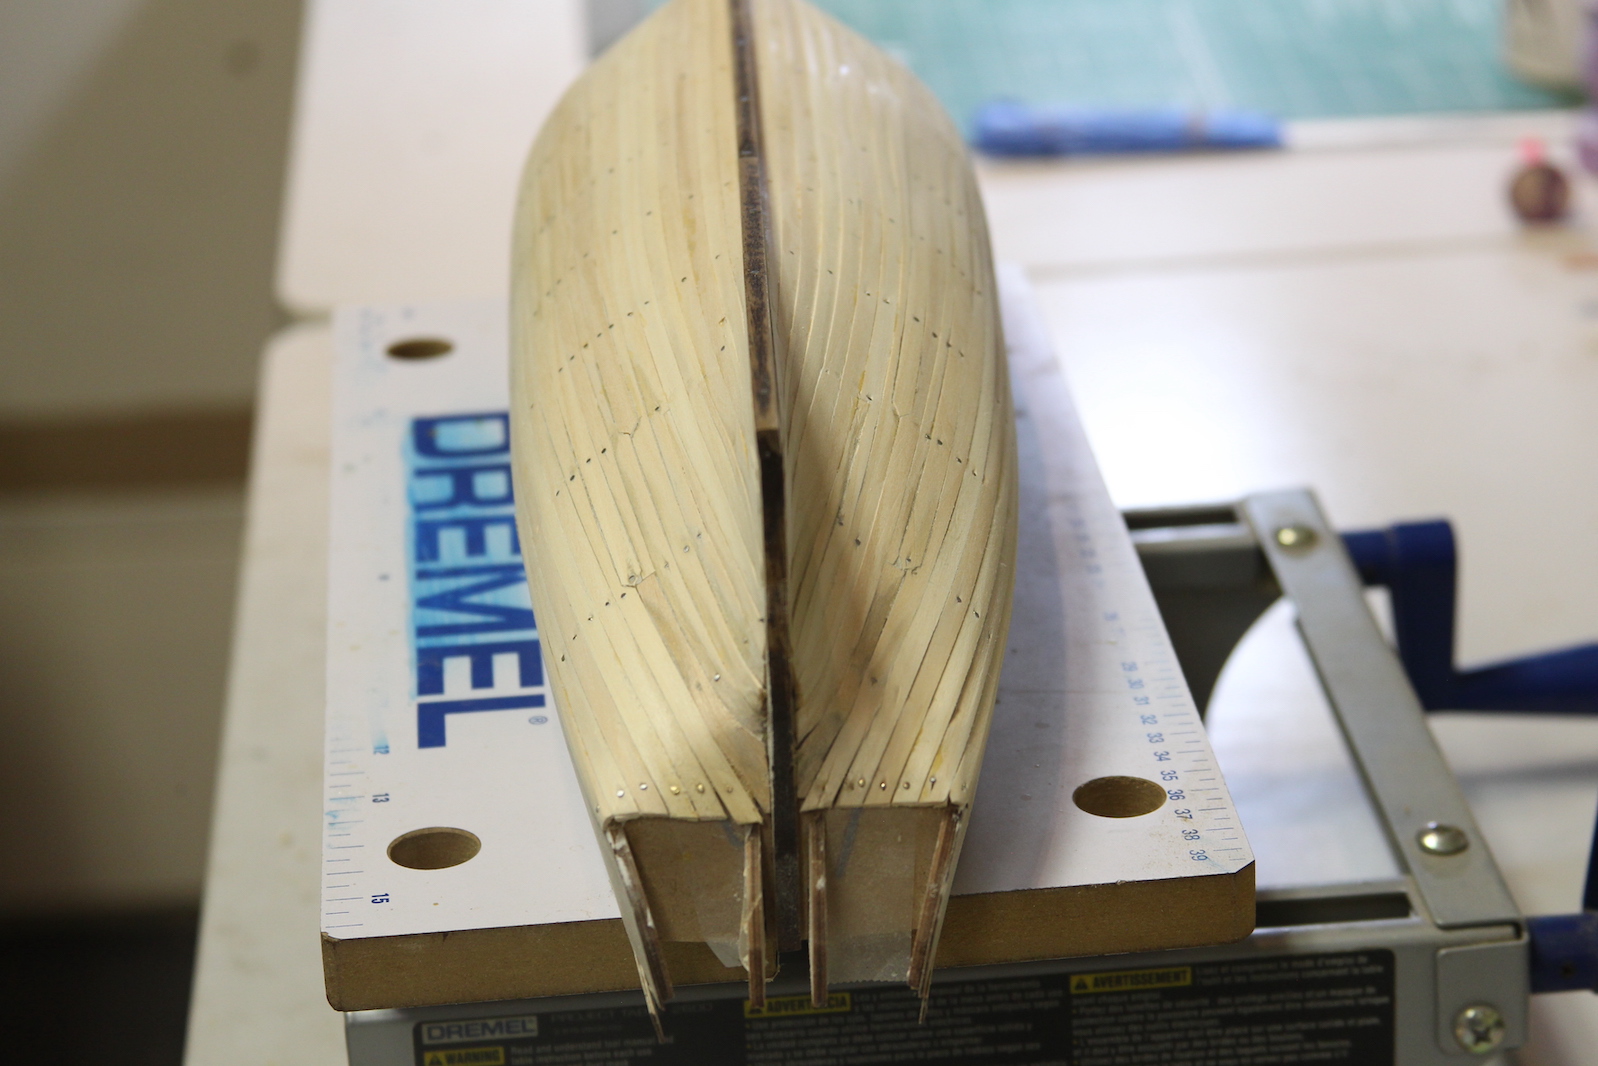
I’ve also decided with the first layer of planking I’m going to go with stealers – especially since I’m not cutting my own plank sizes, but using the kit wood. With traditional planking one would cut/rip strips of wood to match sizes as the width of the hull narrows and the bow and widens at the stern. When using strips that are all the same width (as I am here) – ‘stealers’ fill in those gaps. The gaps are most apparent at the stern of the ship against the stern post. To fill these, I use card stock to cut and measure the size, then the card stock becomes a template to cut a plank. Each gap is unique, so this is done with each one at a time.


With the measuring, soaking, forming, drying, measuring again, and glueing process – planking the hull is pretty slow and deliberate taking many days. Which is part of the reason the time is broken up by working on deck fixtures at the same time. I work the planking two fronts – from the keel and from the gunports. The shape of the top and bottom of the hull are much different, so requires specific shaping. Then, ultimately the planks meet in the middle. Now – theoretically – if you’ve measured perfectly the middle should be easy to fill with full size planks. That’s never happened for me – so once again I use stealers to fill the gaps that inevitably occur. Worth noting – stealers never end in a taper as that creates a weak joint, so they are either squared off or end in an arrowhead like point.


Another tricky part of the planking is the curvature of the stern at where the transom and the stern post meet. This requires a specially shaped planked that has to be measured and cut.


Once the hull is completely filled in, there’s lots and lots of sanding to be done until it is smooth. There are almost always (once again, at least with me) small gaps that are filled with either wood filler (if they’re large) or a mixture of glue and sawdust if they’re small. Fortunately this time around, the few gaps I have are small enough to fill with the latter. A sharp eye will pick out the stealers in the middle of the hull.

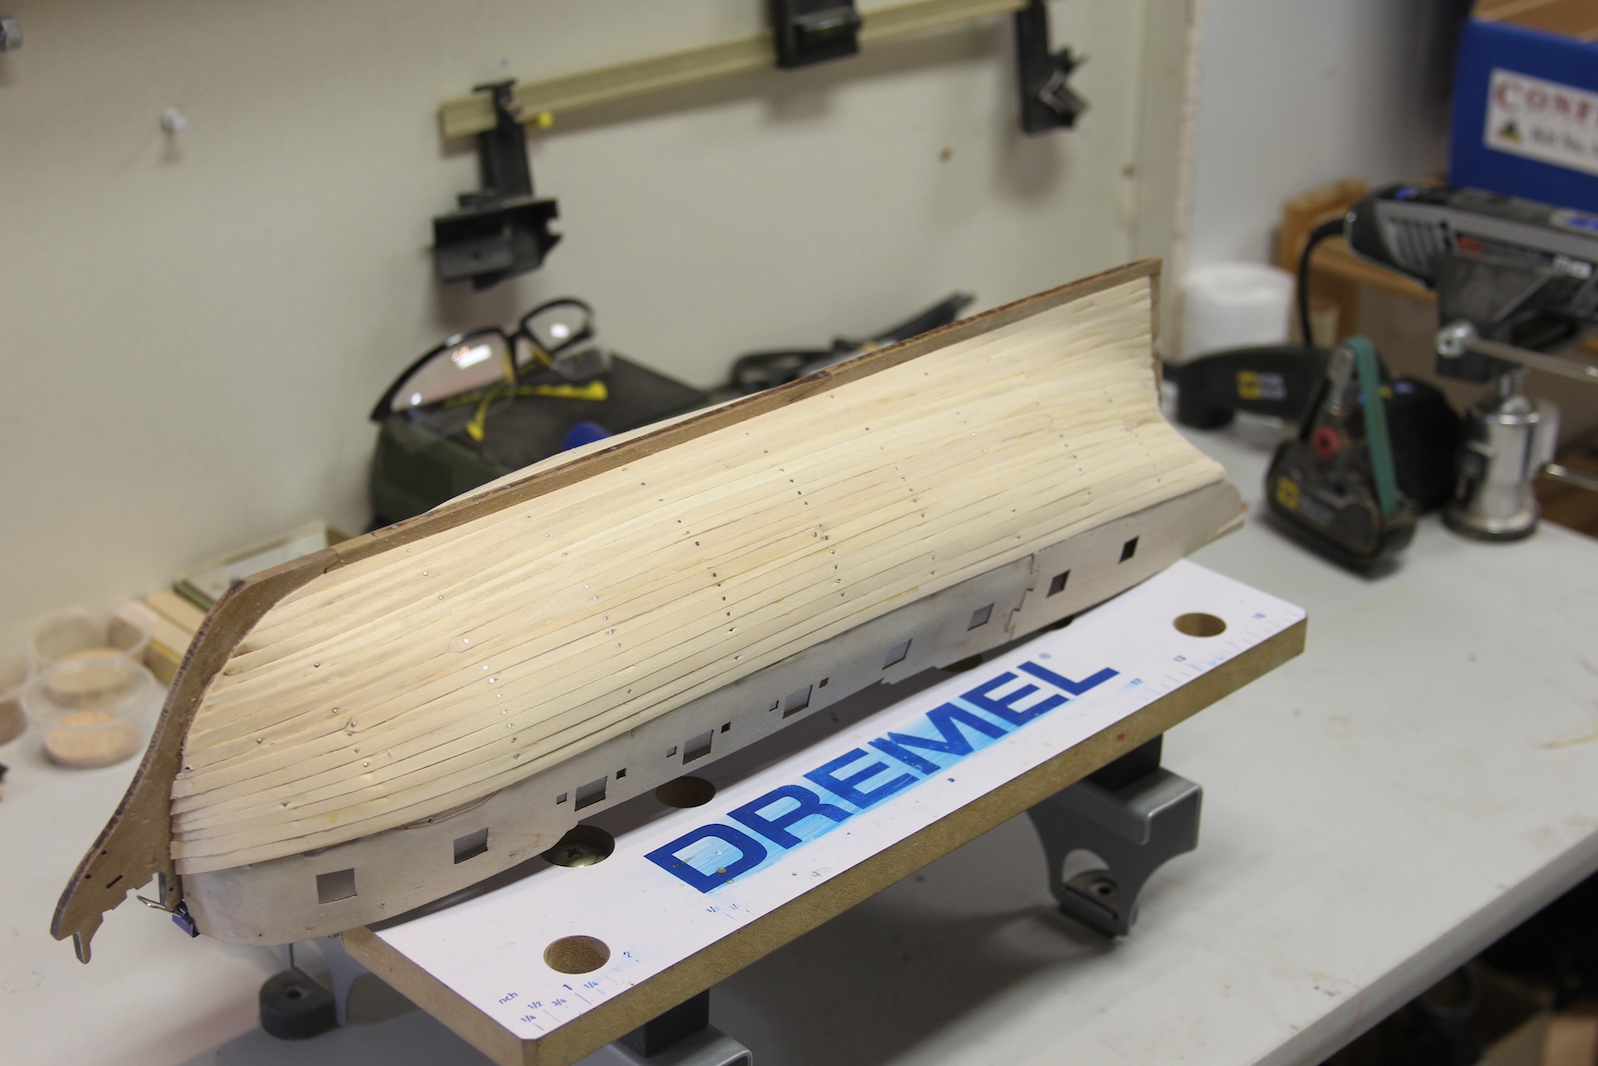
Next steps from here are a whole lot of sanding. Although it borders on sacrilege to the purist ship bhilders out there, I gave it a first pass using my really cool Dremel/rotary tool extension and a 60 grit tip on slow speed. The extension allows you to hold it like a pencil and really lightly and specifically cover certain areas that need emphasis. The key is to get the planks that overlap in the above pictures evened out without sanding too much and going right through them.

After I evened out the hull in general terms, I gave it more traditional sanding with 150, 220, 400, and 600 grit. There are a few slight gaps that I filled in with glue/sawdust (which is why they show up a little darker) or “Wonderfill”. The key is to even out the port and starboard side as much as possible so the sweep of the hull is mirrored on both sides.


Next steps are to carve out a new rabbet line (where the second layer of planks will meet the keel and stern post) and then line out the second layer with a pencil. Being able to draw out the schematic directly onto the hull will allow me to more accurately measure the taper and (possibly) stealers for the second layer.
