
The second layer of planking takes a bit more precision than the first layer as it is the one that’s visible – obviously. With the Peg – and other ships of the era – the hull was coppered, so that’s kind of an excuse to perhaps not pay as much attention to detail since any errors will be covered. However, I hadn’t decided yet if I wanted to copper the hull, or leave it as wood; since I personally feel that can be more pleasing to the eye. Either way, I went about my second layer of planking with as much precision as I could.
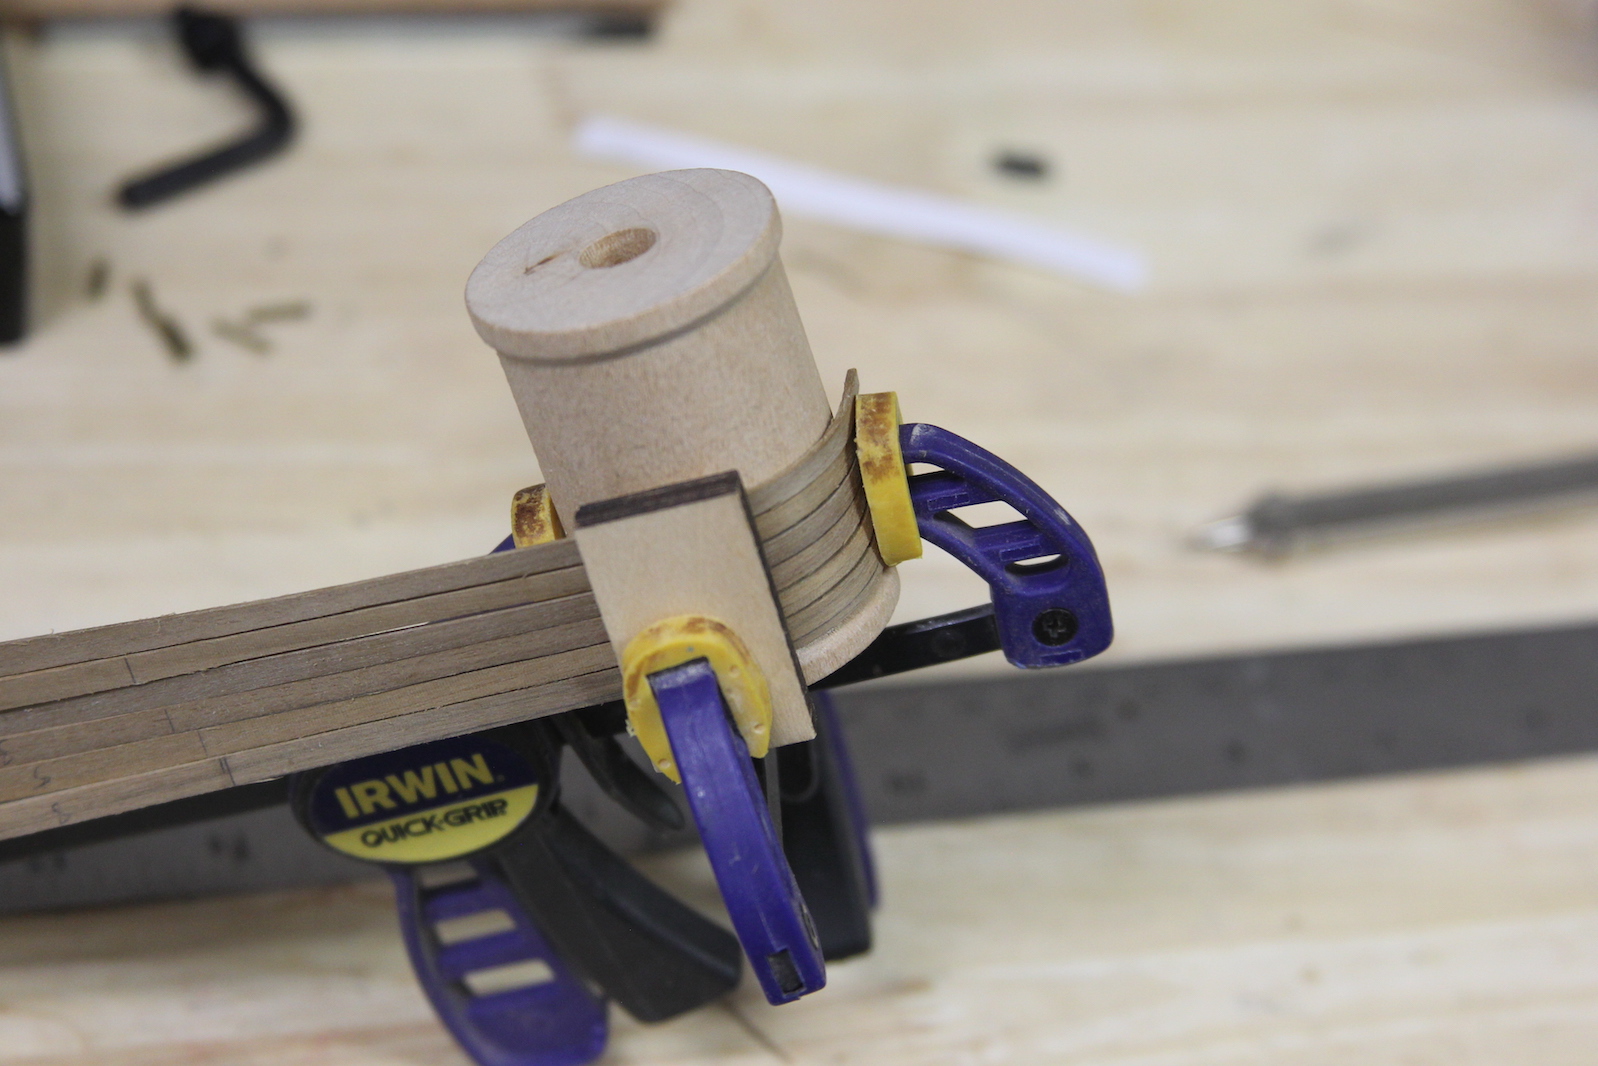
I needed to do a fair amount of trimming prior to the second layer, so that’s where I start. Curbing the stern and crating a new rabbet for the walnut planks. After that, I split the hull into three sections instead of the four I used for the initial layer. These ‘divider’ planks are just tacked there to help me count out the planks. I then started planking from the bottom up and top down to meet in the middle. The kit provides walnut planks for the second layer, but there’s some pretty significant inconsistency in terms of color – so I did my best to separate the planks to get some coloring that was at least in the same ballpark. As you’ll see later – I was only partially successful. We’ll see how the bulwarks end up and then I’ll decide whether or not to do any staining – even though most of the planking is painted in some fashion.


I took the lessons I learned from the first planking and did a whole bunch of measuring and math to try and figure out how much to taper the planks for each section of the hull. If you take a look at some of the pictures you’ll see lots of little notes and marks along the way. Here’s the thing – while I definitely think this all benefitted me – it still ended up basically being ‘best guess’ with me measuring out the last section one bit at a time. After soaking and bending wood – it never seems to return to the same size, or I’m off by a fraction of a millimeter or something. Honestly, I think I’d have had more success with a harder wood like box or pear – but I didn’t really want to fork over the extra cash. I’ve already invested quite a bit into the deck wood as well as ropes, canons and other miscellaneous stuff. Besides – I was pretty sure I was going to end up coppering the hull. At any rate, the second layer is the same general process as the first – soak, bend, mount, glue.


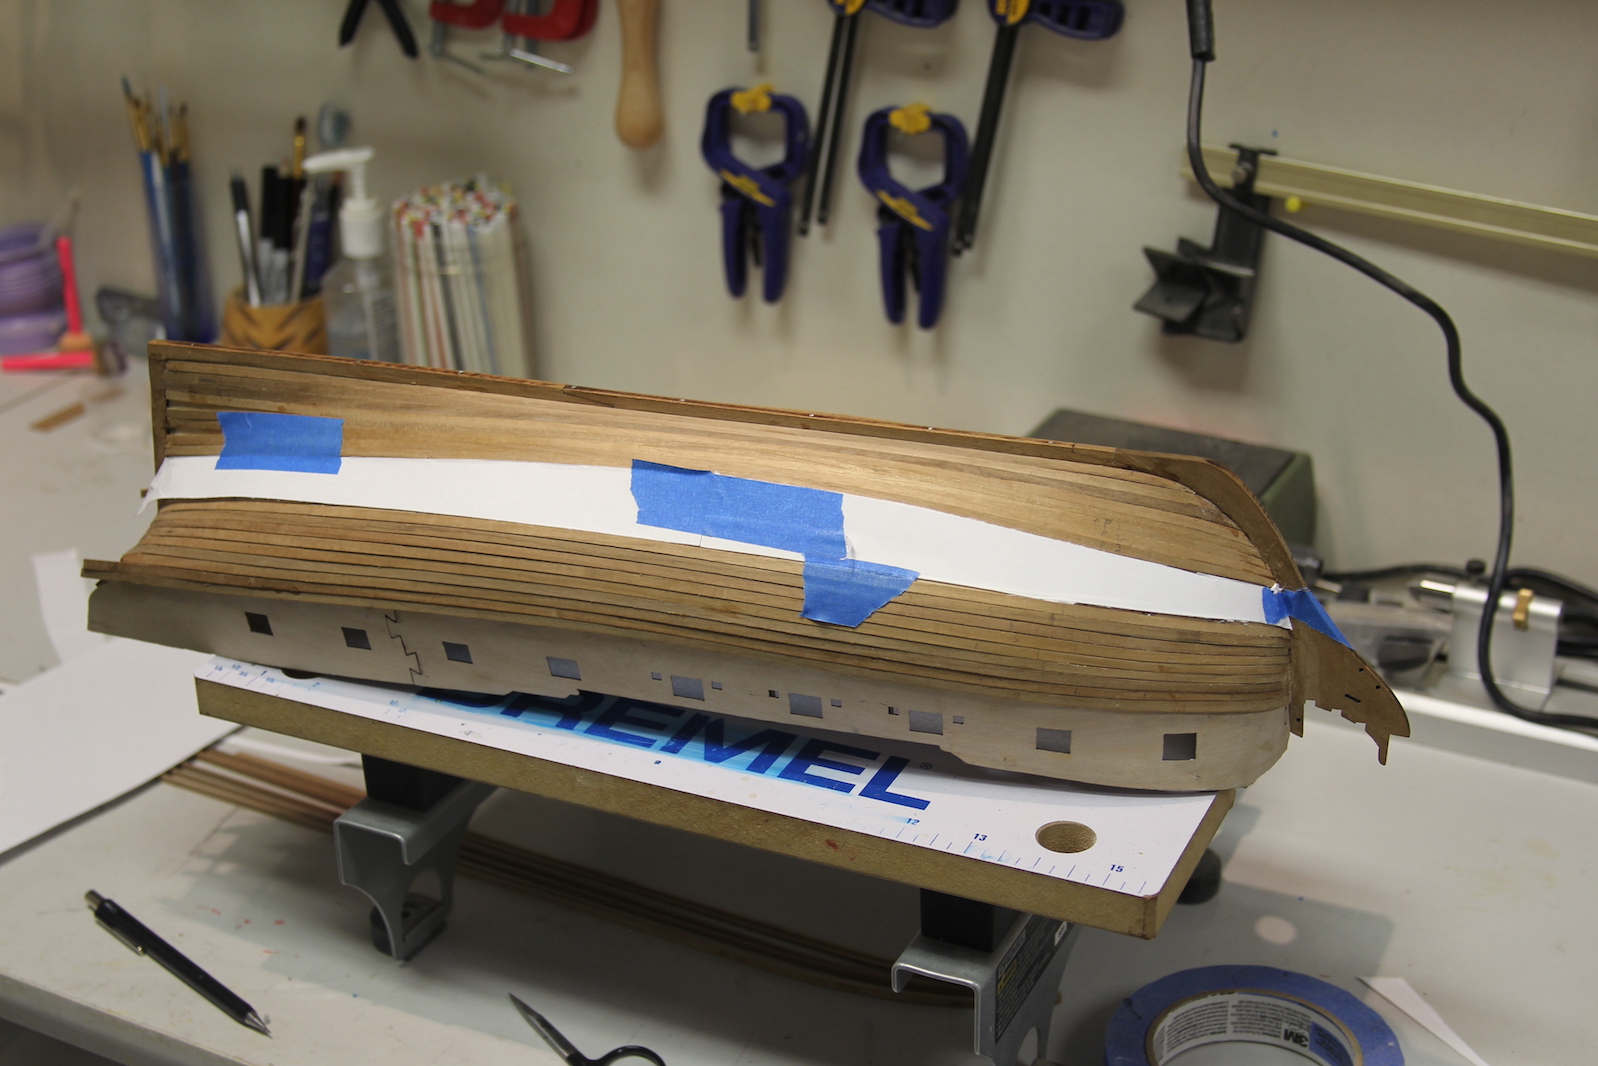

When I got to the final middle section I realized a couple of things – I botched the measurements at the stern and didn’t taper correctly. I was thrown off by the “L shape” and didn’t get the math right. This lead to a pretty wonky looking section that needed to be filled. So I used cardstock to take a template and try and measure out what needed to be done. In the end, it was pretty clear I was going to need a stealer regardless.
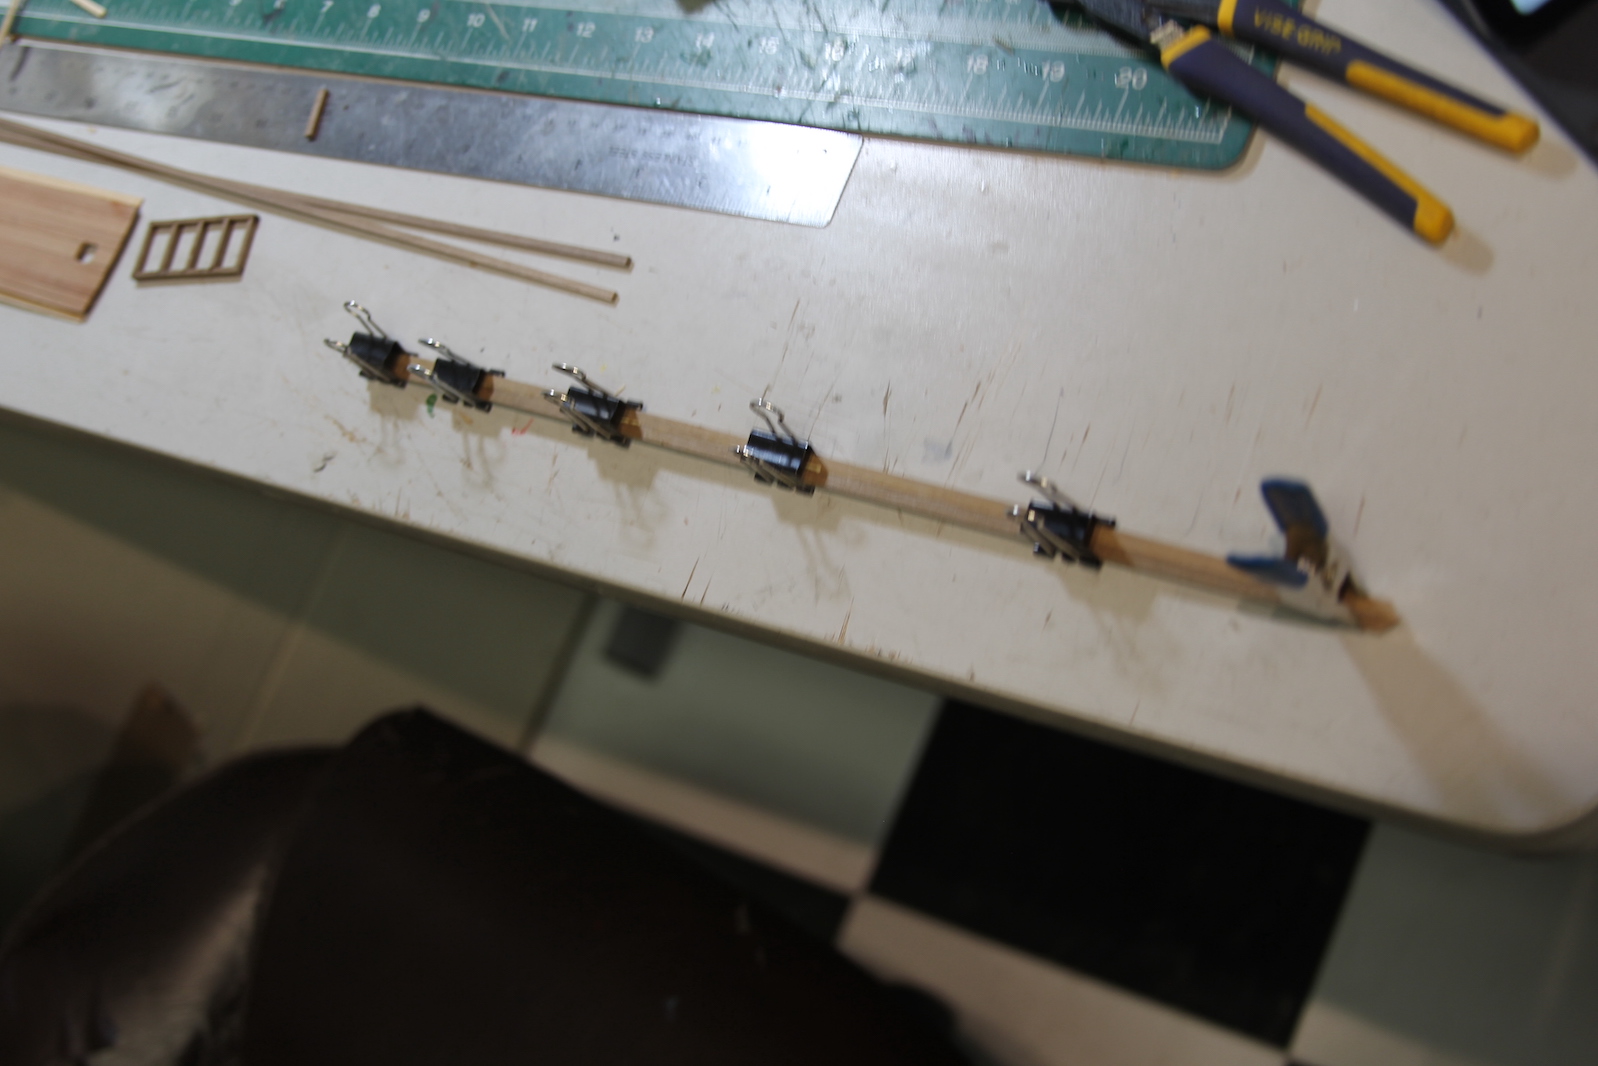
My method for the stealer isn’t really historically accurate, but I still think is a pretty functional way of handling my botched math. I ensured that planks didn’t come to a sharp taper, and basically did a combo – split stealer – kinda deal to fill the remaining section. I started by gluing two of the planks together to create a wider double plank. Then I cut off the ends to create the same kind of butt that I use in a more ‘traditional’ stealer in the stern section. I traced out what needed to be filled then put a brand new blade in the x-acto to cut out and match the section to piece I created.


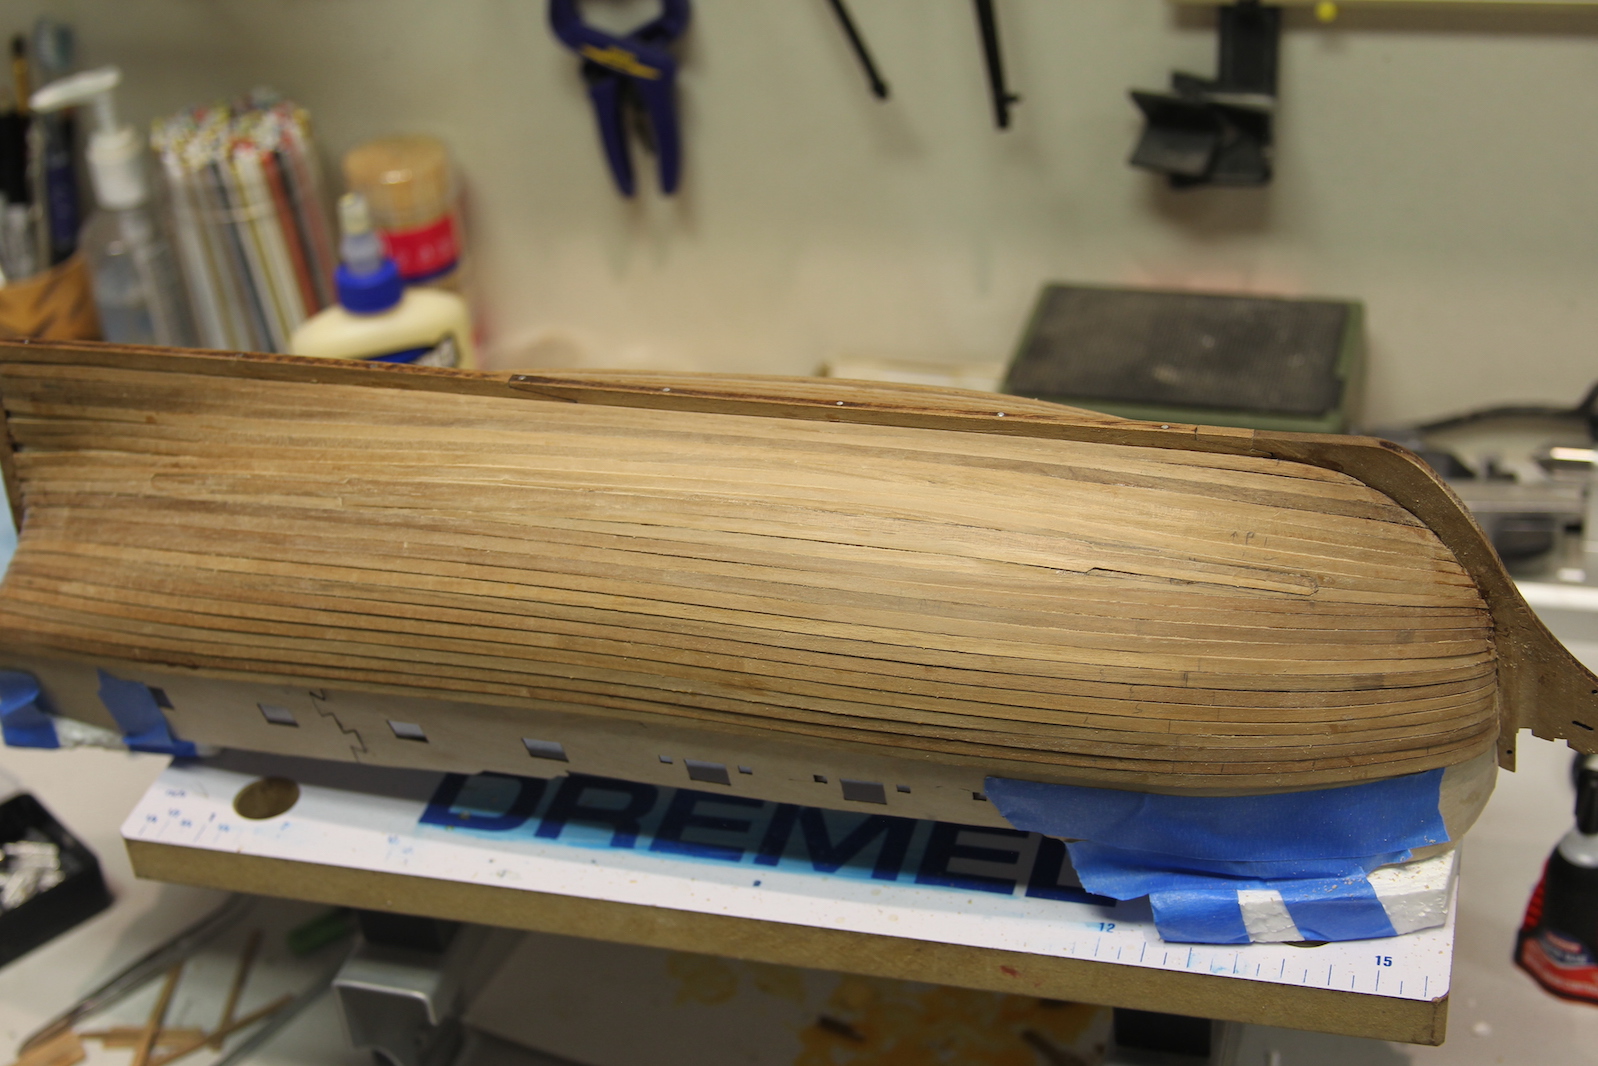
Filling in the stern stealers rounded out the second layer.


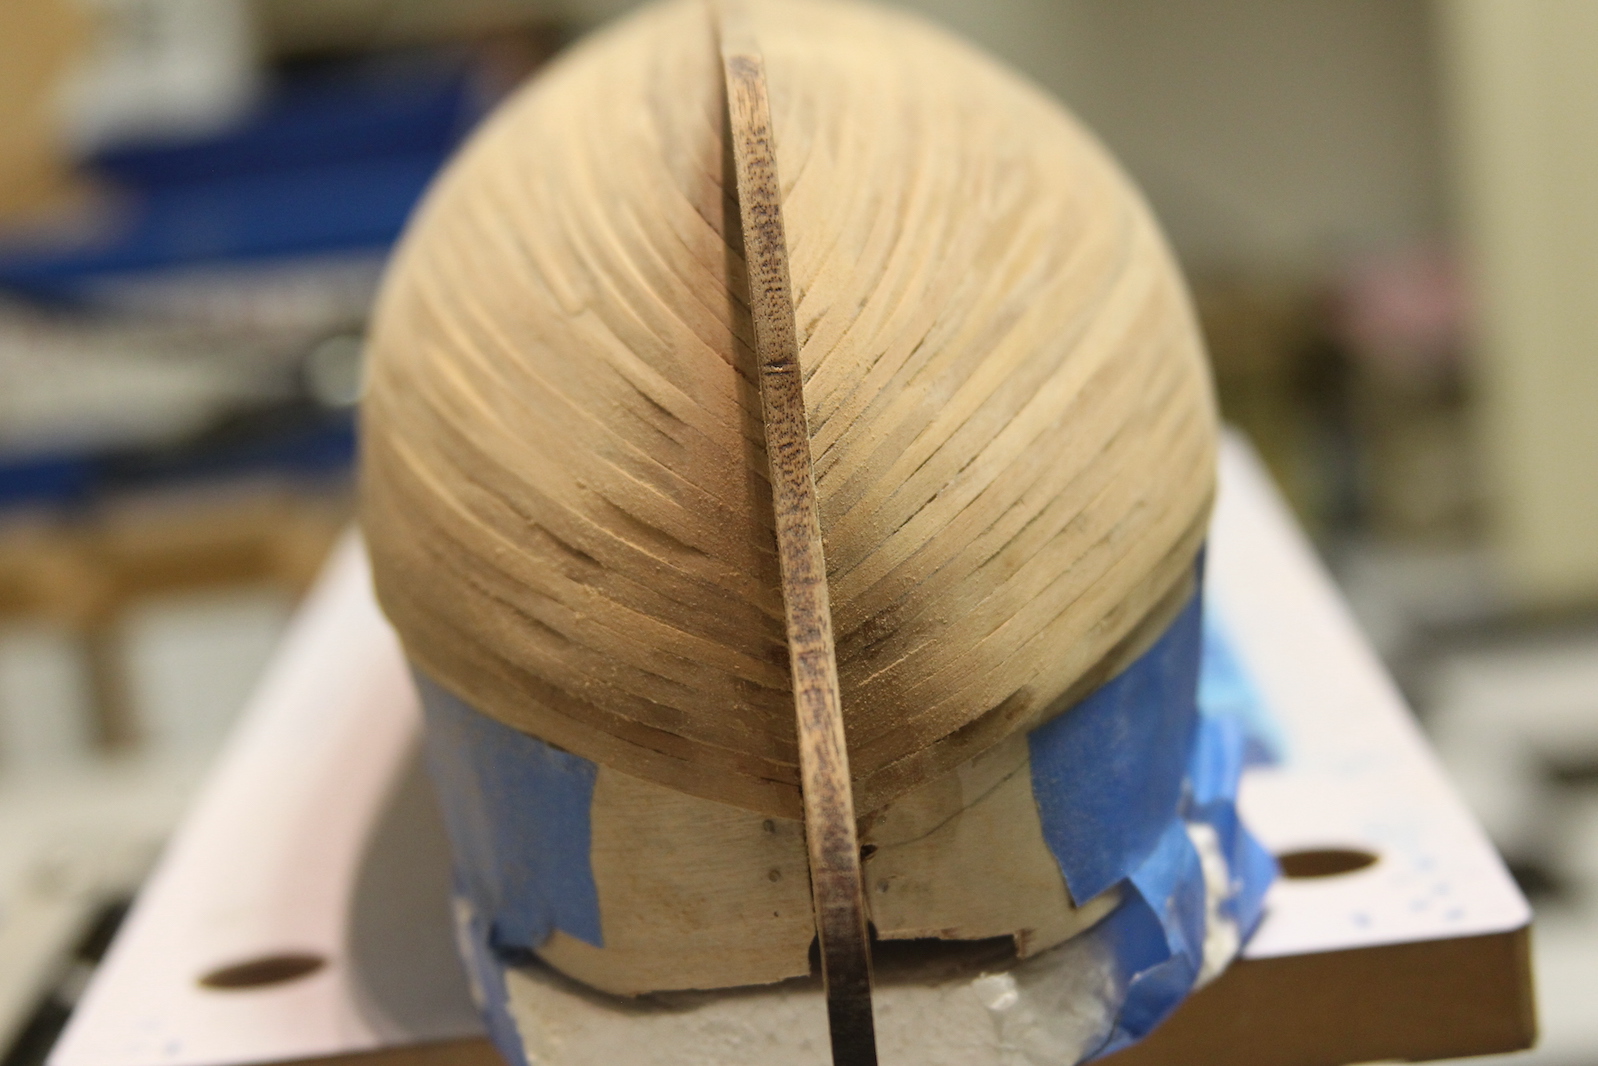
Next steps are all about sanding. Using increasingly fine sand paper as you go. I like to use a 5 inch sanding circle for a circular sander even though I’m doing it by hand because it’s easy to hold, easy to switch out the velcro sandpaper, soft enough to have some ‘give’ over the hull, and still precise enough to get into the spots I need to get to – like along the keel.. I use thin wood glue to fill in any gaps that appear, and then sand over it so the sawdust fills in the gaps and provides a similar enough color. At the end of the day it was one of my better planking jobs. Going into this I’d briefly flirted with the idea of not coppering the hull – but there ended up being a few too many flaws so I’m going to go ahead with the copper.


