
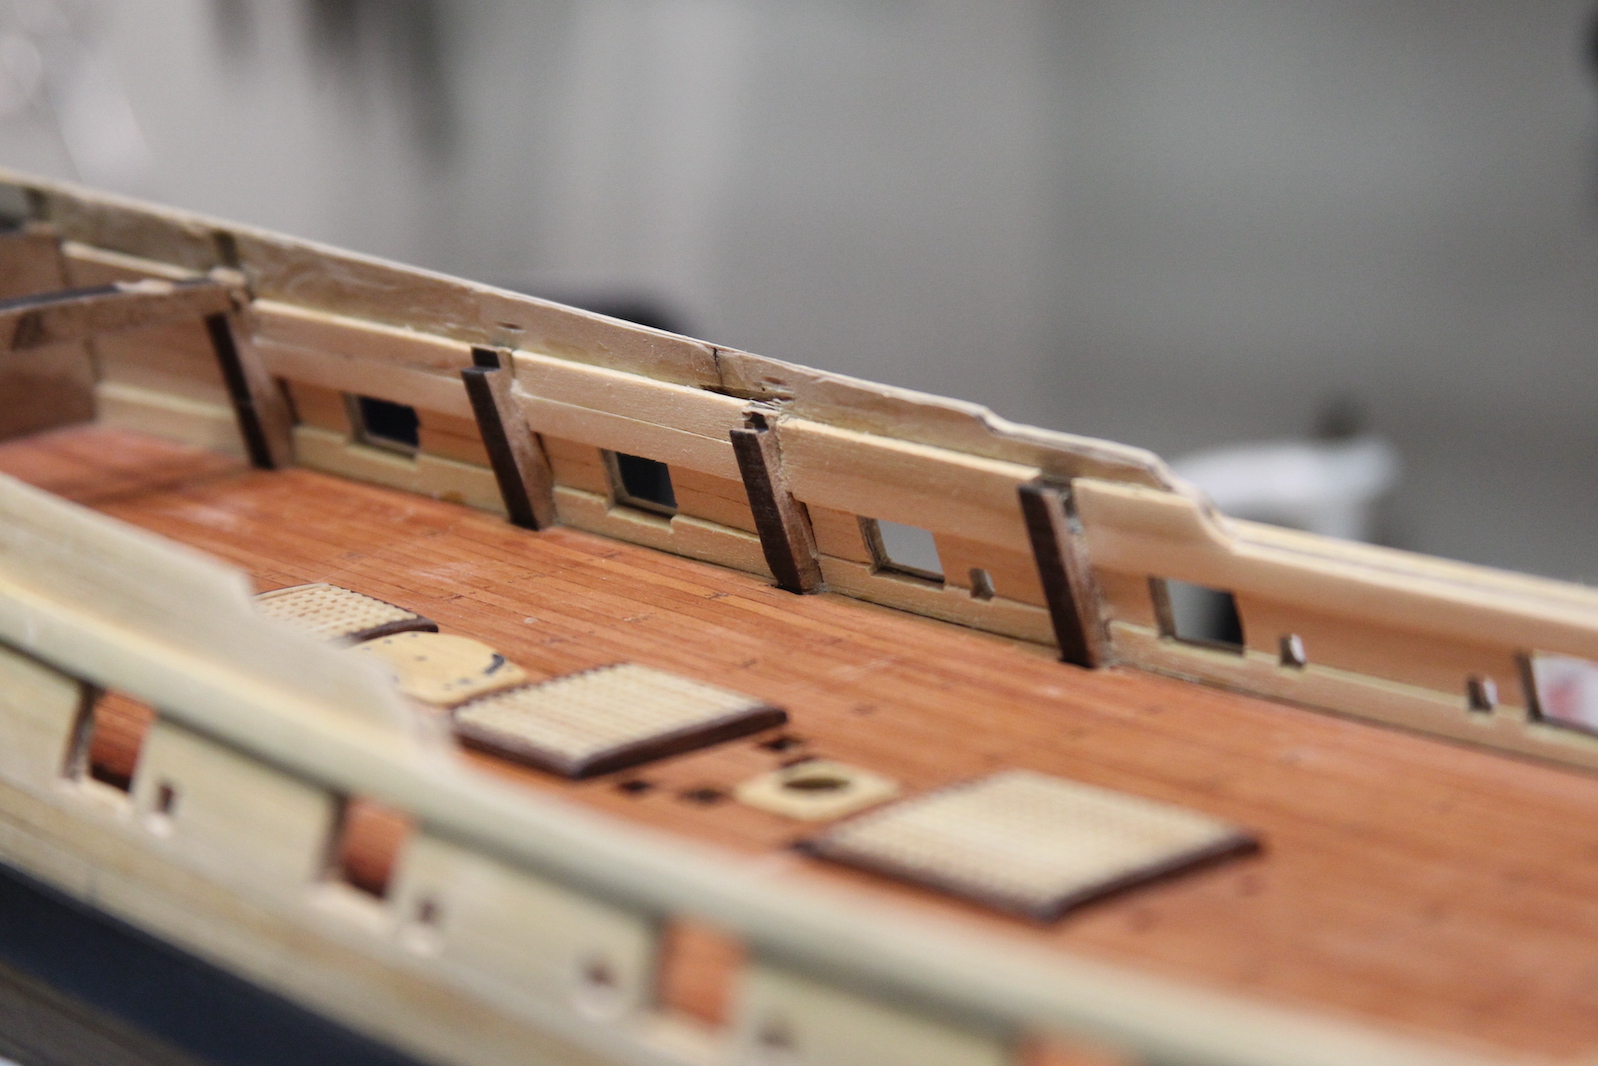
Next up, planking the inside of the gun ports. Similar to the outside, the inside is planked with a couple of different sizes and widths of boards that all serve pretty specific functions. The lowest plank is wider and thicker to facilitate the scuppers, the mid planks are thinner which allows the guns to be rolled up closer to the ports, and the upper planks are wider and thicker again.
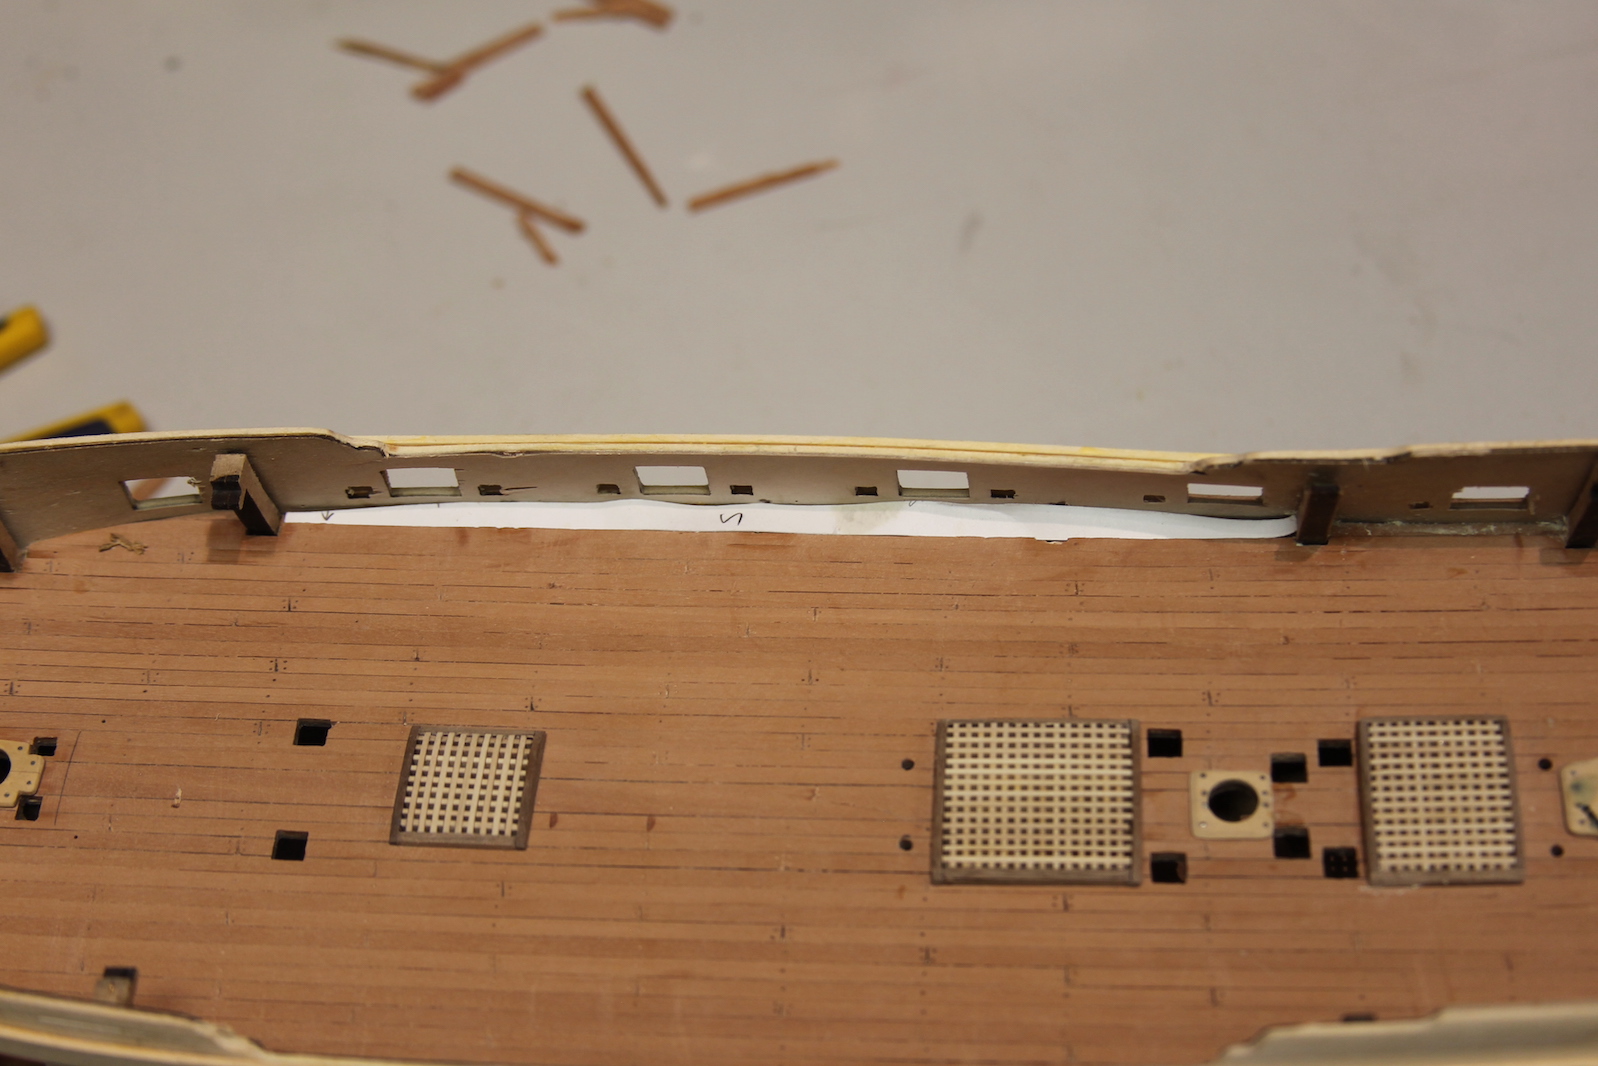
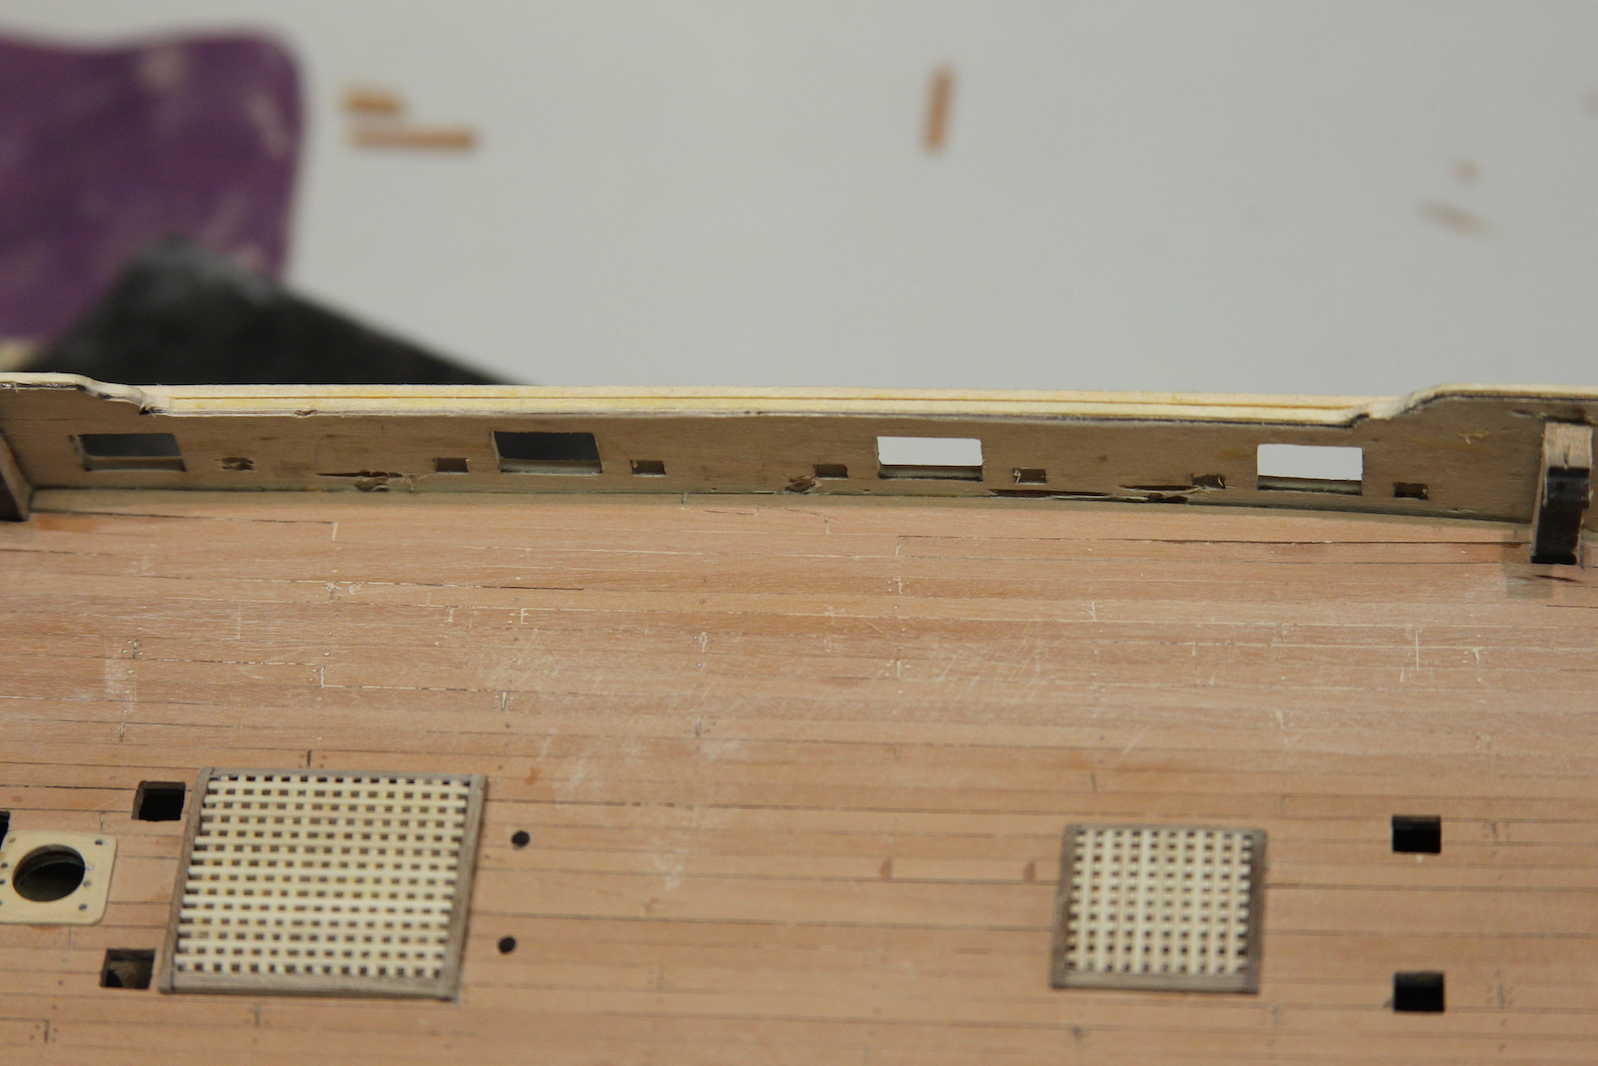
Before I could commence planking however, I needed to take care of the posts in the middle of the ship. These posts are in place to temporarily bolster the gun ports as they are mounted to the ship. So – here’s the thing: completely not sure what I was thinking planking the main deck all the way to the outsides before this part of the build. If I had to guess, I’d say that I was just a little excited to see how the Swiss Pear was going to look and just rolled on through the planking. Anyway – what’s done is done – so I cut off the posts, pulled up the planks, and replaced them by forming some card stock and cutting out the planks from wider pieces of Pear and adding a scarph joint. A scarph joint serves as a much tighter butt between two planks, especially toward the outside of the deck where there is more water run off – a tight seal is needed. Since I have some trouble lining up to separate planks perfectly, my scarph joint is carved into the plank rather than actually adjoining two separate pieces.


Once the deck was repaired I could continue planking the inside of the gun ports. Similar to the outer gun ports, one plank is laid at a time, then I carve out the openings for the ports (both gun and sweep).


Next up, creating and inserting the fixed sheaves (basically a little pulley) which will hold some of the running rigging from the masts and yards. There are two sheaves on each side – one single and one double. I marked the locations then built these from boxwood (once again a denser wood that is much easier to drill and shape) by using my drill press and a router bit to drill the holes and carve out the sheaves. My handy attachment allows me to shift the wood a fraction of a millimeter at a time.
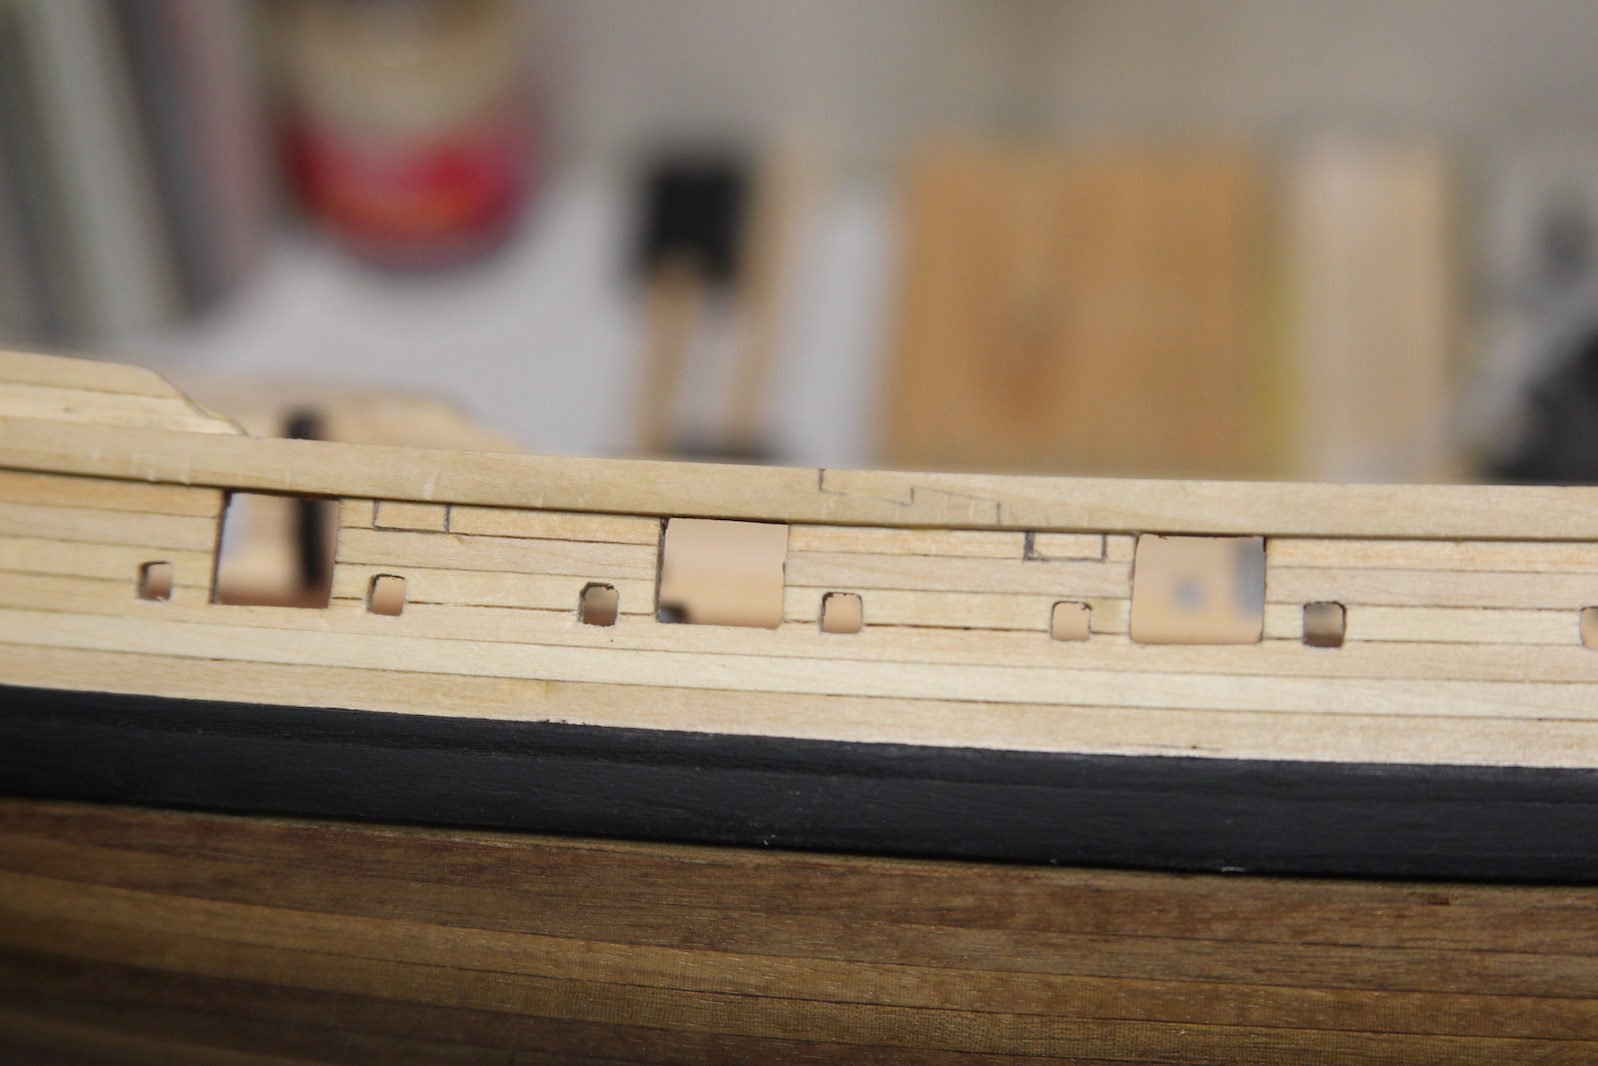

The marked areas are carved out using a new x-acto blade and the sheaves are inserted. I drilled the holes all the way through the gun ports, then carved out the inside of the sheaves.


The last step of planking the gun ports is lining the ports themselves. Next step will be to mask off the ship and do some painting.

