
Obviously the armaments are always an exciting area for a ship build – both for the builder, and for those who see the ship. Since they end up receiving so much scrutiny, it’s important to have a well thought out plan to achieve the accuracy and look you’re going for.

Although the rigging of gun carriages varies significantly based on country or origin and time frame, there are a few basic elements that are consistent: a breeching rope, out-haul gun tackle, and in-haul gun tackle. The breeching rope attaches the carriage to the side of the ship with enough slack to allow the gun roll backward (recoil) once it is fired. When the gun is far away from the gunport, the out-haul tackle (often just called the gun tackle) is used to pull the gun toward the hull. The in-haul tackle (also called the train tackle) is used to pull the gun away from the gun port so that the cannon can be reloaded. The latter is typically only used when the ship is in battle – otherwise sailors would likely be constantly tripping over them during daily movement. I’m choosing to display the Peg in a peaceful mode shortly after her launch, so I won’t be including the train tackle in this build.
I started by rigging up a ‘test’ gun in the aft of the ship. This gun’s rigging won’t really be visible as these rear guns are behind cabin doors and under the quarter deck and allowed me to figure out how I wanted all the guns to look.

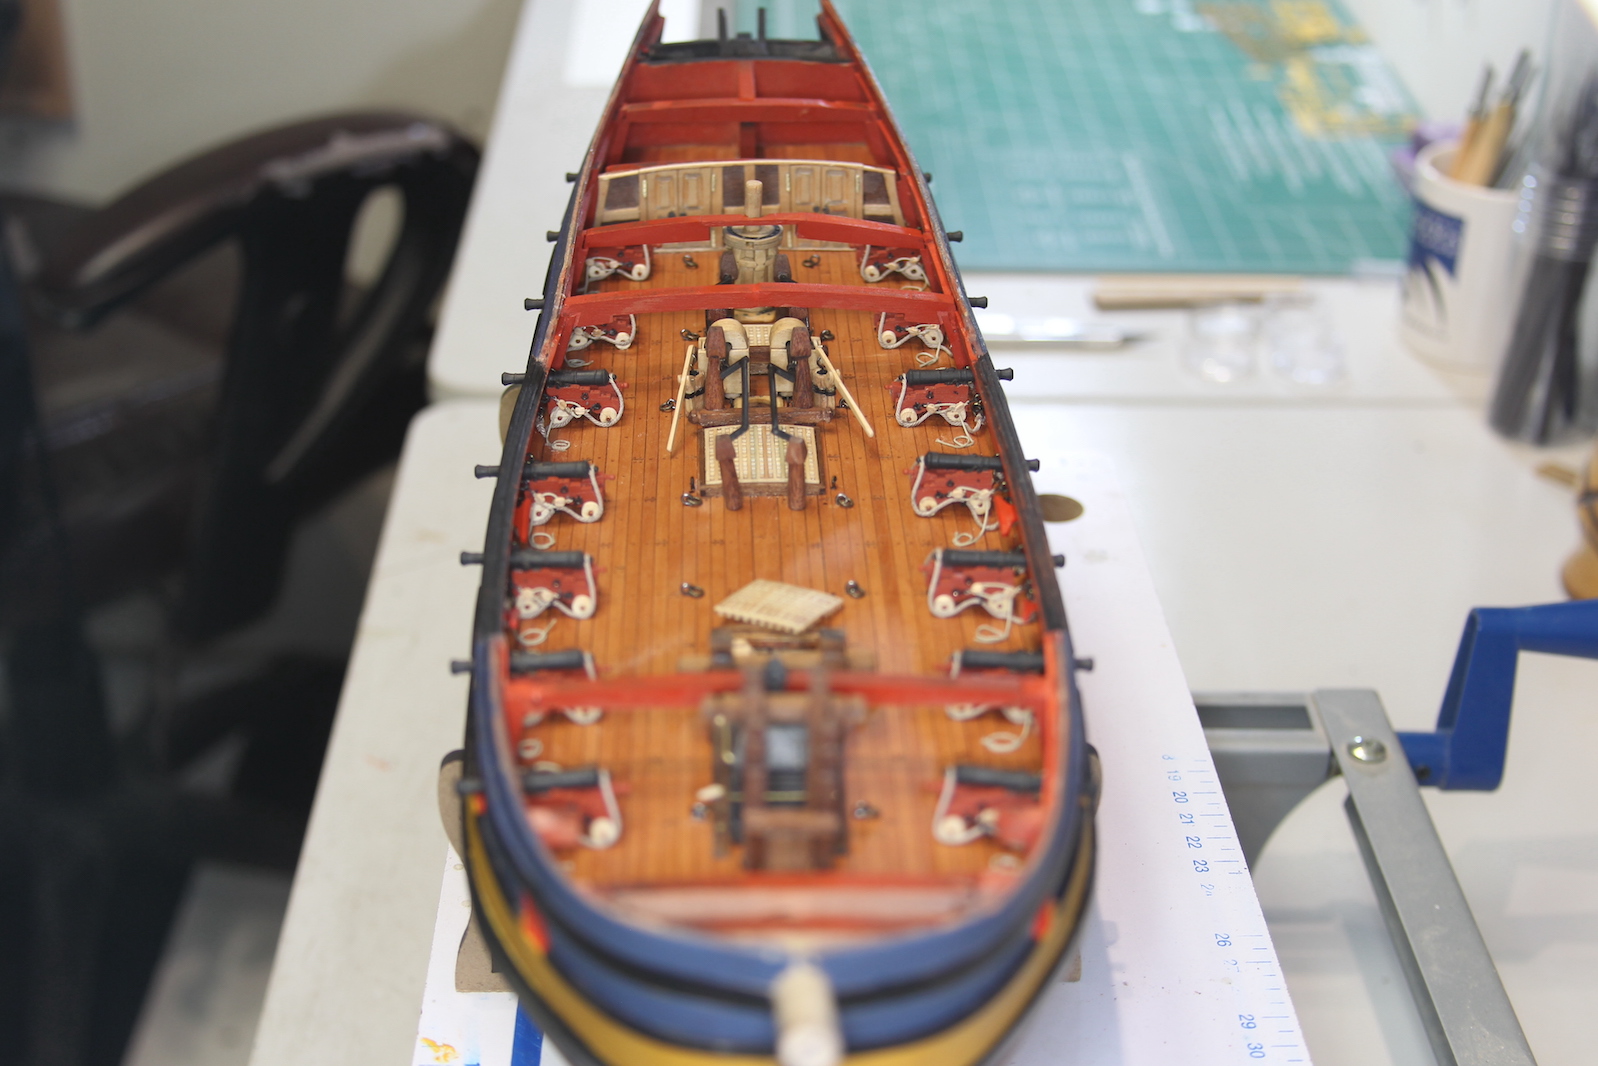
The original Peg launched in 1776 calls for 14 guns even though there are 16 gun ports. The second Pegasus (launched in 1779) reportedly had 16 guns. Even though I’m building the original – I’m choosing to include all 16 guns so that all the gun ports are filled. Note that the two foward-most ports are not gun ports, but serve a different purpose.
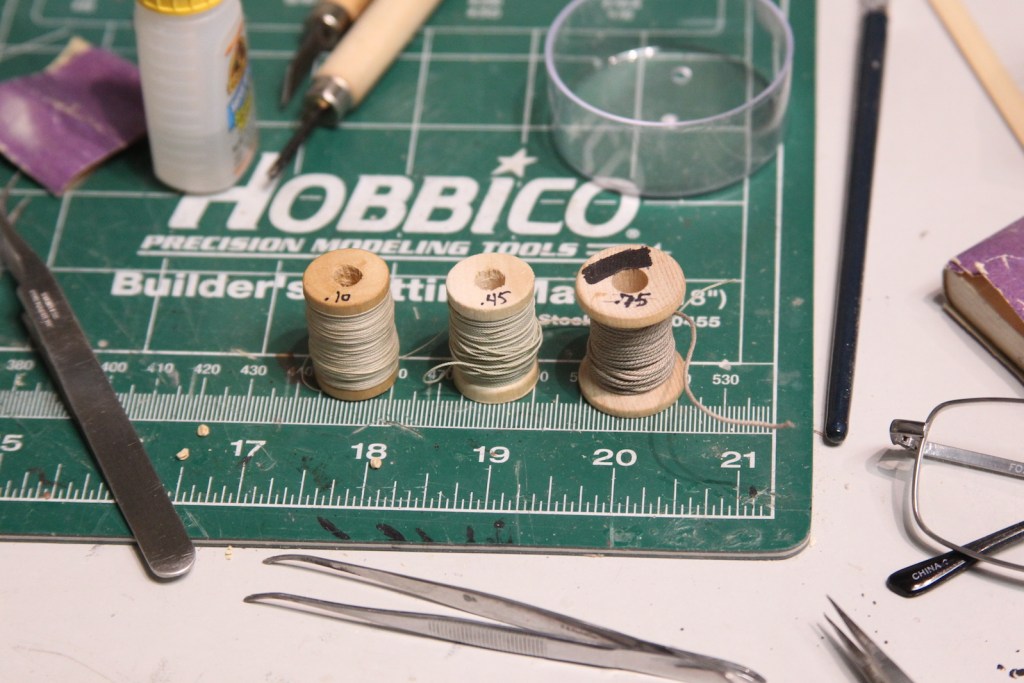
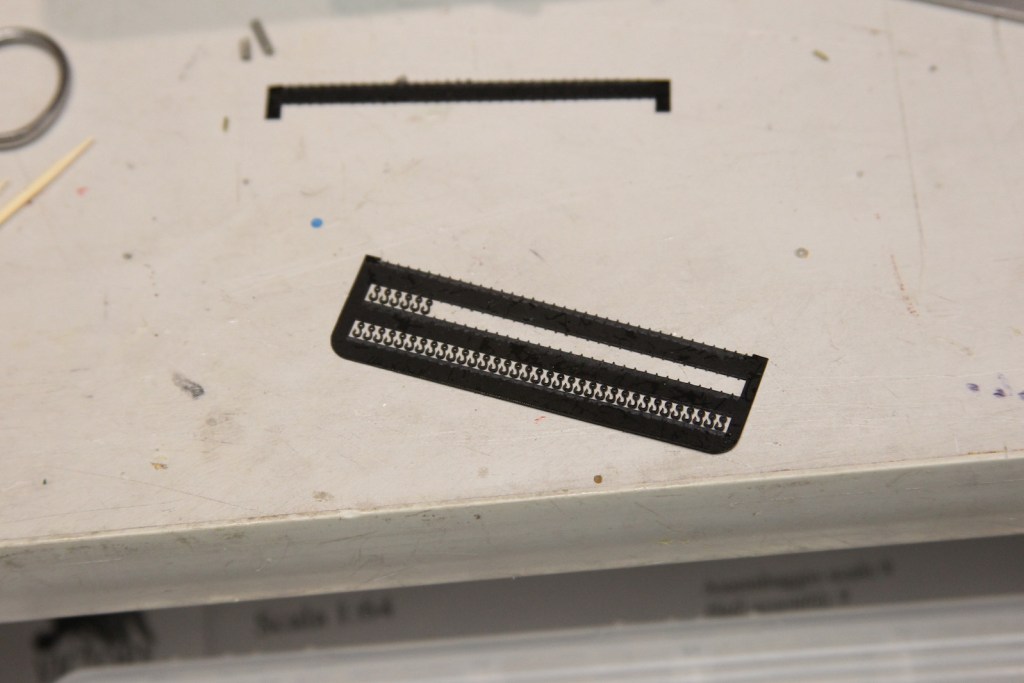
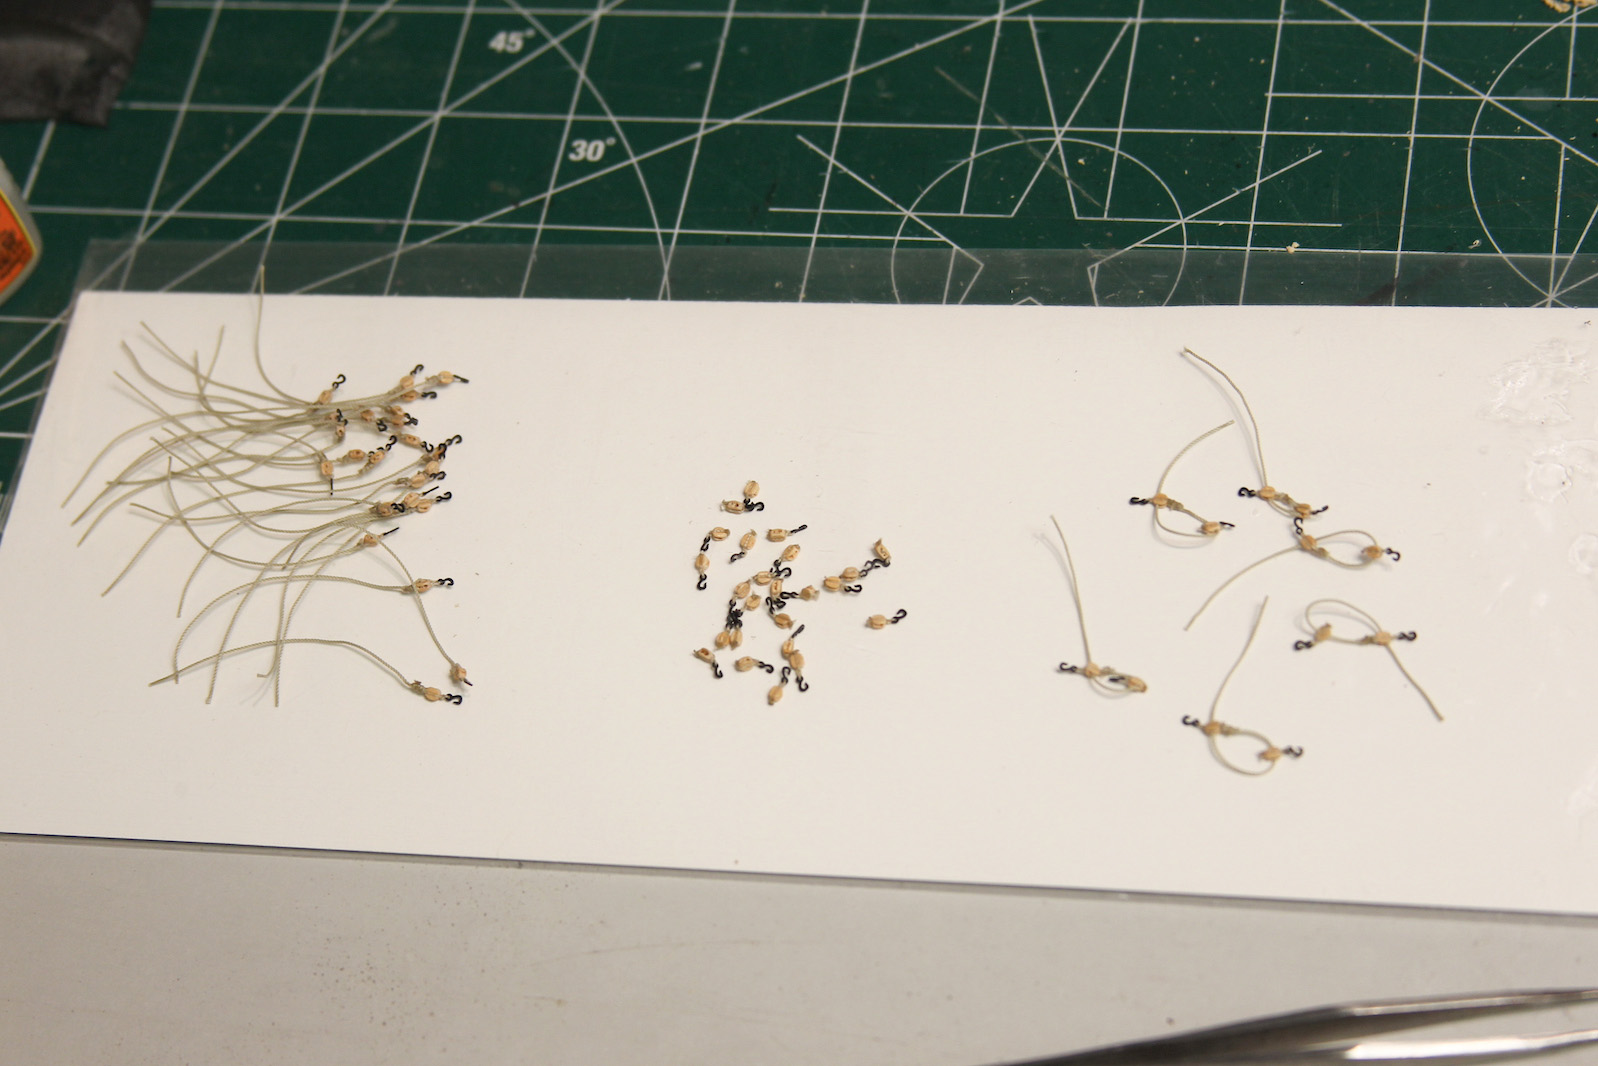
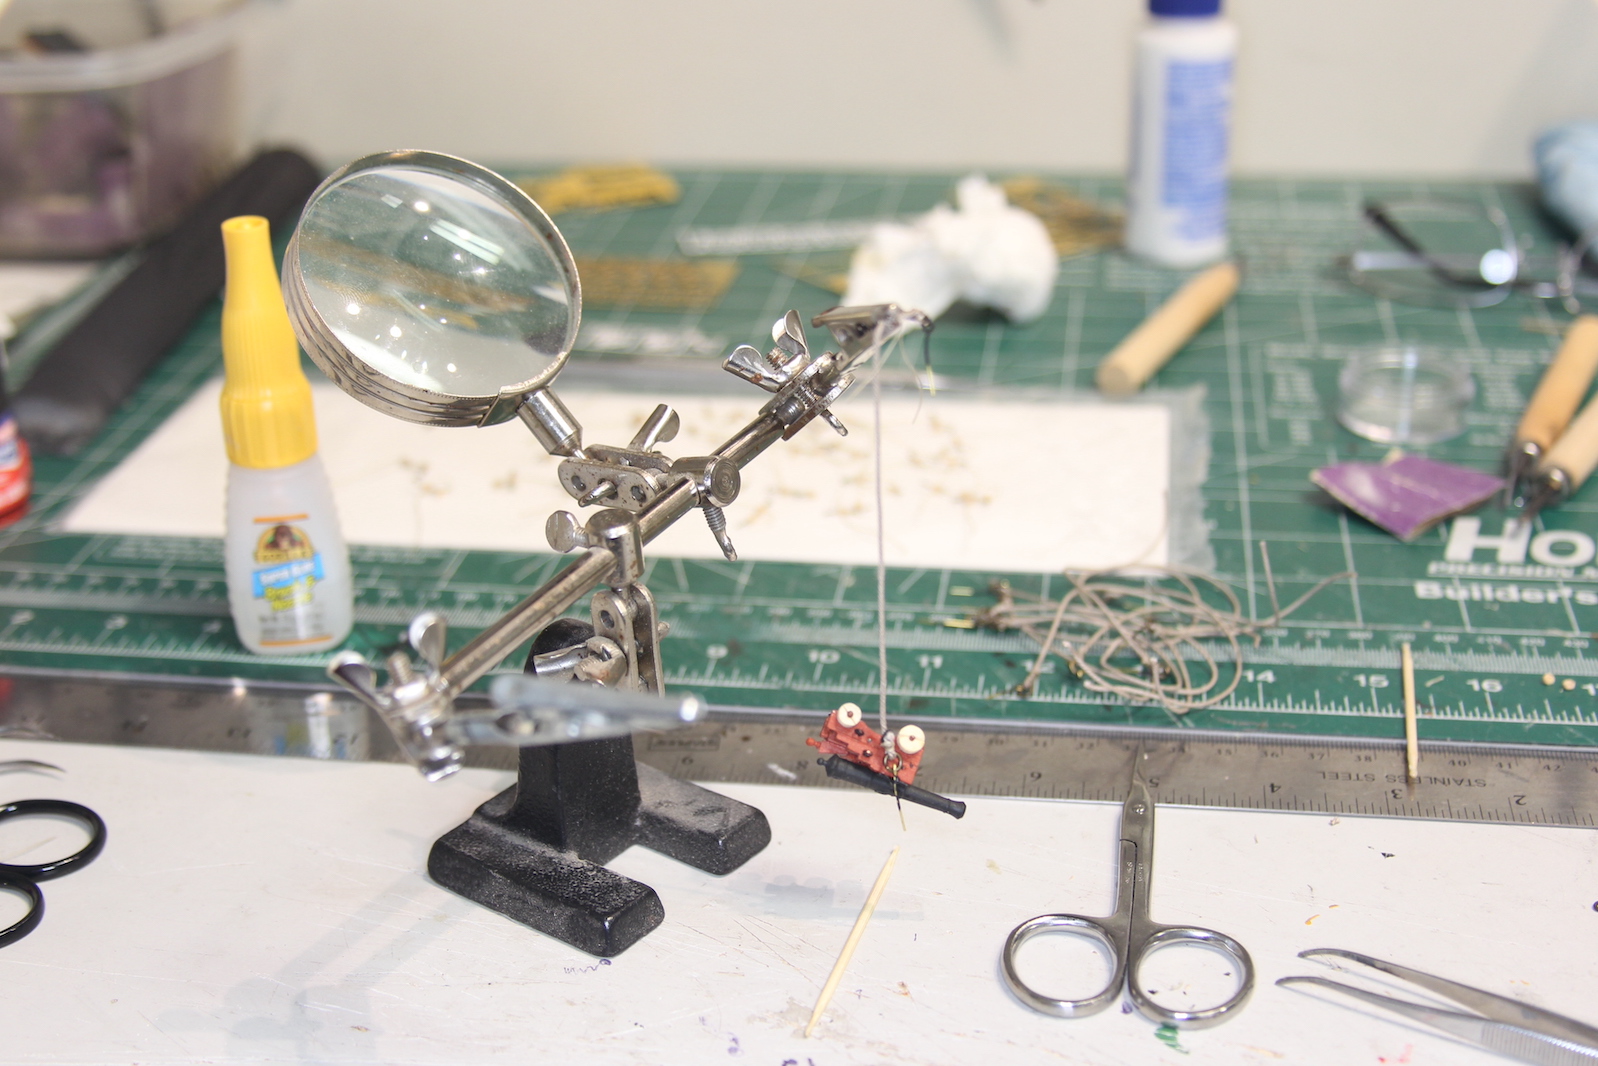
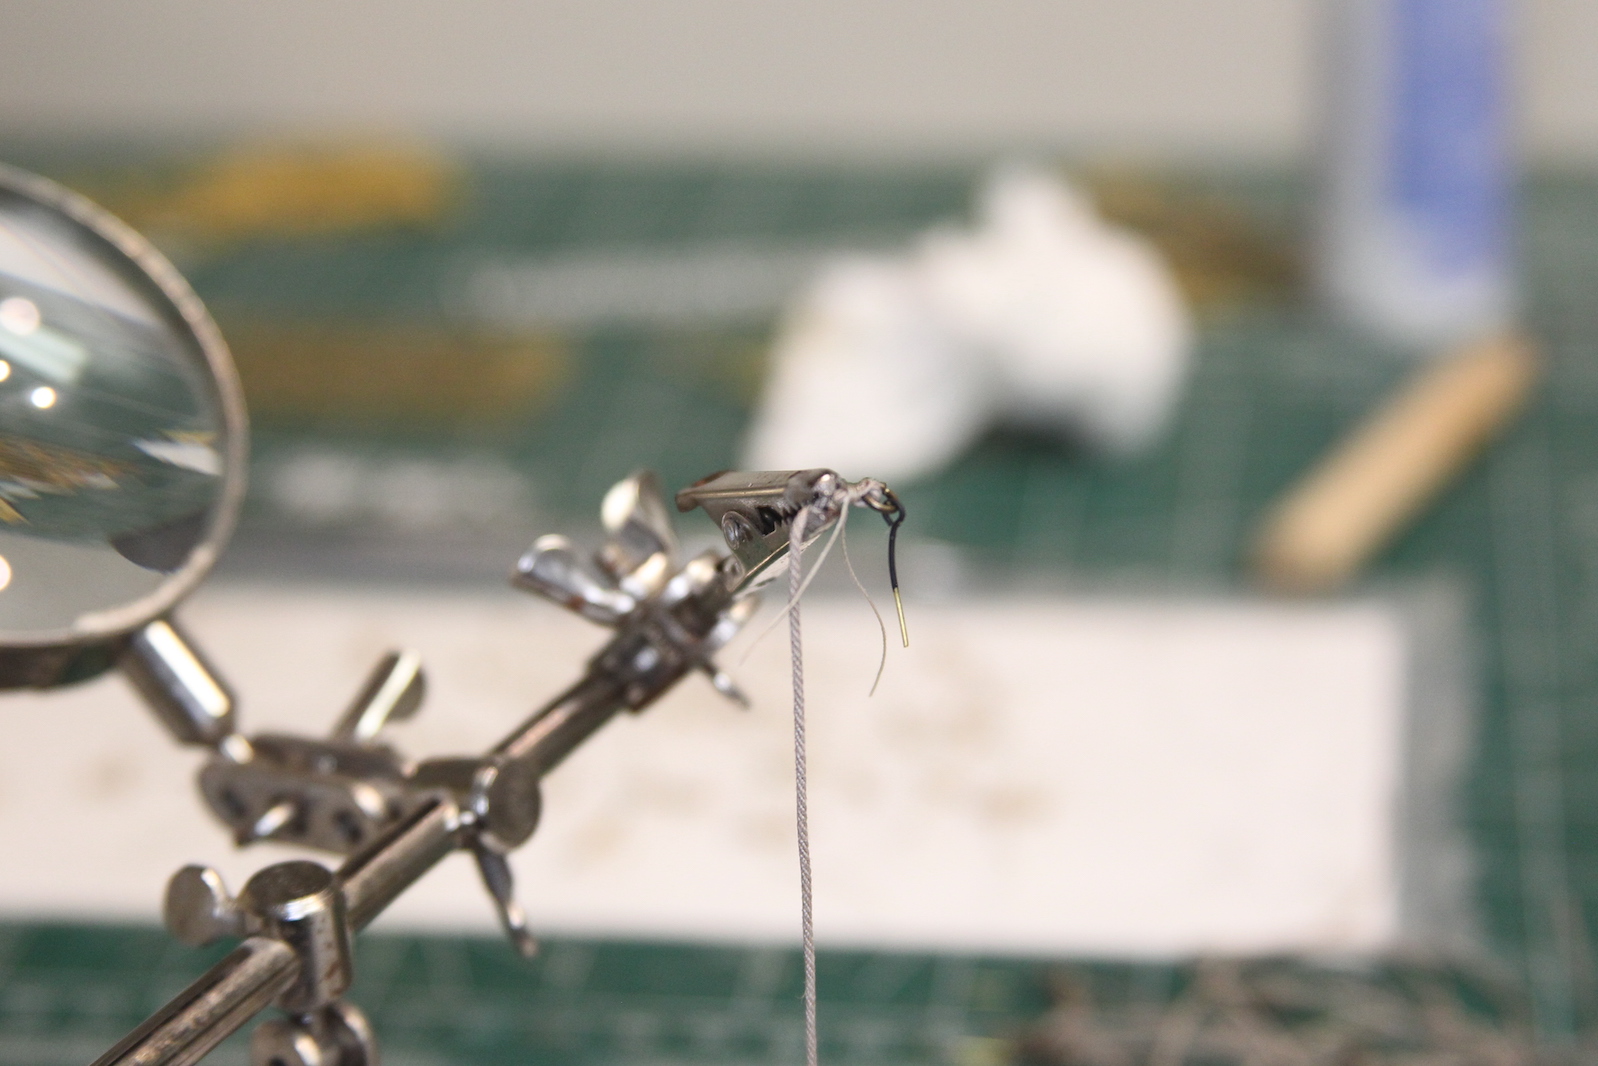
With 16 guns to build, it becomes an assembly line style process. Each gun requires a breeching line withe an eye bolt and ring attached that’s looped through the rings on the carriage then attached to spirketing (inner gunport wall). The breeching rope is also looped around or otherwise attached to the “button” on the back of the cannon. The side gun tackles have two hooks tied to took blocks (pulleys) and attached to the inner gunport and then the cannon carriage (as illustrated in the above drawing). So – that’s 64 hooks tied to 64 blocks then connected with 32 ropes. Each of the blocks also had to be drilled out with a hole large enough to accept the rope. Three different sizes of rope are used – large for the breeching rope, a medium sized rope for the side tackles, and a very thin rope to knot off the loops, hooks, blocks, and eye bolts.


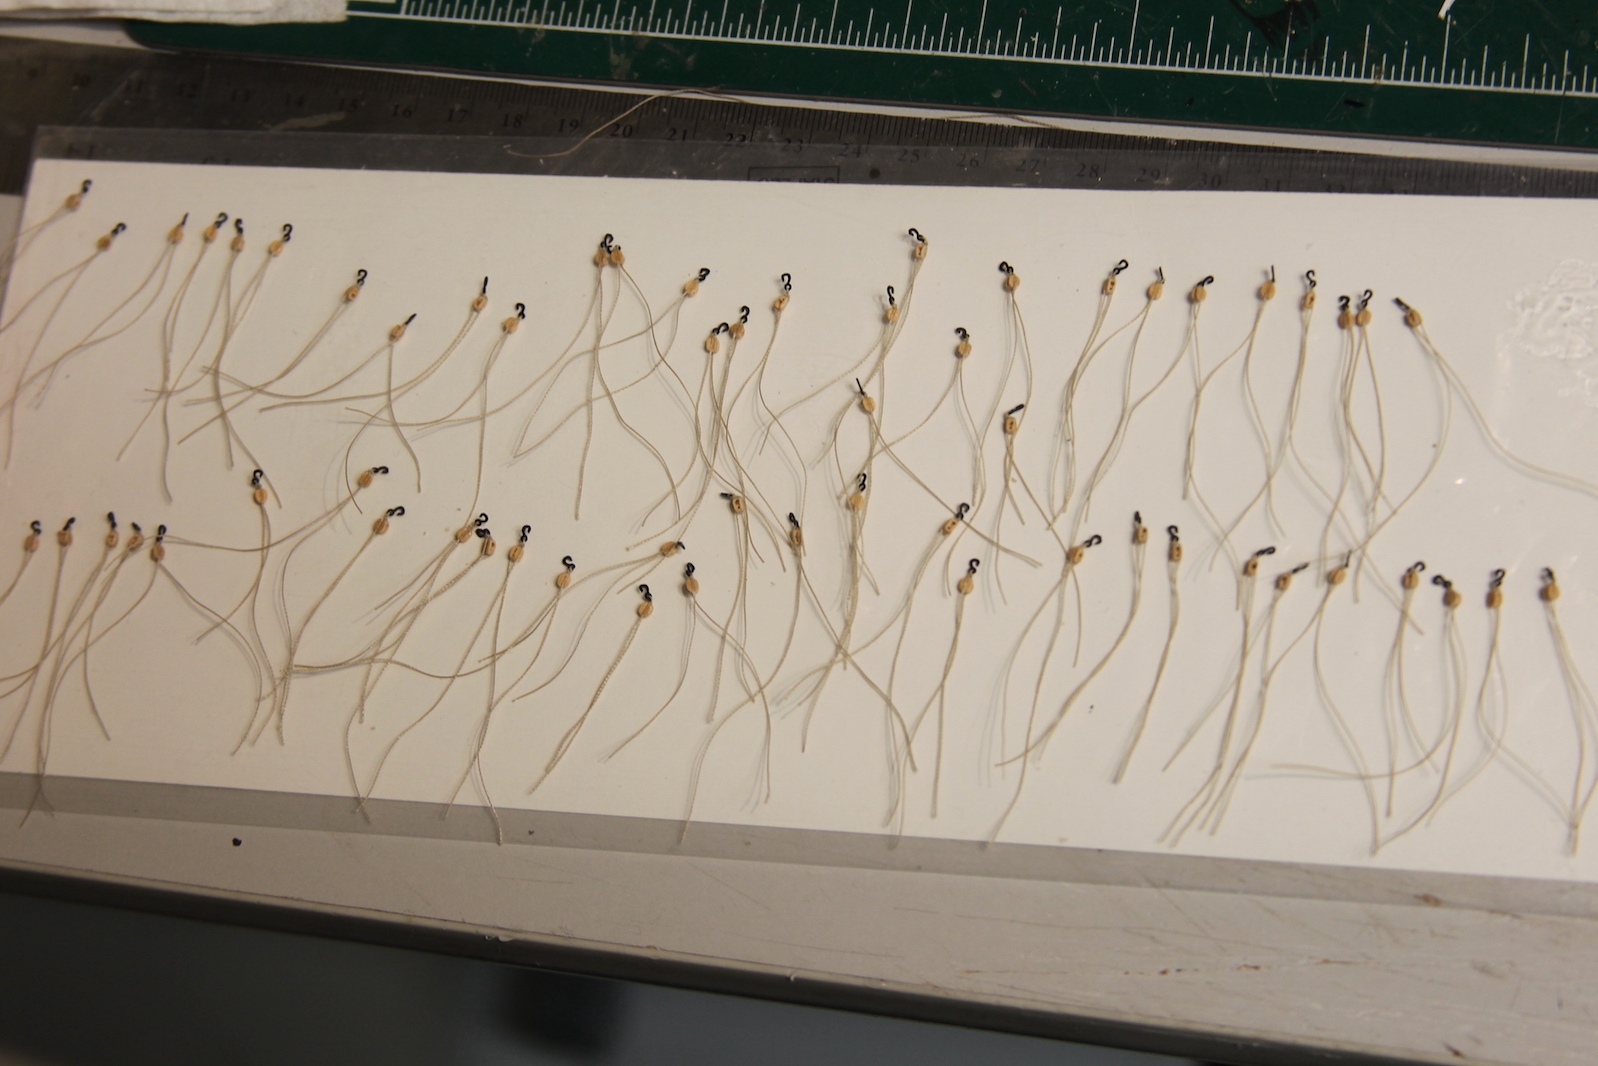
The breeching ropes have one eyebolt and ring attached and are fed through the rings on the carriage before the second eye bolt and rings are affixed. The cannons are mounted in place by attaching the eye bolts to pre-drilled holes in the gun port sides. Then the side tackles are ‘hooked’ to the upper gunport eye bolts and complimentary eye bolts on the carriage. Finally, the side tackle ropes are pulled taught and the remaining rope is coiled next to the gun.
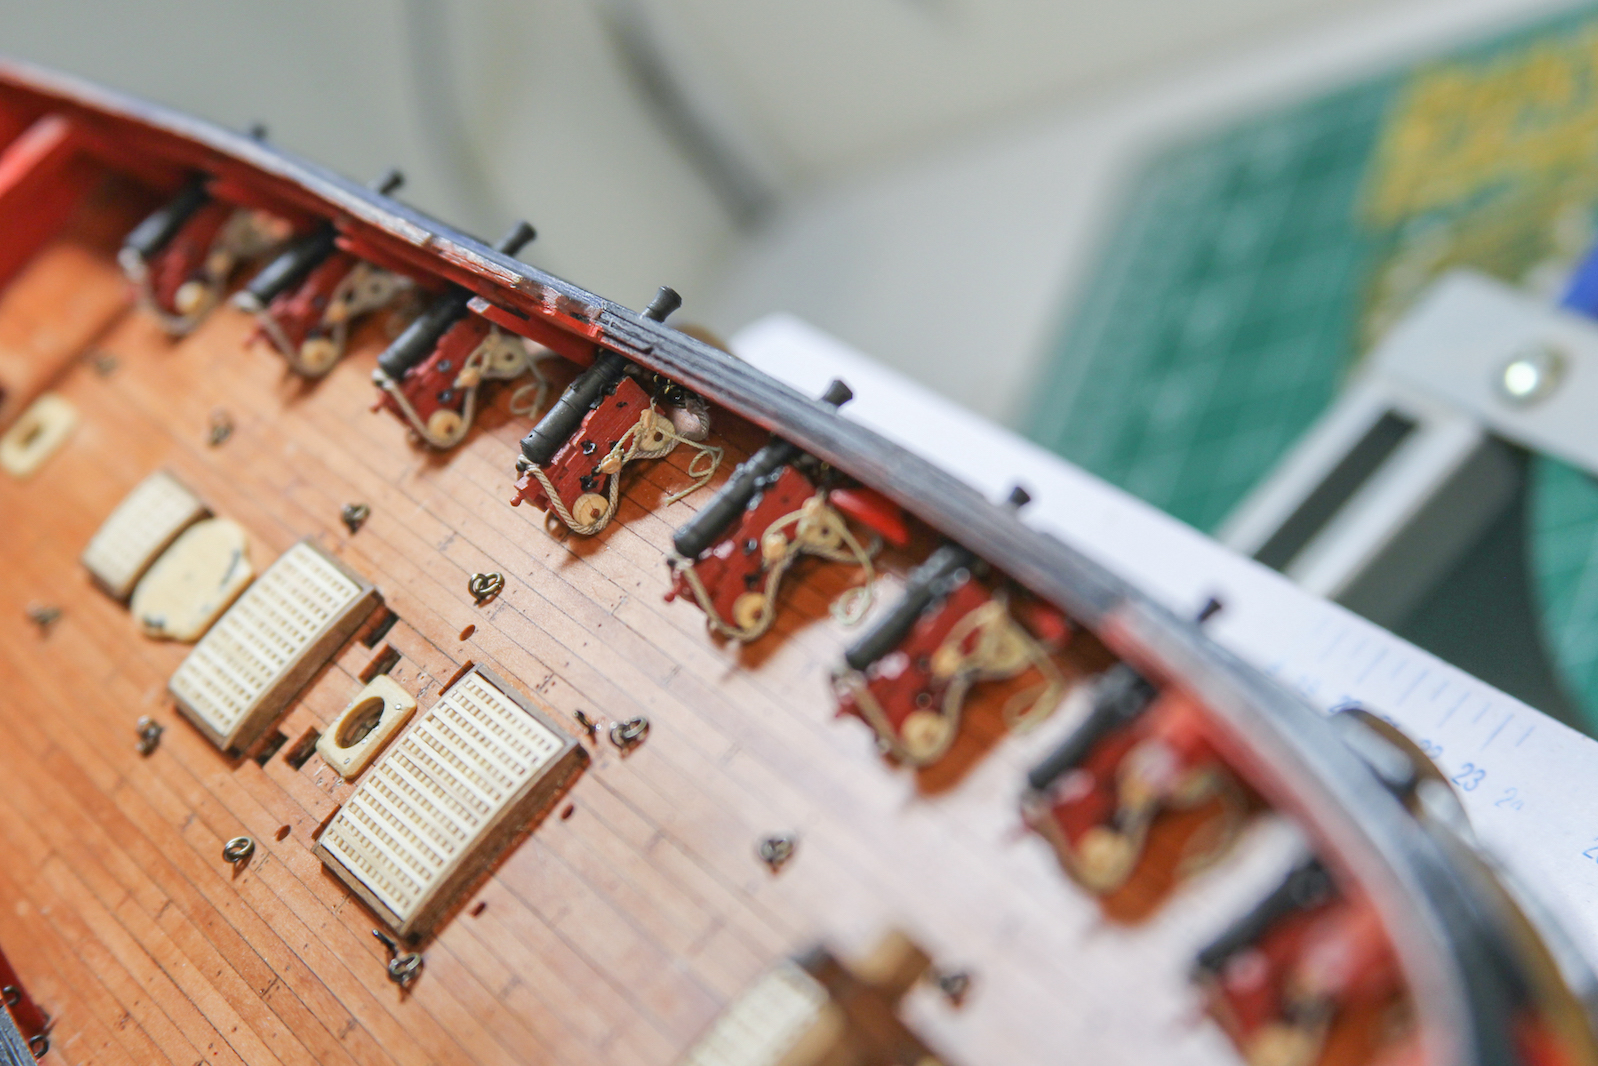

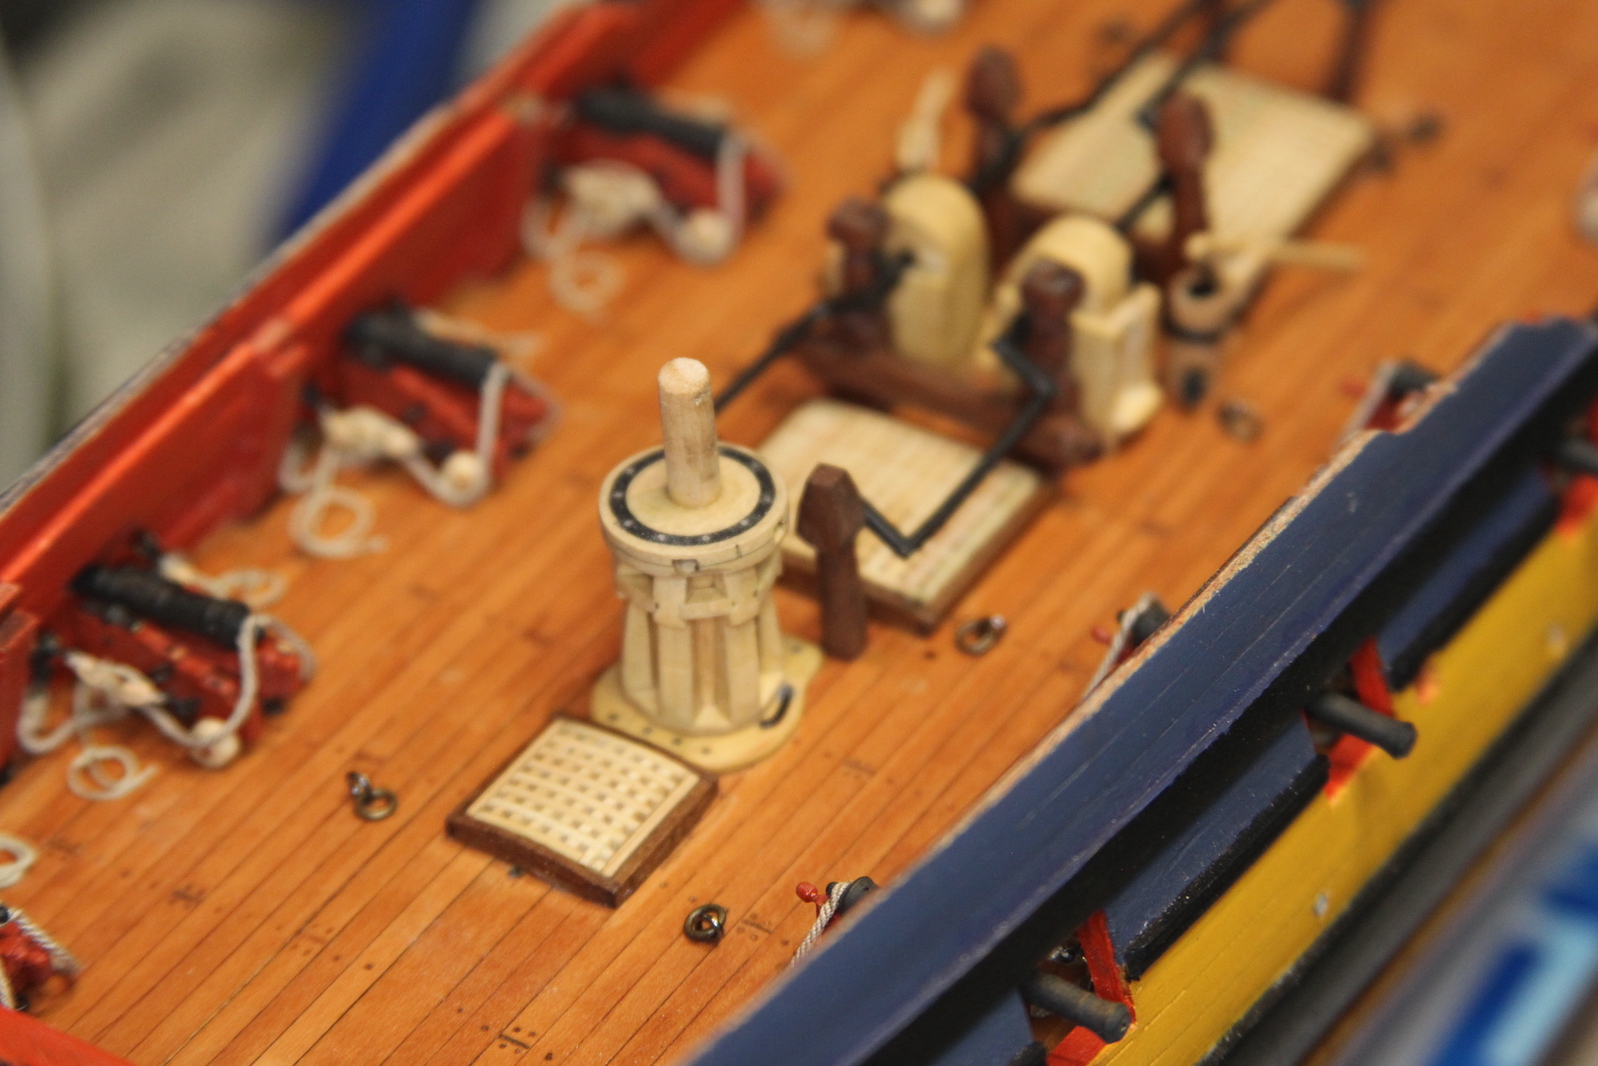
With all the cannons mounted, I can finally add some of the lower deck fixtures that were pre-made long the way. And lo’ and behold, she’s starting to look like a real ship!
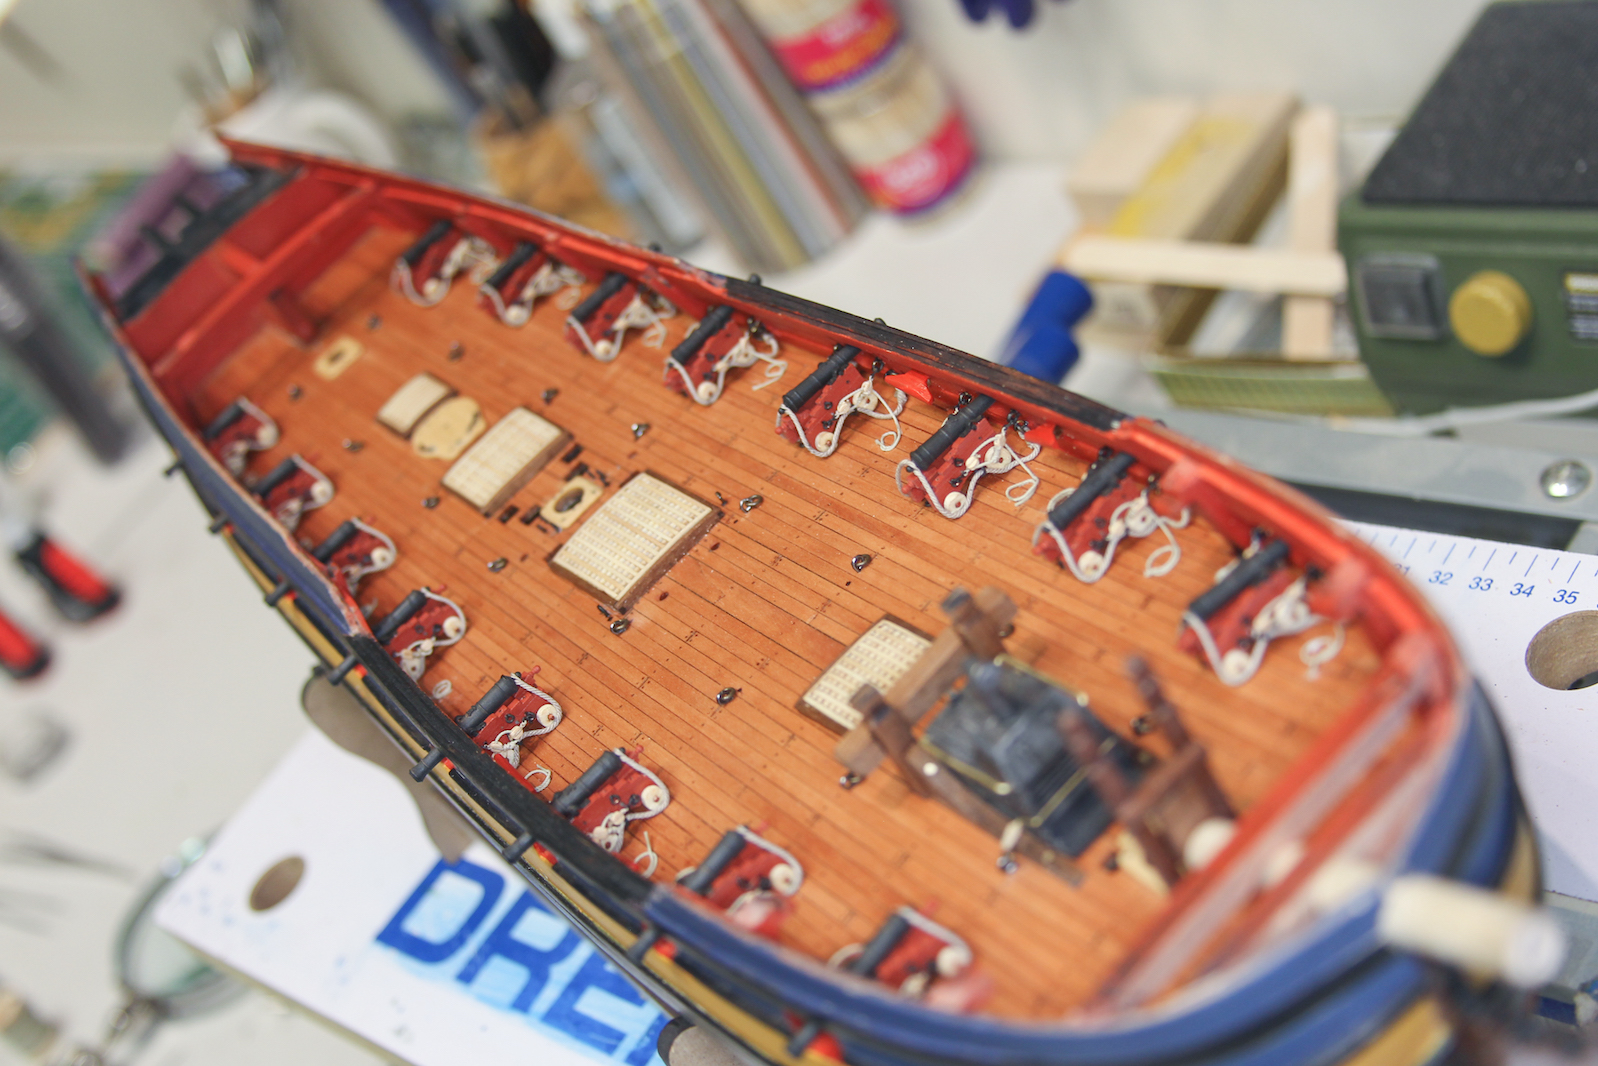


Next up I’ll finish off a couple of remaining lower deck fixtures (such as the gallows) and then start working on the mounting and planking the fore and aft quarter decks.
