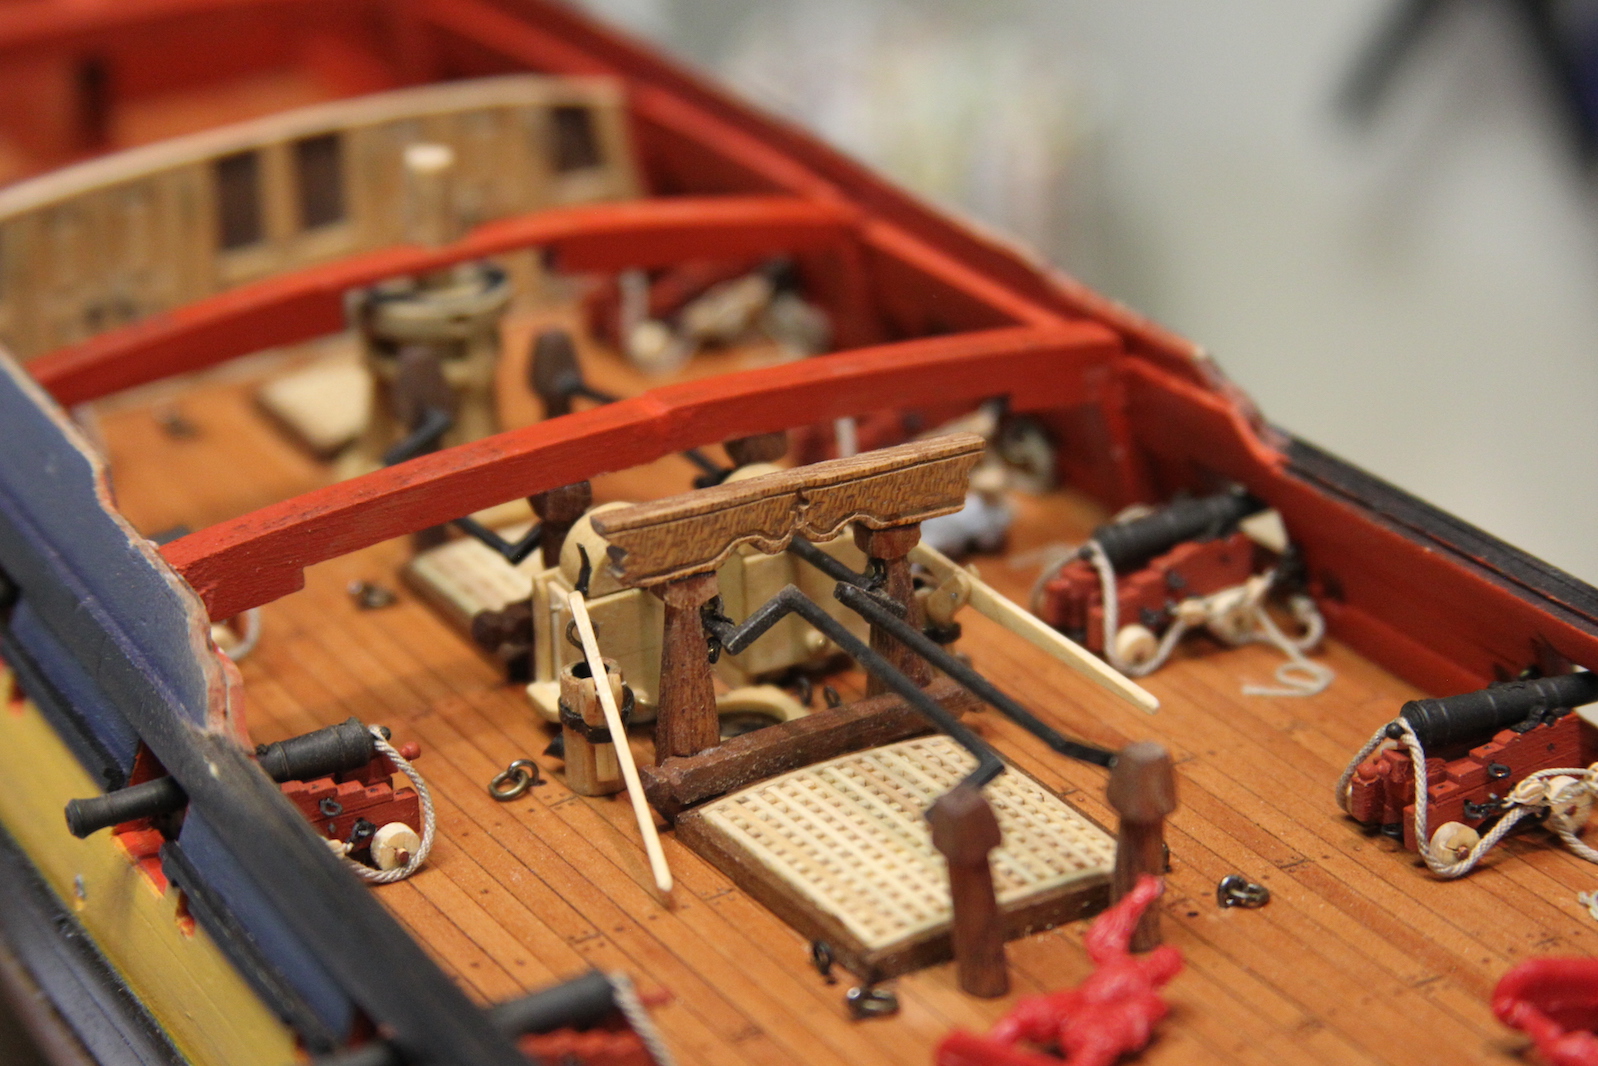
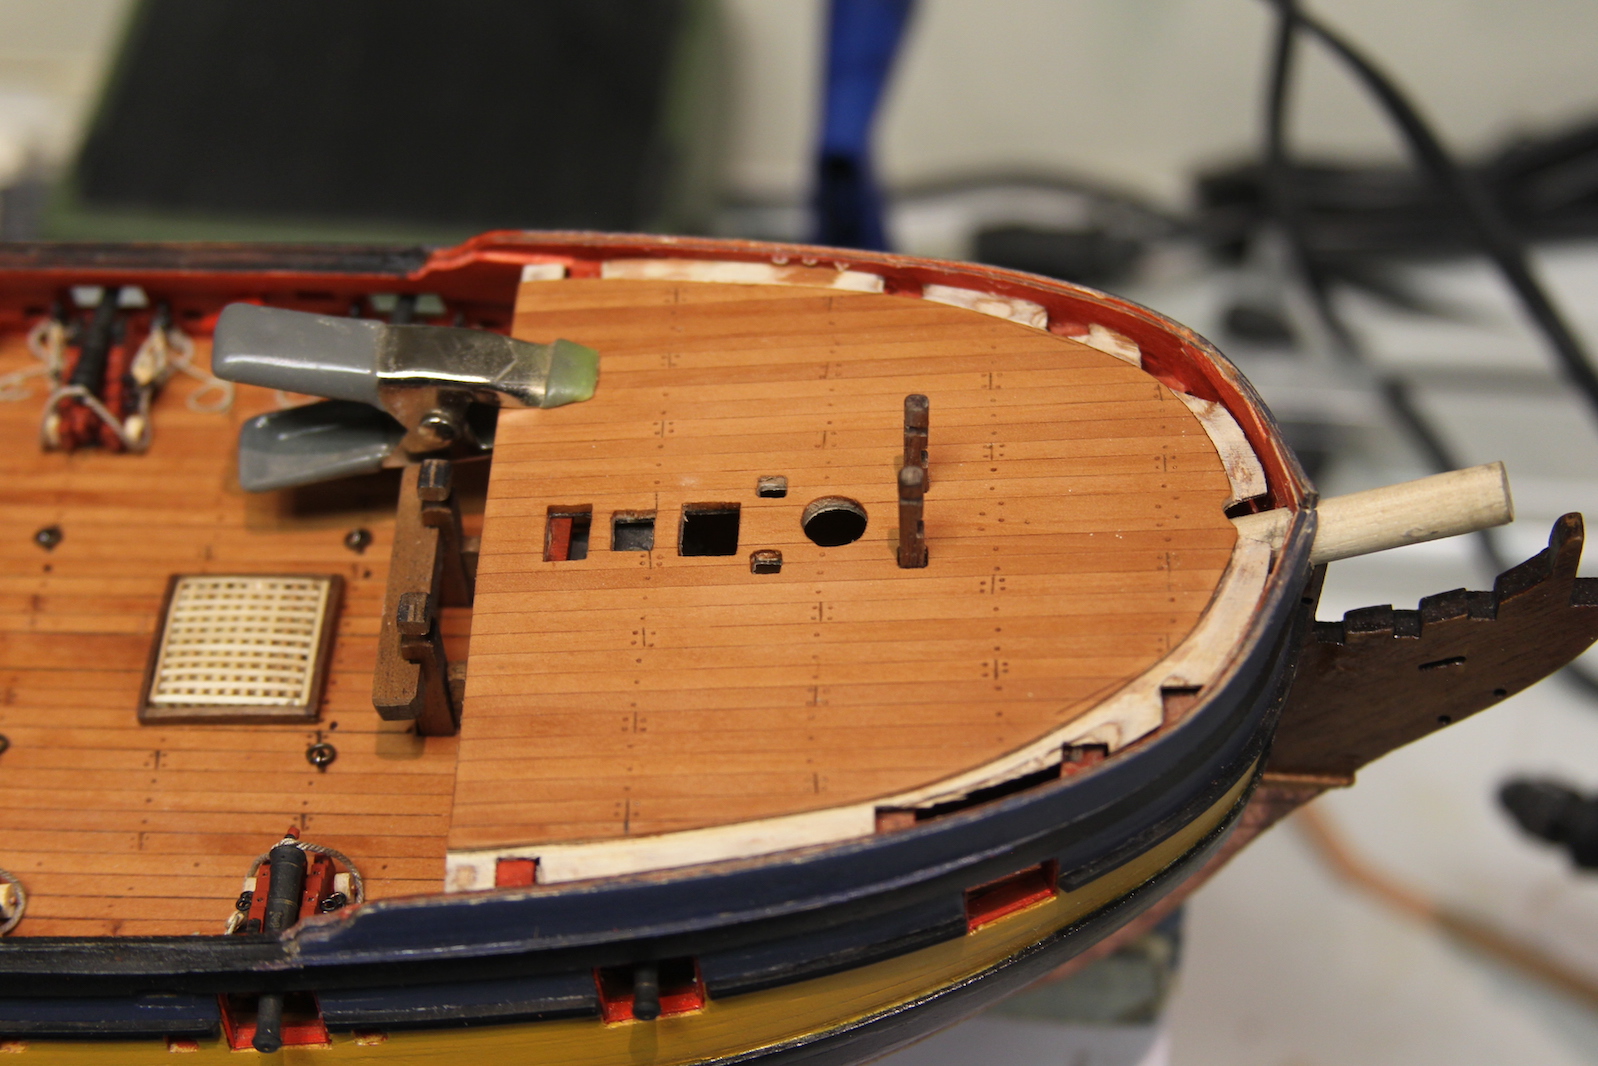
Now that the guns are mounted and most of the main deck fittings are in place, I can move on to the upper decks – the aft as well as the foc’sle. The final piece of main deck furniture was the gallows – which was not actually used for hanging or any such punishment. Instead, it was a key feature on the main deck that braced the boom or other masts and stays. On the Peg, the gallows will serve as a brace for the extra masts. For the most part, the gallows is a relatively simple affair, but I took it as an opportunity for a little bit of embellishment.
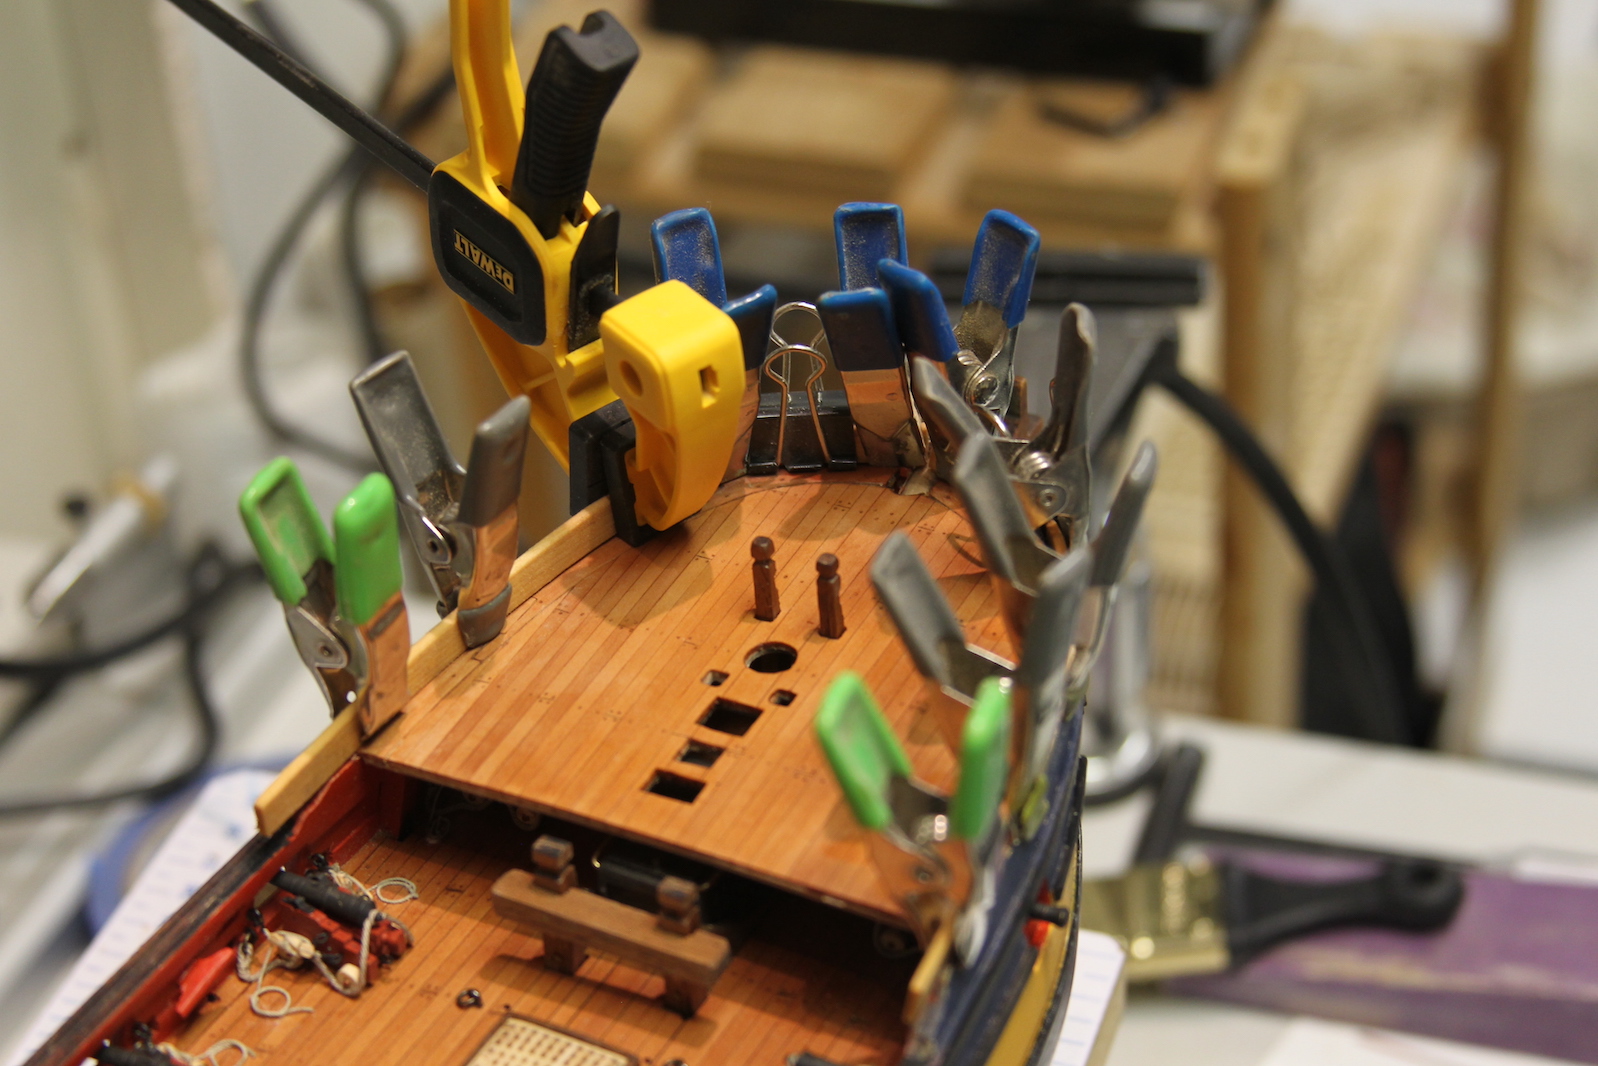
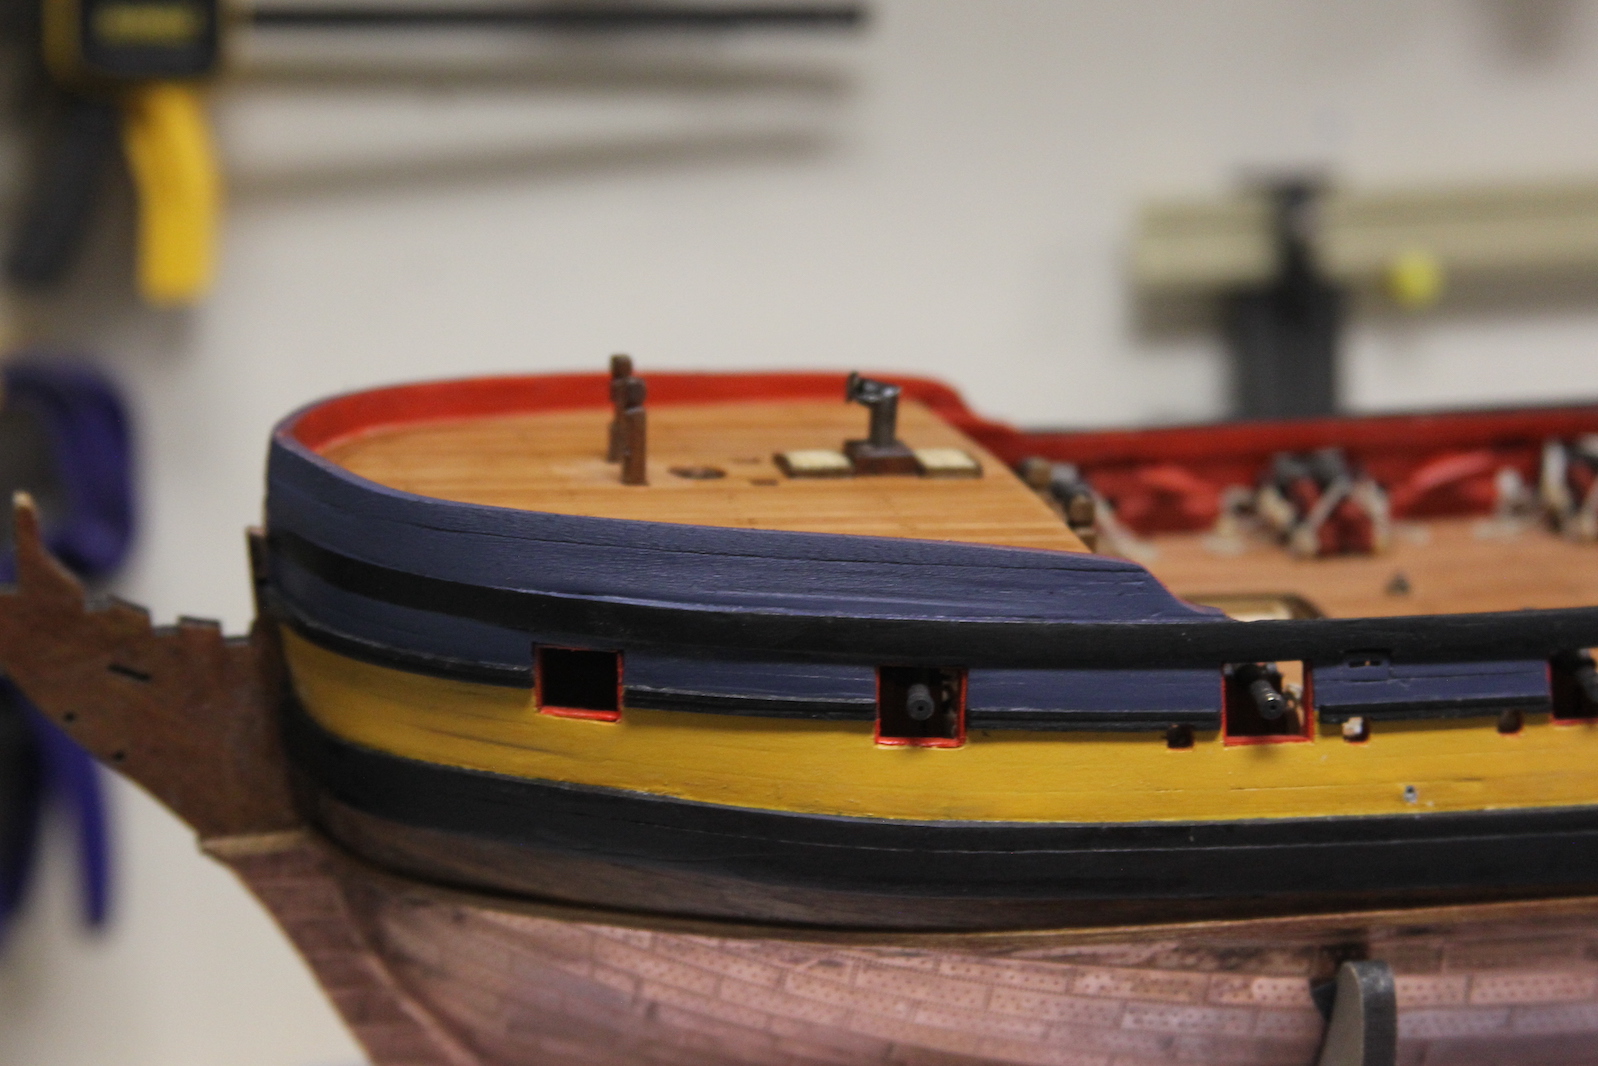
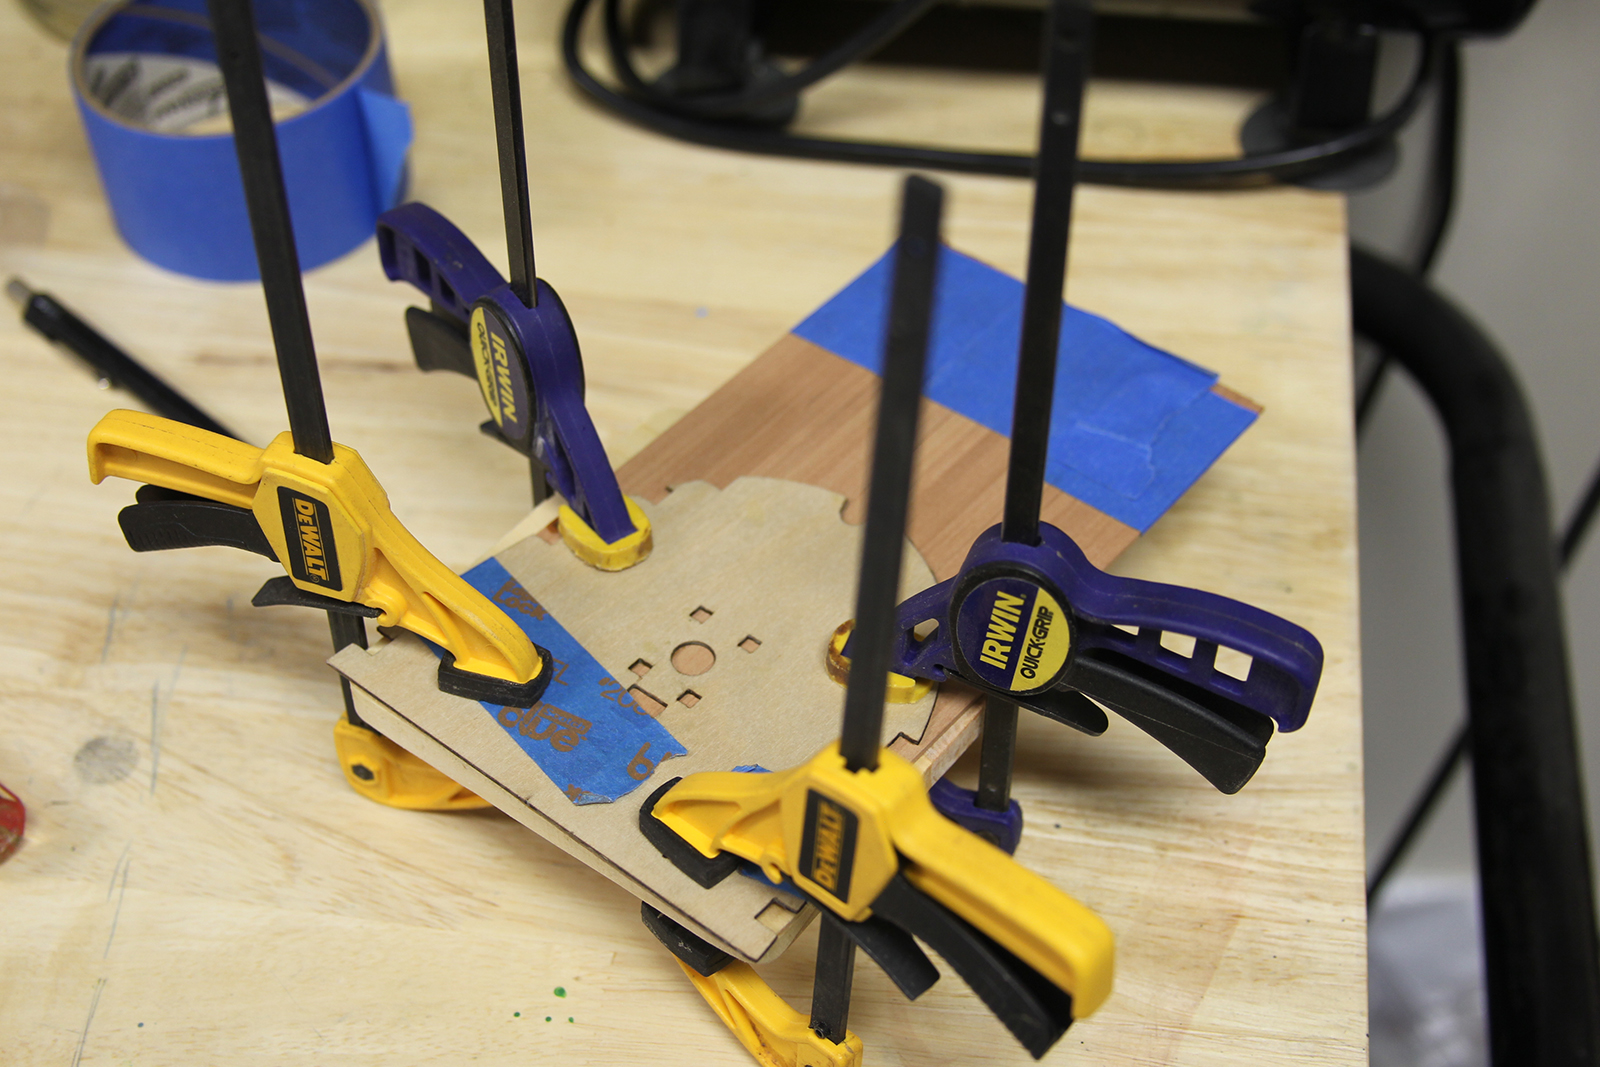
As for the foc’sle, I used a little different technique for planking. Instead of mounting the false deck and then planking it after it’s mounted, I chose to do the planking first. My reasoning: I wanted straighter lines for the treenails, and I knew I’d only be able to achieve that with my drill press. So I planked and marked off the fore deck, drilled and filled the treenails, then mounted it. I also soaked and bent the margin planks a little bit based on the shape of the foc’sle.

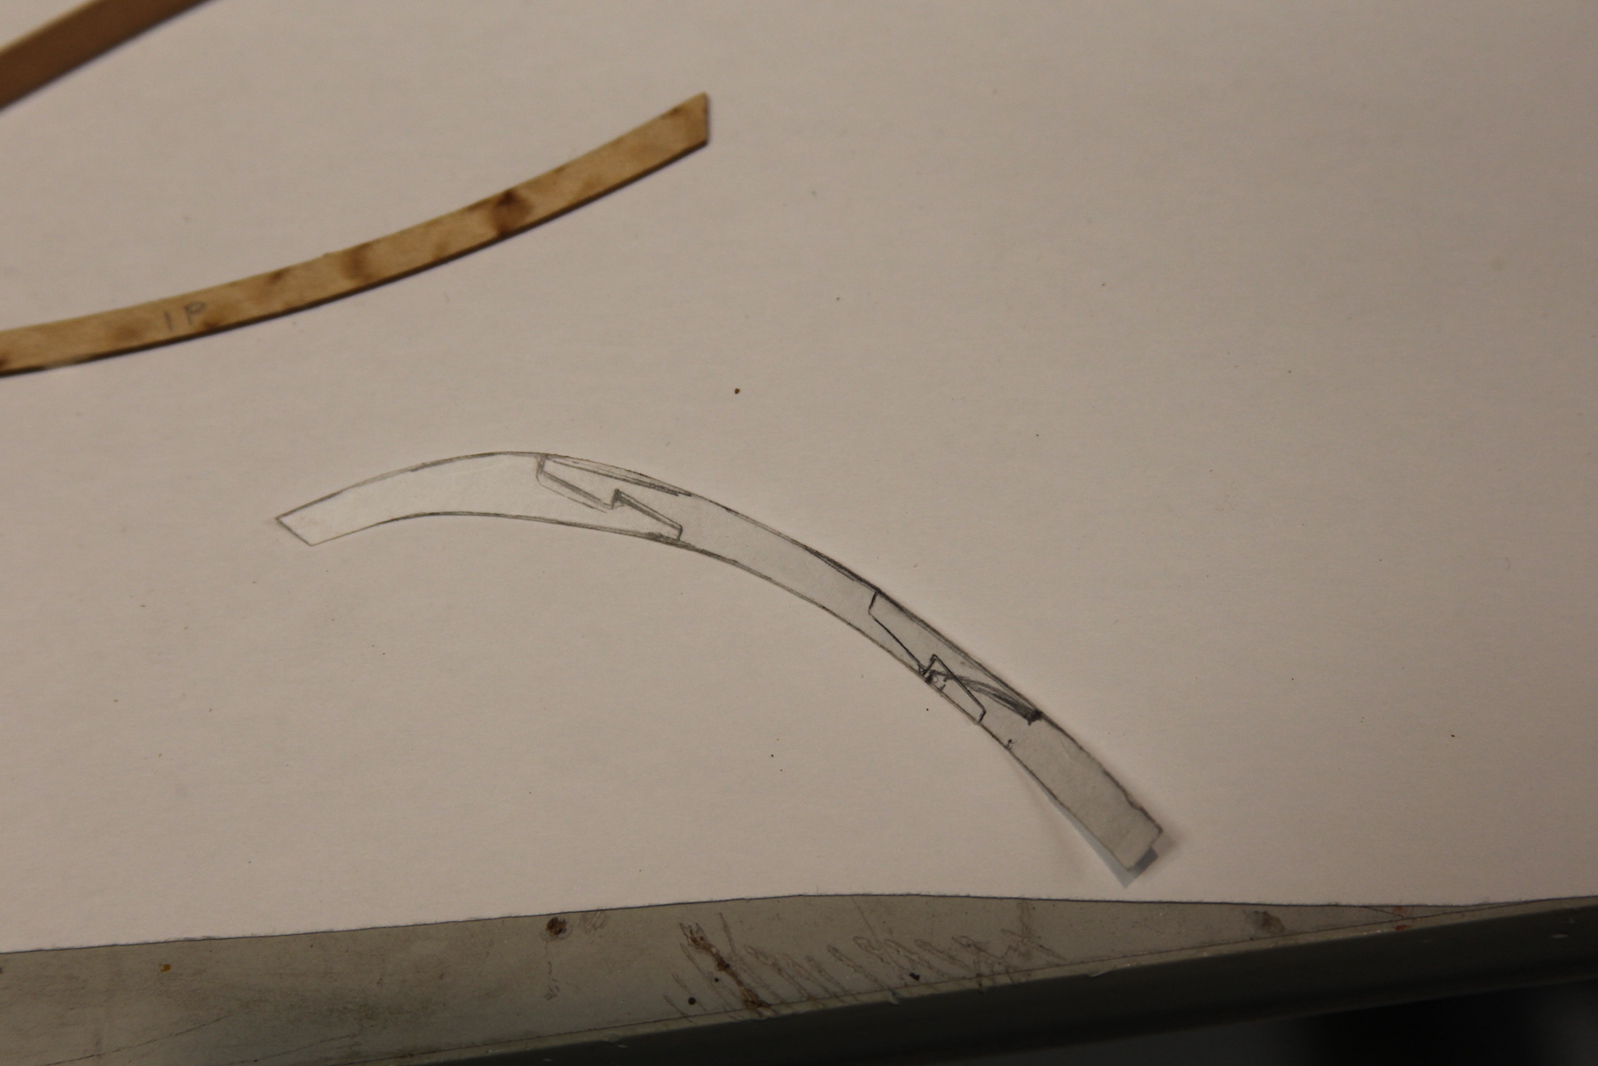
This made it a little more challenging to shape and add the margin plank – as usually this process is done the other way around – margin plank first, then other planks fitted. So, I measured out the margins using card paper as a template, cut the scarph joints, and then fit it all together.

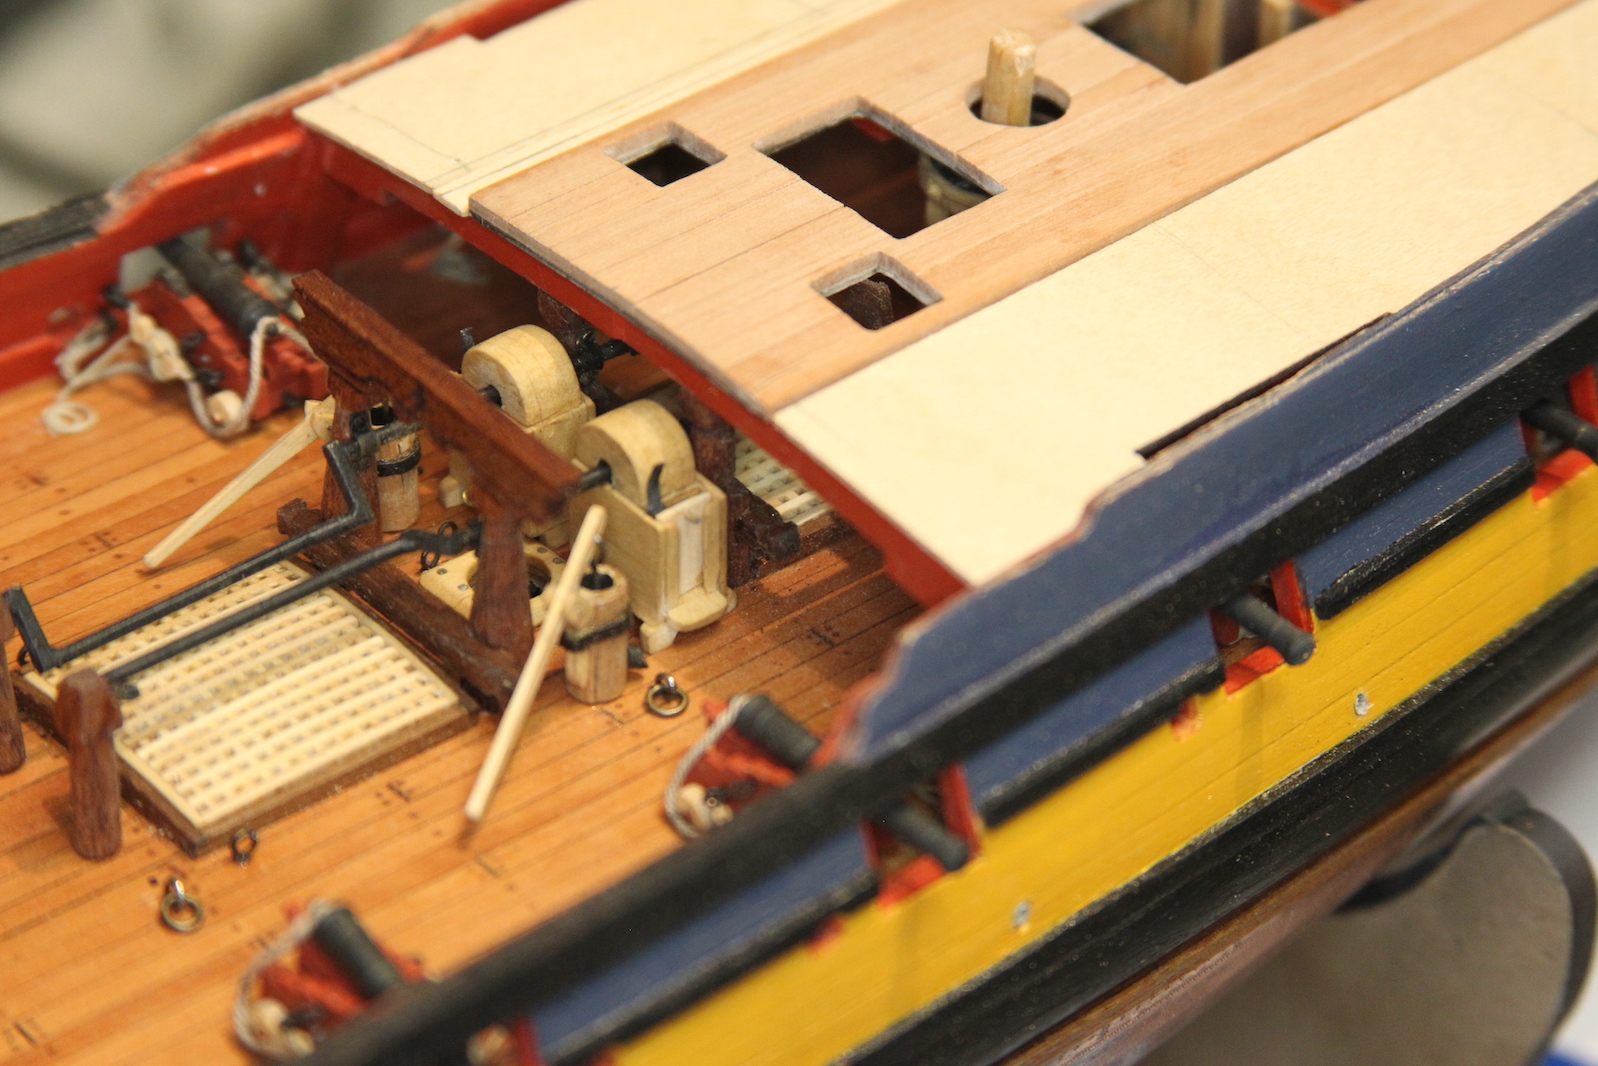
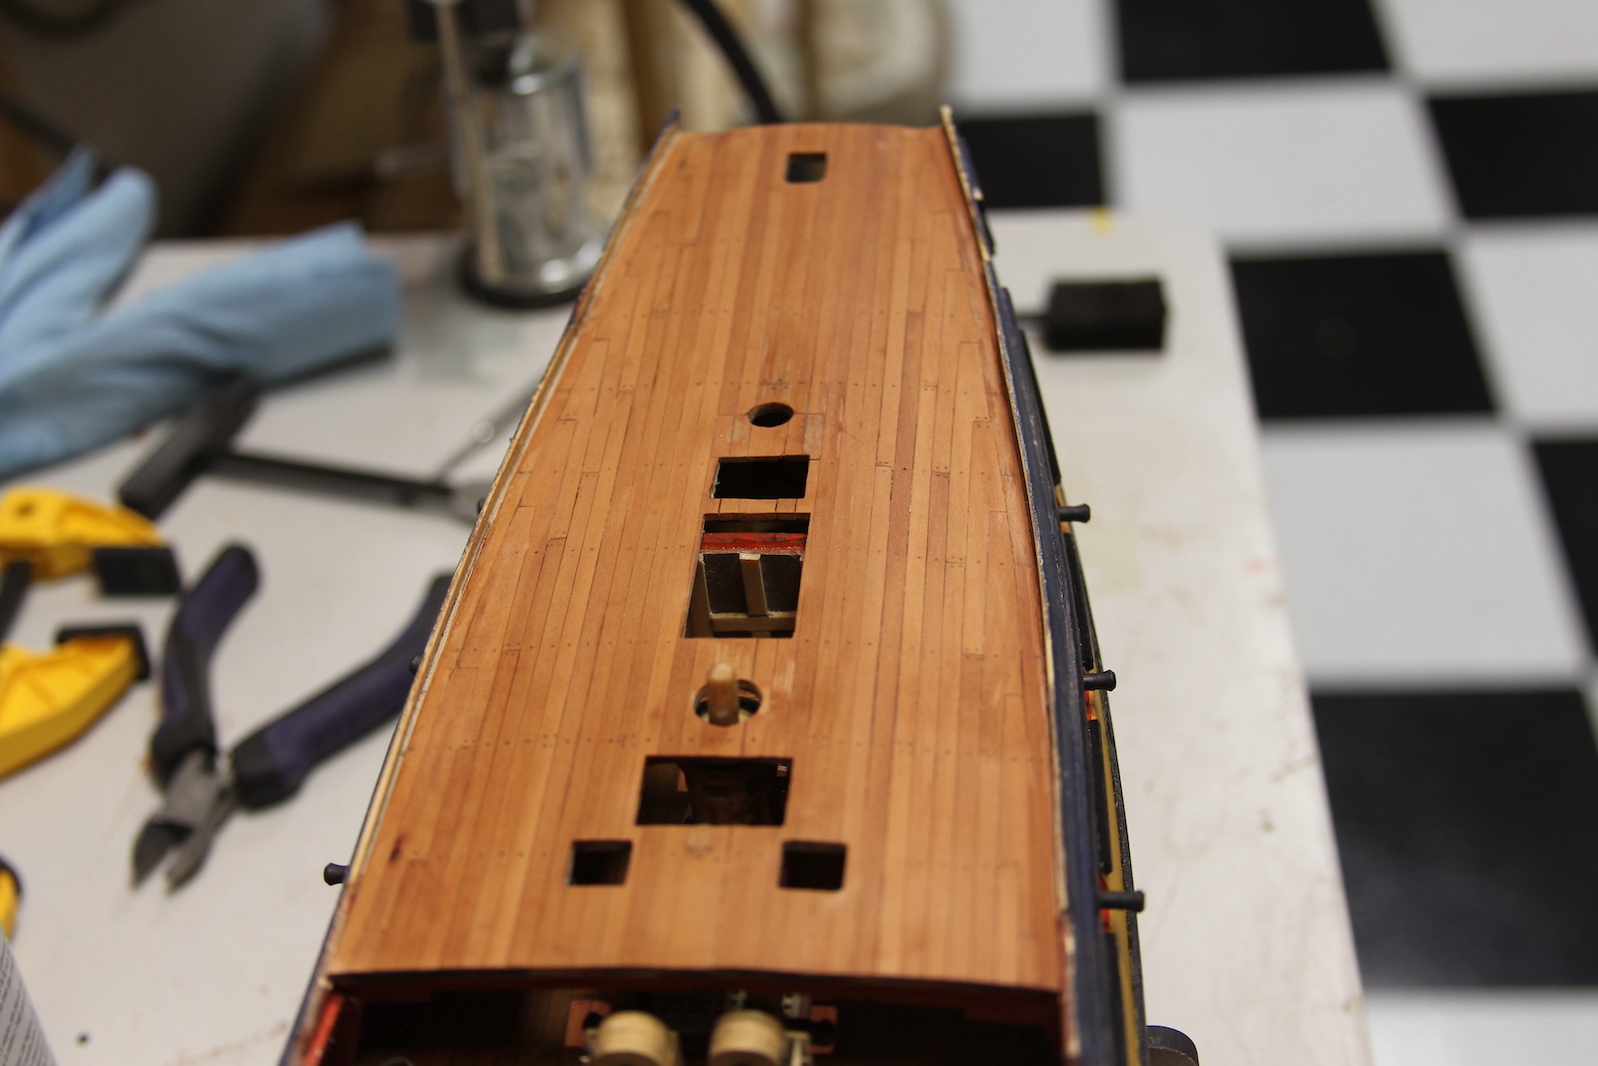
This method of planking the foc’sle ended up being a bit more challenging that I’d hope, so I reverted make to a more traditional method for the aft upper deck. I planked SOME of the false deck, then mounted that – shaped out the margin planks, and filled in the rest of the planking. But… before I could get to that… test fitting the rear deck revealed a major oversight on my part.
I totally screwed up the spacing of deck elements because I didn’t think far enough ahead – an error I discovered when I placed the upper deck in the aft of the ship. As I’m sure most of you know, there can be a pretty big downside when it comes to half following the kit plans and half following the FFM and other builds. My particular problem occurred with the pumps.
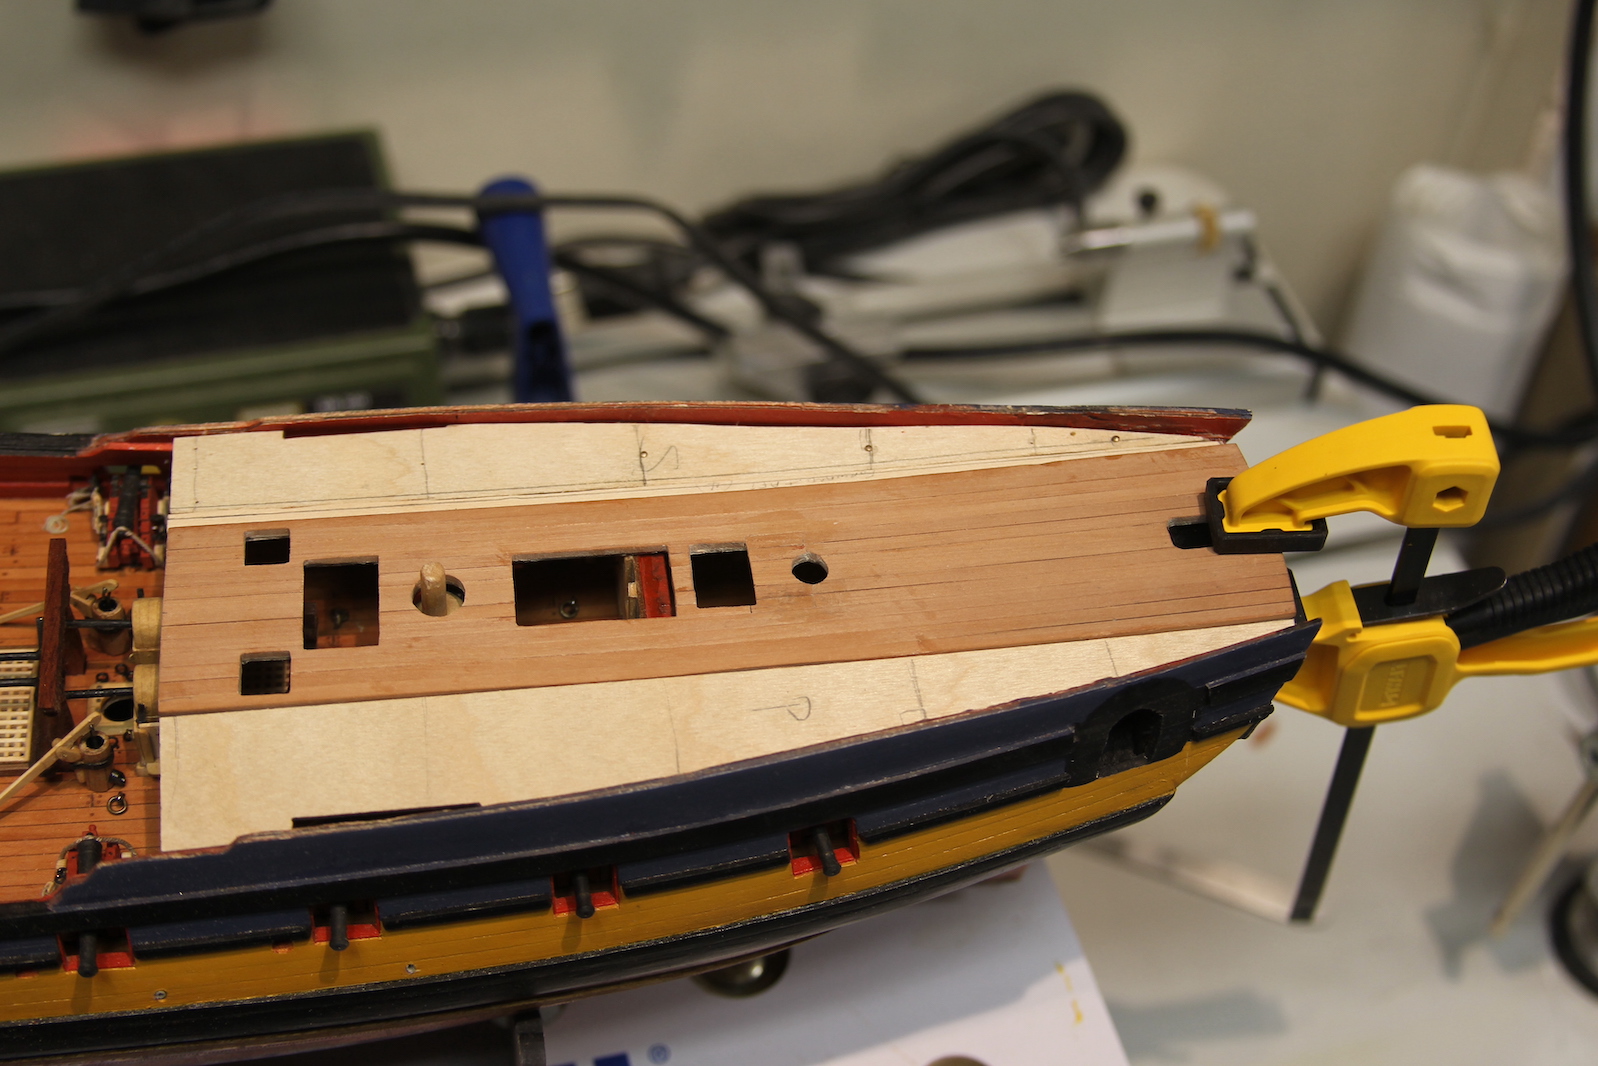
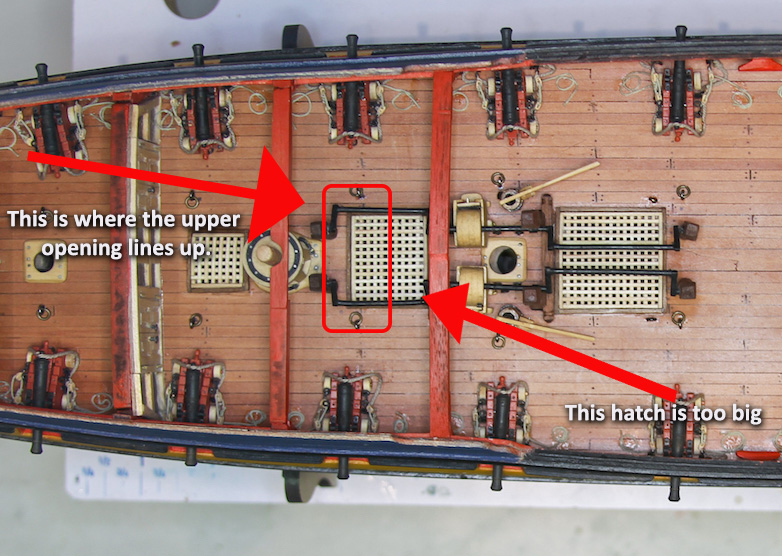
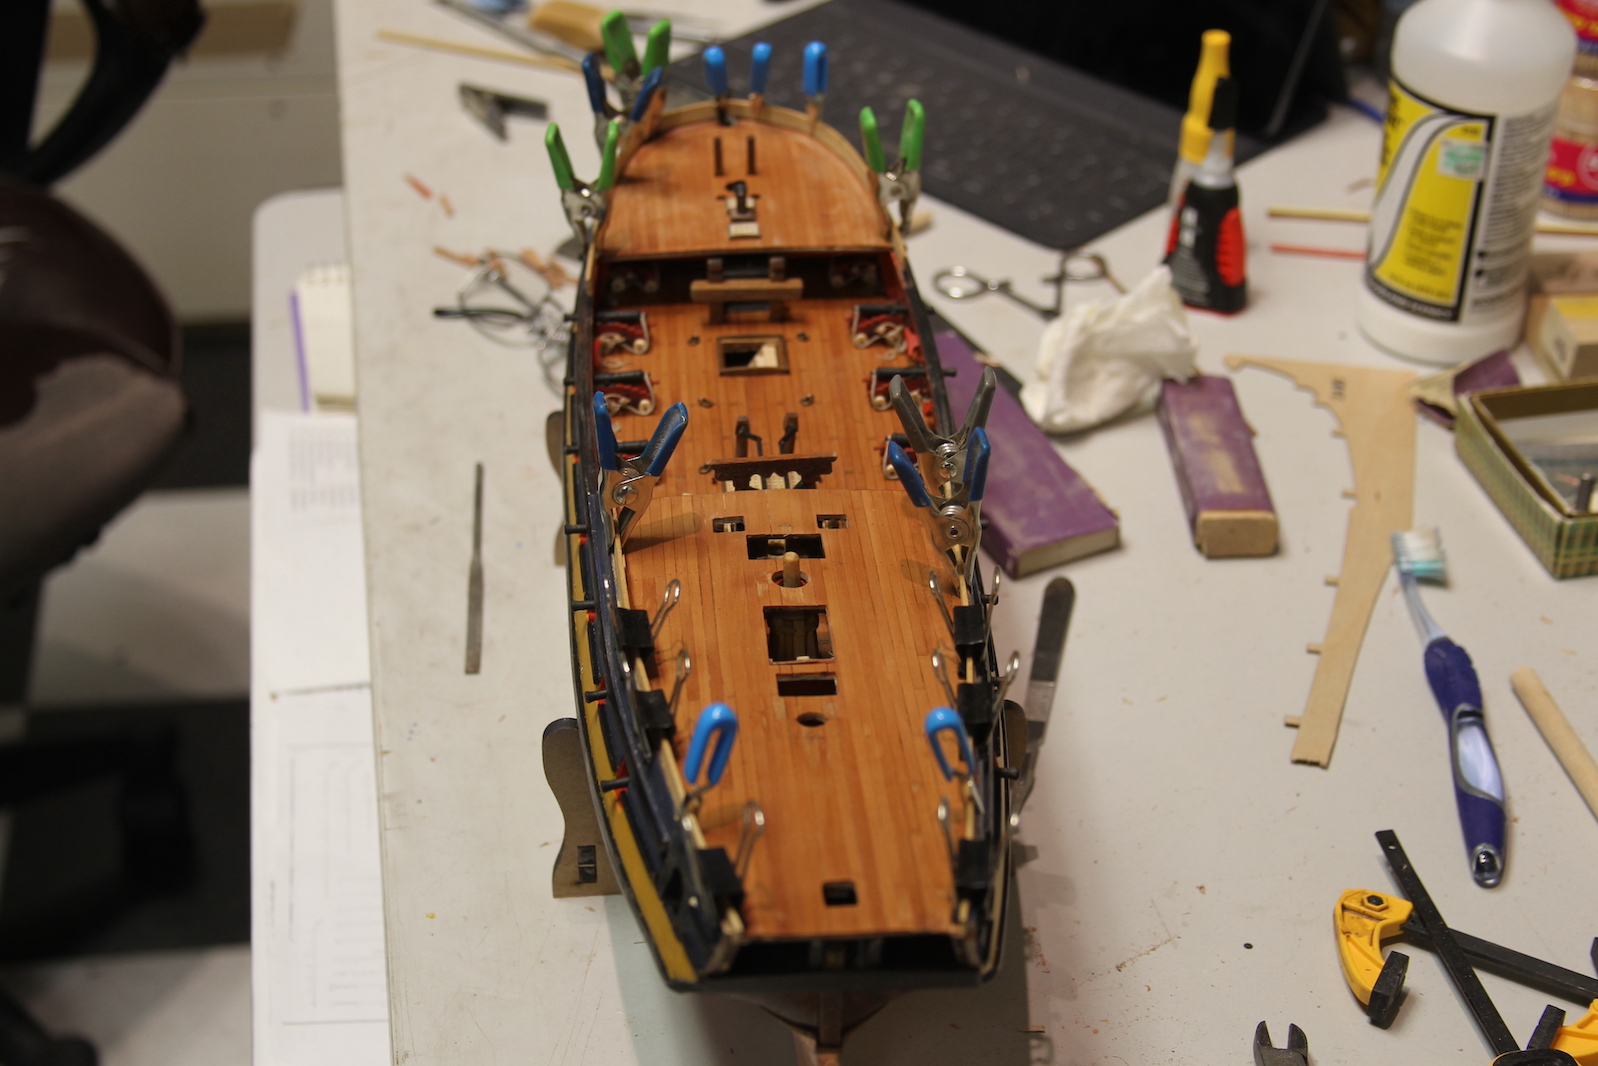
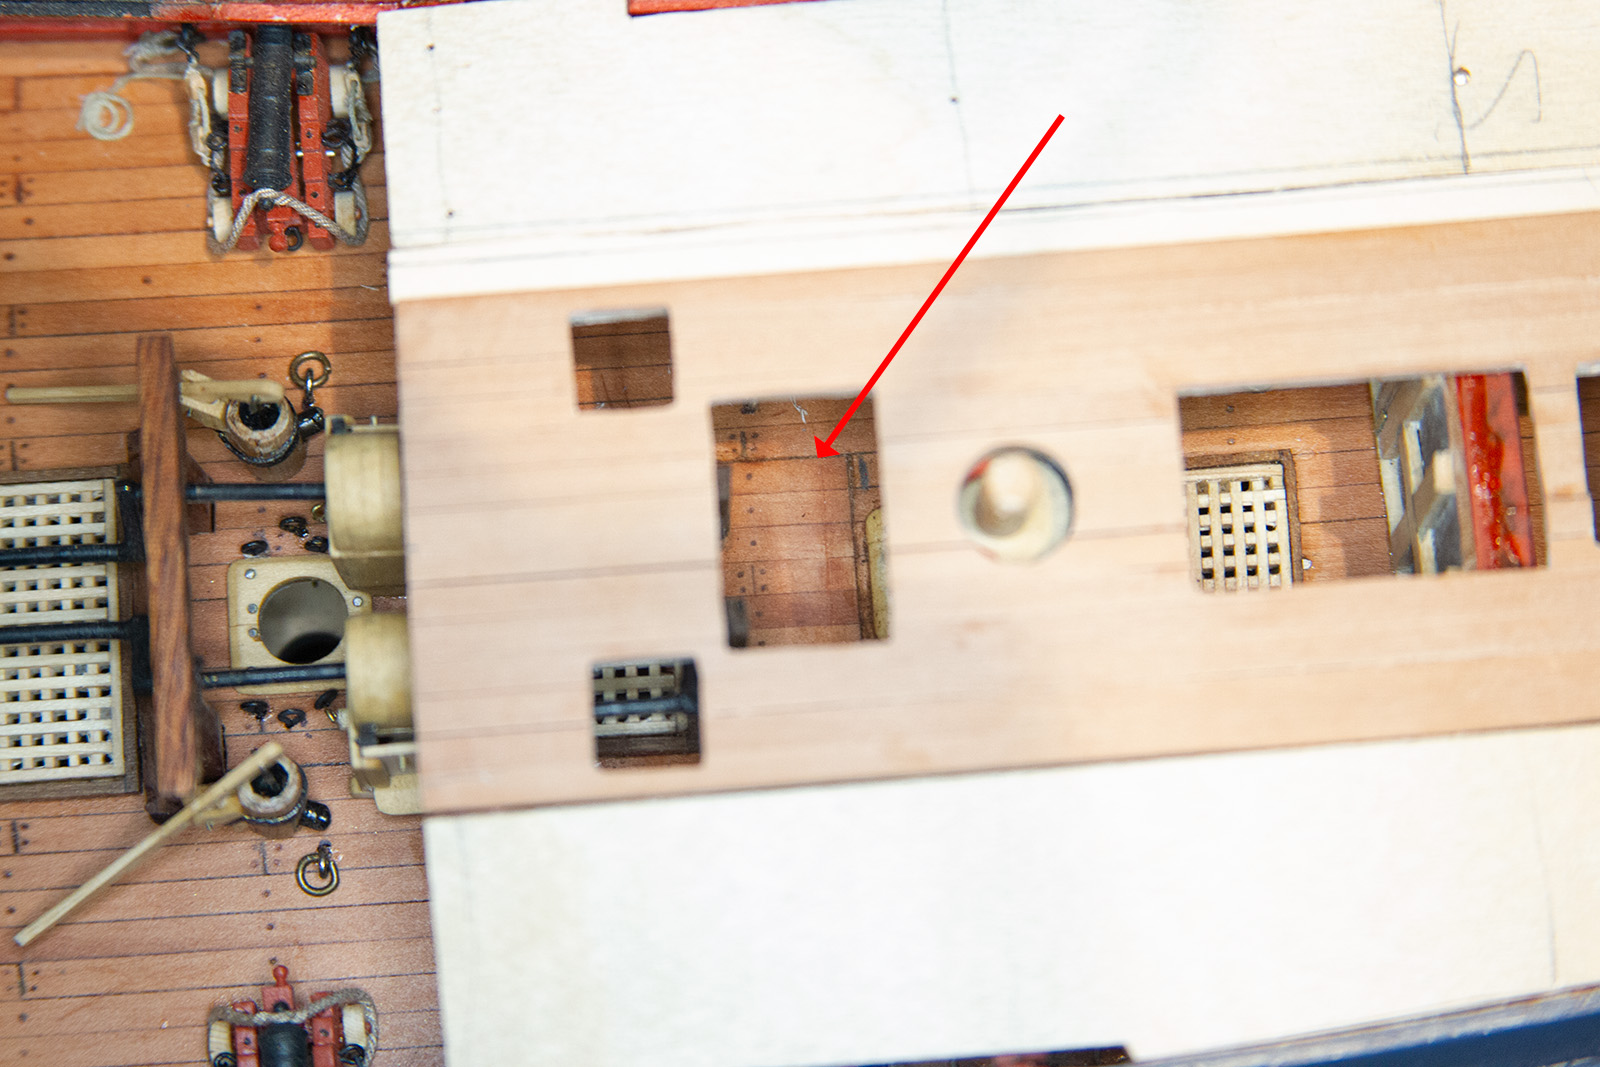
My big mistake – was following the kit template / false deck with it came to the locations of all the hatches – but then following Dan’s more accurate build/locations when it came to putting in the pumps. I wish I took more ‘before’ pictures – but I was too irritated and just started fixing. But basically, when I test fit the upper deck in place then looked down through all the holes/hatches – the larger grate just aft of the pumps is about two times too large – so the the pump handles extending over it go RIGHT underneath the upper hatch that’s supposed to be fitted with a ladder. Doh. So – even if I were able to fit a ladder in there – folks would be descending right into the pump handles. Many “potty words” were uttered as I tore up deck planks and fittings.
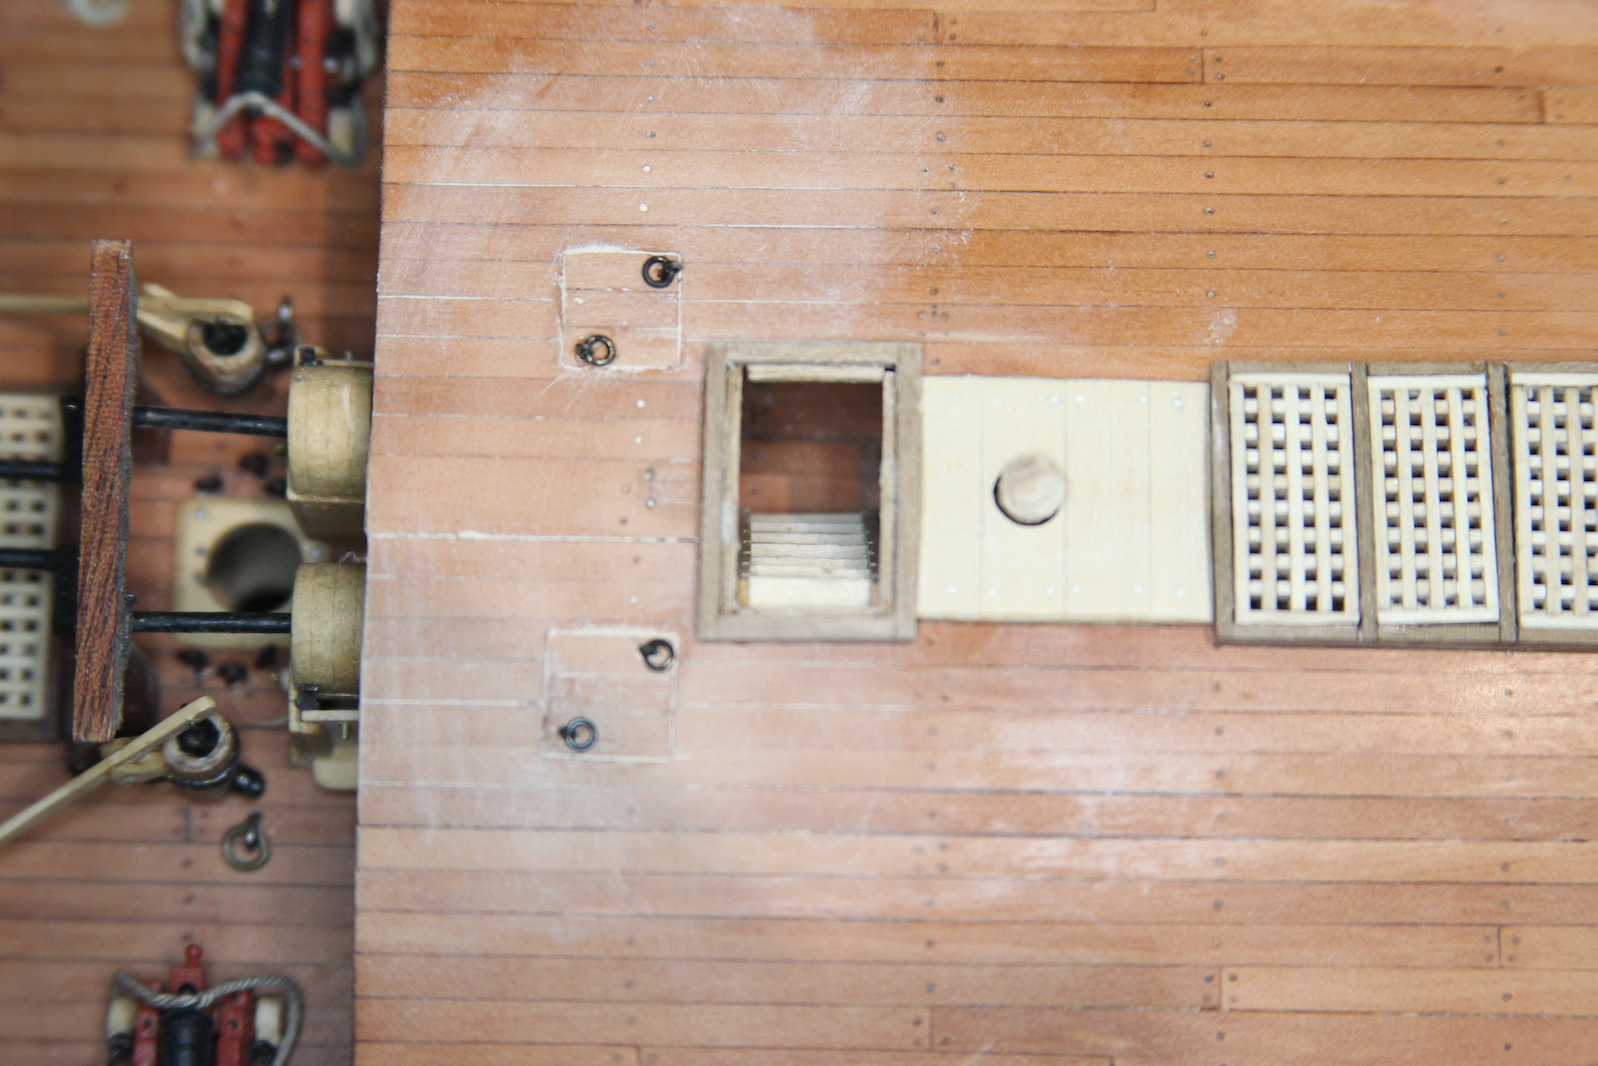
After tearing everything up, I reduced the size of the hatch by half, patched the deck to fill in the gap, shortened the aft pump handles and remounted them into the posts. The good news is – the view of all of this will be severely obstructed by the pumps, subsequent ladder once it’s installed, and various rigging and accouterments.
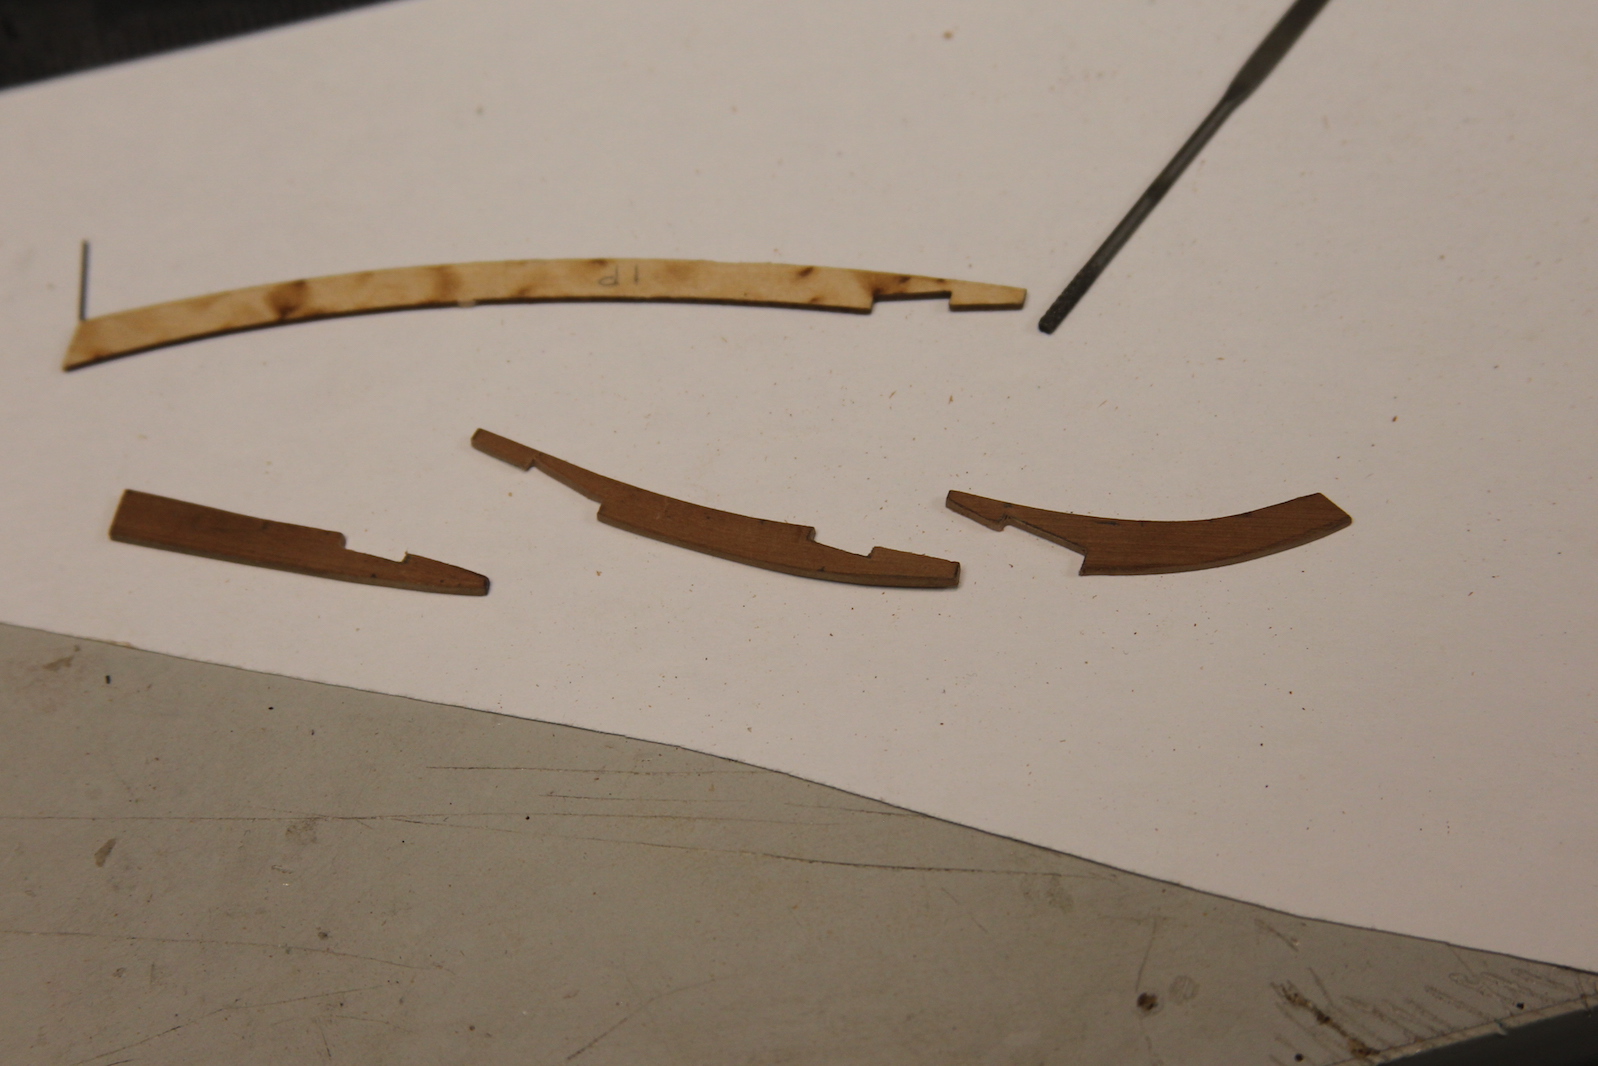
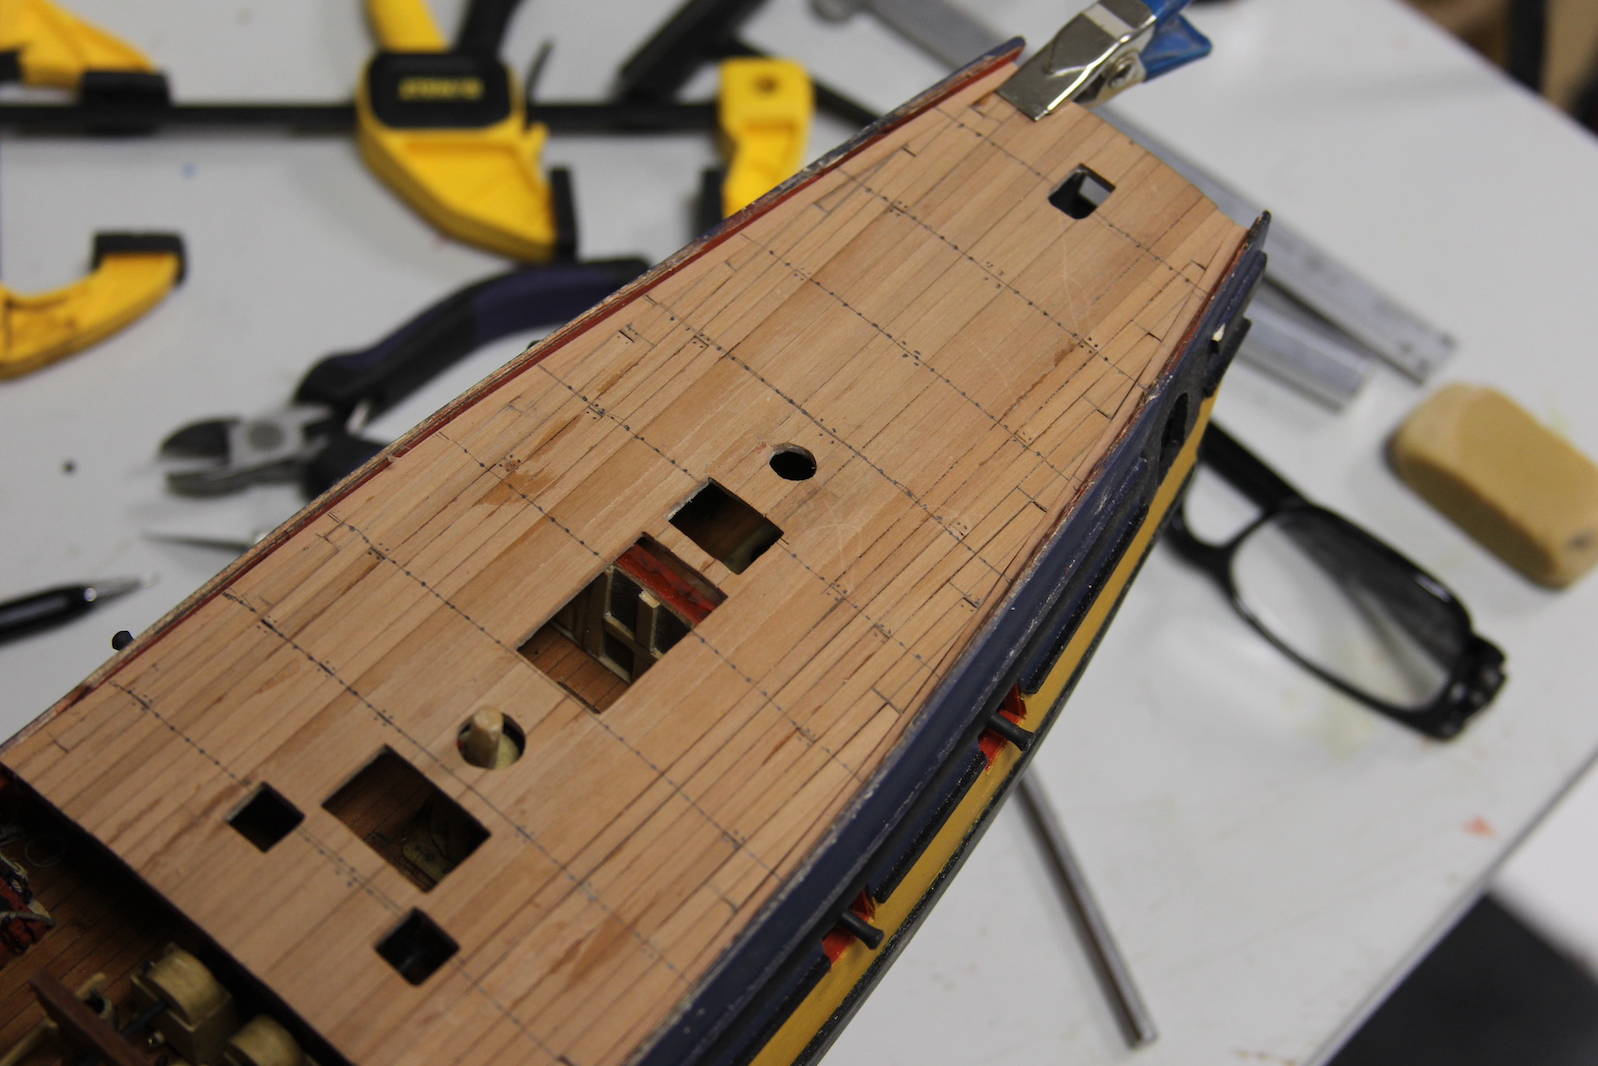
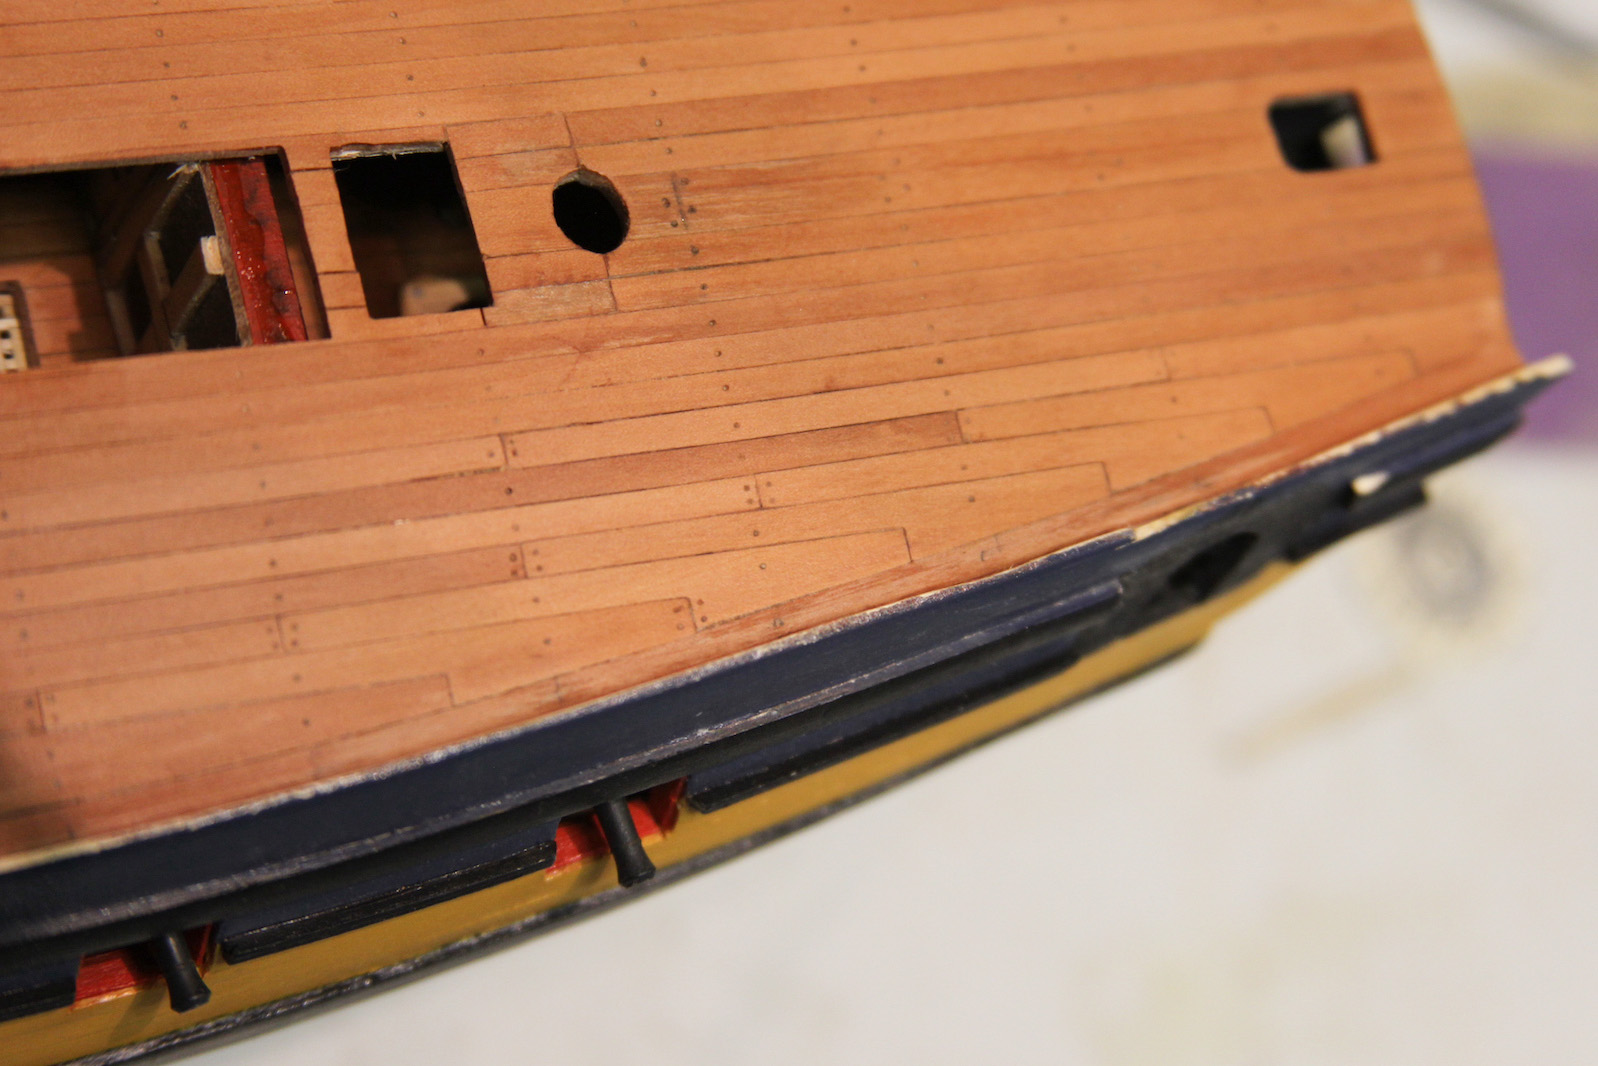
Once again – the reminder here – you can NEVER, ever, think too far ahead. After the fix was completed, I was able to continue with planking the aft upper deck. The deck narrows toward the stern, which requires a very particular kind of tapering and ‘drop planks’ to facilitate the taper. The drop planks are created from a double wide swiss pear plank that’s measure, shaped to include the angle along the margin plank, and a square joint that fits the next plank. You’ll notice from this deck, as well as the hull planking, that shipbuilders always avoided a sharp taper as butted boards were easier to seal with caulk.
Once the decks were planked, I was able to build out the aforementioned hatch coamings, then add the stairs. Just to the fore of the stairs are two hatches called ‘scuttle lids’. The kit shows them as small grates, but I chose solid planked lids as this was a more likely fitting. Also, as I discovered with the small stove vent grates on the foc’sle – the smaller grates aren’t thin enough for my liking and look a bit chunky.

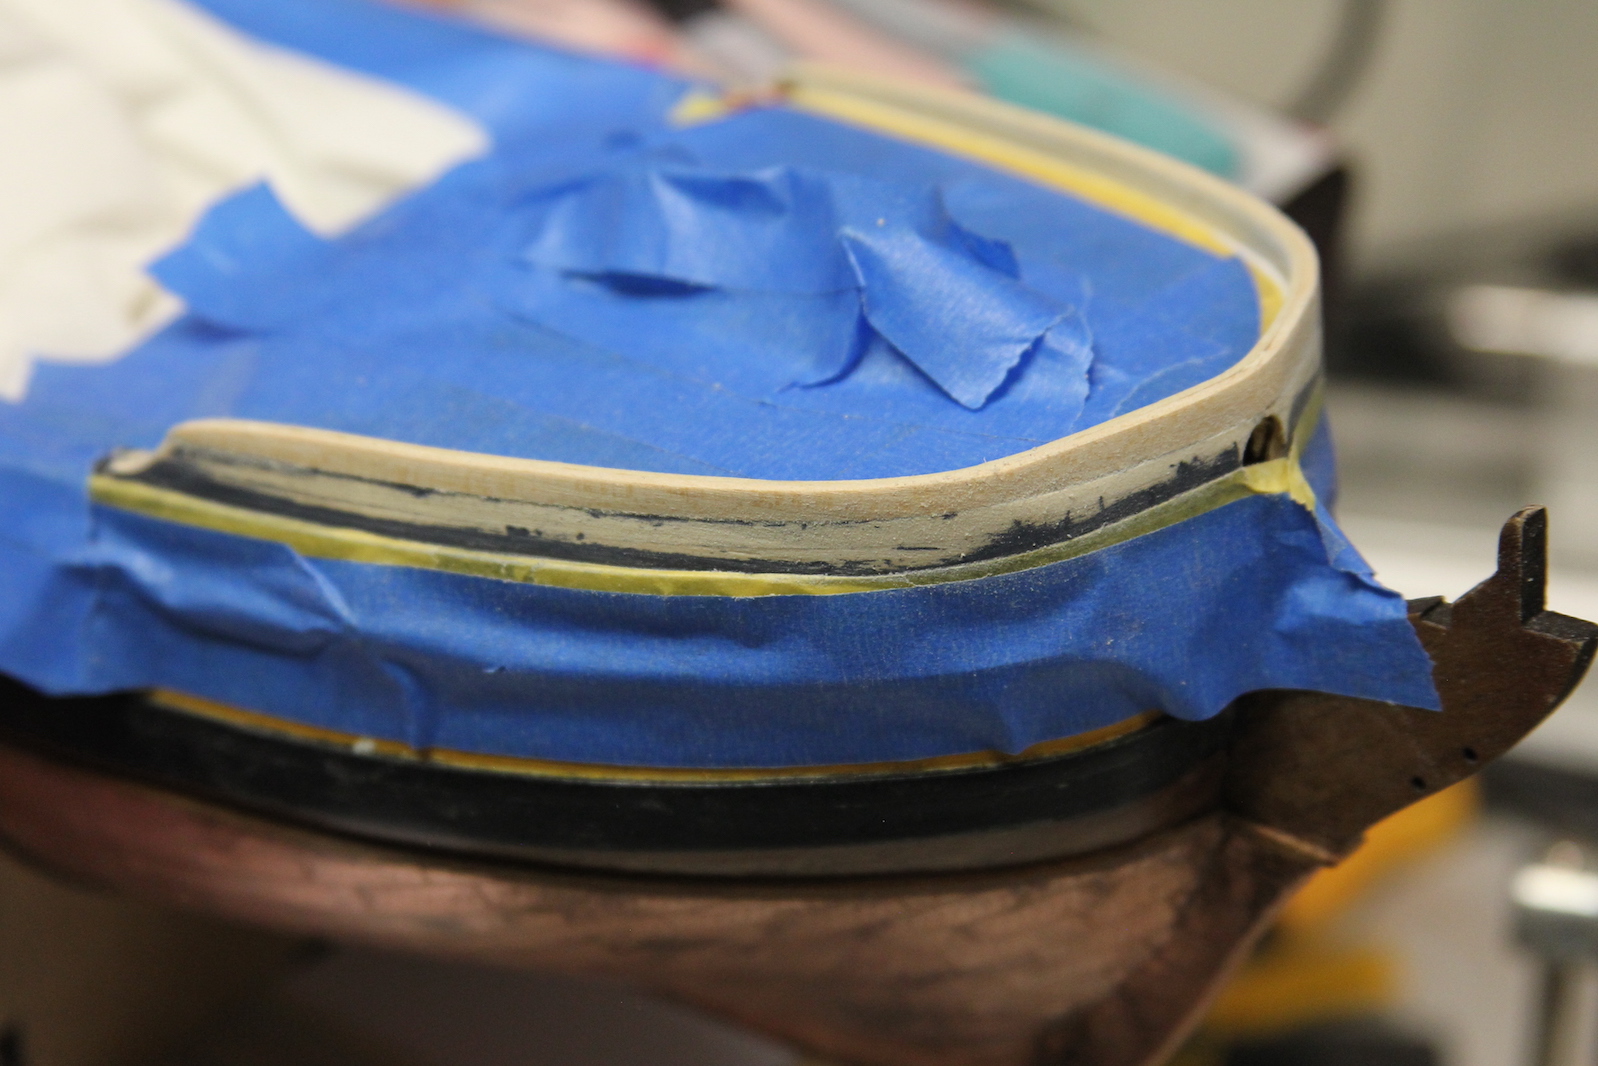
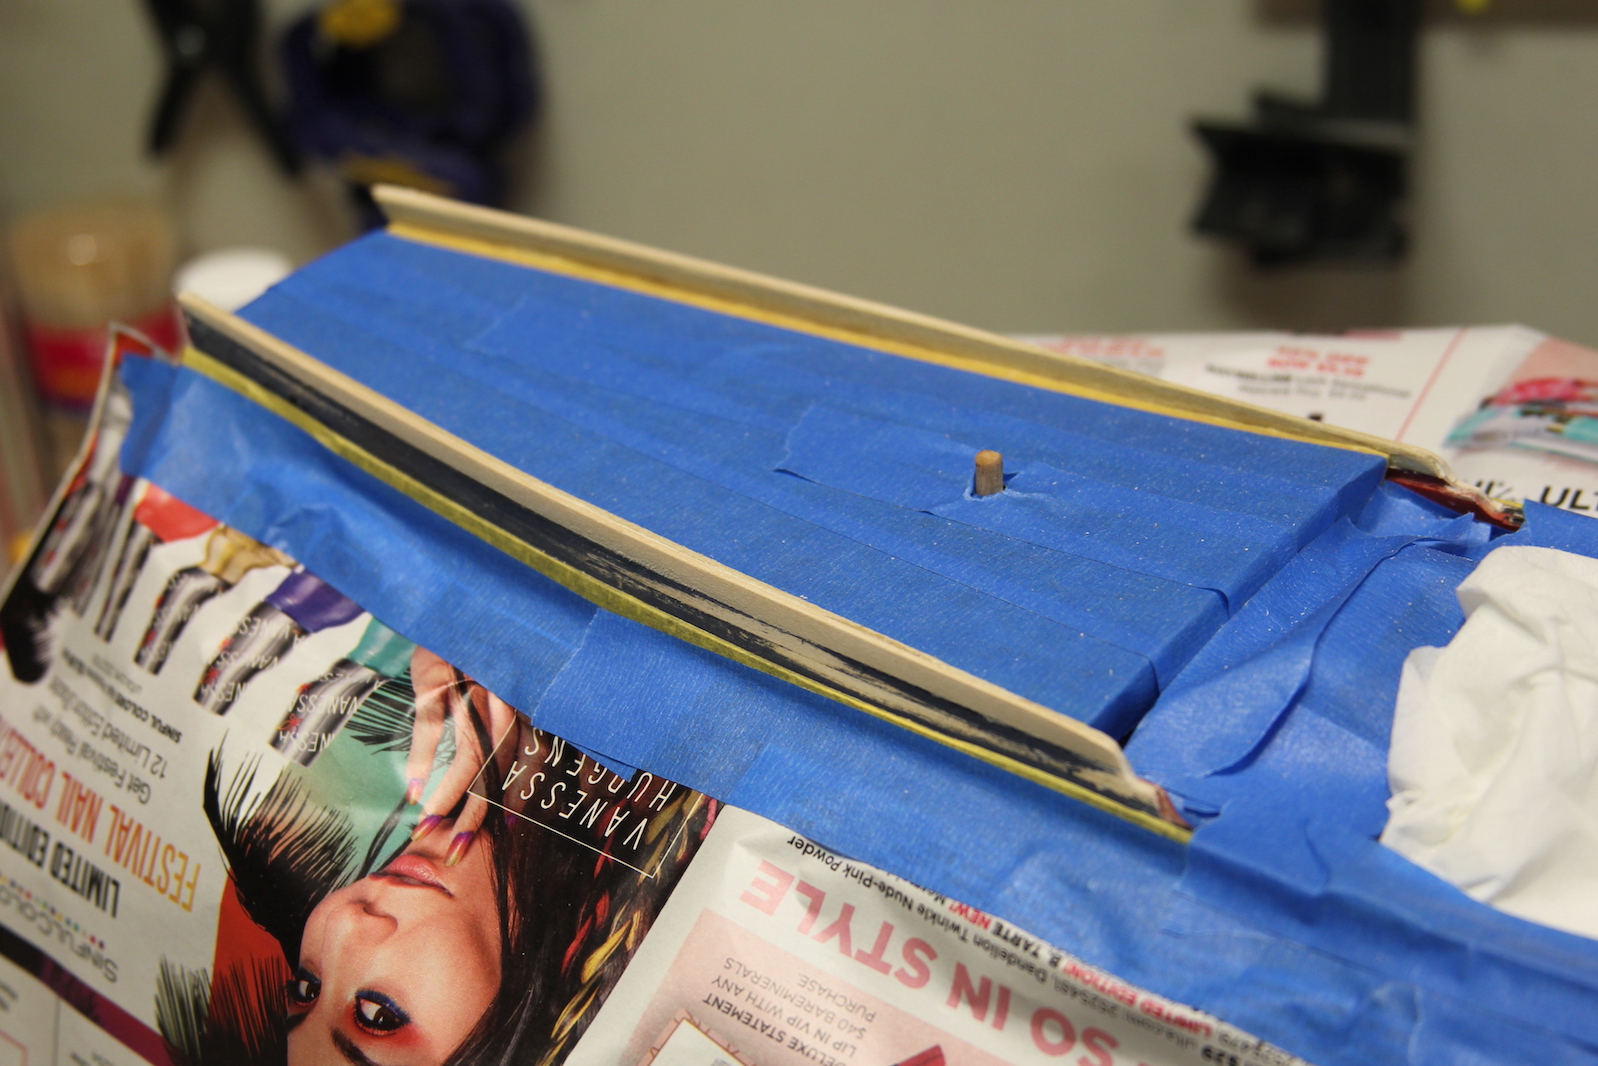
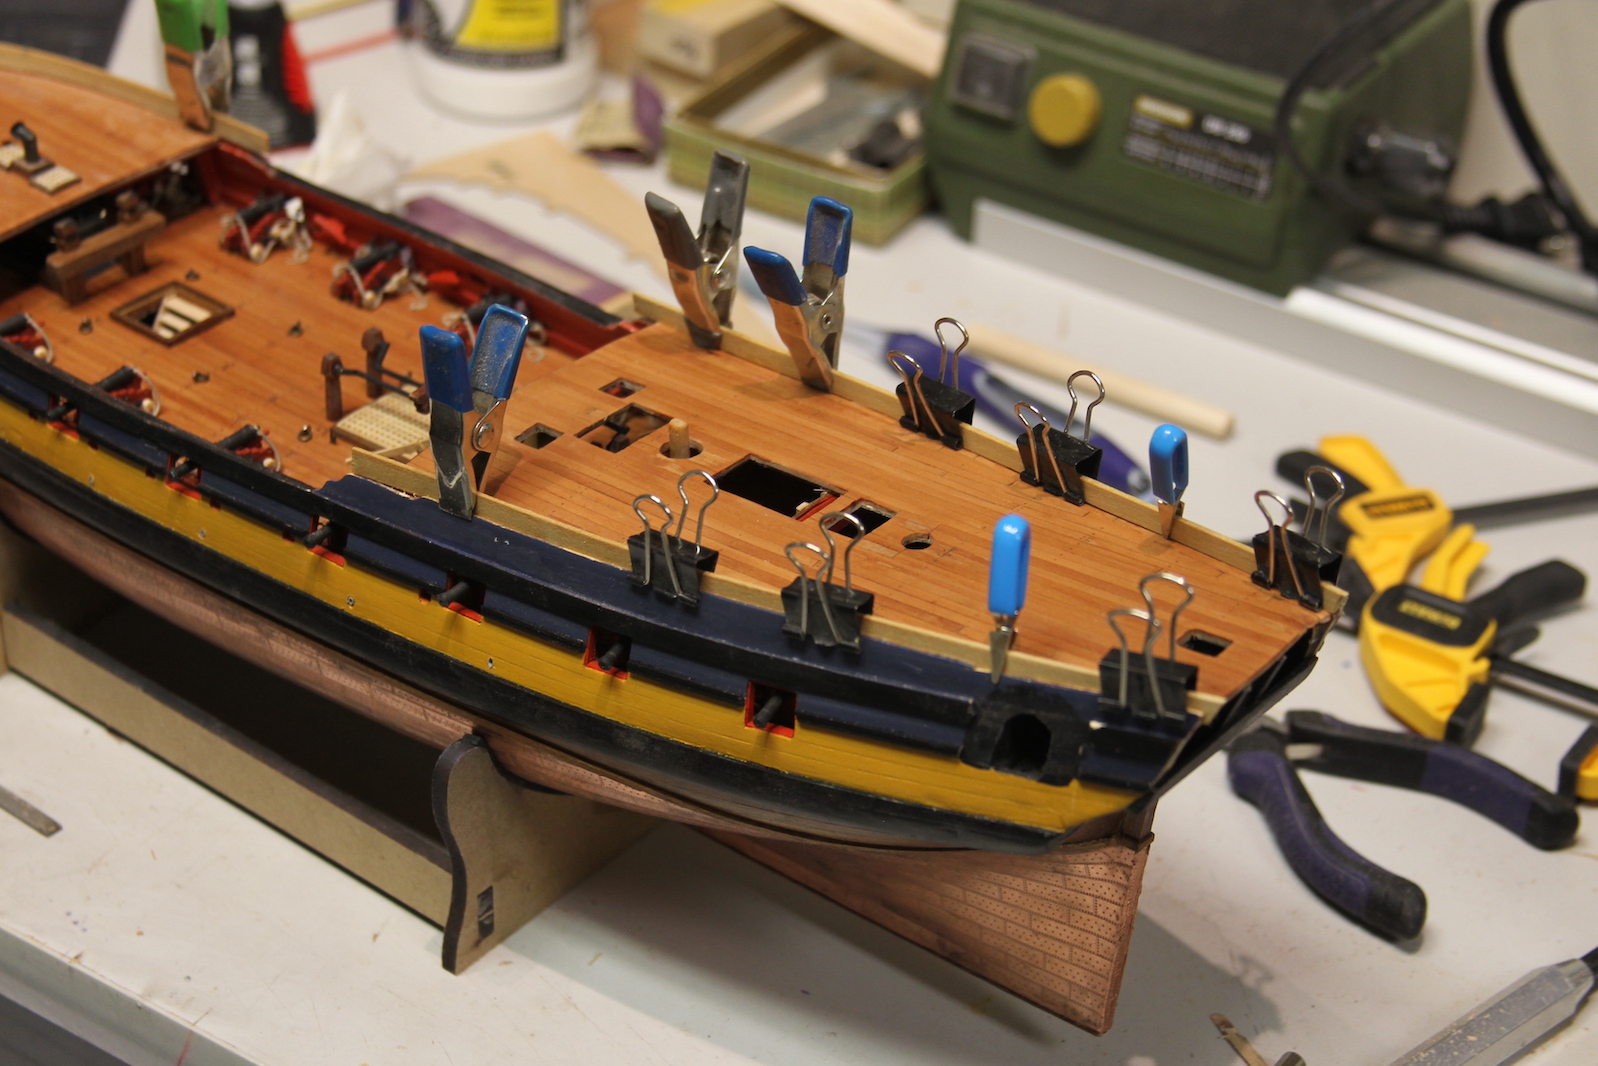
As a reminder, I’m using Swiss Pear wood instead of the planking that came with the kit. It’s much better quality wood – and provides a really interesting coloring that I like. However, the Swiss Pear is much thicker than the provided strips. This is great as it allows for additional sanding and a higher level of smoothness can be achieved. However, the added thickness means I need to build up the height of the bulwarks (the sides of the decks) to accommodate for this. I soaked and bent strips, then let them dry to fit. The bow strip was made with one continues plank of wood. After they were shaped, I added the strips to the inside of the bulwarks, then planking to the outside. I sanded in the inside and outside to match, then repainted.