
The word “frieze” means any kind of horizontal band of sculpted or painted decoration. It’s very common along the ceilings and walls of historic buildings dating back hundreds, if not thousands of years. From an anthropological perspective, it provides interesting insight into the cultures of the time.
Like many of the HMS ships of the 18th century, the frieze work on the Pegasus is predominantly mythological and quite intricate. While the frieze on quarter galleries and transom is mostly carved (see the transom post here), the frieze along the gun ports was painted while in port and often didn’t last very long – washing off once under sail.
There are a couple different methods of applying the frieze on models; some are printed on thin paper and applied to the hull while others paint from scratch. Yet other kits (as with the Peg) have photo-etched pieces that are painted then glued to the ship. While the photo etching allows for great precision, it is often difficult to get them to look authentic. Here’s who I tried to achieve that.
First, I airbrush painted the photo etched pieces with a white layer and then yellow ochre to try and give the decorations some depth.

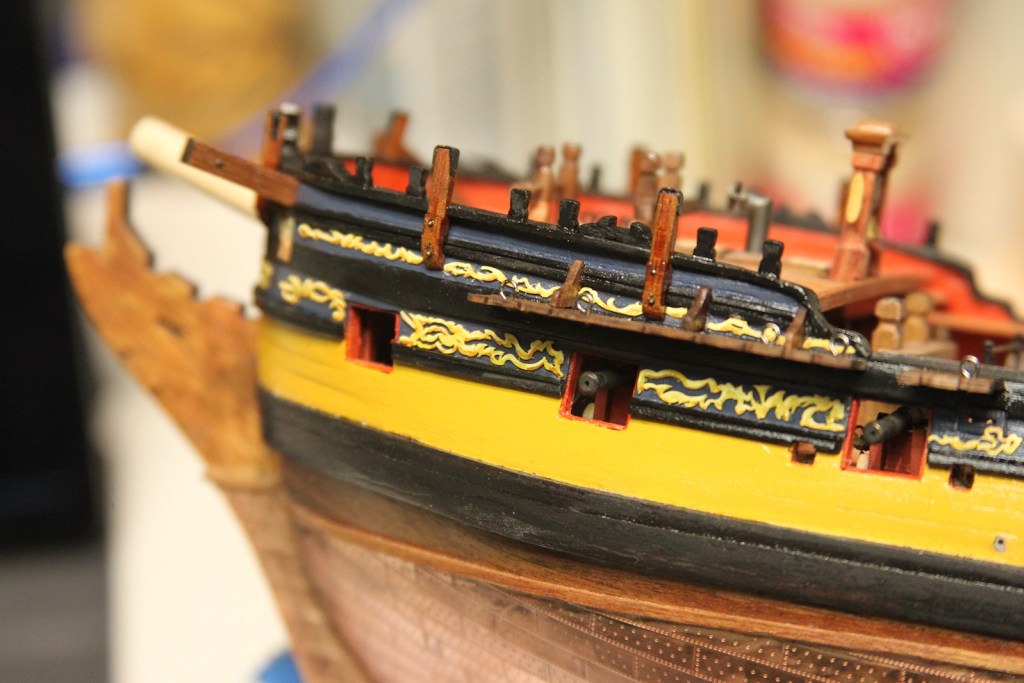
According to the plans provided (and the way the photo etched pieces are laid out) they are intended to be applied along the gun ports in 2 or 3 long strips. However, the byproduct of having done some things that added accuracy to the build is that those pieces will no longer fit as single pieces. Most notably, I’ve added the knee supports to the channels which cuts the gun ports into segments. I also have a wider ‘sheer strake’ that runs along the top of the gun ports which means less space in the areas for the frieze. Finally, the decorative drift rails along the gun ports is also a different size, once again making the area for the frieze narrower. My solution to all this was similar to my transom work. I cut the photo etched pieces into smaller segments and placed them individually.

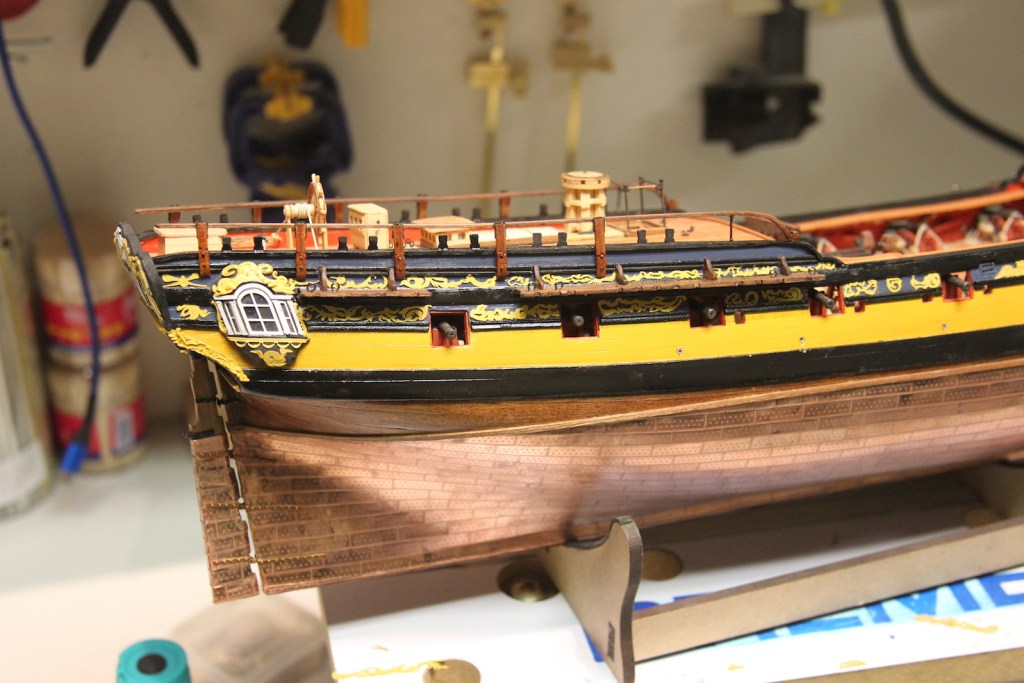
The next trick is to get the frieze to actually look painted on rather than just airbrushed photo etching. To achieve this I provided depth by painting a yellow-ochre & gold darker shadowing along the bottom of all the decorations and then a highlighted touch of very light white & yellow ochre mix along the tops. As you might imagine, this required some magnification as well as a very small brush.


Final touch is a coat of wipe on polyurethane giving it all a protective coating.
