An interesting aspect of a ship from the age of sails is that pretty much any aspect of the main deck was fair game for seizing rope or otherwise tying off rigging lines. Most areas had belaying pin racks, rings, or cleats of some kind – but most railings also served as rigging opportunities.
The forecastle railings to each side of the belfry as well as the quarterdeck railings – called the breastwork – were outfitted in such a way that they were as imminently functional as they were decorative.
I’ll preface by saying the railings and products that are supplied by Chris Watton’s kit are just fine in this regard – however, I’d already committed myself to using walnut for the other railings, bitts, crossbeams, etc. Once again, since I’m being sparse with paint, I want everything to match – or at least compliment.
Unfortunately walnut – though prevalent in my wood pile and nicely toned – is not the densest wood for carving which makes it difficult at such a small scale of 1/64. But it is pretty malleable for shaping, etc. I essentially worked on the forecastle and quarterdeck railings simultaneously, as both required turning the stanchions on the lathe and create the sheaves.
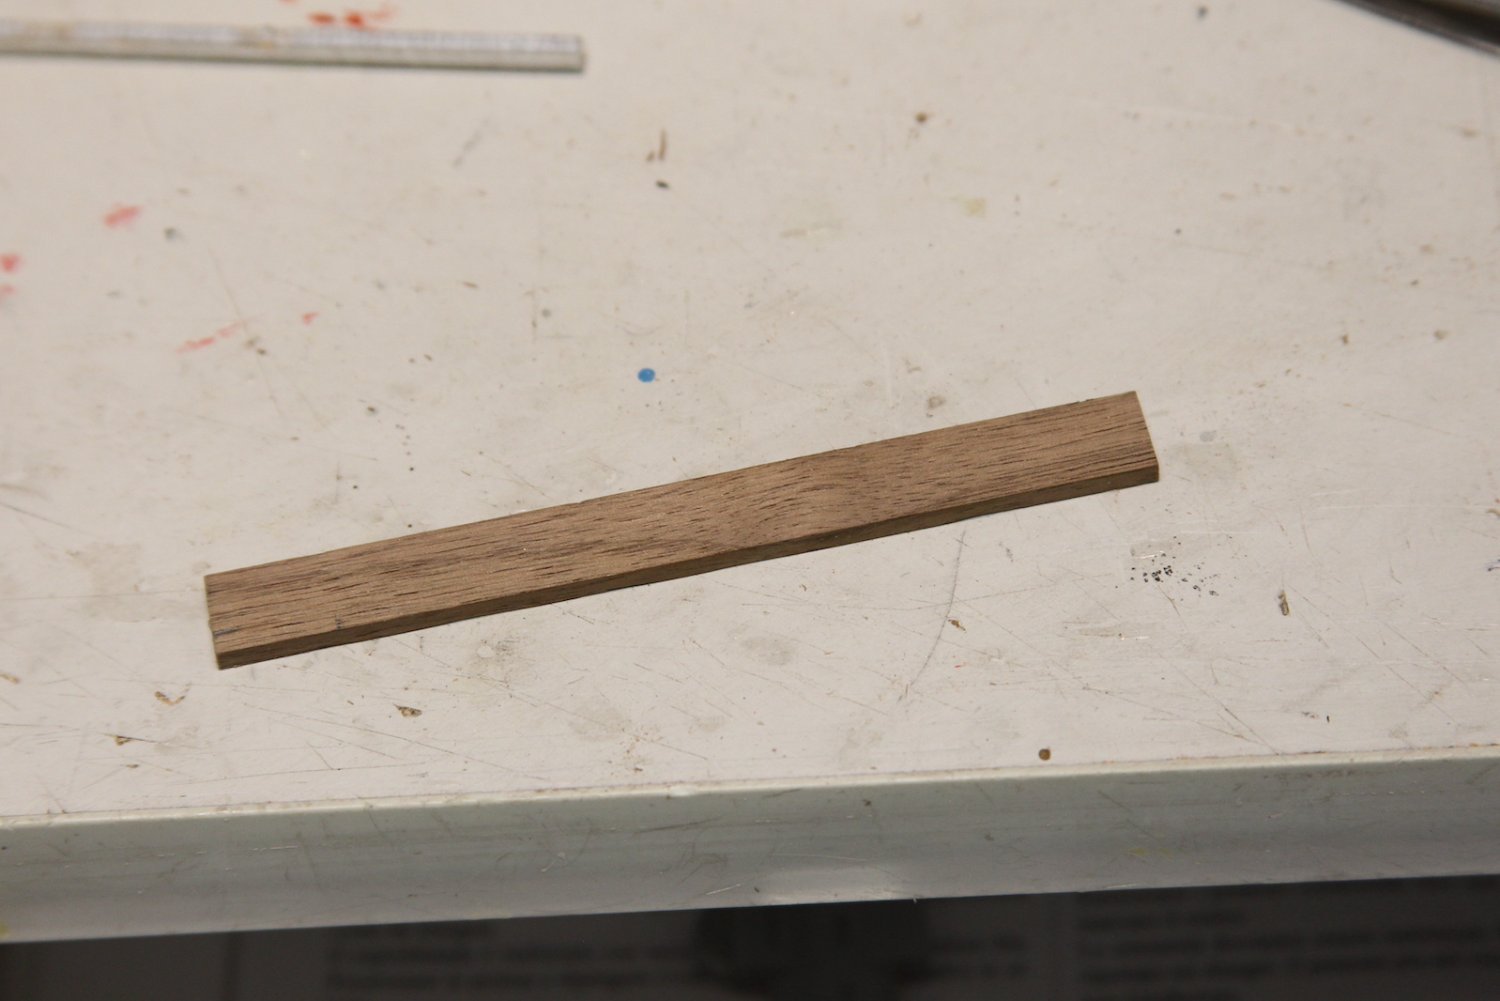
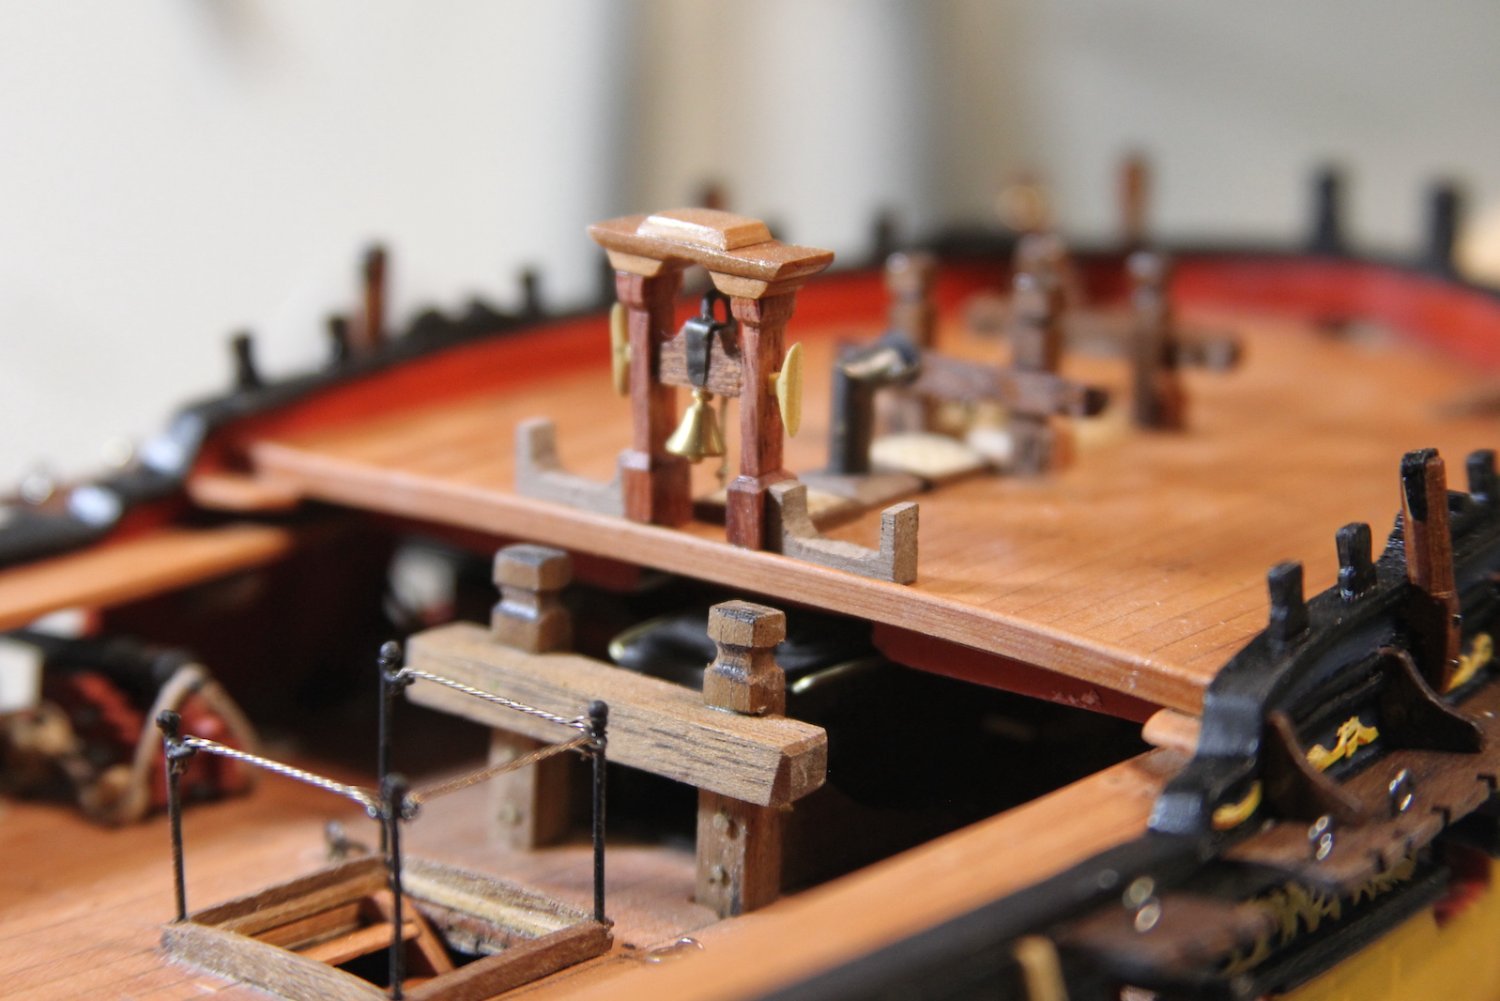
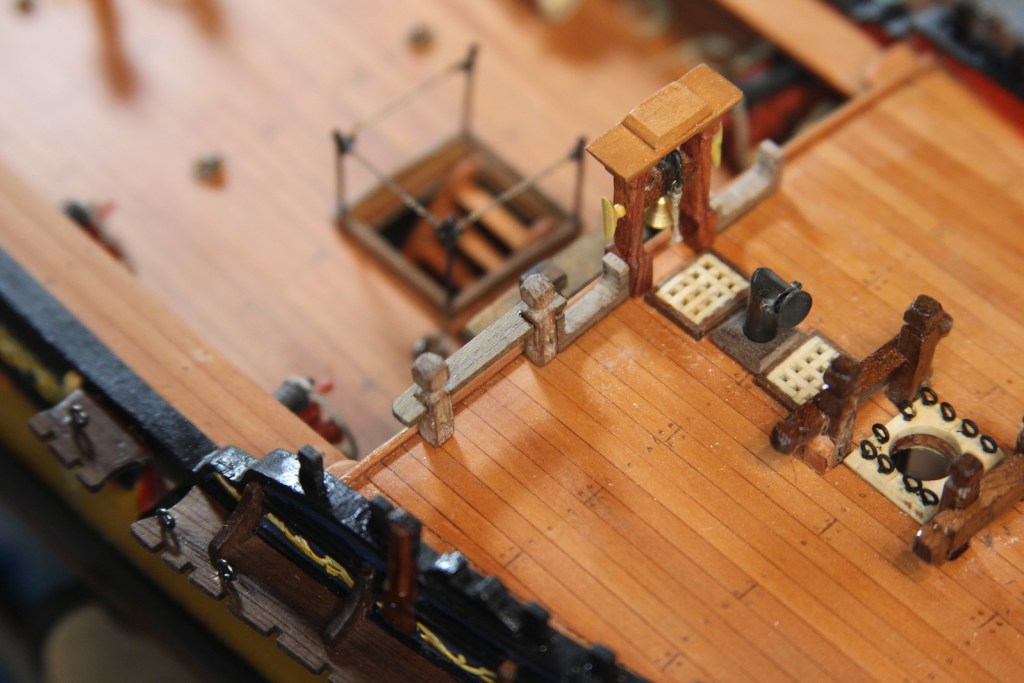
I started with the spar rack which serves as a ‘holder’ for the extra spars needed in case damage was incurred to the masts or yards. The extra spars were basically long poles laid across the waist and doubled as a support for the smaller launches (boats). While some kits have the spars lashed down the railing, the Swan class had these small racks – just a couple of pieces cut with a jig saw then sanded and shaped to fit the height of the Belfry stanchions just below the cleats. They’re the same width as the rails with the inside post shaped to fit snug against the belfry and the outside serving as a base for the railing.


I’ll preface by saying the railings and products that are supplied by Chris’ kit are just fine – however, I’d already committed myself to using walnut for the other railings, bitts, crossbeams, etc. Once again, since I’m being sparse with paint, I want everything to match – or at least compliment.
Unfortunately, we know that walnut – though prevalent in my wood pile – is not the densest wood for carving, but it is pretty malleable for shaping, etc. They’ll be two separate posts here, but I essentially worked on the forecastle and quarterdeck railings simultaneously, as both required turning the stanchions on the lathe and create the sheaves.
Forecastle
I started with the spar rack, just a couple of pieces cut with a jig saw then sanded and shaped to fit the height of the Belfry stanchions just below the cleats. They’re the same width as the rails with the inside post shaped to fit snug against the belfry and the outside serving as a base for the railing.
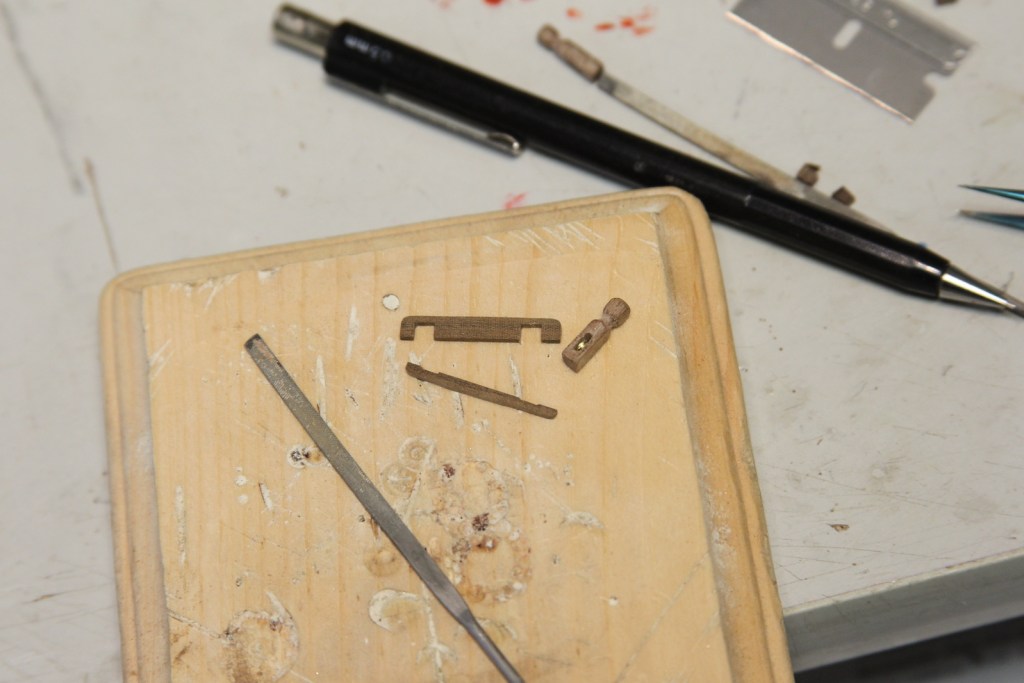
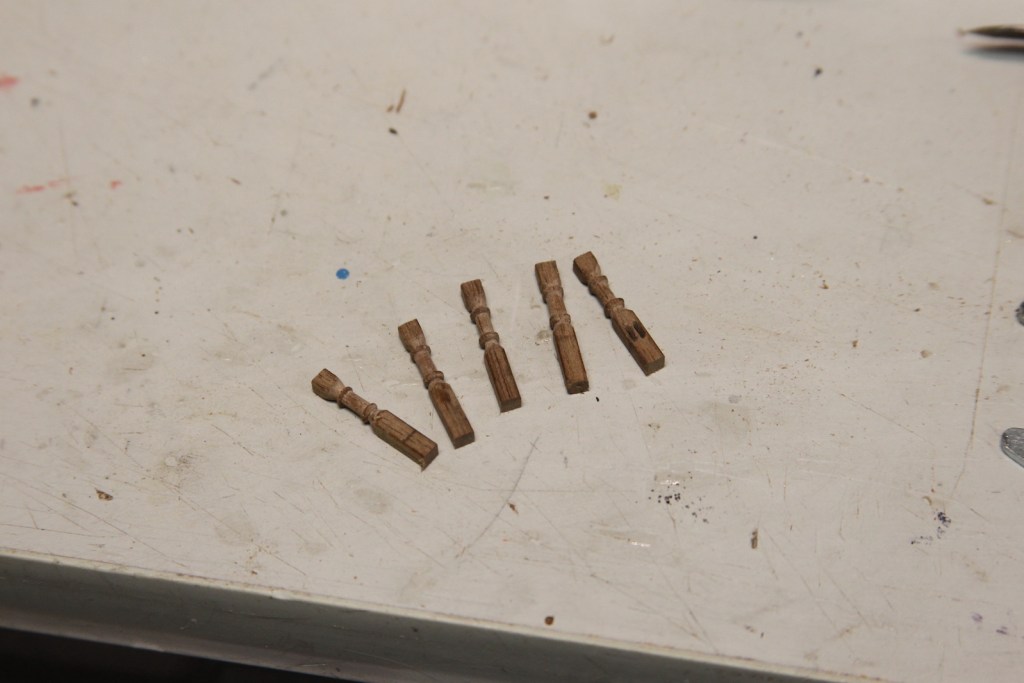
Stanchions are turned on the lathe with a little bit of decorative element. I had to keep it pretty simple because the walnut has a tendency to flake when cutting this precise. The first picture illustrates the several experiments it took using a variety of options before I found what worked for me and didn’t either flake off the post or snap it completely. My rather cheap carving tools are regularly sharpened on the belt sander before I use them. Essentially I use a file to get started, the carving tools to shape, and then a sanding stick to smooth out the edges.


After the difficulty making the tiny sheaves for the catheads and chestrees, I had totally convinced myself that it was fine to just make faux sheaves here; especially since they’re under railings and difficult to see. Then – for whatever masochistic reason – I decided that I should go ahead and make sheaves. As you might imagine it is completely torturous at 1/64. And yes – I am totally convinced this is going to bite me in the a** when it comes time to actually try and rig the thing. But, in the meantime, I think they ended up looking pretty good.

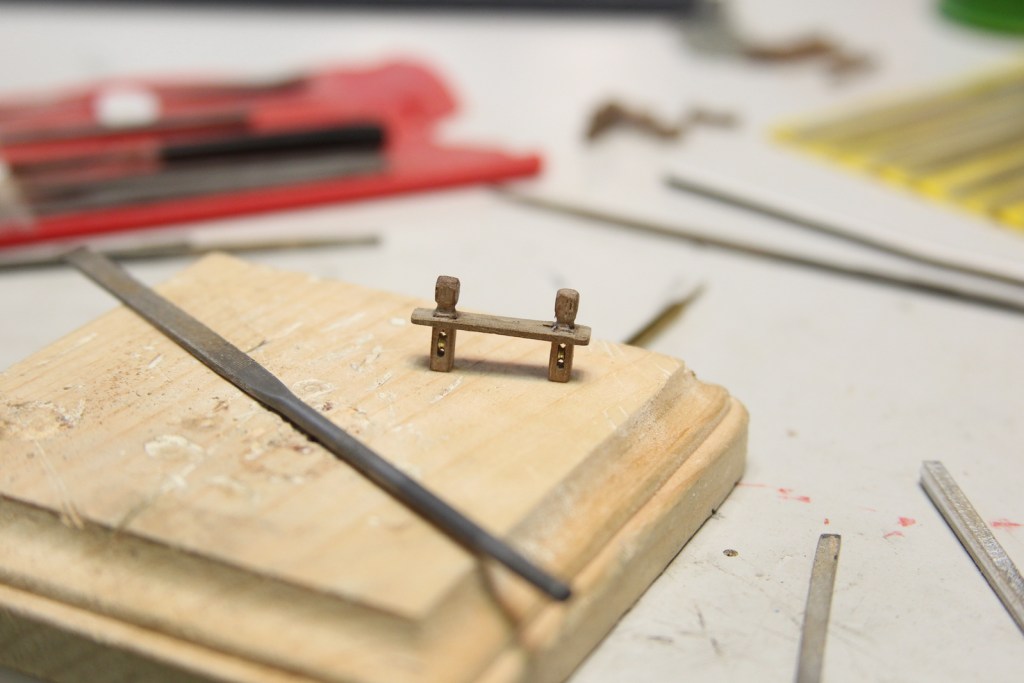
For the forecastle, I split the railing itself into two pieces (as shown above) to facilitate mounting it with the stanchions. This worked well, but required lots and lots of patient bit-at-a-time sanding to get everything line up properly and fit snug. You’ll see later that I took a different (and ultimately more tedious approach) on the quarterdeck breast work.
Stanchions and railings are mounted after a lot of test fitting and tiny adjustments with a sanding stick. Then everything is sanded smooth to get as tight of a fitting as possible. Still a couple little gaps that get masked with the coat of tung oil that’s applied after everything is permanently in place.


Quarterdeck
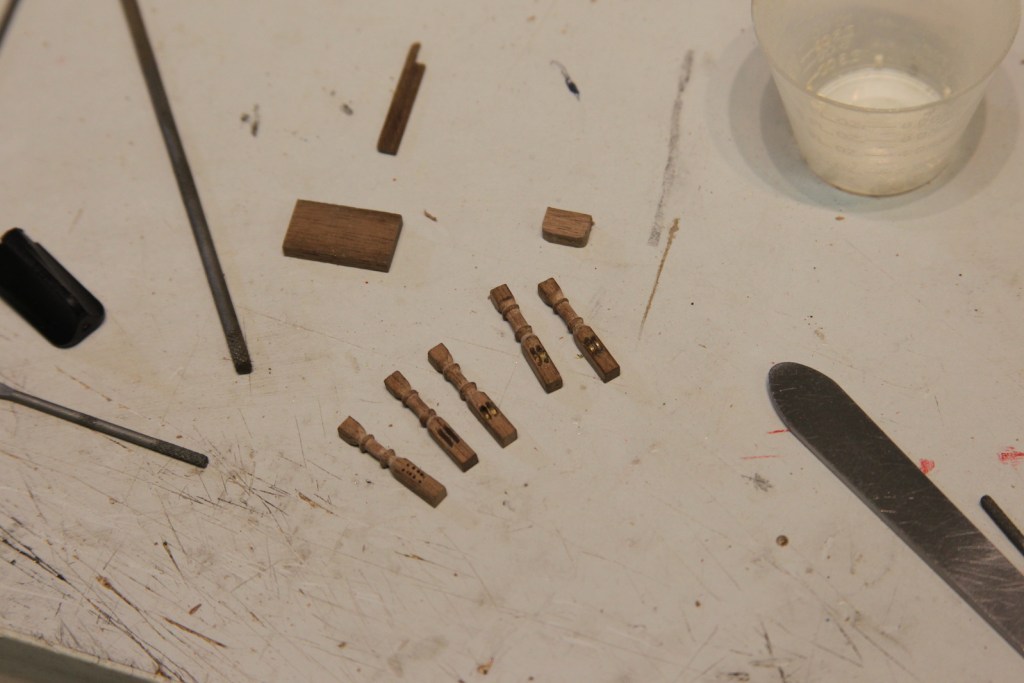
The breastwork on the quarterdeck is pretty similar in terms of how it’s accomplished. First step is to turn the stanchions on the lathe. The tricky part (as I mentioned) is that these are double sheaved instead of single singled. I’ll tell you, at 1/64 that’s a real bear. The actual metal sheave needs to be so thin (less than .5mm) that there was just no real way I could notch it small enough – so I gave up on that and settled for just having the ring in the slot – so to speak. Creating the slot started with drilling holes in line, then picking them out gently with a #11 scalpel as much as I could. Next, I shaved down my smallest needle file to almost paper thin so that the grooves were only on one side and one edge. Finally, I gently filed out each groove a tiny bit at a time.

The sheaves are cut from a 2mm metal tube filed down on each side until they fit into the slot. The slot determined the size of the ring, not the other way around. File – test fit – file – test fit, etc. Here’s a progression of what that looked like. Each stanchion took almost 90 minutes to get cut and grooved out. Sorry, the focus isn’t great on these two. Probably because I was cross-eyed from filing out the grooves.

I took a different approach for the railing this time – instead of two pieces, I measured out a single piece with about .5mm overlap on each side of the stanchion and cut square holes to fit – starting with drilling out a hole then filing with a square edge needle file. This took much longer than the ‘two piece’ method, but eliminated the very slight line you can see in the forecastle railing. The edges of the railings were scraped for a little decoration.


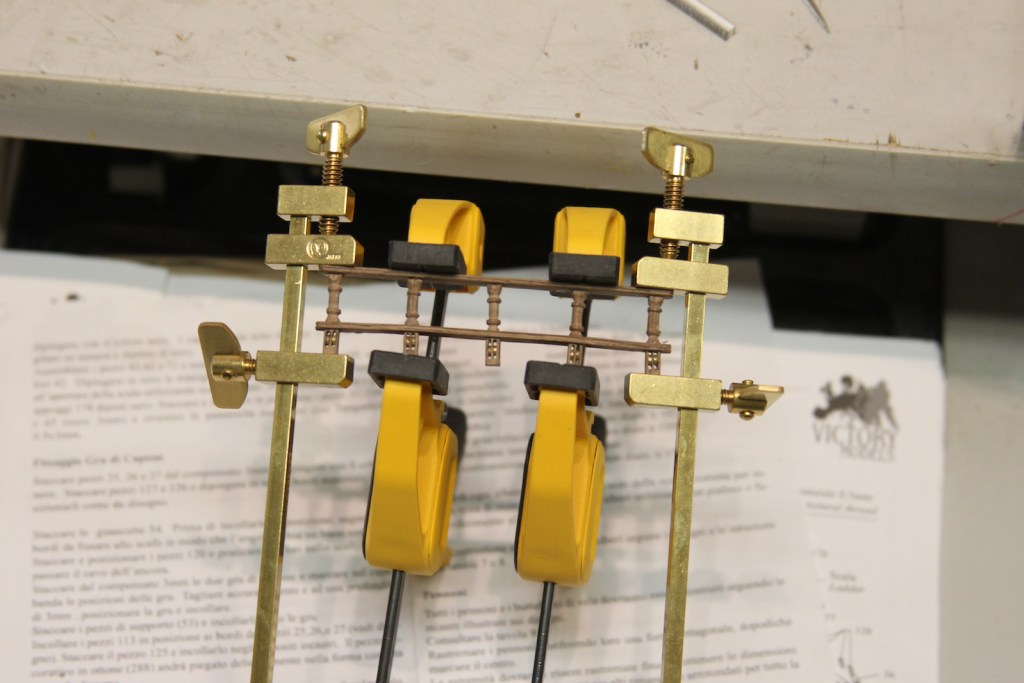
Gluing it all together was a trick. And yes – I noticed the middle stanchion was crooked upon taking the photo (ah, the joys of macro) and fixed it.
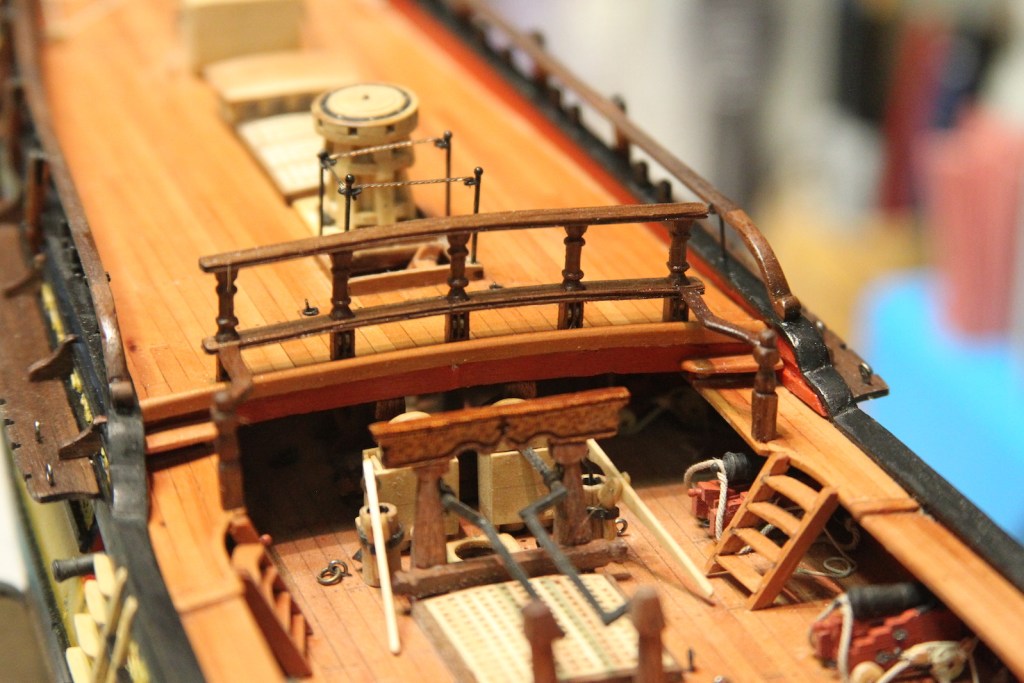
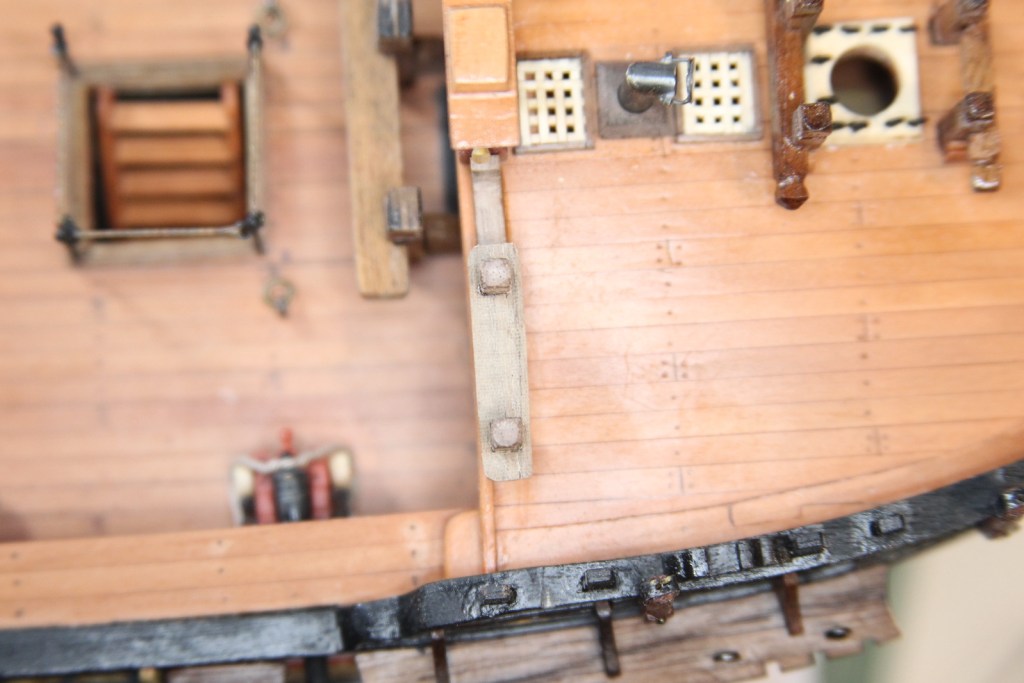
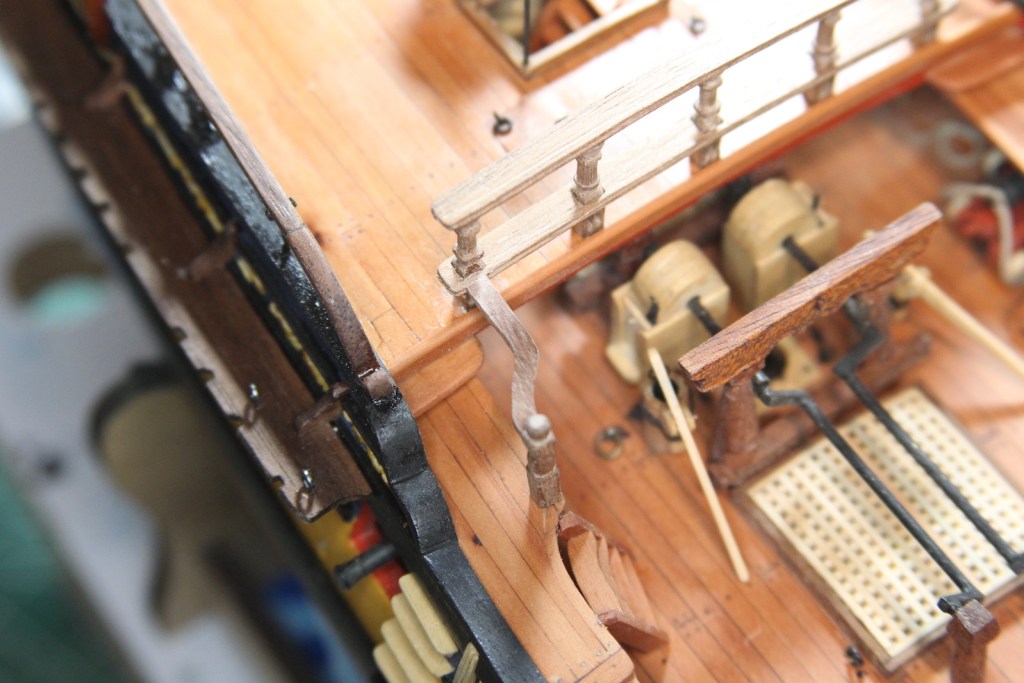
The railing is mounted on the deck and follows the shape of the deck. Good thing I had to fix that middle stanchion, because after the railing is placed on the deck, the bottom rail sits a fraction higher on the middle post. It was helpful to dampen the railings as I fit it to the deck – even so I was anxiously anticipating the whole thing to crack as I bent it. I also added a pin in the middle stanchion as I affixed it to the deck to hold the structure it in place while I clamped it down.


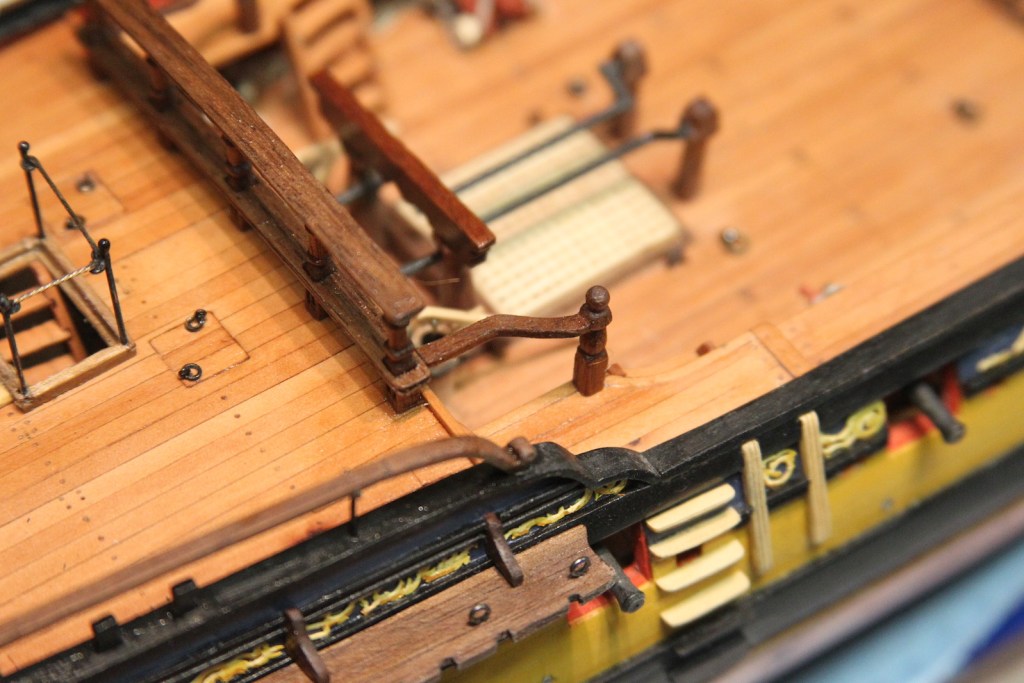
The railings are extended to the gangways with two more stanchions and extended railings with an “S” curve to them. The stanchions are turned on the lathe with a little round newel post top. The railings are cut from a single block of Walnut. I cut them out with the jigsaw together to ensure that they mirror one another, then after the shape is sanded I split them into two railings on the Byrnes saw.
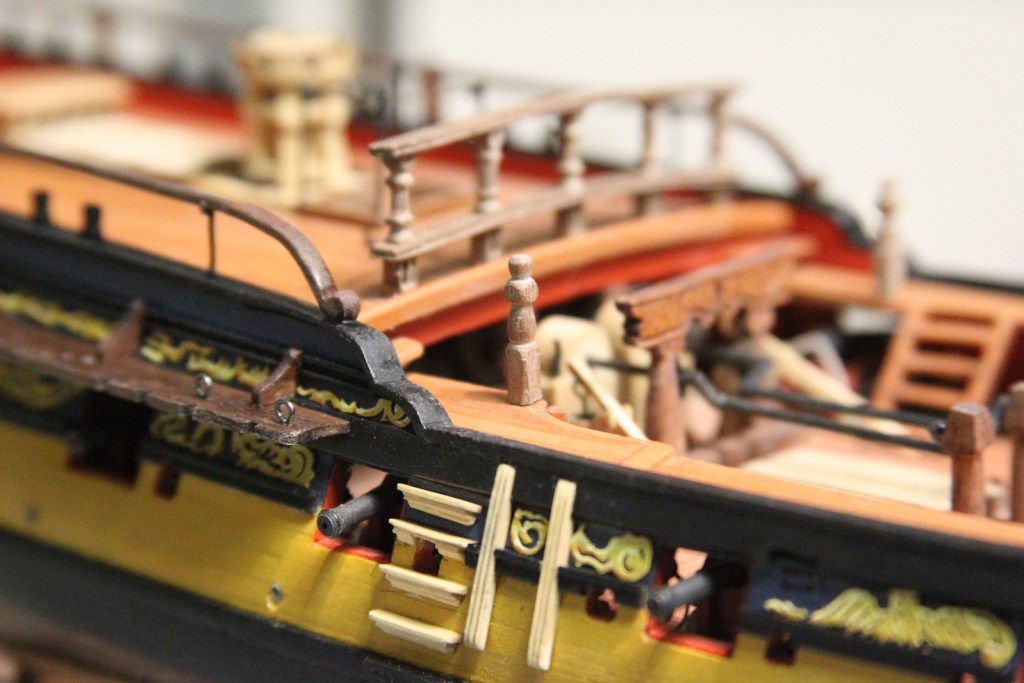

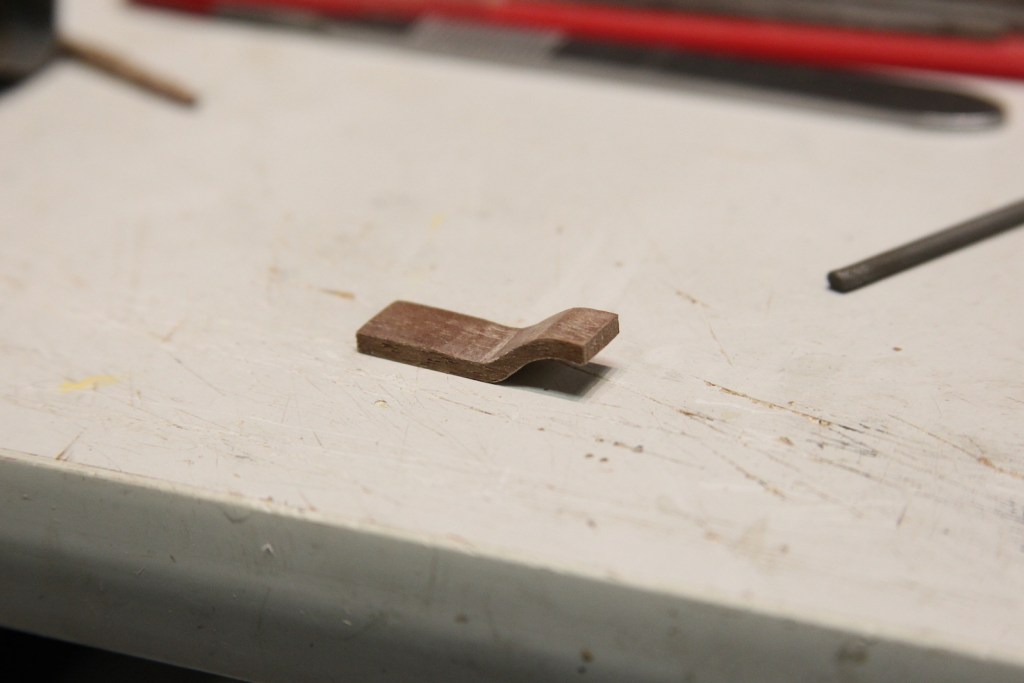
From there it’s the fit-sand-fit process until it’s snug. After everything is fitted and glued, the edges are all gently sanded and smoothed out and the whole thing is given the Tung oil treatment. Overall, I’m pretty stoked with how this turned out – especially at 1/64.