The Lifeboat

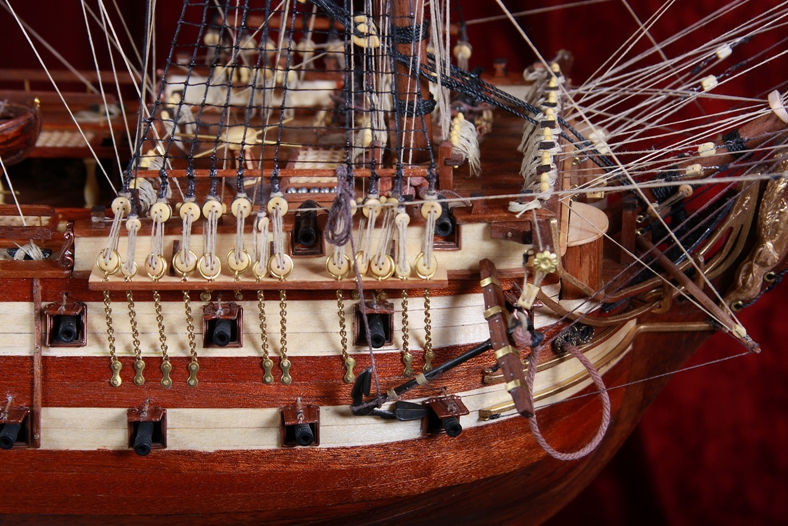
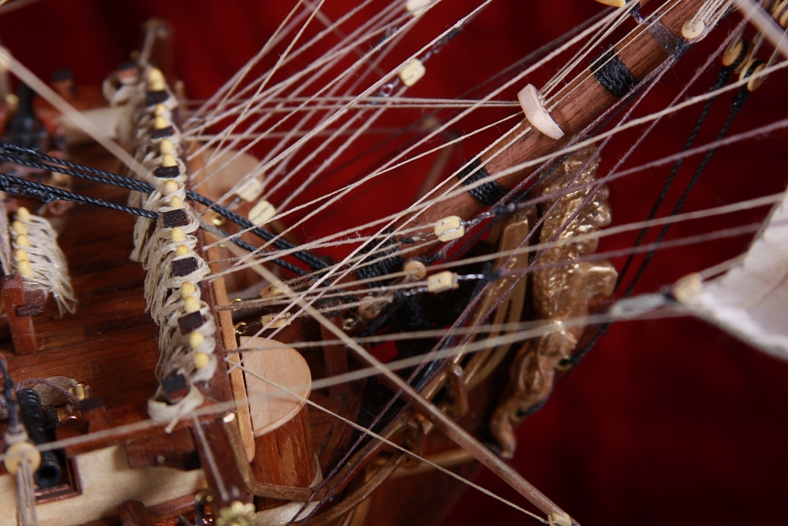
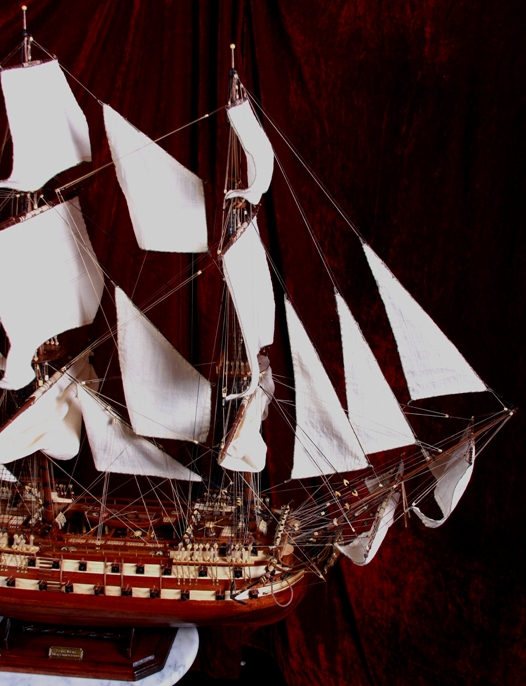
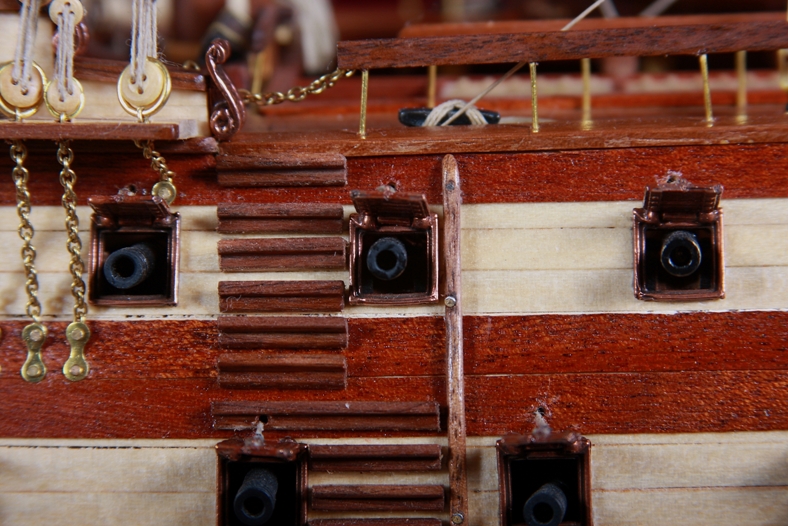
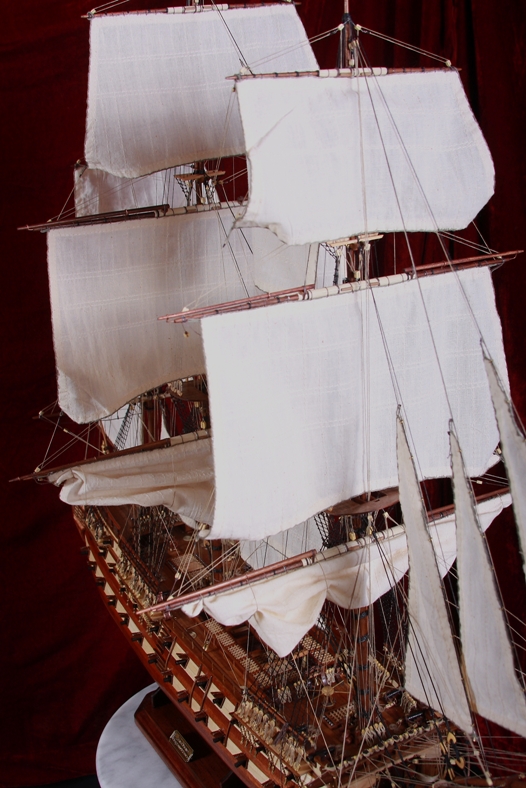
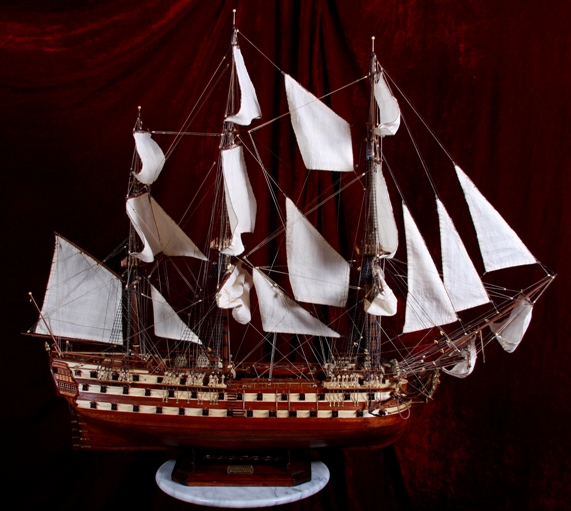
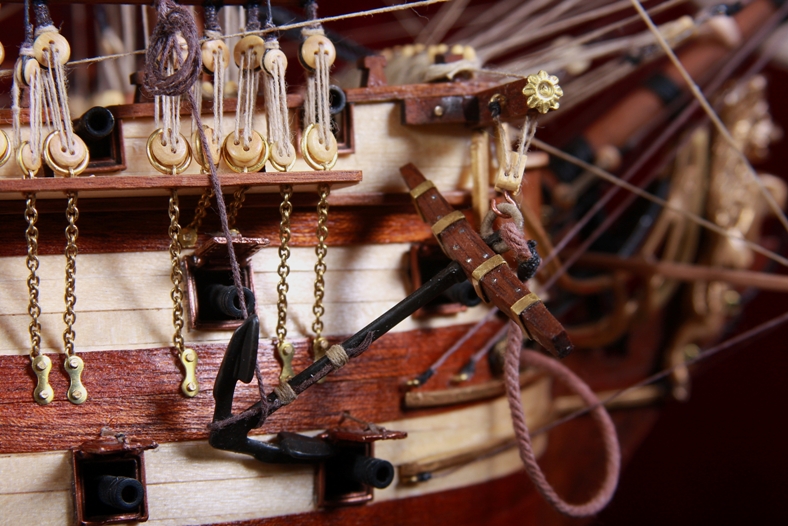
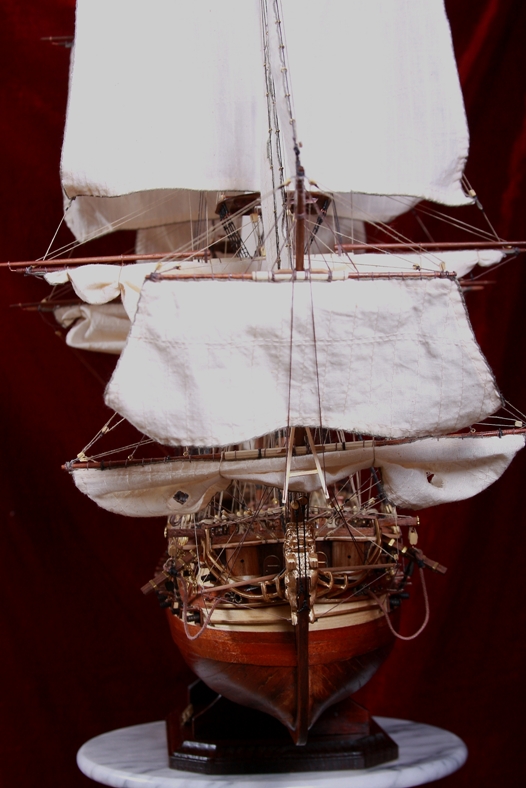
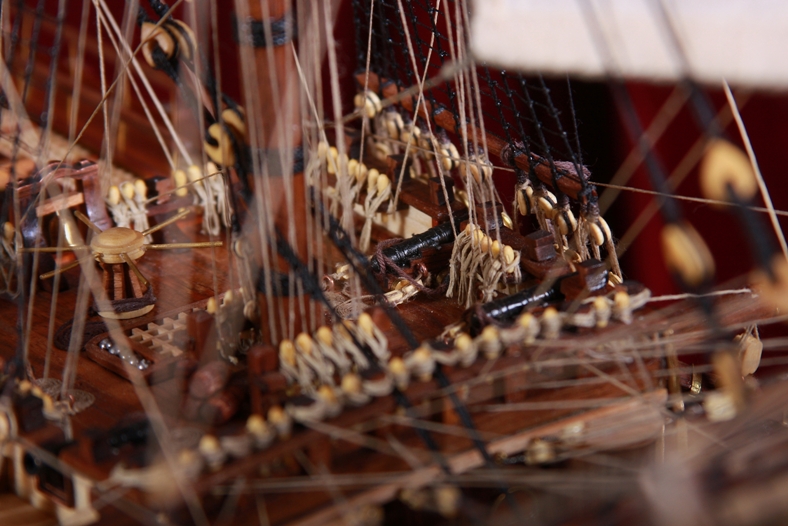
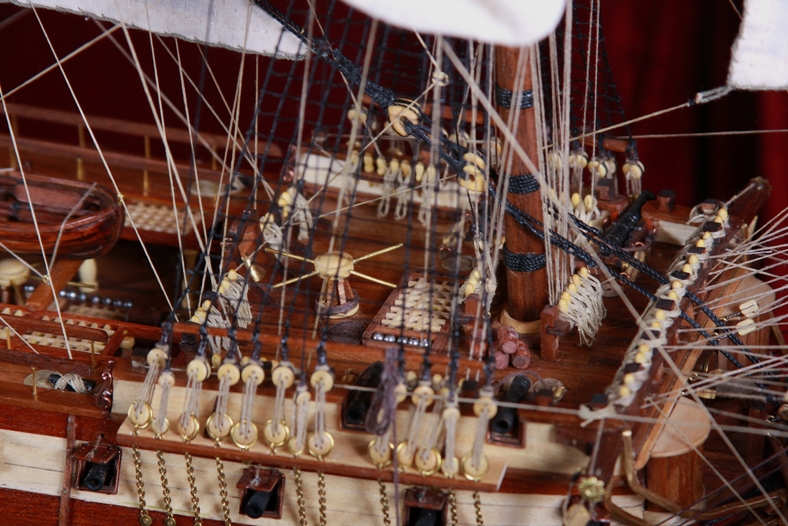
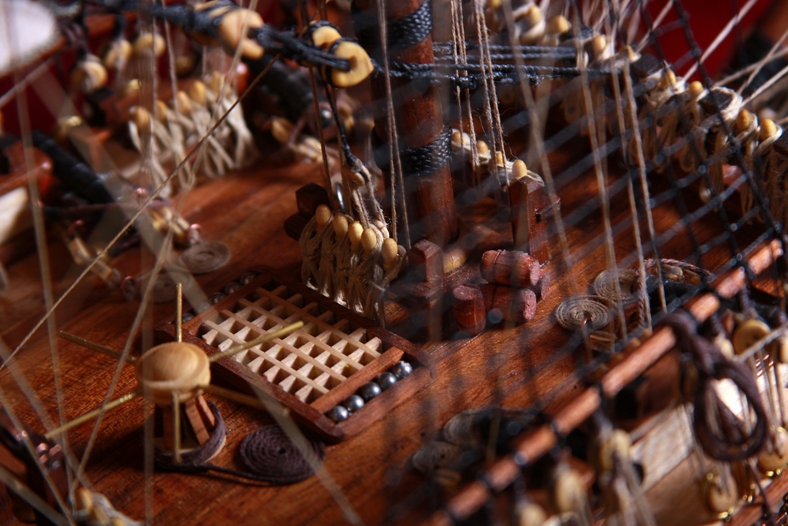
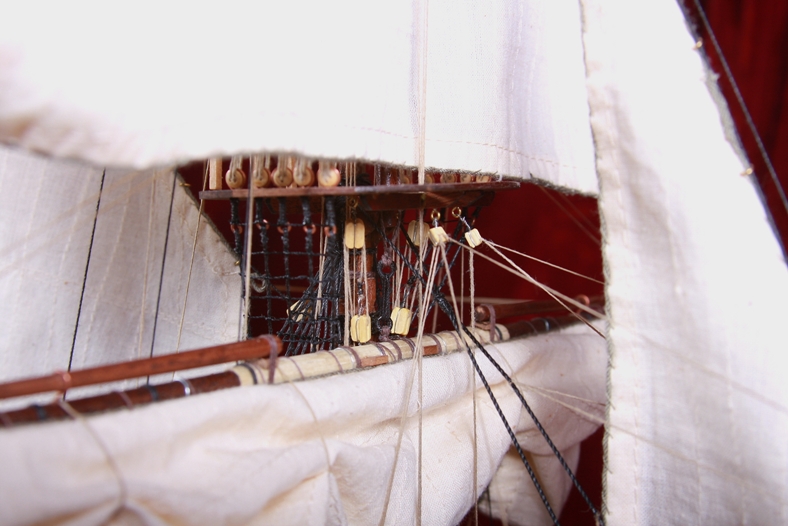
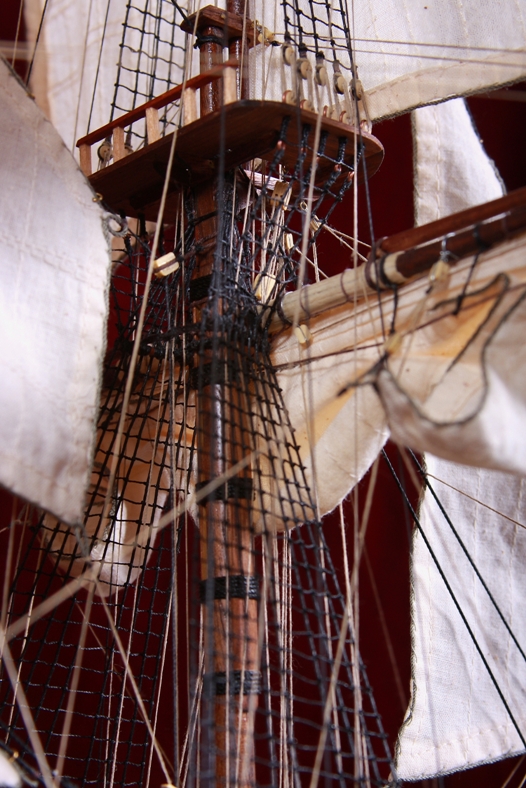
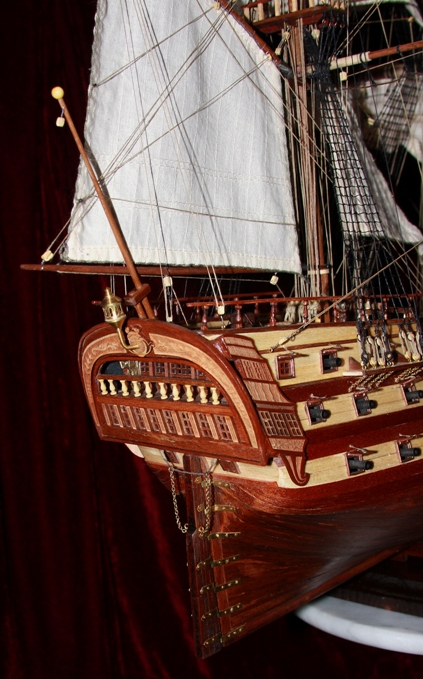
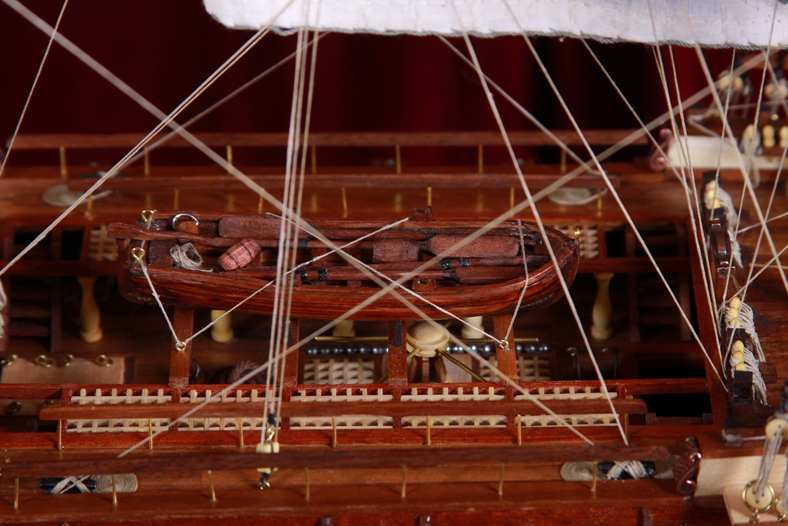
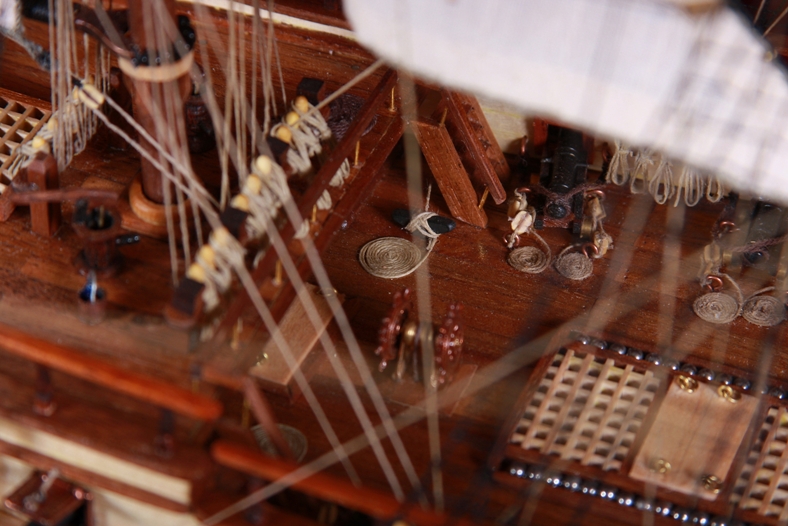
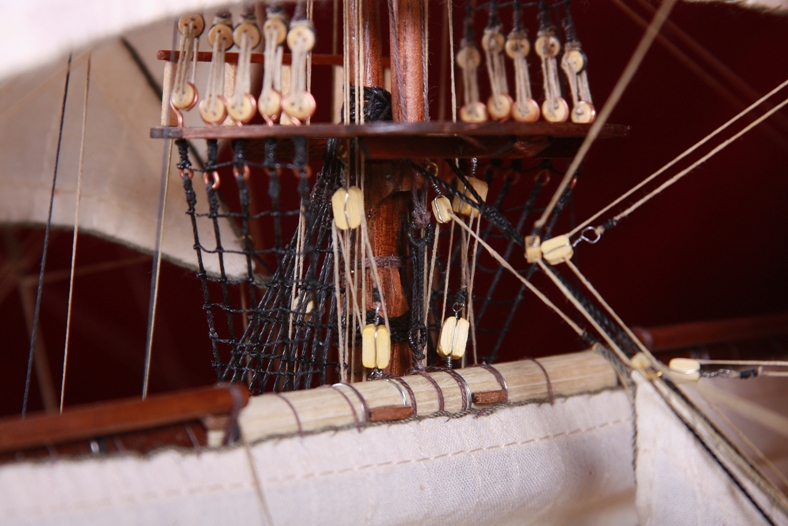
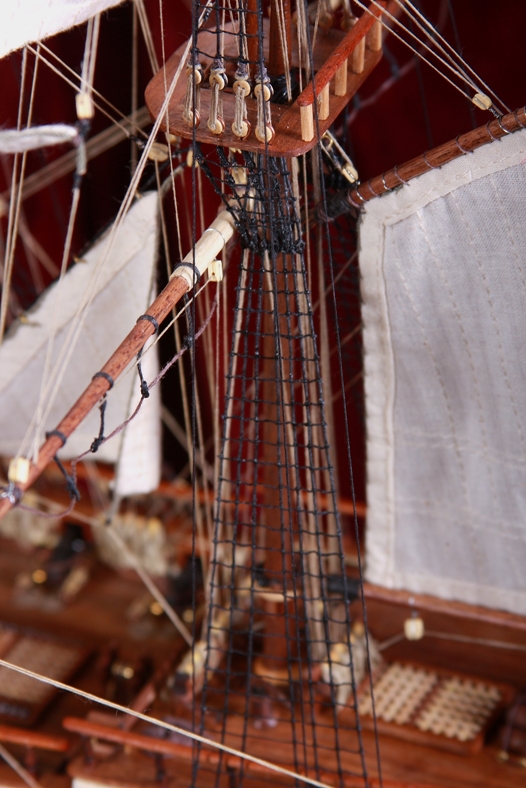
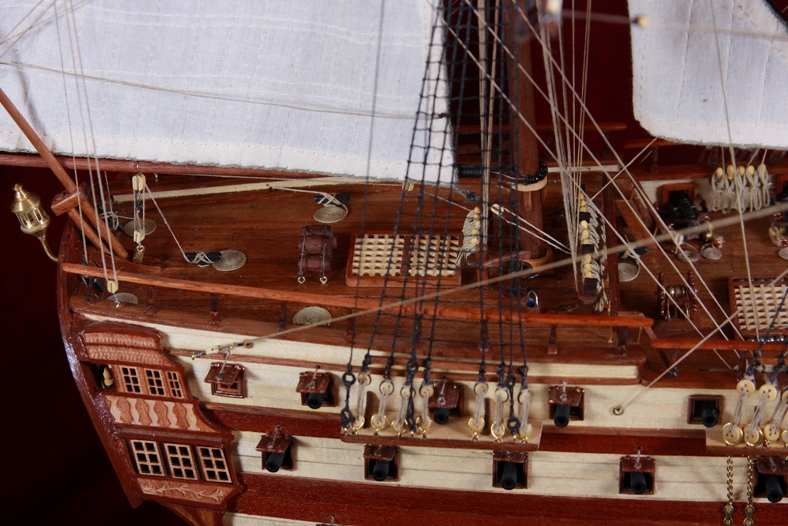
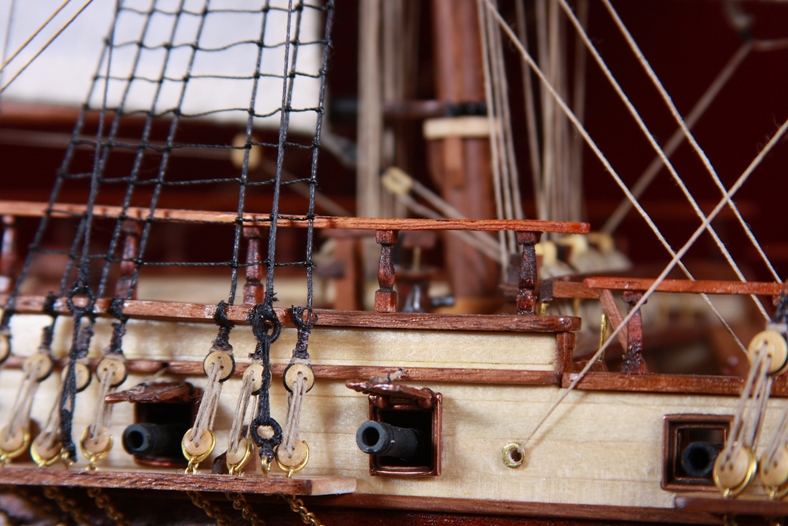
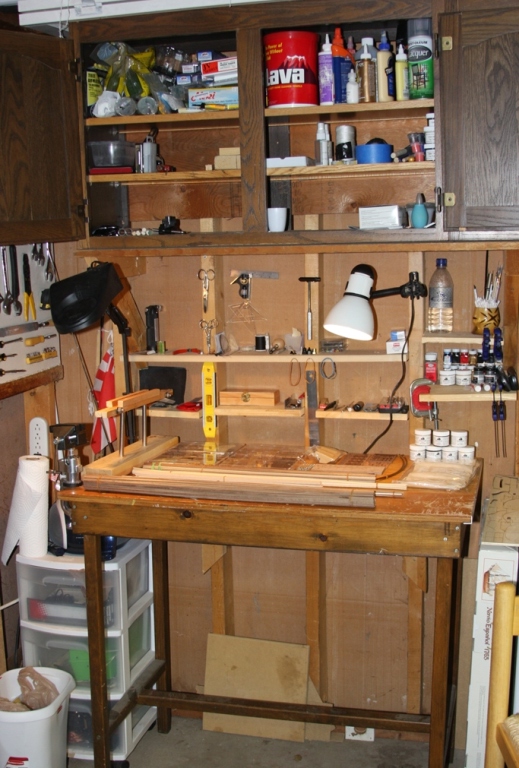
The deck fittings of a vessel can make or break a good model. Planking and building a vessel can be an arduous and tedious task.  I like to take a break with what I’m doing and work on the deck fixtures and details of the ship.

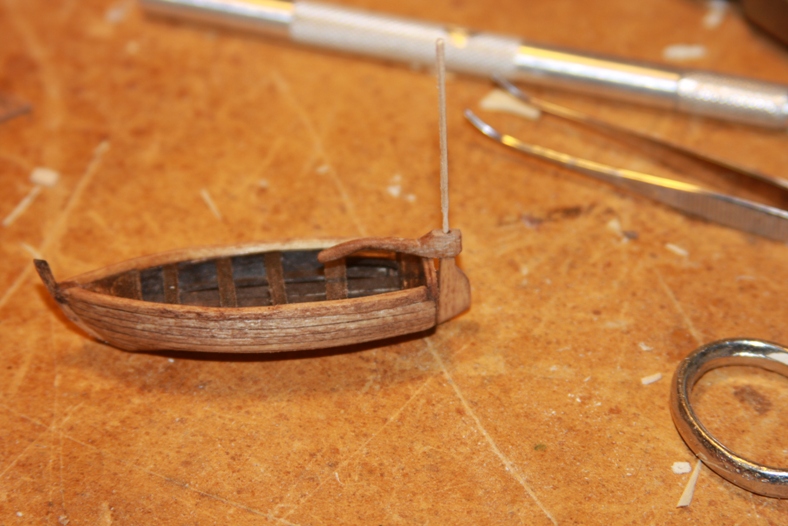
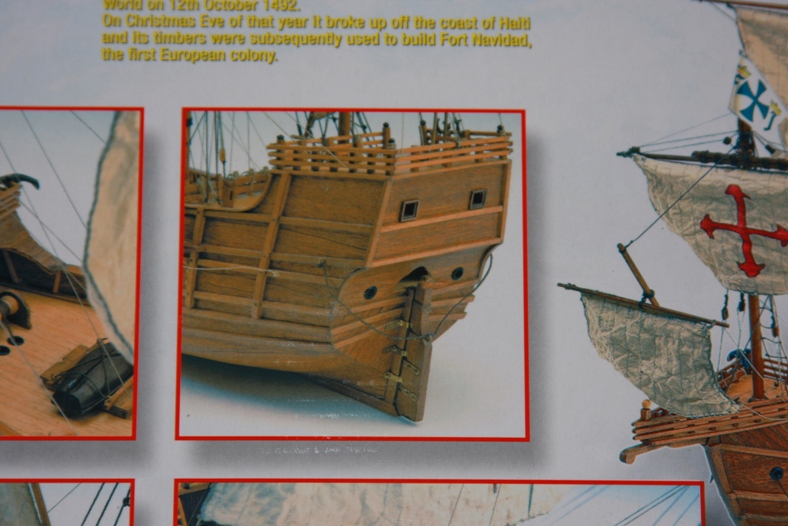
The life boats of a ship prior to 1600 were not only able to be rowed, but also often included a single mast to fit a sail. As documented in Colubus’ notes, this was the case with his vessel. In one area of Columbus’ notes, he writes about a time in which he brought one of his longboats onto the poop deck and adjusted the sails.

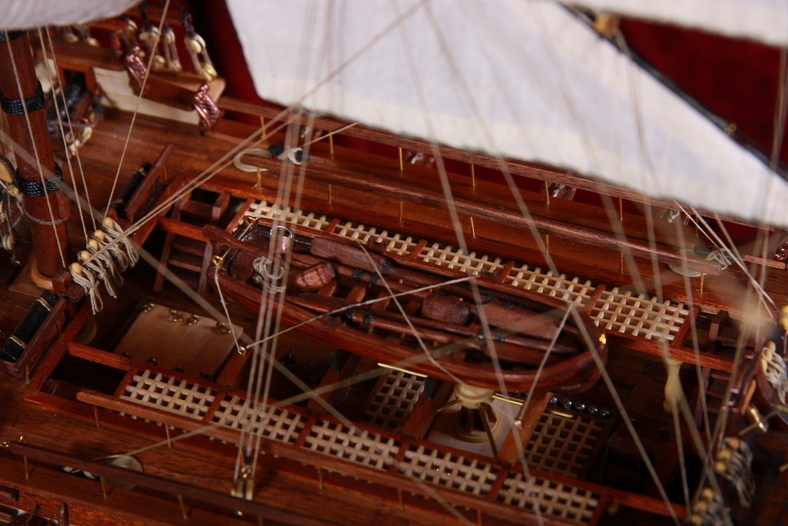
The “lifeboat” that came with this kit was a die cast pewter model that lacked any kind of detail.  So I set about creating a suitable craft to go aboard the ship. 

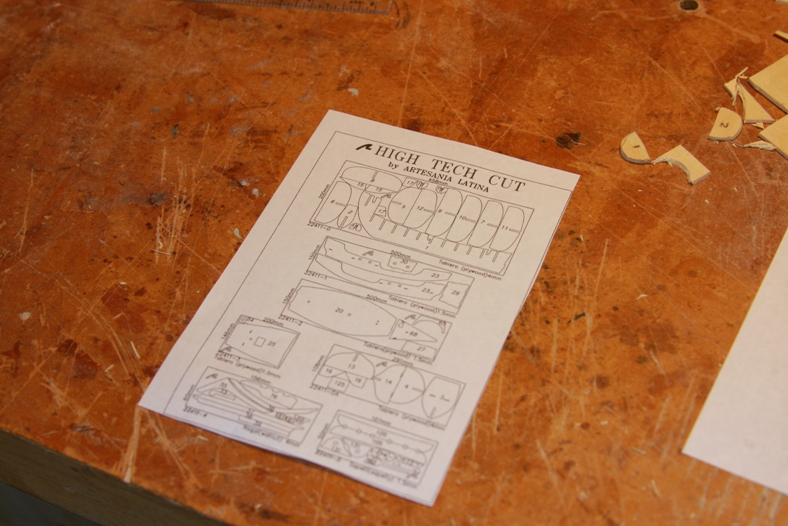
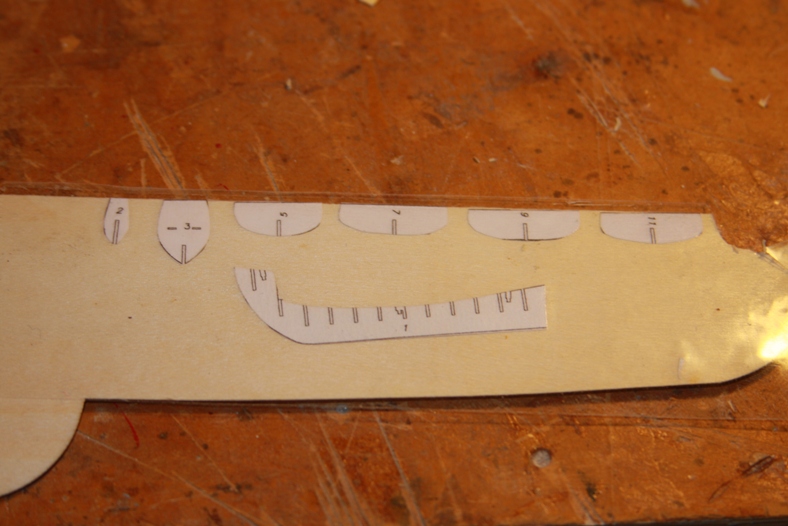
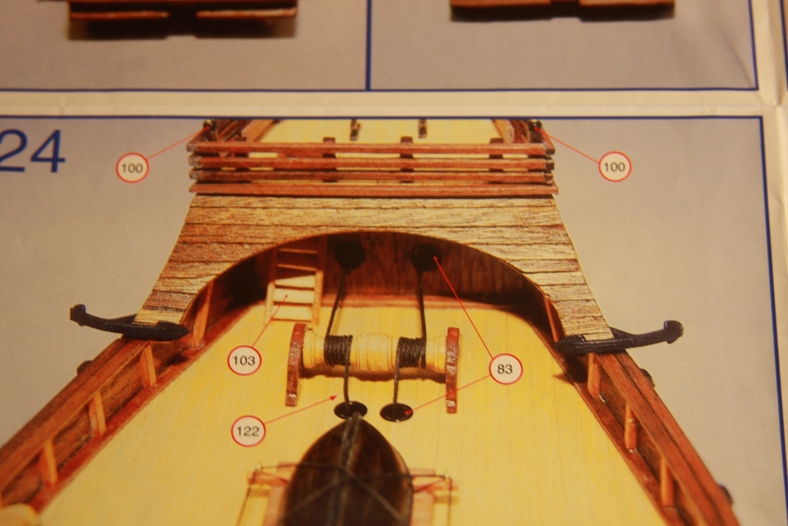
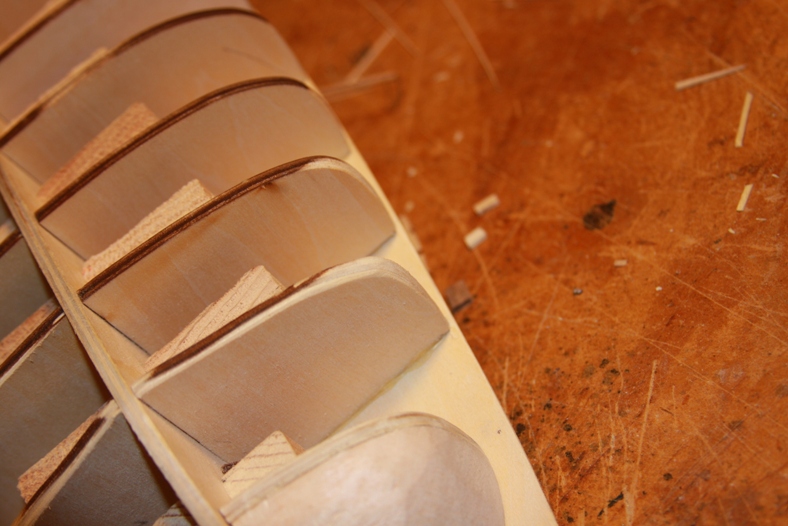
It occurred to me, that the lifeboats from the era were essentially the same shape as the overall vessel. I decided to take the diagram of the parts list that came with the kit and shrink it down on my copier.  I could then cut out those pieces and use them to manufacture my little craft.

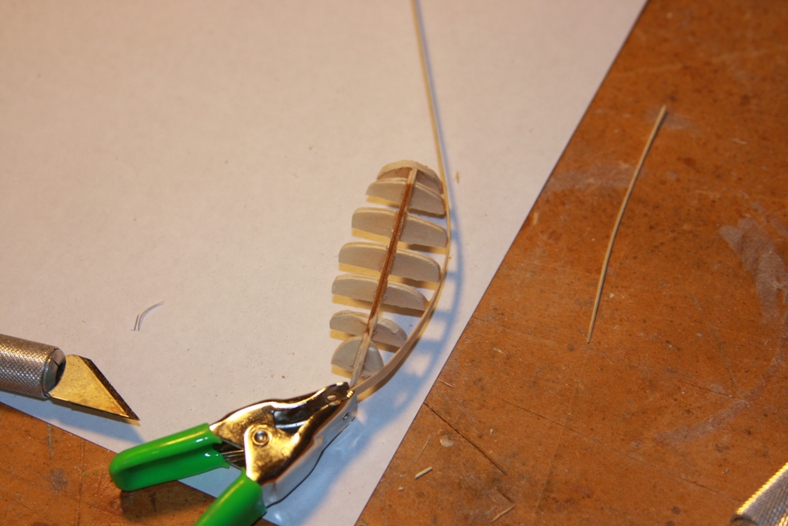
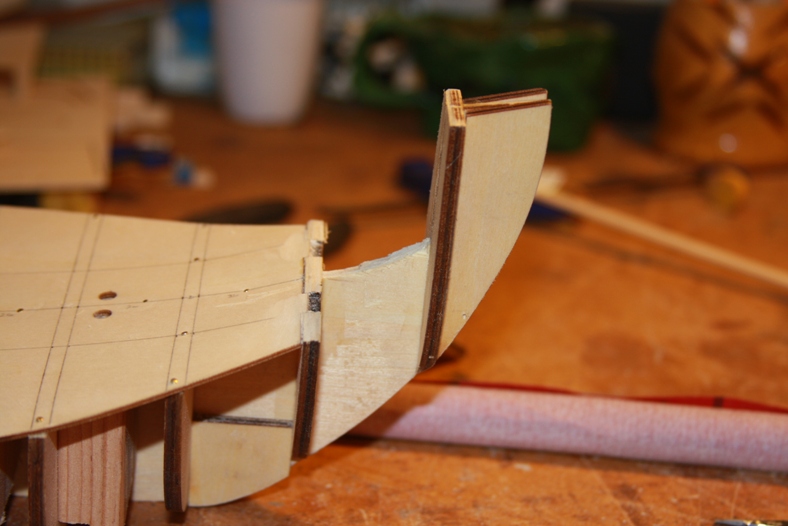
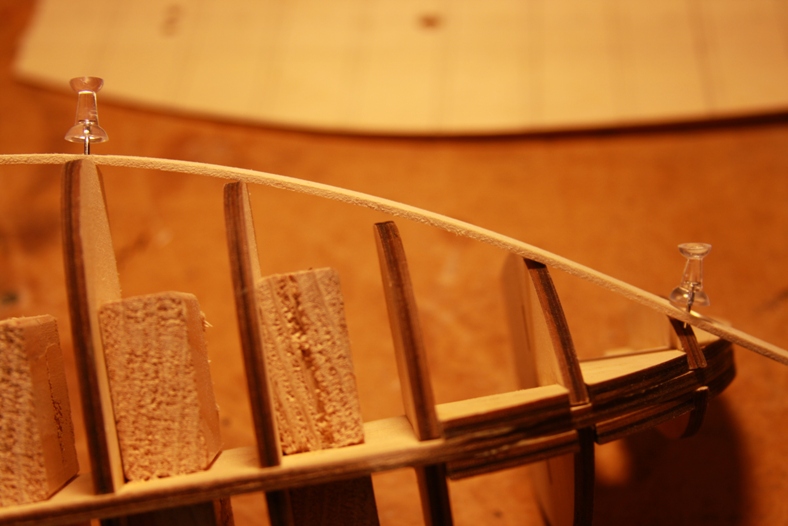
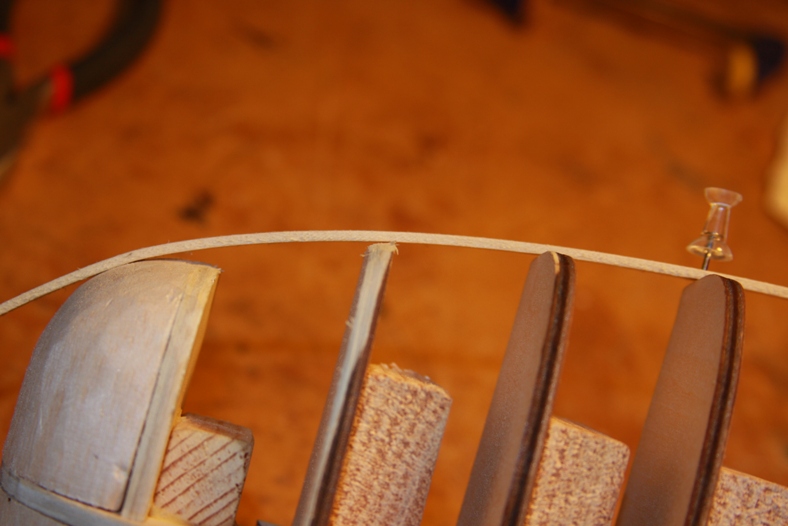
After cutting the pieces out and attaching the mini bulwarks to the keel I used thin spare wood to plank my tiny hull. I then took my dremel too with a rounded sander and shaved down the bulwarks and turn them into a proper frame.

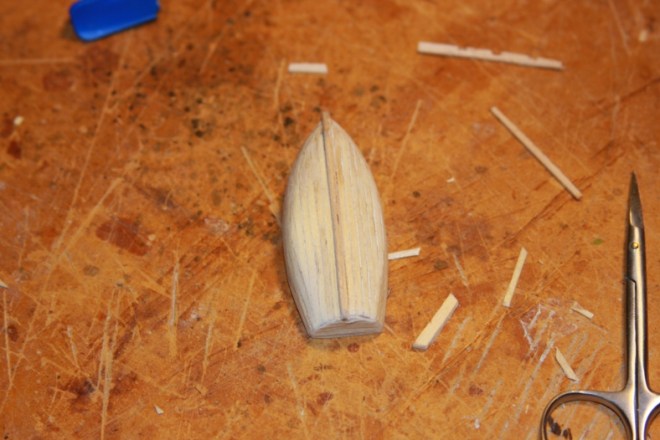
After the first layer of planking, I figured out that shaping the hull with a boat this tiny was extremely difficult.  I decided to double plank.  Although this is obviously twice as much work – it will give me an opportunity to even out the hull and make it look smoother.

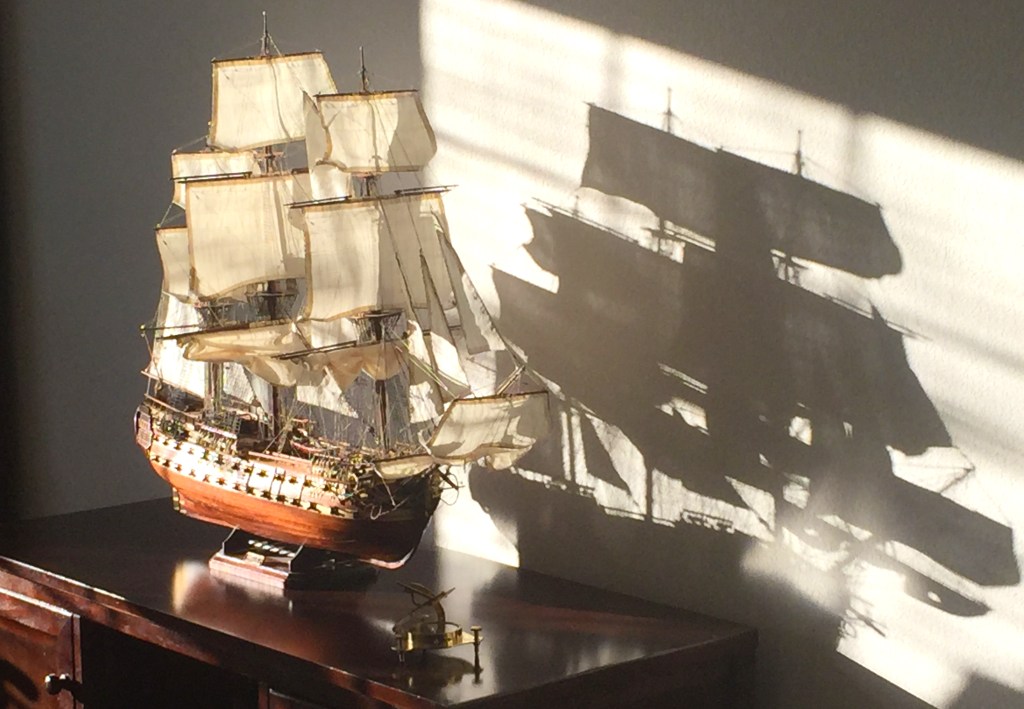
The other ships I have built have been very “clean” and often look as though then just came from the shipyard.  This is the first time I will have attempted to “weather” and ship and make it look “antique” and “worn”.  This lifeboat gave me an opportunity to try out couple things out.

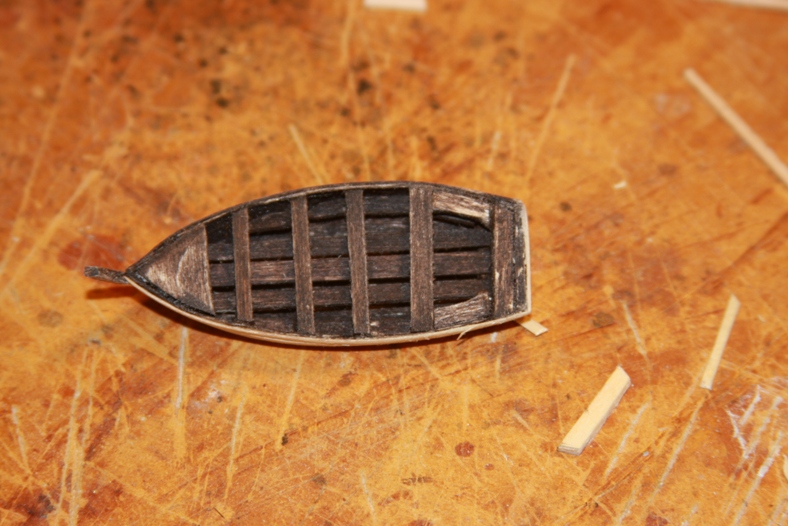
I gave the boat a base with a cherry stain, then covered it with a darker, almost ebony dark oak stain.  Then I sanded it lightly with 600 grain sandpaper.  I originally tried just the darker stain, but after sanding, too much of the light color wood came through.

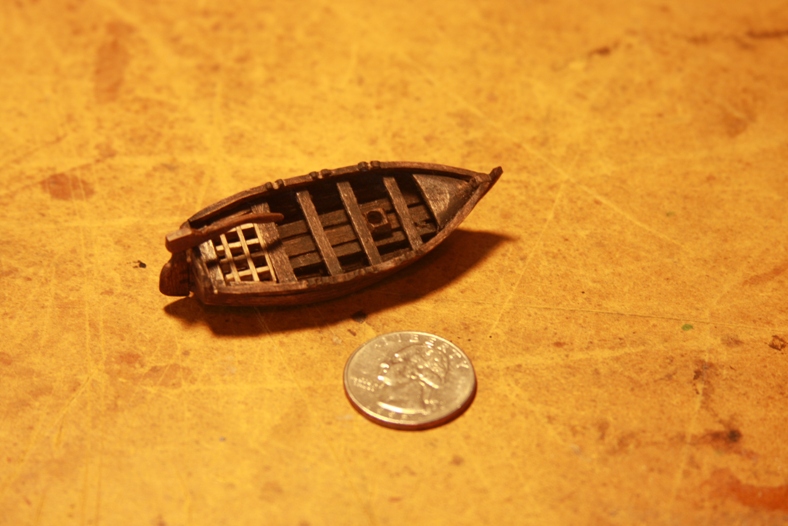
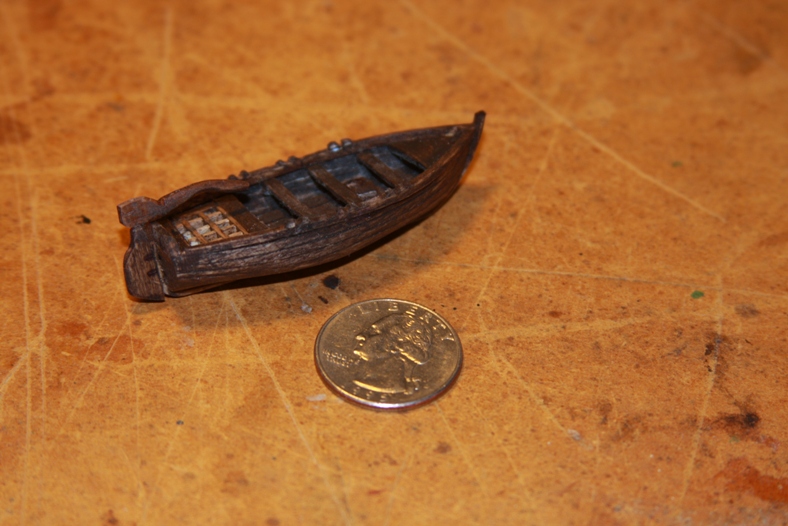
I will likely build one additional lifebat as a long boat to accompany this smaller skiff. As a frame of reference for time, this small vessel took approximately 20 hours start to finish.

Under the F'oc'sle

The F’oc’sle, or forecastle of the ship is the forward deck which most times housed the foremast.  The instructions for this particular kit show the windlass (the gear that raises and lowers the anchors) running ropes through to holes in a forward wall and down to the anchors.

In actuality, this “forward” wall didn’t actually exist. Instead, the windlass ran ropes to a head beam which then attached to the anchors.  If the ship were actually built the way the above picture illustrates, then the crew would not have had any access to the foremast!

My task was remove this extra bulkhead and make the ship more accurate.  I trimmed the forward bulkhead, then added to support blocks to accomodate where the foremast hole will be drilled.

I then measured and re-cut a false deck that included the previously missing area.

The next step will to begin planking both the hull and the decks.

Sanding and Shaping the Bulkheads

As mentioned previous, the bulkheads serve as the bones of the ship and will provide the base for the hull’s planking.  The bulkheads are cut square, and therefore do not provide a solid fitting for the planks. 

The bulkheads must then be sanded so that the planks have an even fitting along the bulkheads and provide a stronger, more seaworthy ship.

The ship will be “double planked”, which means a think layer of planking will provide the base of the hull.  A second layer of thinner, more decorative layer will then be added.

Aligning the Keel and Bulkheads

The keel and bulkeads are the “bones” of the ship and provided the base for the deck and hull planking. Therefore, making sure the keel is perfectly straight, and that the bulkeads are aligned properly is essential to the entire rest of the build. If the bulkheads ore misaligned, even by a tiny margin, the deck can end up crooked or “bumpy” and the hull planking can end up sloppy.

In Frank Mastini’s book Ship Modeling Simplified he describes a method of aligning the keel and bulkeads by using a false deck as a guide.  I adjusted this method and used it as the basis for steps I took to align the deck, keel, and bulkheads.

First, I measured the exact distance between all of the bulkhead “slots” in the keel.

I then took those distances (in millimeters) and translated them to the false deck. I drew guidelines along the false deck indicating where these bulkheads will fall if properly aligned. This provides a template to nail down the false deck to the bulkheads without “missing”.

I tacked down the false deck along the centerline first, then aligned the end of each bulkhead to make sure it was exactly where it belonged, and nailed them down as well.

I pre-cut small blocks of wood to butt up against the bulkheads and the keel and to brace the ship and provide extra support for the hull.

Once the glue dries, the keel should be perfectly straight with each bulkhead perpendicular to the centerline. I’ll then take the false deck off, do some sanding, then replace it permanenly.

Rounding the Tuck of the Stern

This particular kit shows the Santa Maria as having a “square tuck stern” …

…where the hull ends in what is essentially a 90 degree angle and is flat at it’s rear where the rudder is.   However, according to most Spanish ship history documentation, this style of stern didn’t hit the seas until the transition to the “Galleon” style vessel in the early 1500’s. That would have been 10 to 20 years after Columbus’ voyage.


Ships prior to the turn of the 16th century were built with a rounded tuck stern as seen in this image. Instead of ending abruptly, the hull sweeps up toward the galley, the keel, and the rudder. It is more likely that the Santa Mariawould have been built with this style of stern. Therefore, my first step toward this build will be to modify convert the stern from a square tuck to a round tuck.

The keel runs through the center of the ship and serves as what is essentially the main beam through the vessel.  The “bulkeads” stem out from the keel and provide the framing for the ship.  Later, the planking will be attached to these bulkeads and will form the hull of the ship. Step one is to shave off the 90 degree angle of the keel itself.

Then, the aft bulkheads need to be shaved down to accomodate the curve that occurs rather than the abrupt change of the square tuck.  In this case I had to shave approximately 4 mm from each side of the aft bulkhead.

Later, when the hull is planked, each piece of the hull will need to be steamed and bent to complete the “sweep” toward the keel. To help ease that process, I filled in the stern with balsa wood.

Then I began shaving down the balsa to the desired angle and curve needed to round out the stern. After getting the starboard side the way I wanted it, I created a paper template that I could attach so I could mirror the port side as closely as possible.

The next set of  steps will be to align the keel and make sure all the bulkheads are square. 

The Santa Maria

The Santa Maria

Most people know that the ship “Santa Maria” or La Santa María de la Inmaculada Concepción was the flagship of Christopher Columbus’ journey to the Americas.  However, people may not realize that there is very little historical evidence regarding exactly what the “Santa Maria” looked like, or how it was built. There was little to no documentation regarding ship building in 1492, and this ship was scuttled and its lumber used for shelter not long after its initial voyage.

Interest in reconstructing the Santa María started in the 1890s for the 400th anniversary of Columbus’s voyage. In an effort to reproduce history, the “Santa Maria” has suffered three major Spanish versions, the first timed with the 400th centennial anniversary of Columbus landing in the New World, the second, for the Expo Iboamerica of 1929 and the last, the New York World Fair, 1964

In 1892 the naval historian, Fernandez Duro, modelled the ship as a Nao – A carrack or nau was a three- or four-masted sailing ship developed in 15th century Western Europe for use in the Atlantic Ocean. It had a high rounded stern with large aftcastle, forecastle and bowsprit at the stem. It was first used by the Portuguese (its creators), and later by the Spanish, to explore and map the world. It was usually square-rigged on the foremast and mainmast and lateen-rigged on the mizzenmast. Unfortunately, Fernandez Duro made a fundamental error as result of an erroneous reading of Columbus’s log. It was also criticised as being too ornamented for the period.

The second attempt to recreate the ship was by Julio Guillen Tato, known as the Guillen version. This reproduction for the Expo was controversially designed as a Caravel – a small, highly maneuverable ship developed in the 15th century by the Portuguese to explore along the West African coast and into the Atlantic Ocean. Caravels were much used by the Portuguese for the oceanic exploration voyages during the 15th and 16th centuries. Tato’s reproduction sailed badly and ended up a wreck.

Director of the Maritime Museum of Barcelona, Spain, Martinez-Hidalgo returned the “Santa Maria” into her rightful class, as a Nao. He further refined his ideas for the 500th centennial celebration in 1992. The model I am building is from a kit by the company Atesania Latina, and will be based on this 1992 version which is considered by most ship historians to be the most accurate.

San Juan Nepomuceno

San Juan Nepomuceno was a Spanish ship of the line launched in 1765. Captured by the British Royal Navy during the Battle of Trafalgar, the ship was renamed first HMS Berwick, then HMS San Juan. The ship was discarded in 1816. This version of the ship represents the 1795, fully loaded version with all 74 guns.

This was my first wooden ship-building experience, and while there are some modifications and additions, it is pretty much constructed following the plans.