
After aging the hull and piecing the keel together, I felt it was time to finally mount the rudder.
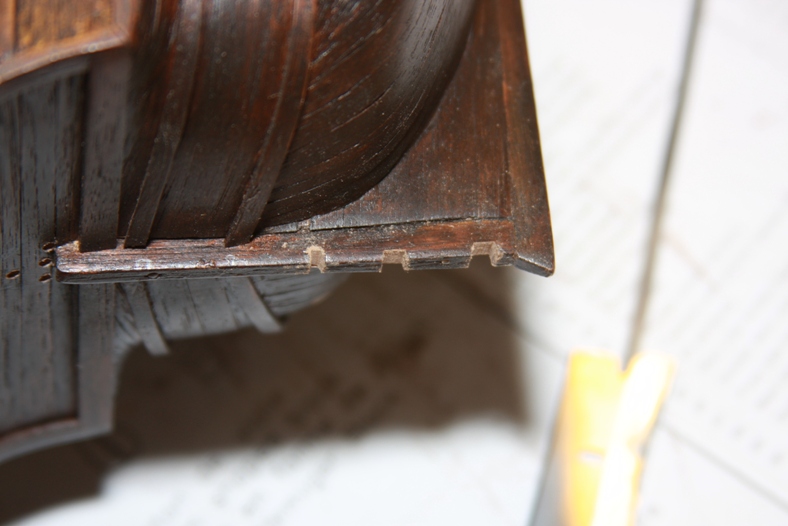
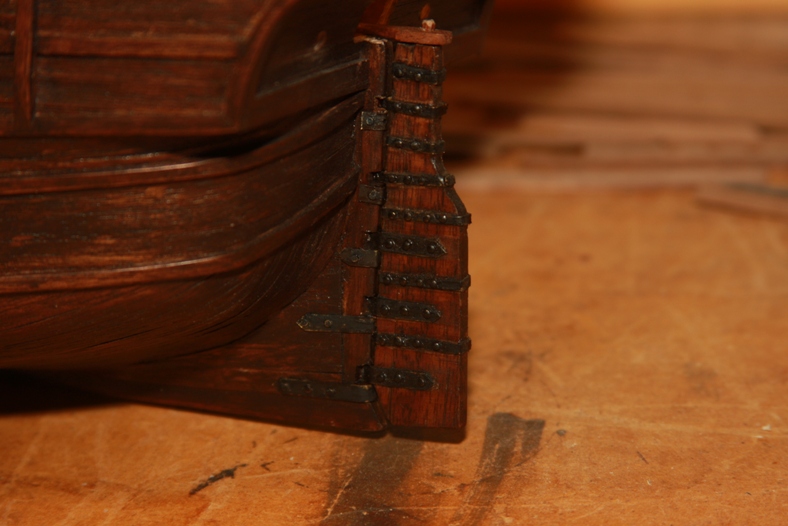
The first step was to prep the stern and the keel. First I measured where the brackets would line up and notched out those areas. Notice I also marked off where I would need to carve out a few areas.
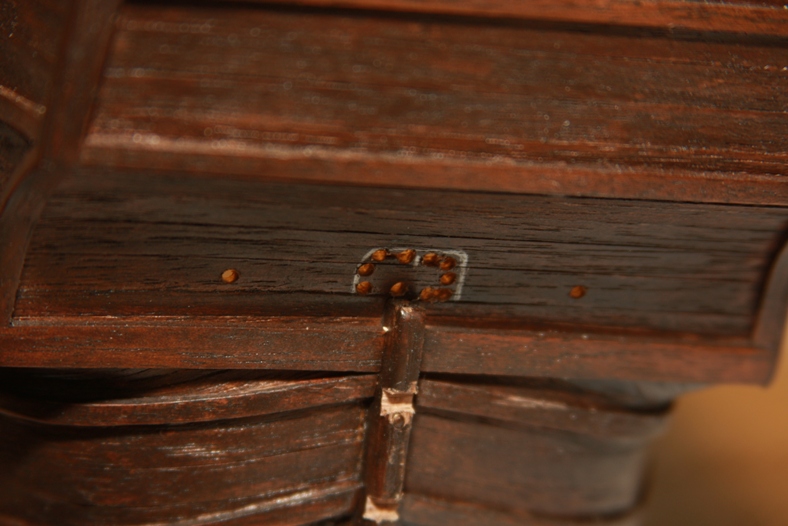
A uniquely shaped hole in just above the rudder holds the steering handle, or “tiller”. Unlike later ships where a helmsman used a wheel attached to the rudder with ropes and pulleys, very early vessels had a more direct way of steering the ship – a very large tiller.
At any rate, I first drilled out the outline of the tiller hole or “helm port”, then delicately carved and sanded out the proper shape. The two holes to either side were used to tie off the rudder to the tiller and limit its movement.
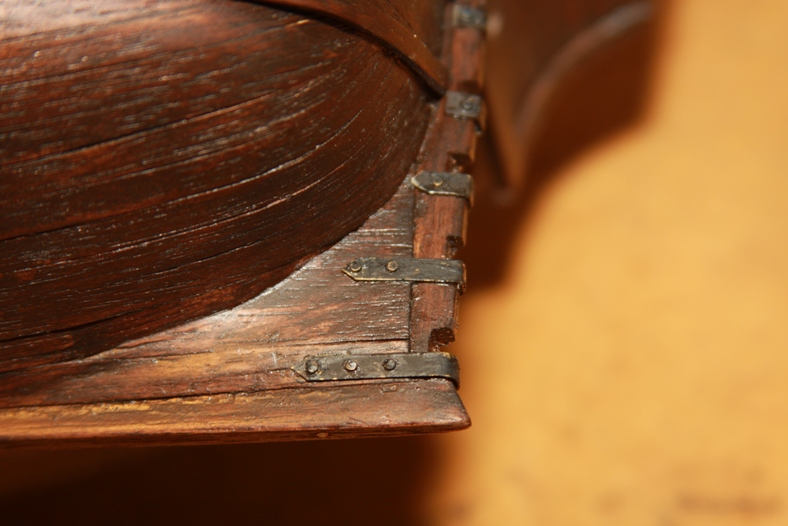

I then molded and cut small strips of brass where the “gudgeons” and “pintles” would match up. Essentially these are the hinges that allow the rudder to move freely back and forth. After they were mounted I aged them and used black touch up paint to fill in any gaps while letting a small amount of brass show through.
I flirted with the idea of actually hinging the rudder to the rear of the keel and actually allow movement. It didn’t take long to figure out that was a very difficult proposition so I relented to mounted the rudder stationary. I used pins inside the pintles to mount them to the keel and keep them aligned.
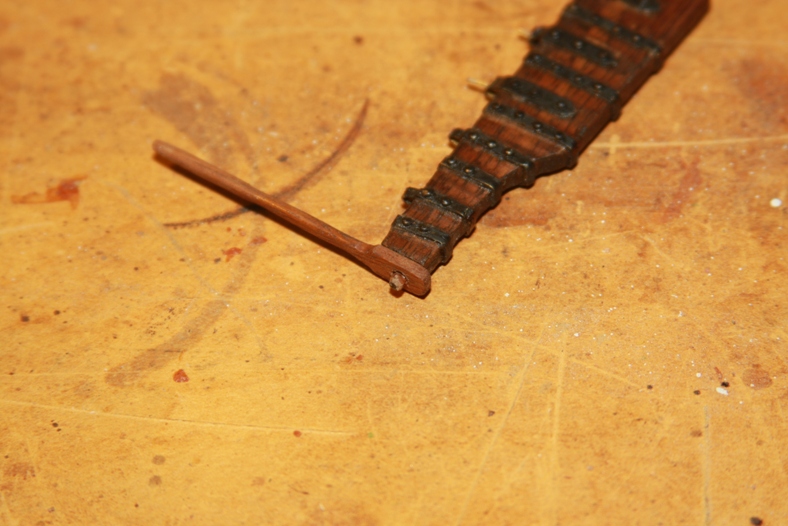
Finally, I carved and mounted the tiller itself then attached the entire rudder to the keel at the stern.
