
After mounting the foredeck, and getting pretty much all I could out of the main deck and working the hull, I decided it was time to finally mount the second deck. I sanded around the edges to get it to fit as smoothly as possible along the bulwarks of the ship. There’s a small gap between the deck and the bulwarks, but that will be covered with a very thin strip mounted where the deck meets the rest of the ship.

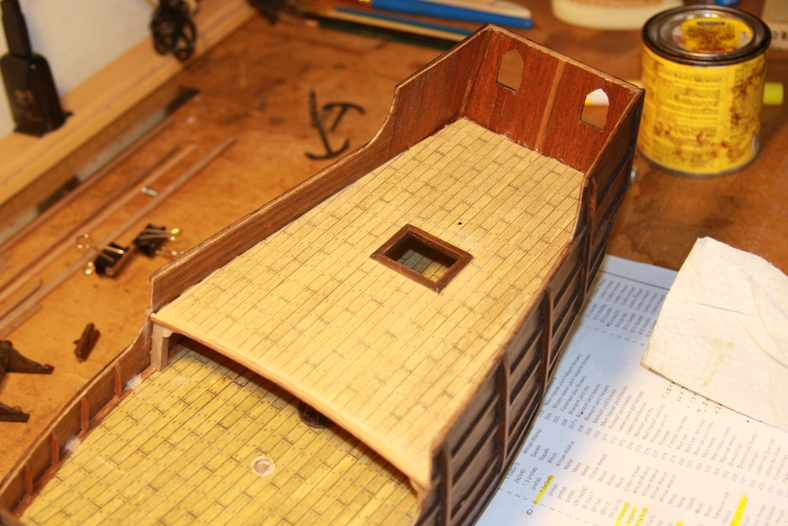
As you can see, it took a little bit of creativity to hold the deck in place while the glue dries. It’s pretty common practice for me to use whatever is available to lodge, lean, mount, or clamp parts together while they dry in place.
I also carved and sanded my own version of deck mounts to the port and starboard sides of the ship, once again based on the illustrations from my reference materials.

Another major distinguishing difference between this kit and many of the reference materials for the Santa Maria is the existence of a “head beam” at the bow of the ship. According to the famous “Mataro Model” studied at the Rotterdam Maritime Museum, a beam at the bow was in Spanish vessels of the time to help hold the anchor(s). The Mataro model is the only actual model in existence that closely represents Spanish vessels of the 12th and 13th century timeframe. Many of Xavier Pastor’s references in the book to which I refer are taken from the Mataro model as well.

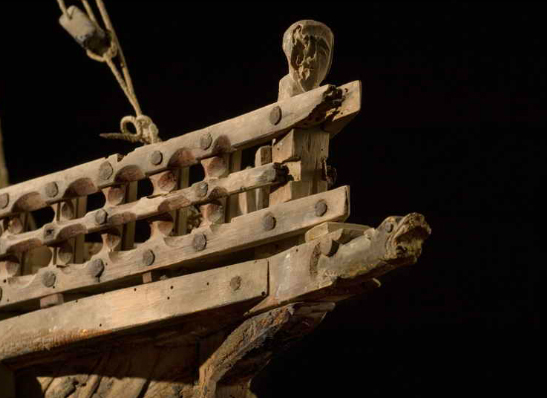
For these reasons I decided to also include the head beam on my ship. It definitely creates a tight spacing issue at the bow of the ship, but I think increases the accuracy of the model by quite a bit!


I took a 5mm X 5mm piece of walnut and soaked it overnight. Then I steamed and heated it to get a mild bend. It took a lot of patience and slow manipulations. I then drilled then sanded the square holes in the bow to accomodate the beam. I had to sand the holes at the same angle that the beam would sit, which essentially meant mitering the edges instead of just cutting them straight out.


The hard work paid off with the beam in place and sitting snuggly. It took several gentle taps with the small hammer to get it in place without damaging the hull around it. I actually didn’t even glue it in place because it fit so tightly.
