
You may remember, my initial desire to build the ship was instigated by my teenage daughters’ lack of knowledge of the Santa Maria – which I found quite disconcerting. That’s why, as I laid out in the previous post – a big part of my vision for this project was being able to see inside the captain’s cabin and to have some items within that cabin that illustrate the time of the voyage of Columbus.
Granted, there is quite a bit of editorializing and guessing when it comes to the items that I’ve started to build here. That’s mostly because there is so little documentation regarding that voyage, and Columbus’ own notes with regard to basic amenities are sparse at best. However, I did base the look of the cabin on actual items from the same time frame, and with a Spanish and sometimes Italian slant.
First, I had to finish constructing the cabin itself:
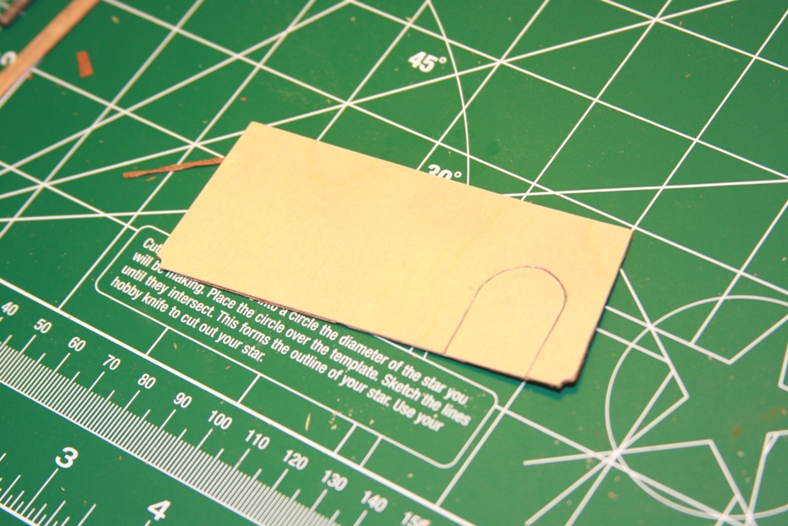
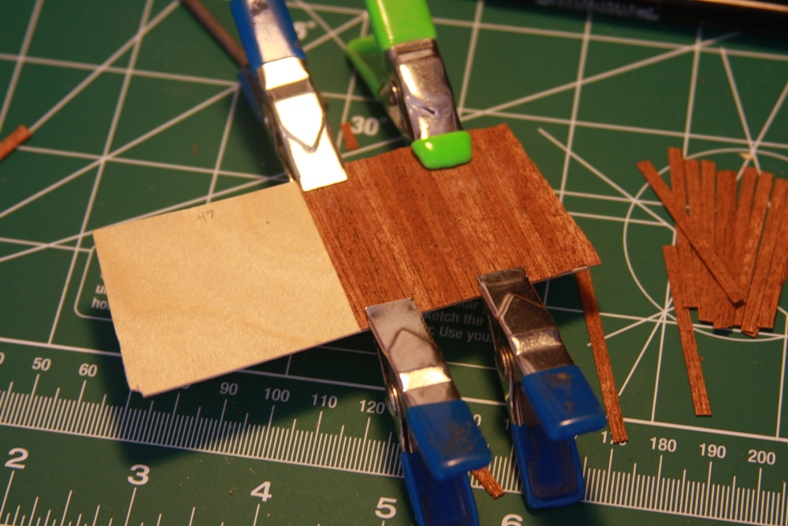

I started by cutting a sized template of two-layer thin plywood. I planked the inside with the same mahogany strips I used for the rest of the cabin. The outside of the cabin is stripped with the walnut planks used on the rest of the hull – which is important because I plan on using the same stain pattern and color.
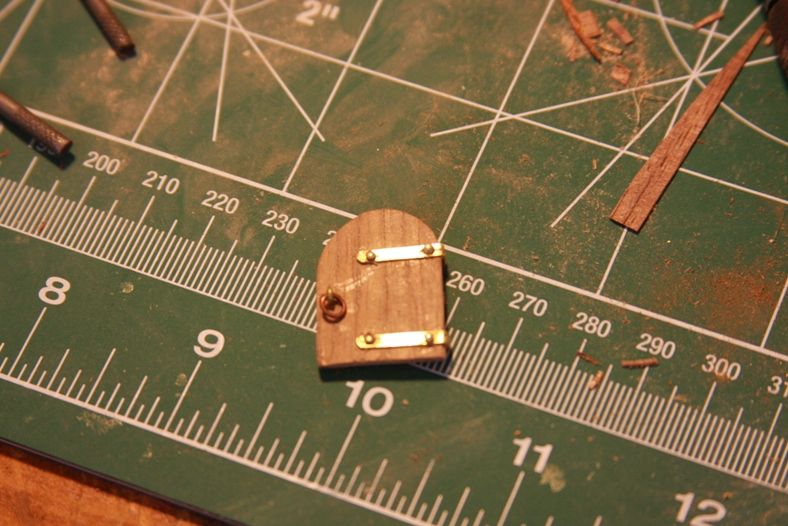
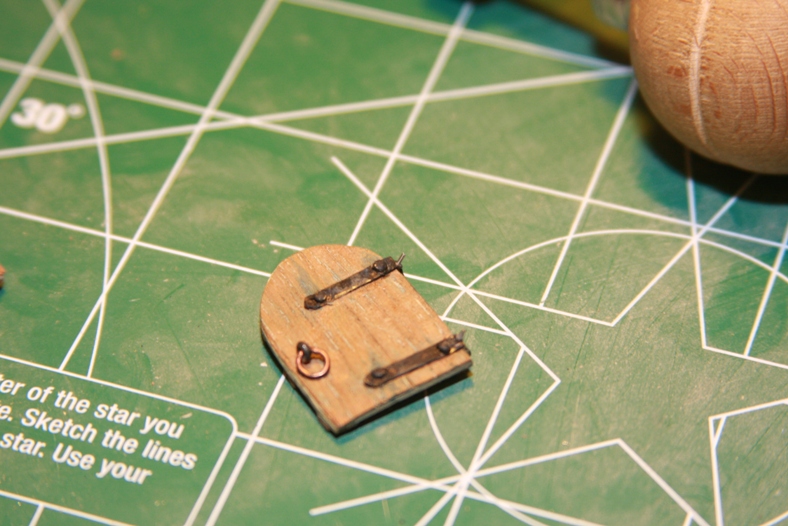

The door itself it cut, then fitted with brass hinges pinned down with brass pins. The pins have been cut to less than a millimeter, but the head is still showing. Then hinges and door are then aged with blackening patina. Also notice that there is crowning all around the inside and outside of the cabin wall.
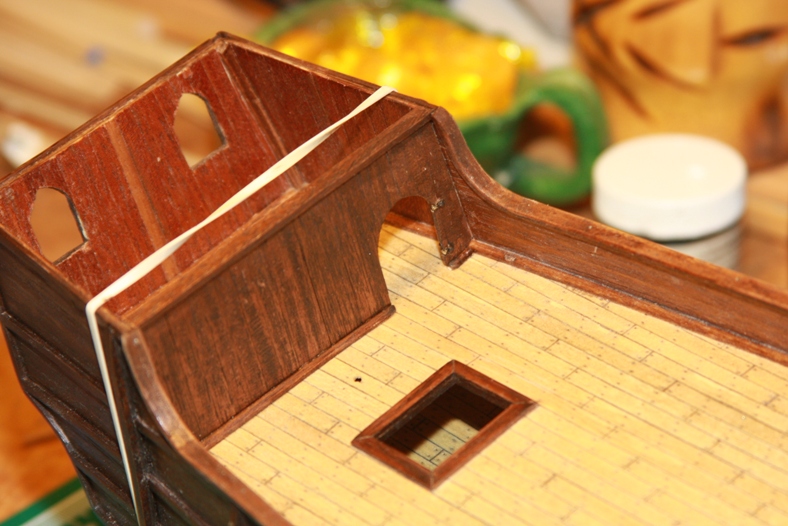

Finally, the door and hinges are fitted to the wall. The hinges on the wall and doorframe needed to be inset slightly to allow the door to fit smoothly. The door is mounted with two small pins that are inserted into pre-drilled holes into the frame.
Once the cabin was pieced together, I was able to draw out a plan of what I wanted inside. I’ll touch on each item individually to illustrate how it was made.
Pictures & Frames:
Each picture was selected from the time period, but it’s a complete guess on what a devout member of the church and essentially an employee of the monarchy would have brought along.The first frame is built with 2 X 2 mm strips of mahogany sanded down and mitered and the corners. I mounted the strips onto a piece of printer paper to stabilize them. I used a sharpie to darken the back and mask any irregularities since the margin for error here was so slim.
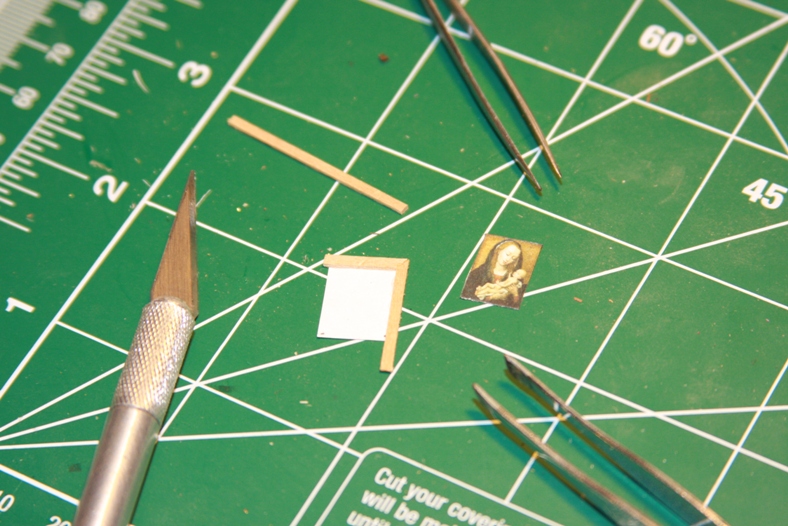


I stained the frame a dark stain, then painted it with a thin layer of gold paint. This coloring ended up very similar to many of the frames I’ve seen over the years while living in Europe and visiting museums. This first picture is one of the many, many versions of Mary and child.


The second frame is made from sapella with two layers of mitered pieces. The two layers gives it a little depth and gives the appearance of a slightly more elaborate piece. The final product is stained a red oak.
Books: Three books are all made from balsa wood and a layer of cardstock with a printed coloring.
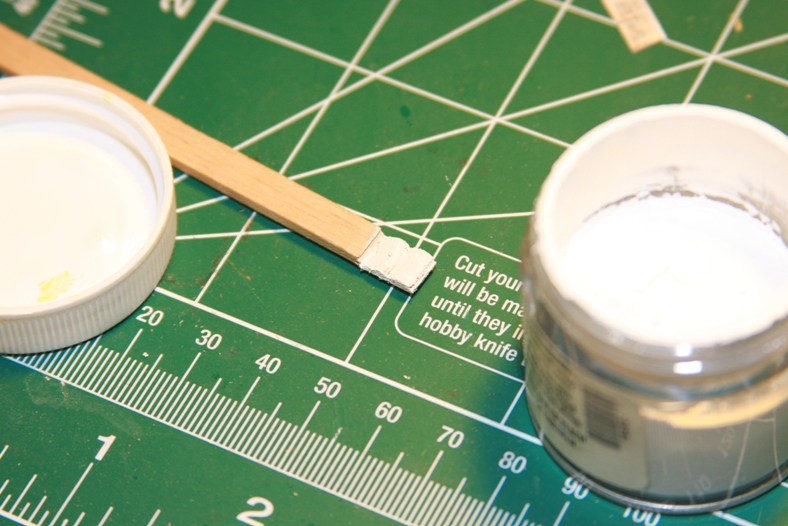

The balsa wood is sanded to shape with pin files and 600 – 1000 grain sand paper. No matter how fine the sand paper is, the balsa wood is not going to be perfectly smooth. This is an added bonus in this situation and gives the appearance of texture for the book. The wood is then painted white and the edges are repeatedly scored with an x-acto knife to give the impression of several pages.

For the open book – a red marker and some red highlights are added to give the overall impression that this book is a Bible, which would have most certainly been carried by Columbus.
The Sword: The sword is based on some light research on what a typical 15th century Spanish blade may have looked like.
The blade is made from a 1.5 x 3 mm piece of walnut. I chose walnut because I’ve had more success with the wood holding together while I sand it very small. Nonetheless, the sword still took a couple of tries before I managed a successful blade. Even still, the handled snapped at one point and I had to superglue it back together. The good news is, that was covered by the paint.


The brass protective / decorative piece is made from a strip of brass. I had to sand the corners to get it to bend in the directions that I wanted. Once I had it successfully shaped, I added the knuckle shield. Gluing each of those pieces ended up being the biggest challenge in making the sword.
Chair & Desk
I had some pretty specific ideas in mind for the chair and desk and was happy I was able to pull off something close to what I envisioned. The chair is started from a strip of 1.5 X 3 mm walnut and modeled after a combination of some 1400s research and the chairs we have in our dining room. Our dining room chairs are Amish made from oak.

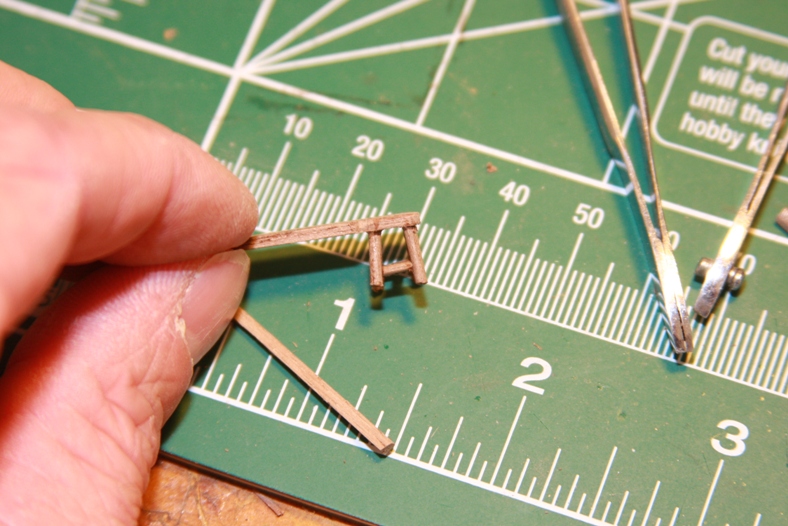
The original walnut piece was sanded to fit the shape of the seat. The legs were sanded from a 2 mm diameter walnut dowel. This sanding was so delicate, that I went through several inches of the dowel just to get the four legs as well as the cross pieces.

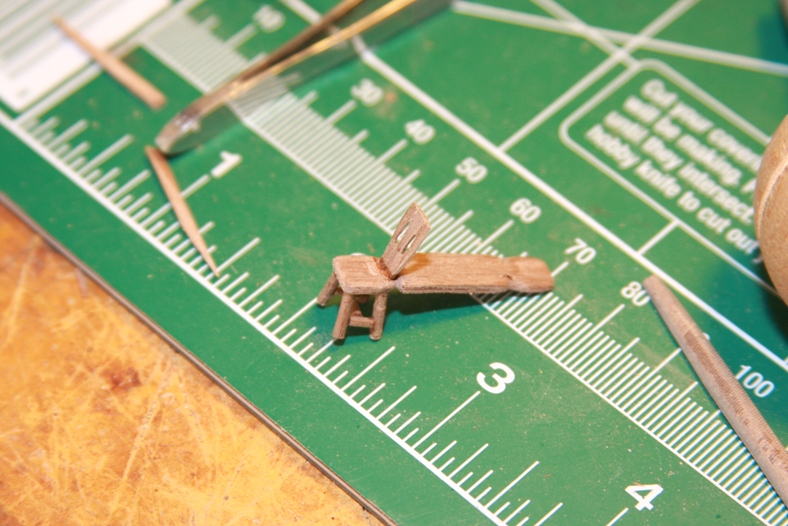

Finally, the back was sanded down to include a small curvature emulating an actual chair. I used my dremel tool with the smallest possible tip I could find to create the slats in the back. The entire chair was then left unstained, but coated in Tung oil to bring out the natural colors of the walnut.
The desk is a really unique piece for me. Out of sheer coincidence, I was given a set of wooden pens. Each pen came in it’s own case. The sides of the case were these beautiful little pieces of polished mahogany that fit absolutely perfectly with what I was trying to accomplish! The only drawback, they were extremely difficult to cut, sand, and polish.
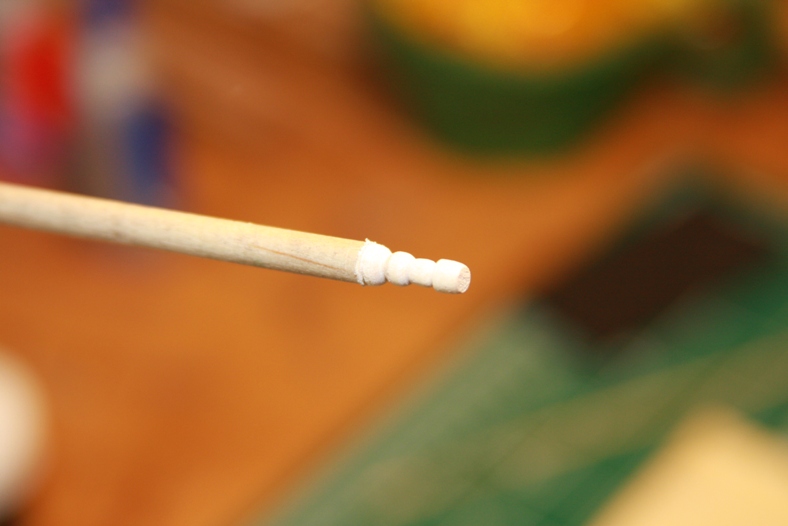

The legs of the desk were made from a 3mm diameter dowel that I inserted into my drill (same trick I often use) to create a make-shift lathe. I then used a variety of pin files to get the patter that I wanted. Once again, I went through many cases of the legs breaking off before I ended up with four good pieces. It was also very, very difficult to get four legs whose patterns looked close enough to one another to be acceptable.

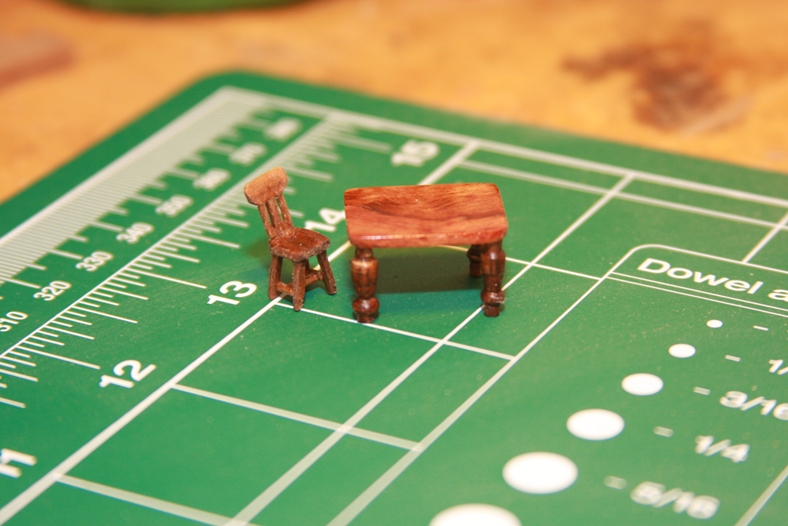
Finally, I sanded (600-1000 grit sandpaper) and polish all the pieces, stained the legs, and coated the entire combination with another coat of Tung oil.
Chess Set:
I am a pretty big fan of chess. In my home I have a collection of 15 different chess sets from 14 difference countries. I realize that actually have a chess set and table on board a ship the size of the Santa Maria is completely and utterly unrealistic. However, because I love the game, and it’s not too much of a stretch to think the Ship’s Captain would be a player, I decided to add the chess board. I’d also seen another builder create one out of card stock, and I admired the effort so much I had to give it a shot.
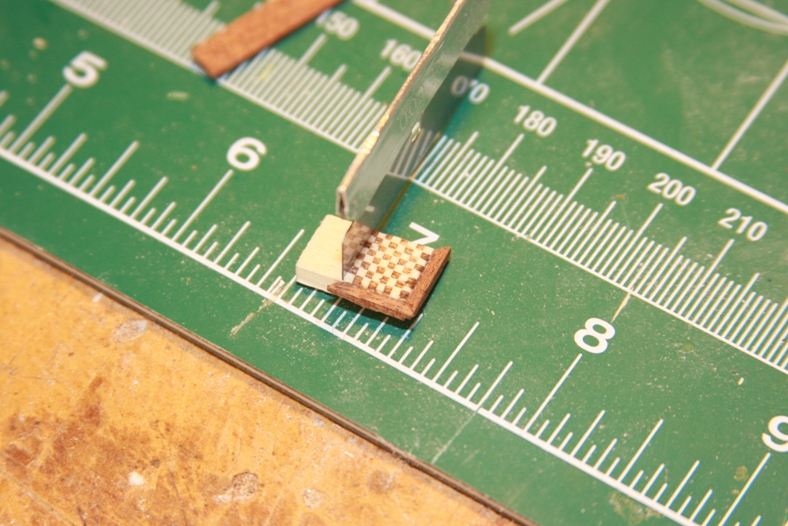

The board is made from a soft piece of pine. Each set of squares is a mm wide, and the entire thing is boarded by 1.5 mm x 1.5 mm mahogany. Coloring the squares was obviously a huge challenge. I scored the wood at 1 mm intervals with a razor blade, then I used wood stain and a size 0 brush. Each drop of stain fell and spread within the square, but was successfully contained by the cuts in the wood!
At first I tried to have some detail in the pieces, but that failed miserably. Instead I just distinguished them by size. I also realized that trying to have all 32 pieces was going to make it pretty crowded – so we’ll have to consider it mid-game with a few pieces missing.


The pieces are arranged in the cabin along with a chest, a toilet facility and a couple of other small items.


Your work is just amazing. I stumbled across your page from a Google image search. I've learned more about ships in the last half hour than I knew my whole life. Thanks!
LikeLike
Absolutely amazing, bro. I've shown the page to my son, and I hope he's as intrigued by the quality of the work, as I am. –Stew.
LikeLike