
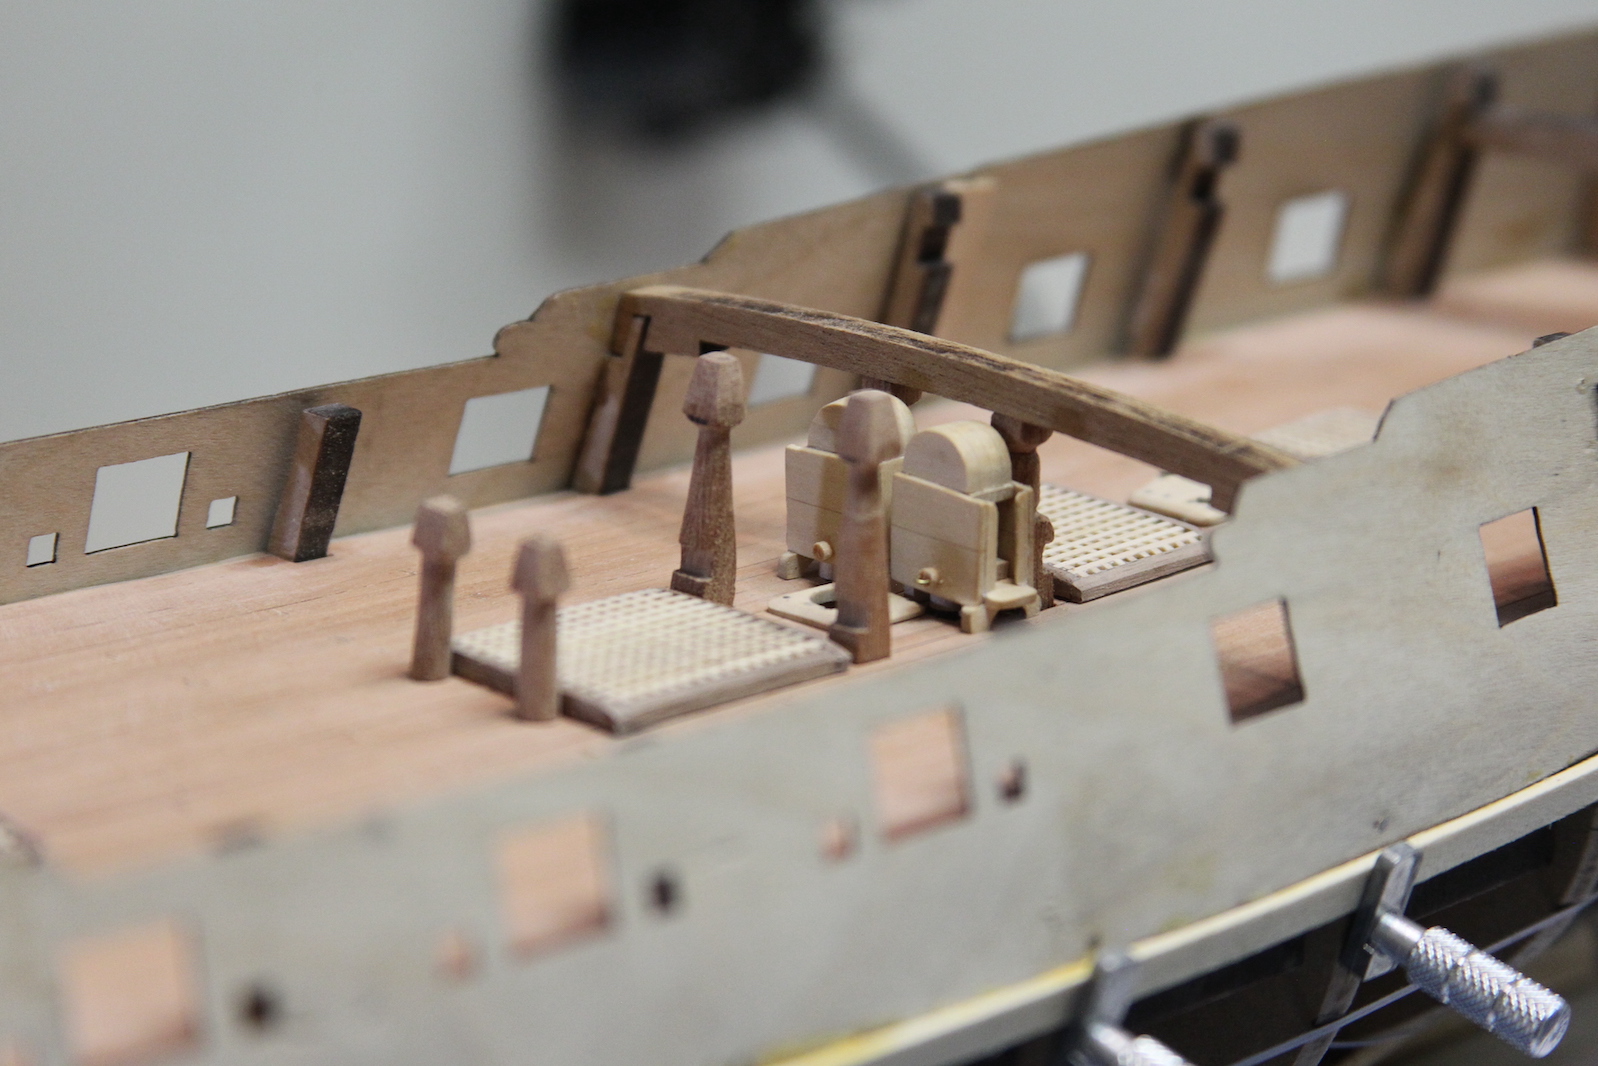
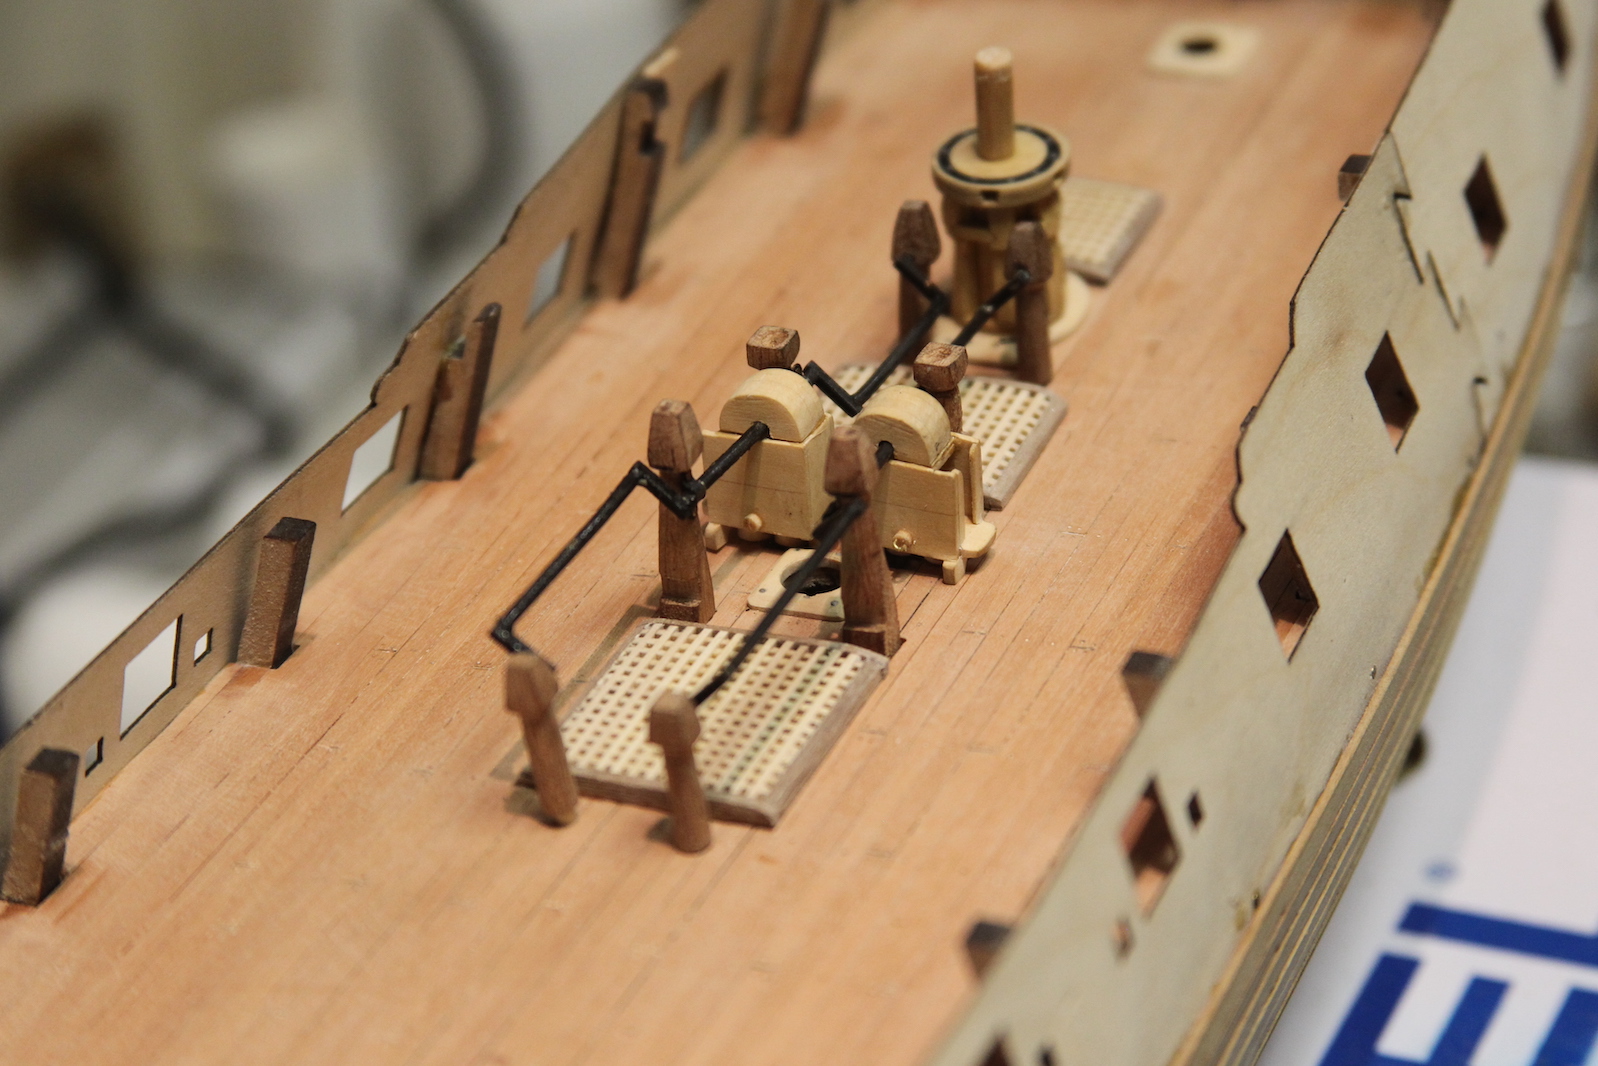
As I’ve mentioned before – the deck fixtures are a pretty important aspect of the build for me. When someone comes along and takes a look a the ship, they inevitably start leaning down and taking in all the tiny pieces and parts. Now using the parts that come in the kit is just fine – after all chances are the observer really isn’t going to know what they’re missing. But taking a little extra time and trying to get accuracy on deck fixtures pays off dividends to be sure. For Peg – while the Capstan at least basically looked like a capstan – the cisterns (or water pumps) really leave something to be desired.
To over simplify, the cisterns have long pumps that extend into the belly of the ship’s hull to pump out any bilge as sailors pair up to turn the cranks.
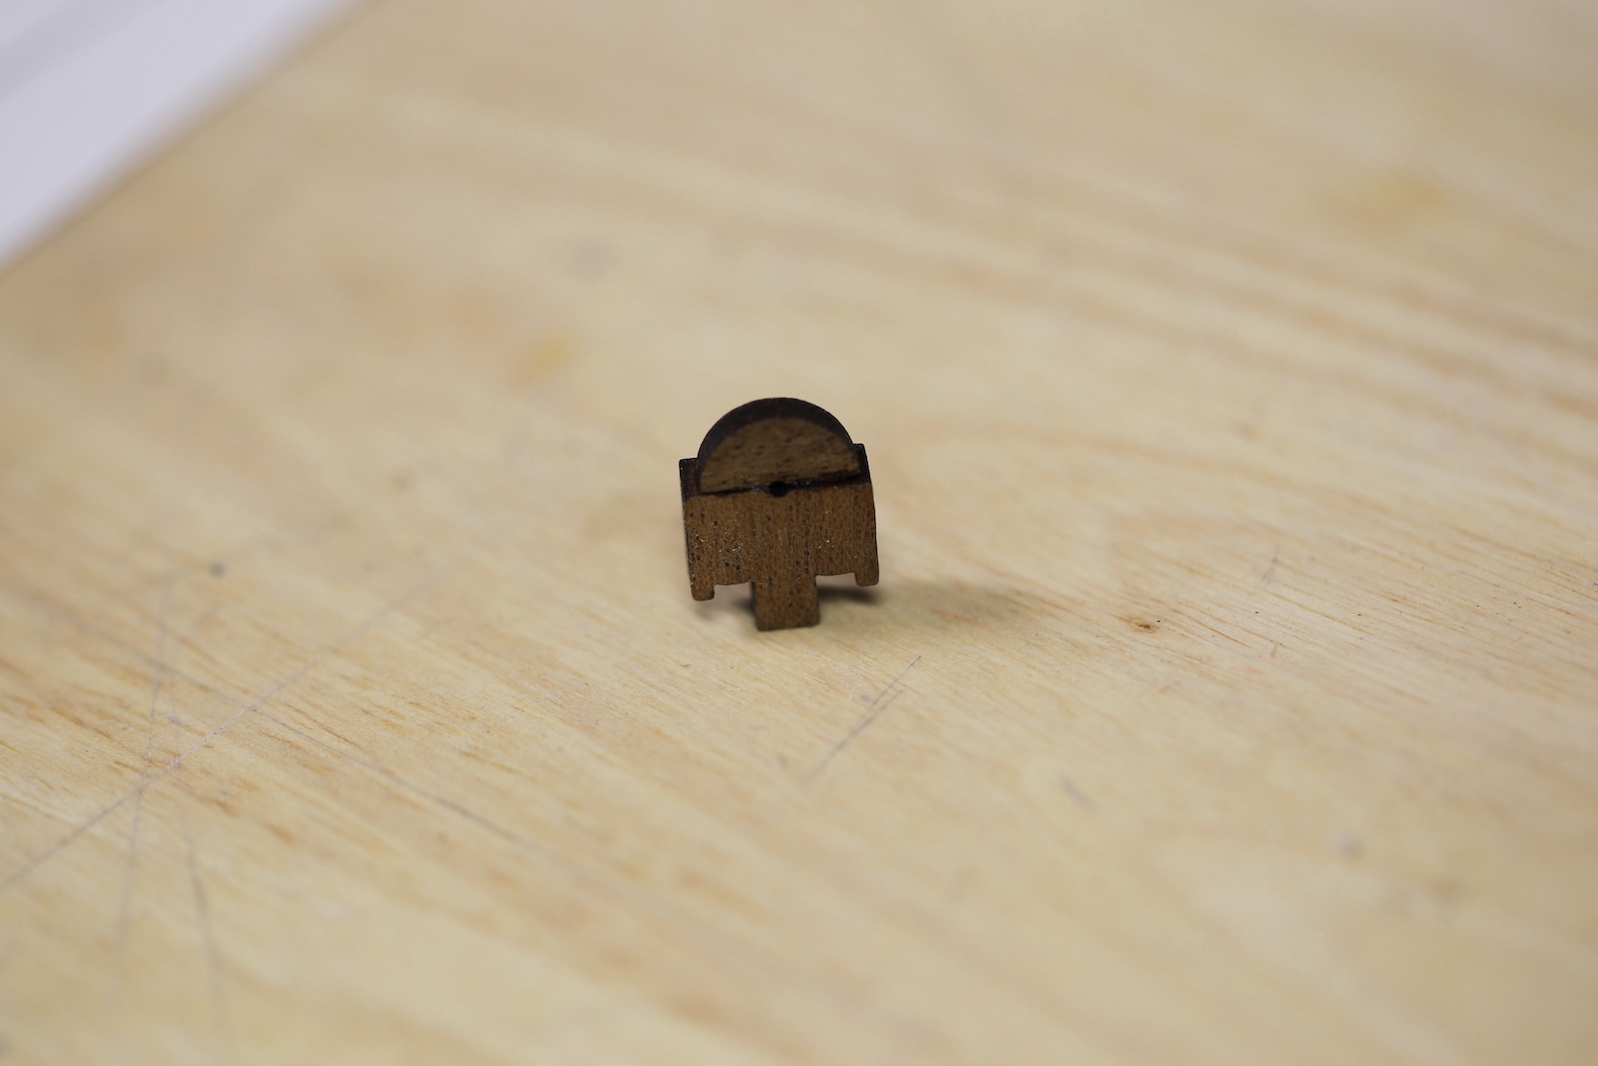
I went back to the “Fully Framed Model” series to get some inspiration – as well as some really nice pieces done by other ship builders. First, I measured out the amount of space that we have between the mast and the grate and it’s limited at best. Not much room to play with there. I started with my leftover boxwood strips to frame out the basic boxes. I use boxwood because it’s a nice dense wood that is perfect for carving small parts without leaving the wood ‘hairy’ and sands smooth really nicely. I added some framing and feet, leaving a little extra space in the front of the pump for the doorway that opens up for the pump dale (where the water drains out onto the deck then ultimately through the scuppers (where water drains off the deck over the side. Then I carved out little doors that are used to close off the pump when it’s not in use.

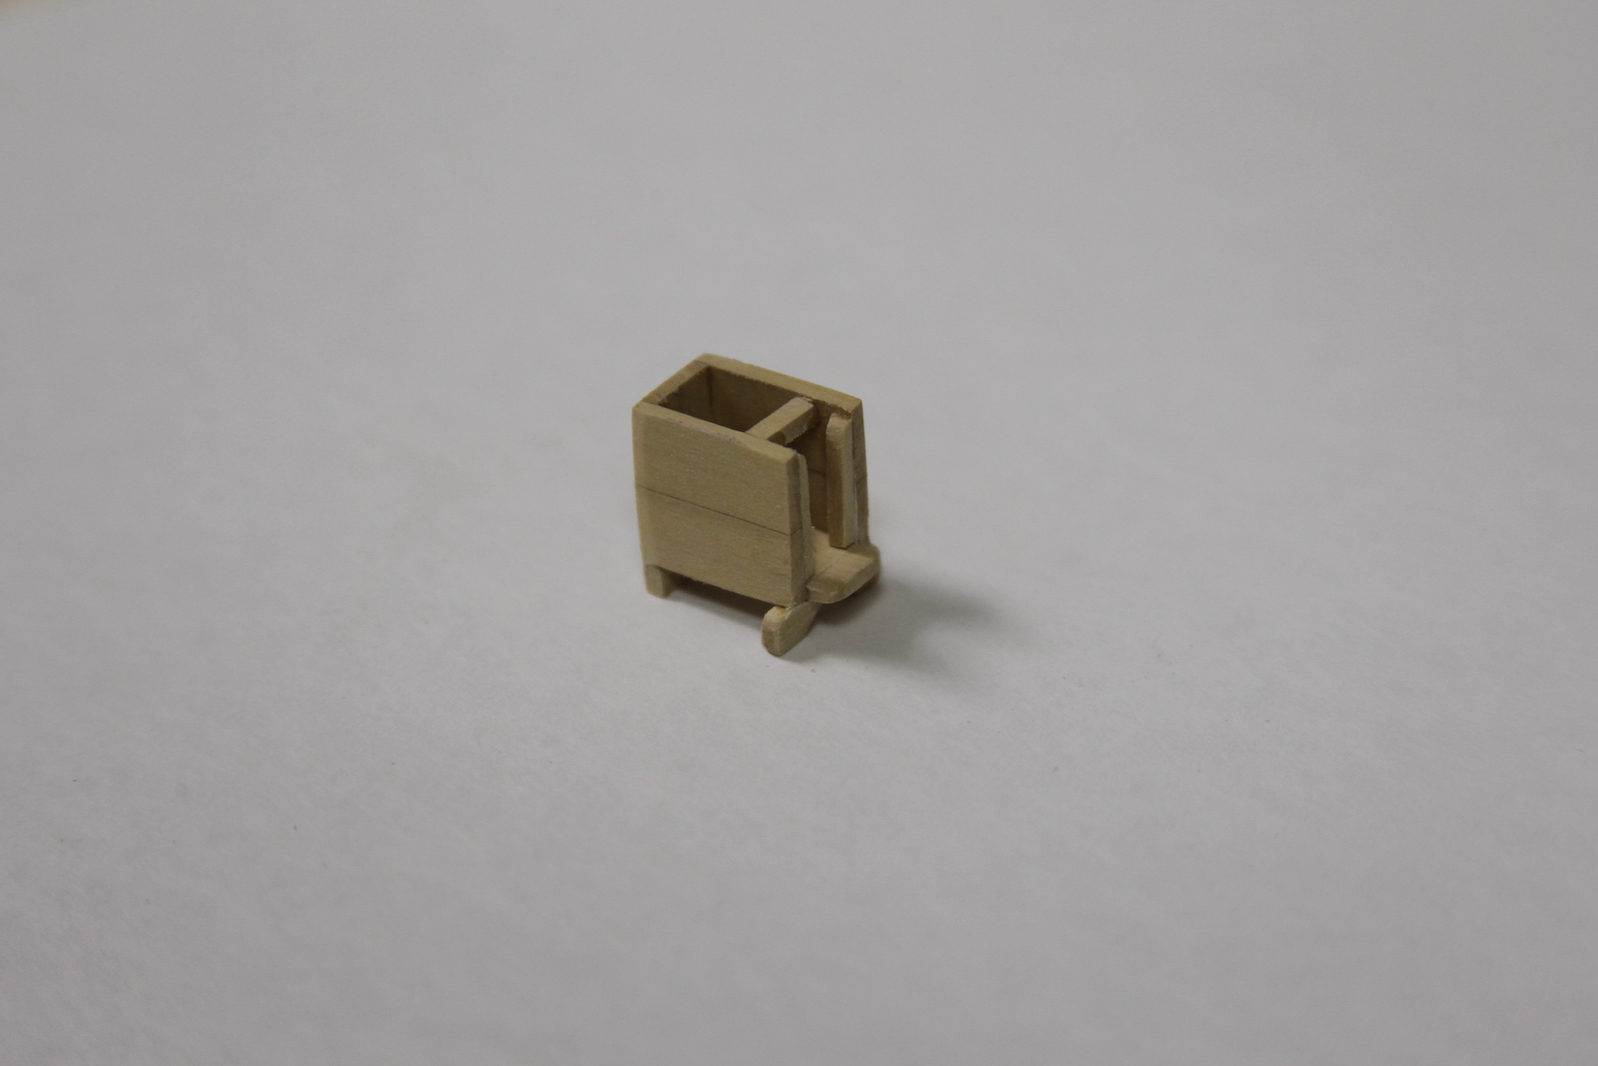
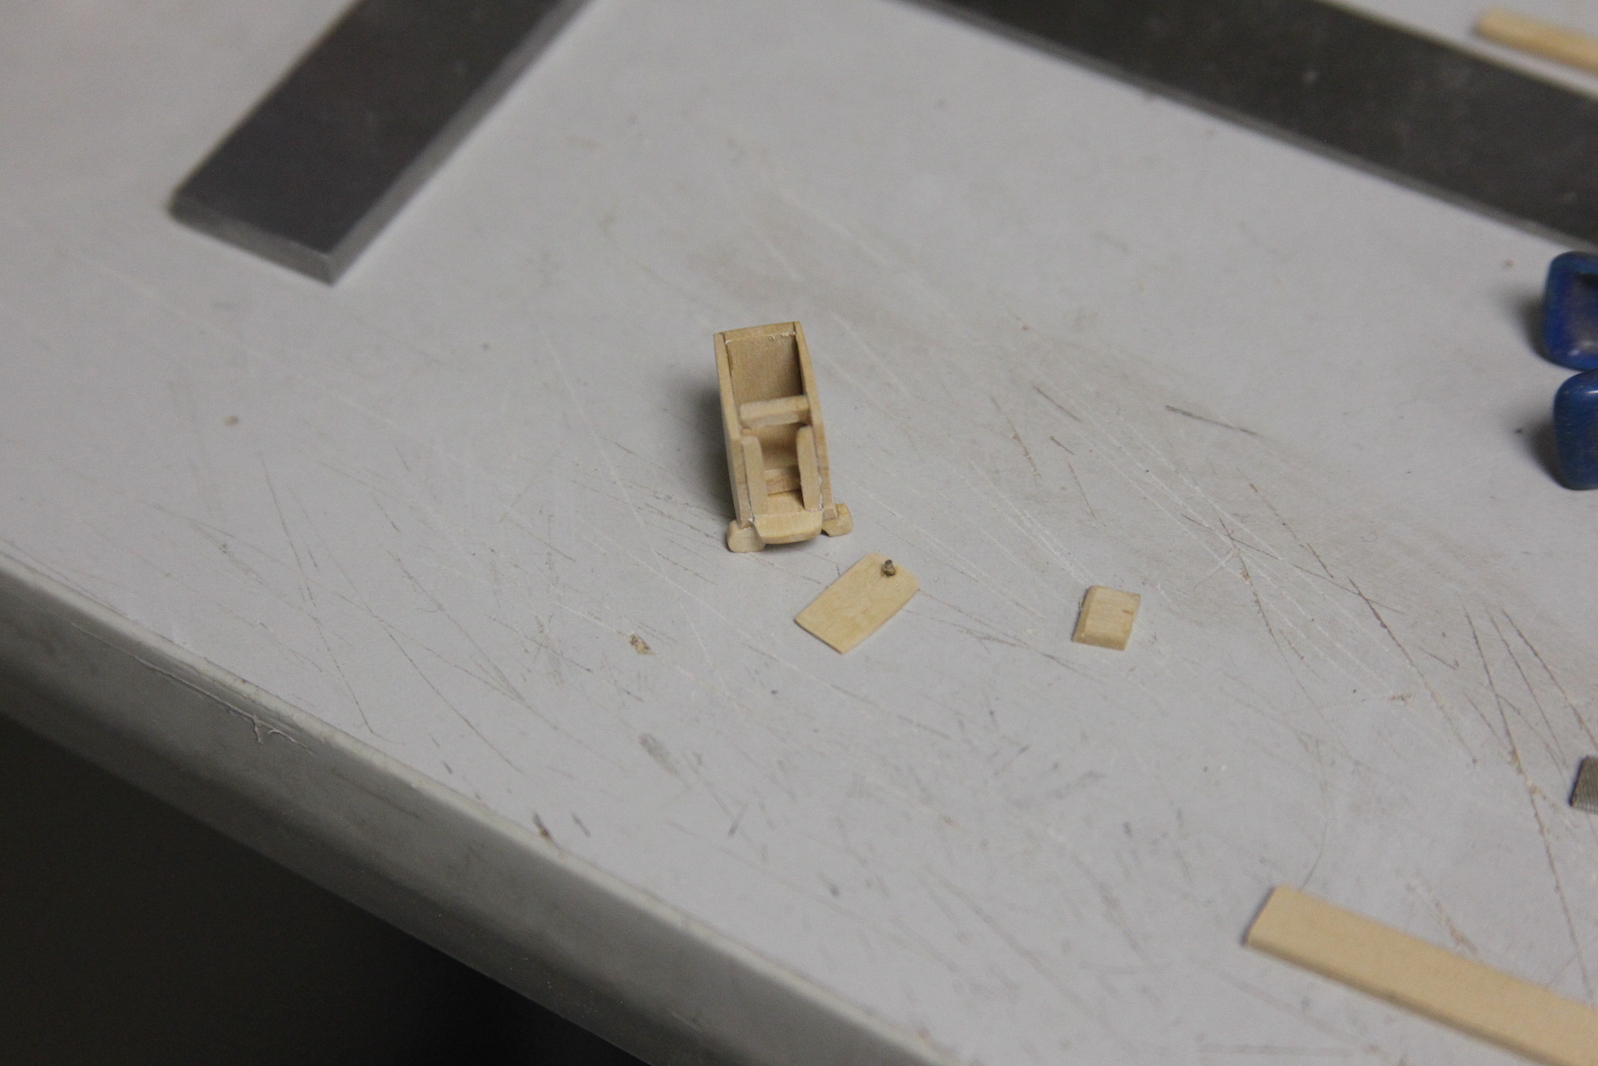
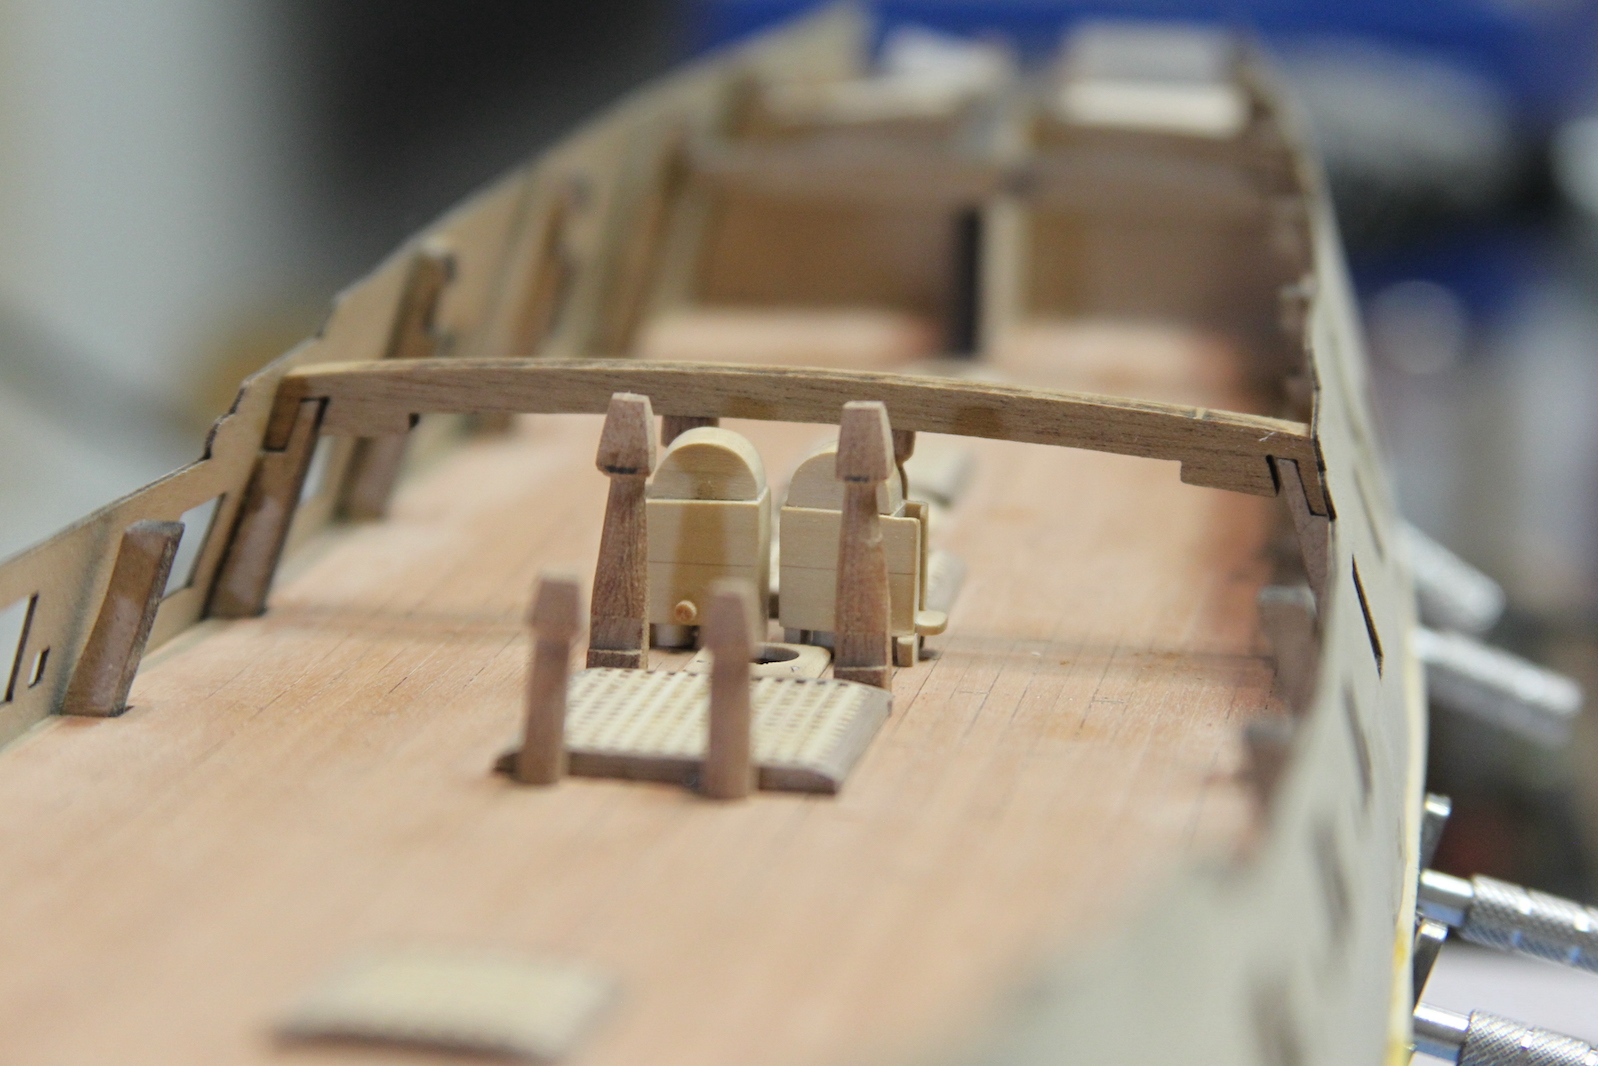
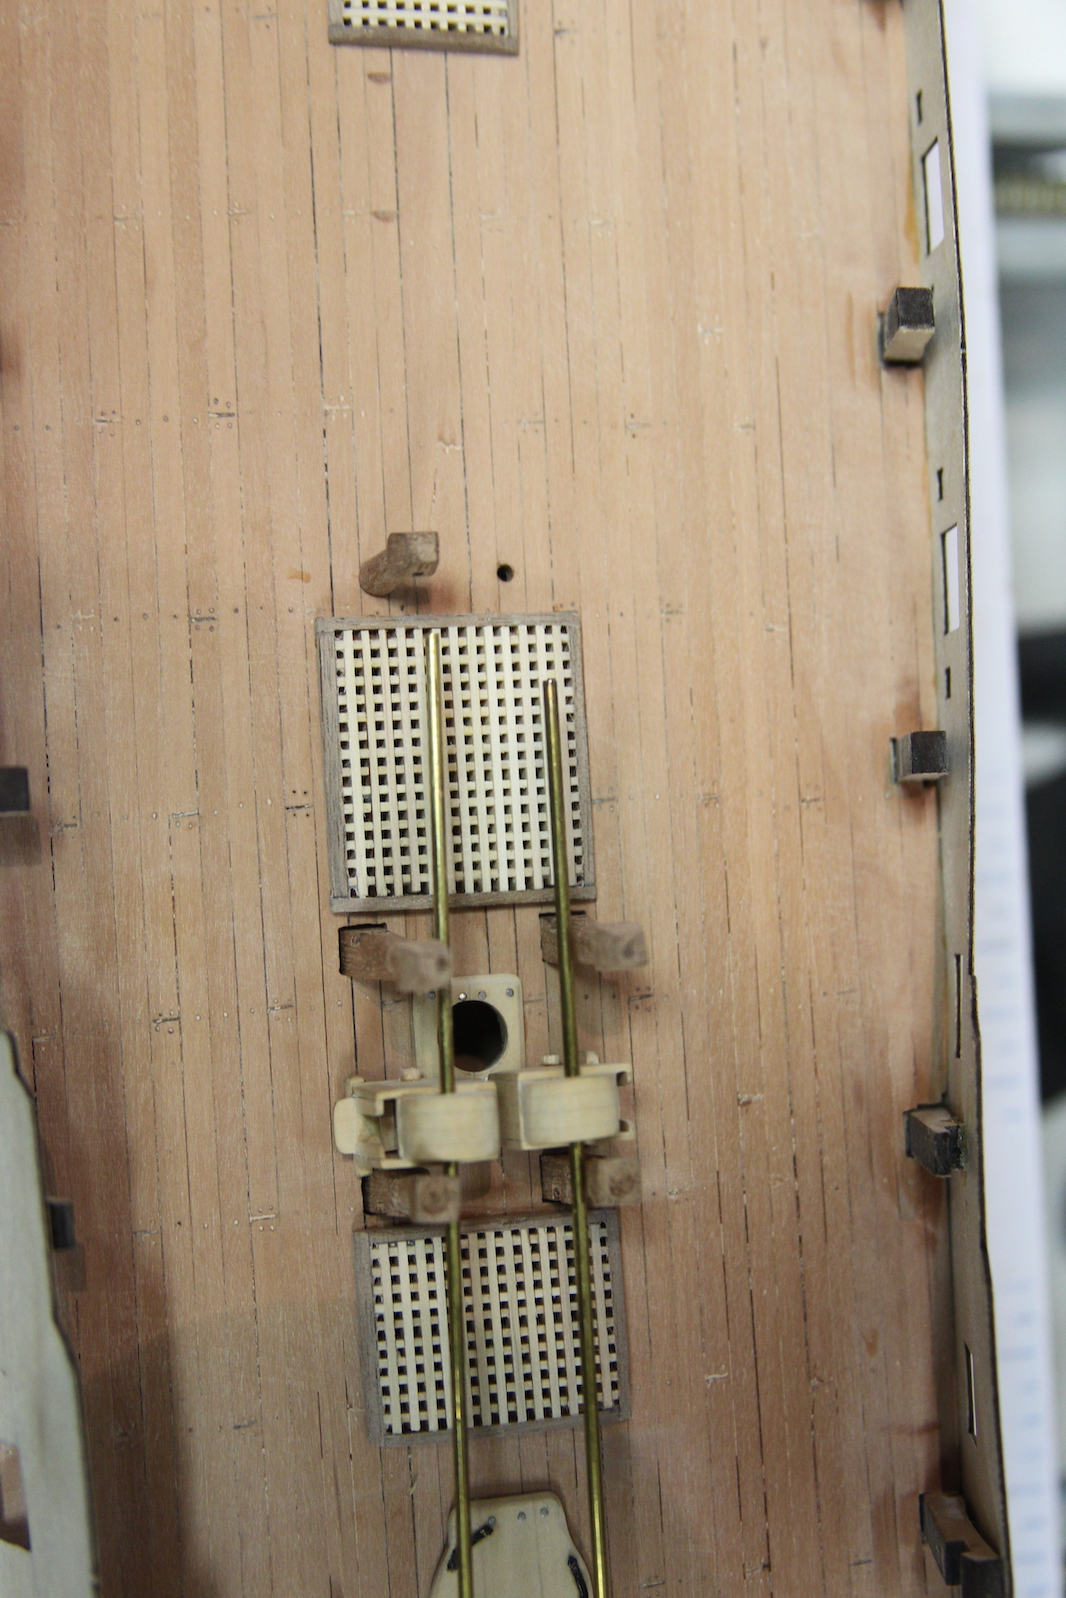
The pumps are fitted on the deck to see how they’ll line up with the really limited space between the grates and the mast partner. Then, it’s on to the chain cover. I glued together more boxwood pieces to create a sizable piece I could carve out and sand into a half circle. One the bottom of the cisterns are two pump drains. In a real ship this run all the way down into the hull so they suck up any bilge. They’re represented here by small circles that are flush with the deck.


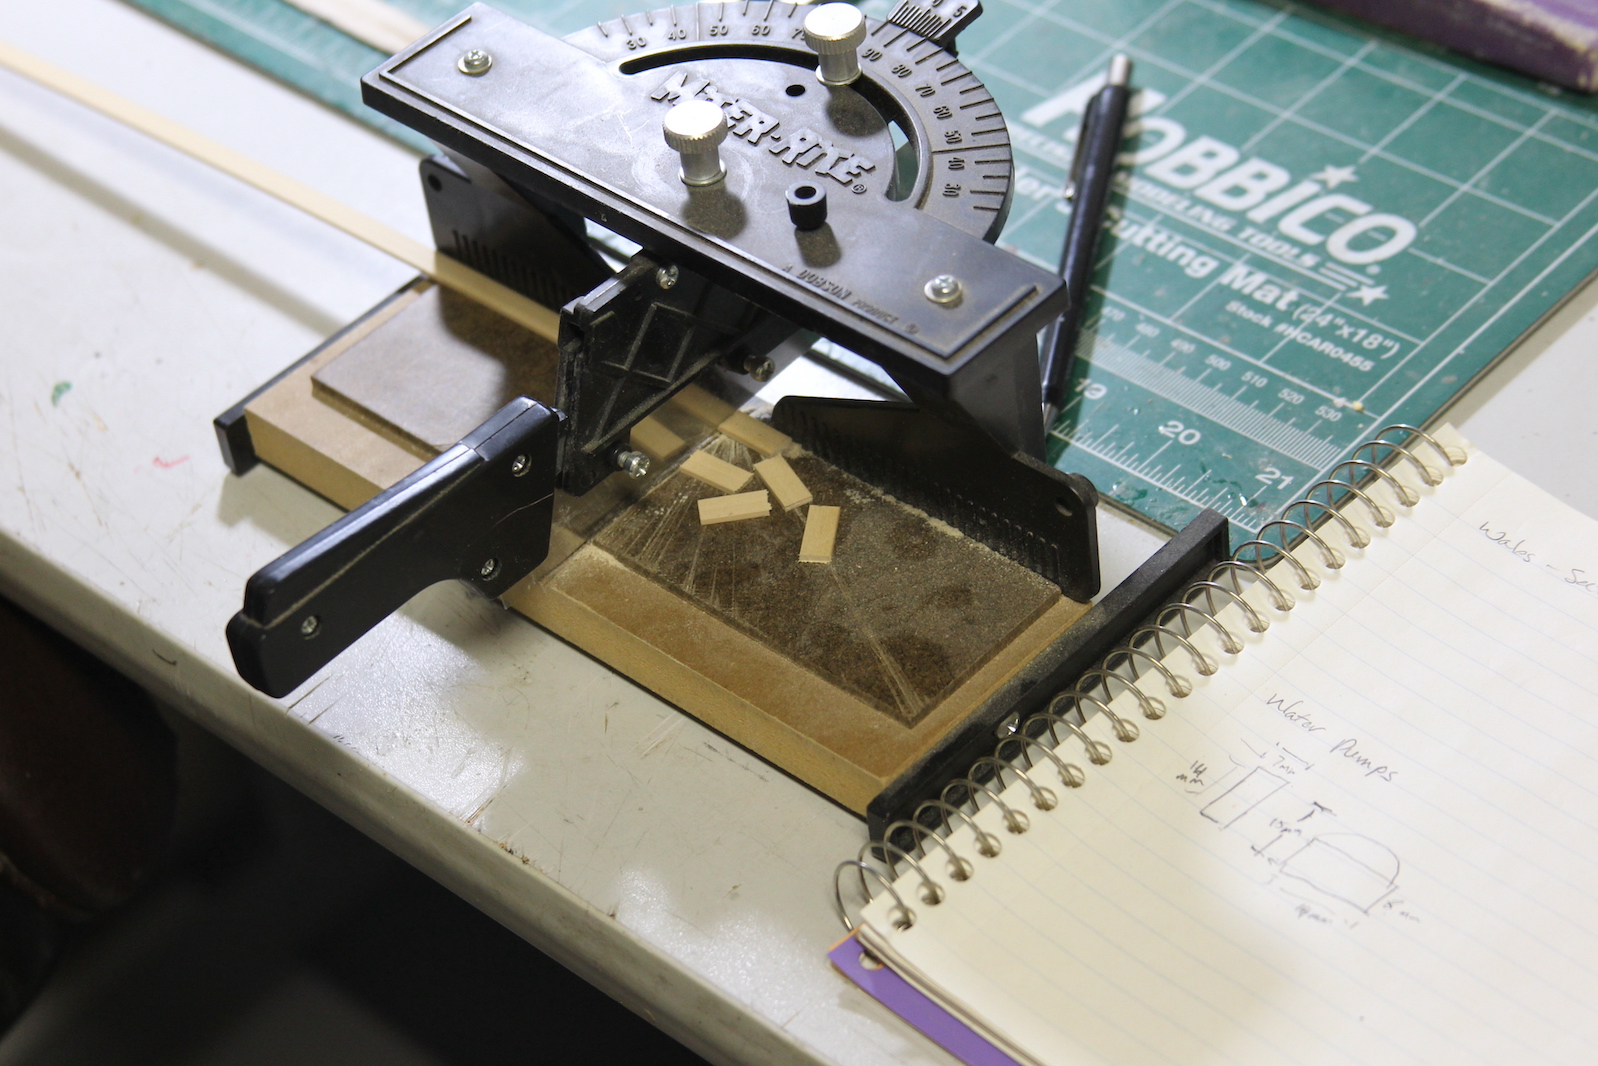
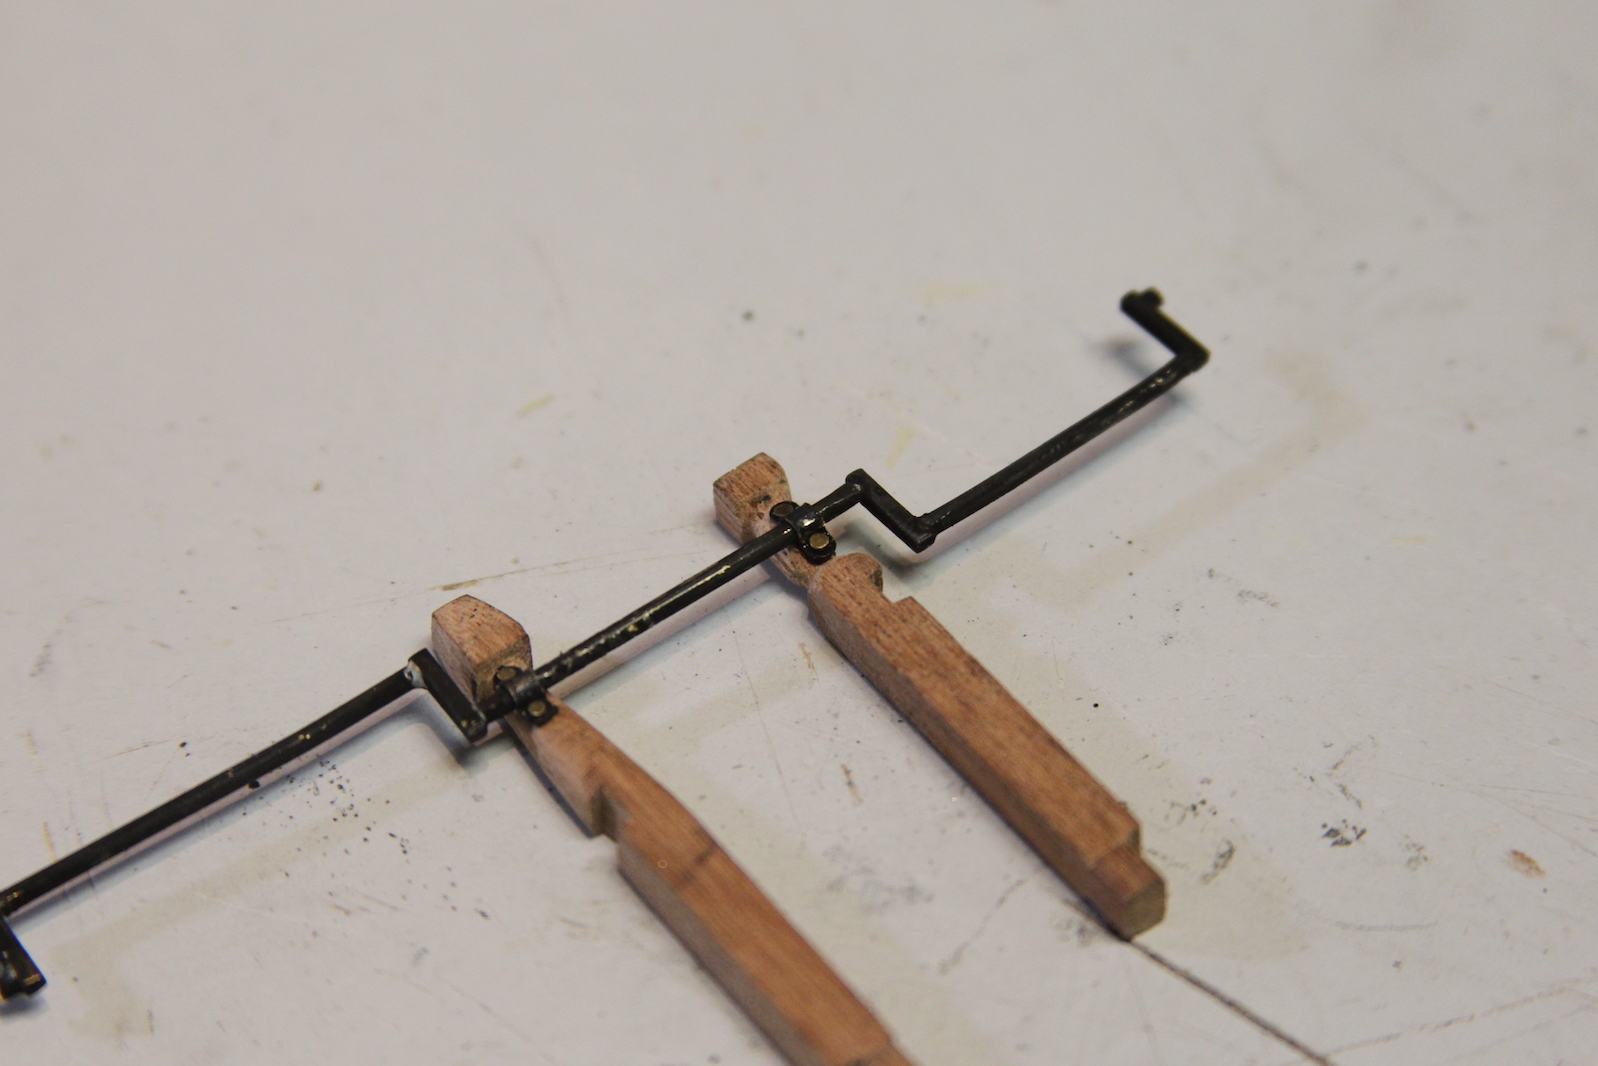
As I mentioned, the pumps themselves are worked manually with a crank (see below) that is attached to and through columns and bitts on either side of the cisterns. These pillars are pretty bland in the kit as well, but I used those as templates to create some that are a bit more pleasing to the eye but still functional. The pillars are carved out of mahogany then turned on a lathe must the same as a modern table leg – except way smaller of course. Mounting holes are also drilled into the posts which will hold the crank using my snazzy new miniature drill press from Micro-Mark.

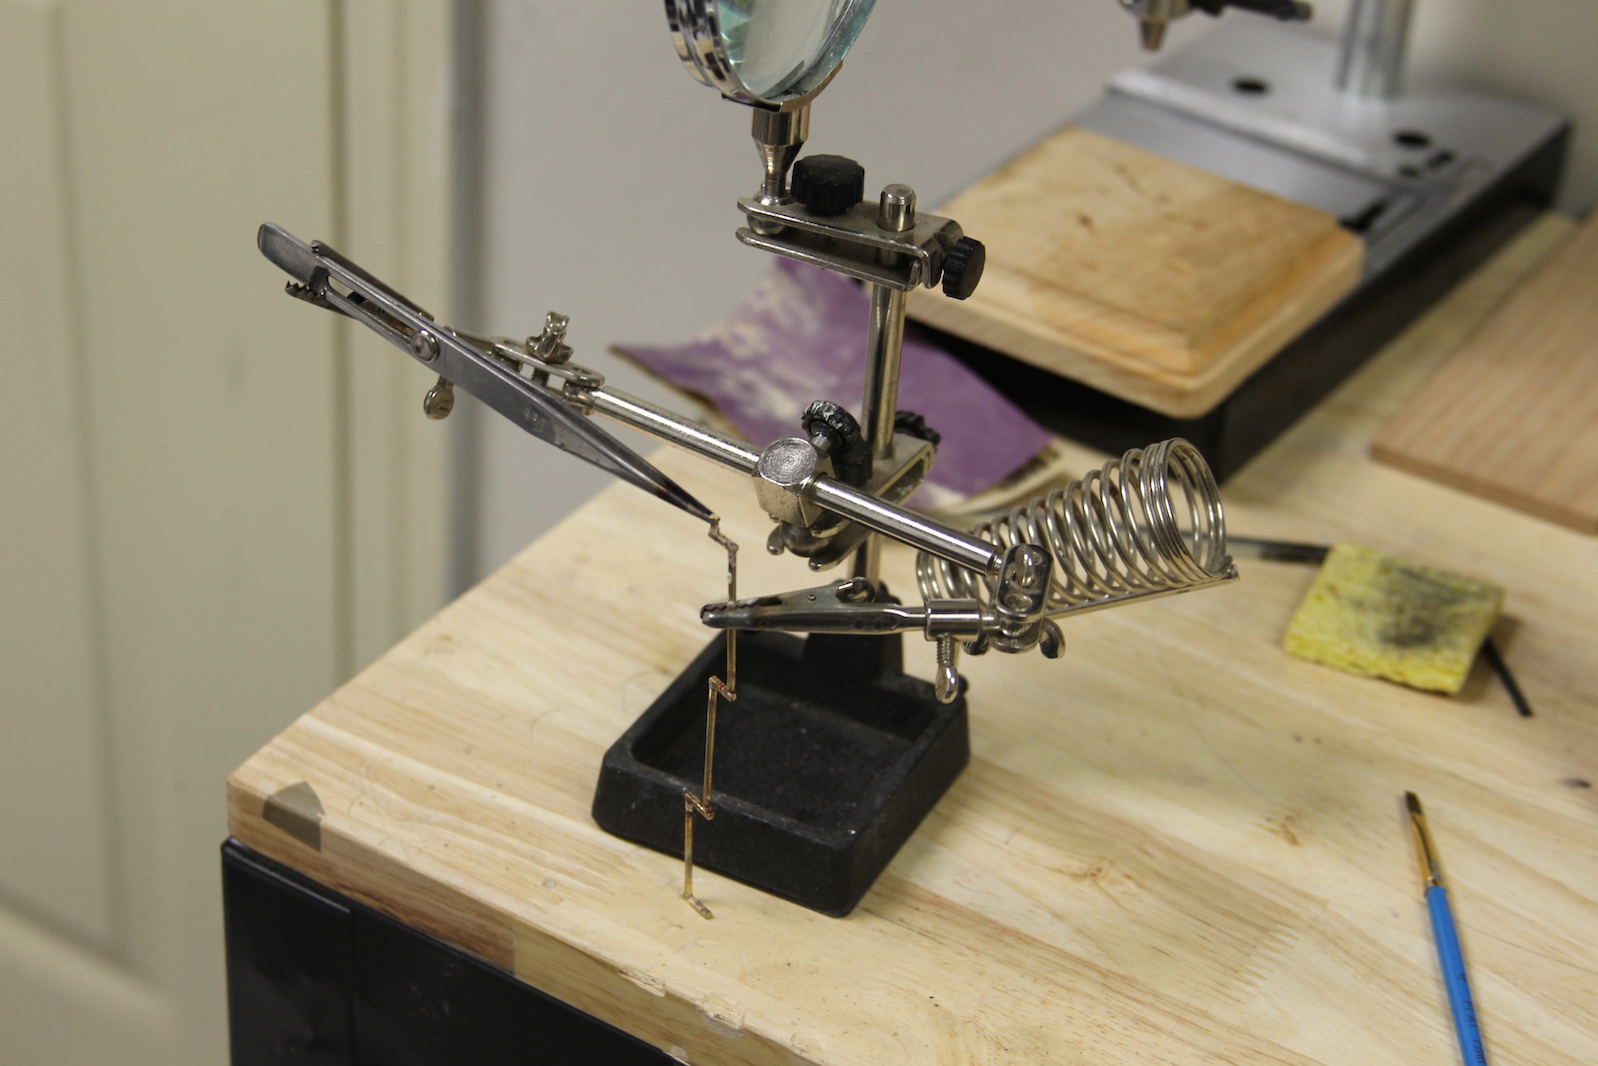
The cranks themselves are cut from of a 1mm brass dowel. The cranks will run through the pumps (attached to a chained crank inside the pump on a real ship) and then mount to each of the posts. After the lengths of the bass are measured, they’re cut up and attached using metal braces. So – my first attempt at this endeavor of attaching the cranks to the braces was by drilling a .5 mm hole in each end using the drill press.


After burning through about 4 mini drill bits of varying strengths, I gave up in failure and went back to the drawing board.

I’ve seen other folks use silver soldering with this kinda thing, but I have no experience in that regard. After reaching out for some advice from the Model Ship World forum of which I’m a member, I ordered some basic silver soldering supplies from a jewelry making website.
My first attempts at silver soldering were actually pretty successful. What was conveyed to me end up being pretty true – the most difficult part is finding ways to hold the tiny pieces in place as they’re soldered. The green stuff in the syringe in the back of the photo is flux – this is applied first and heated up. Then the silver solder paste is dispensed using a different syringe with a hypodermic like needed opening. Only a tiny, tiny bit is used. Then the torch is applied again until the paste turns to silver and melts into the connection. All sanded out the end product looks pretty good.


I measured out all the distances between pumps and pillars on the deck then dry fitted everything in place. Afterward the crank is blackened. There will be some final touch-ups when it’s all mounted in place for real-sies…


Your work is beautiful.
LikeLike
Thanks so much!
LikeLike