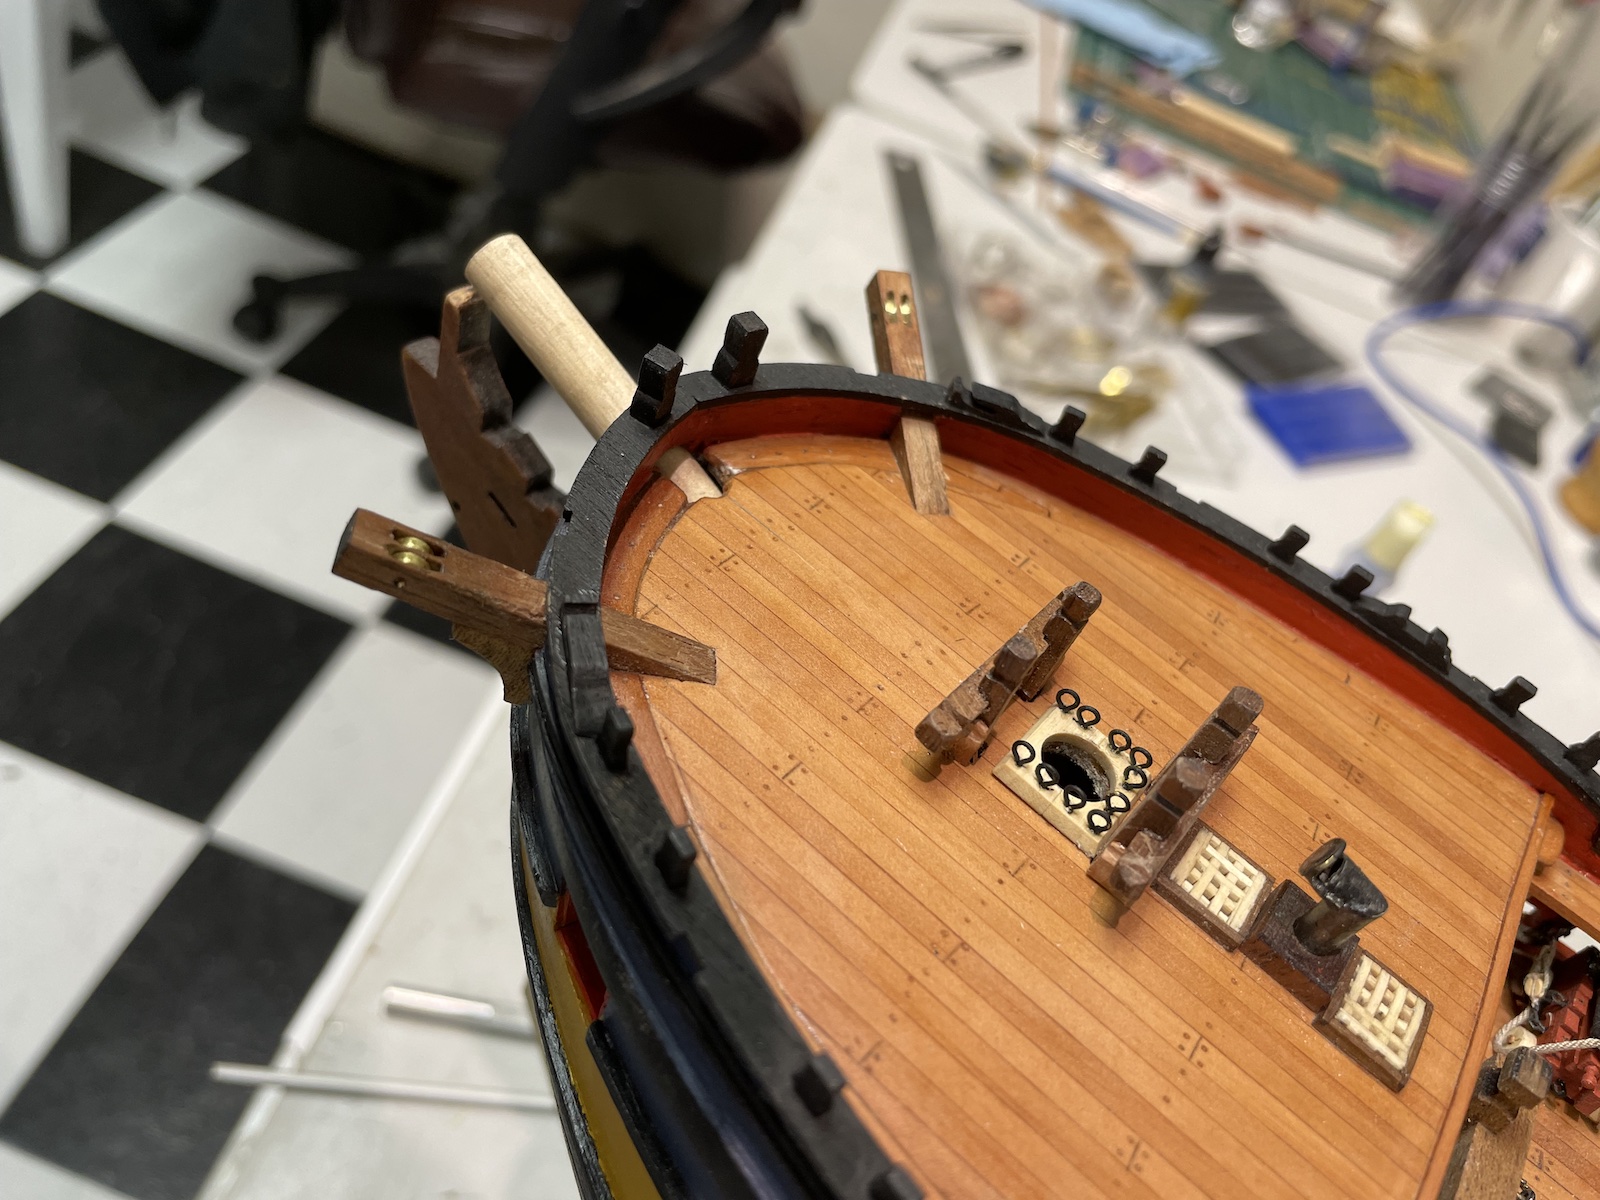
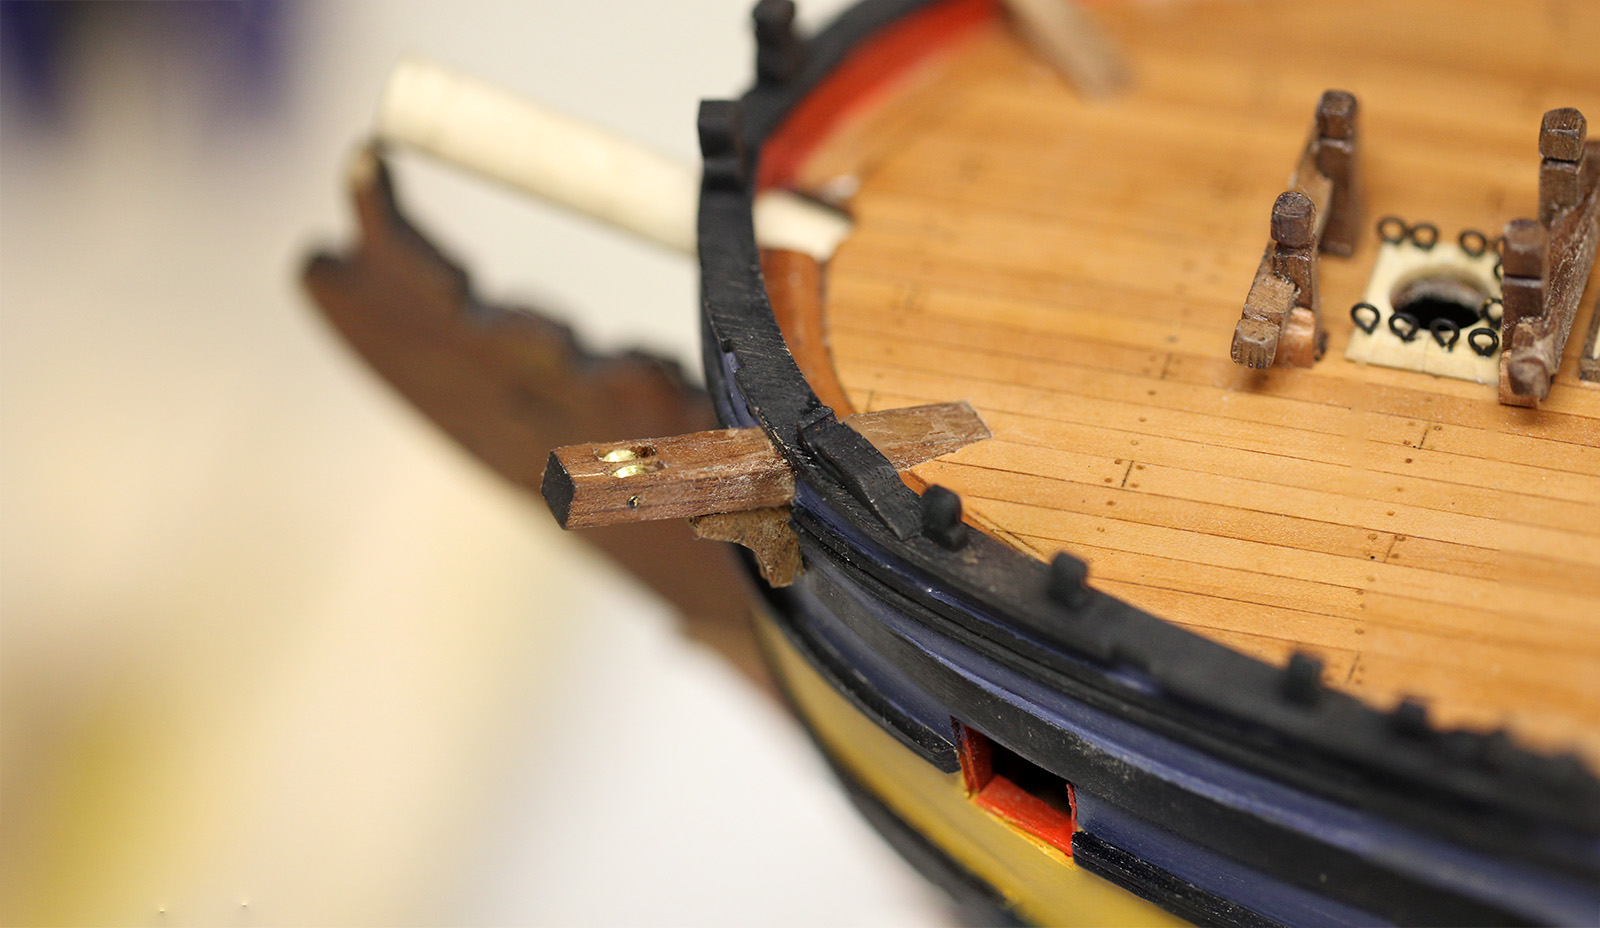
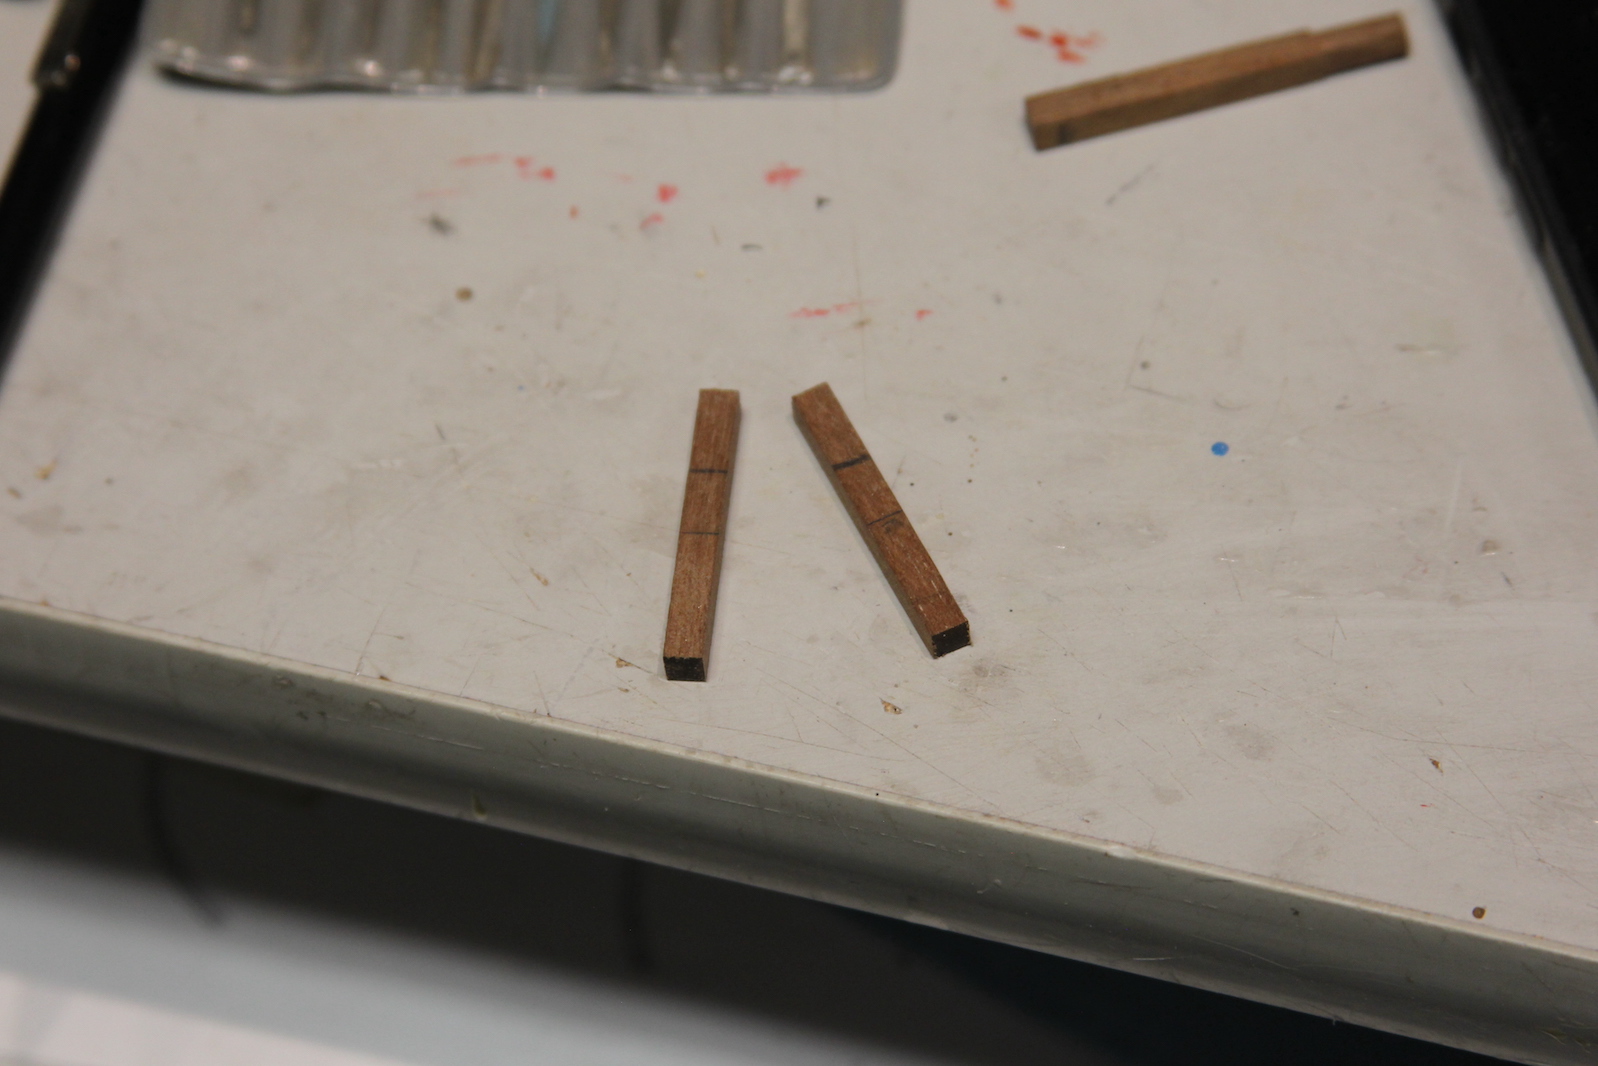
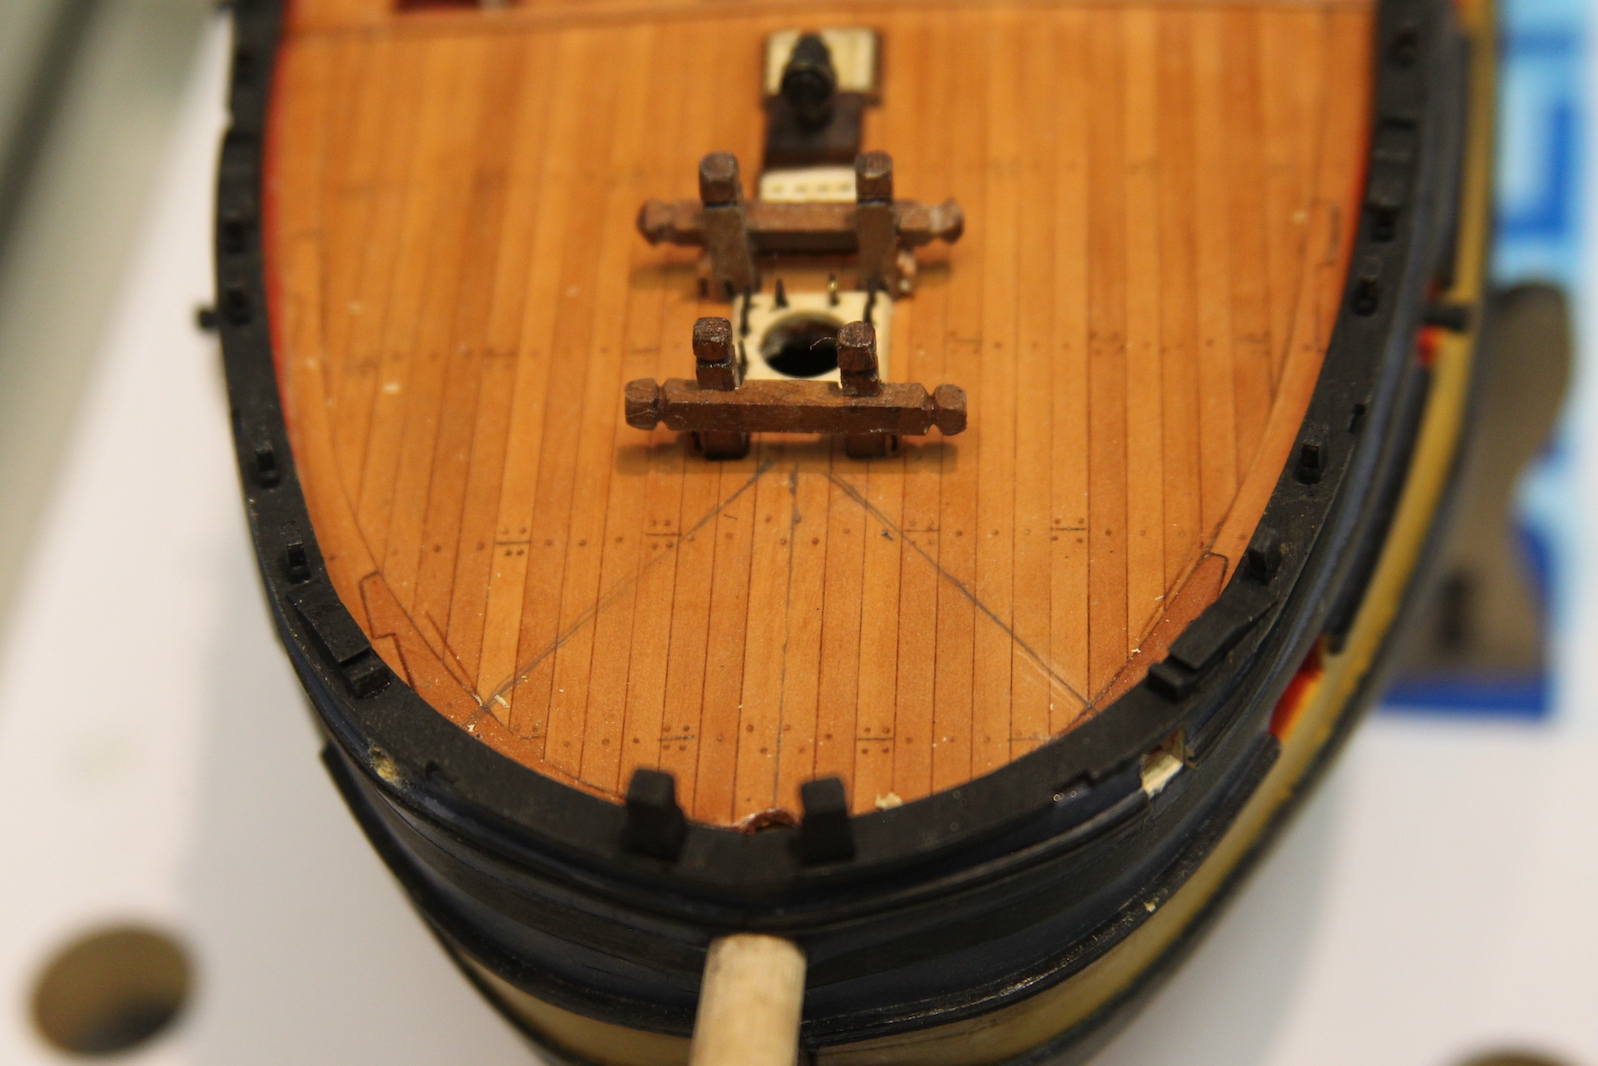
Catheads are the thick beams located on either side of the bow of the ship at about a 45 degree angle. The beams contain sheaves (pulleys) that assist with raising and lowering the anchors. The anchors were enormously heavy, so the catbeam not only needed to be thick, but also often extended through the upper decks and was secured to (or part of) the framing below. That was the case with the Pegasus, and I knew achieving this look would be a bit of a challenge. The catbeams supplied with the ship kit had a couple problems that couldn’t be overlooked – first they were too small. I can understand that from a manufacturing standpoint, as including them with the other laser cut parts just makes sense. The second problem is that they don’t contain any sheaves (or even simulated sheaves) at the end – this just makes them unrealistic. First, I measured out the angles I’d need off the bow and identified where I’d need to cut through the bulwarks as well as carve out the deck. Once again in the ‘failed to look far enough ahead’ category, this happens to line up right where my scarph joints on the margin plank are. Oh well – hopefully that won’t be super noticeable to most folks. For the catheads themselves, I started with a couple of 5 x 5mm pieces of walnut, measured them out and a shaped them. I’m not so ambitious as to have created all the sheaves out of metal (I prefer simulating most of them with just drilled holes and carved lives between). But I felt it was necessary with the cathead sheaves as they are very visible, but also will need to be functional later when I rig the anchors.


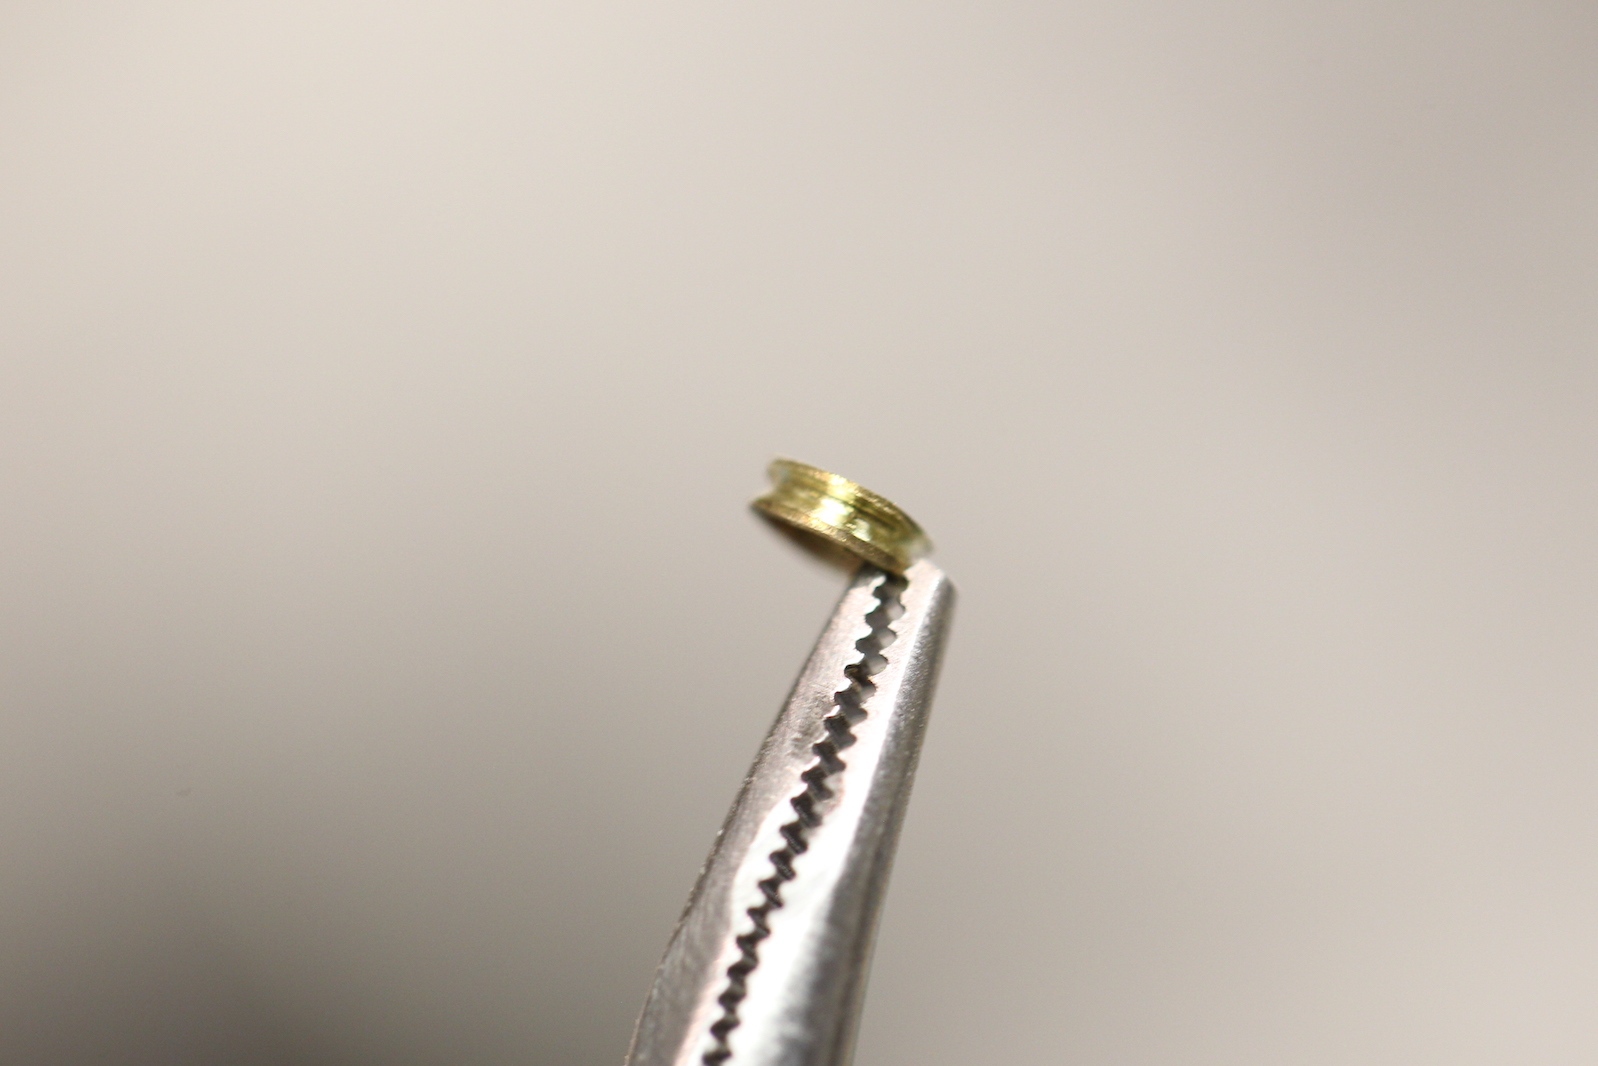
I’m not a big fan of creating functional sheaves for most things – as they are very difficult to do properly and are essentially unusable. Instead, I typically create a simulated sheave by drilling a couple holes and carving a line between them which can’t be seen once rigged. However, these sheaves are very noticeable, so I took the extra effort to make metal ones.

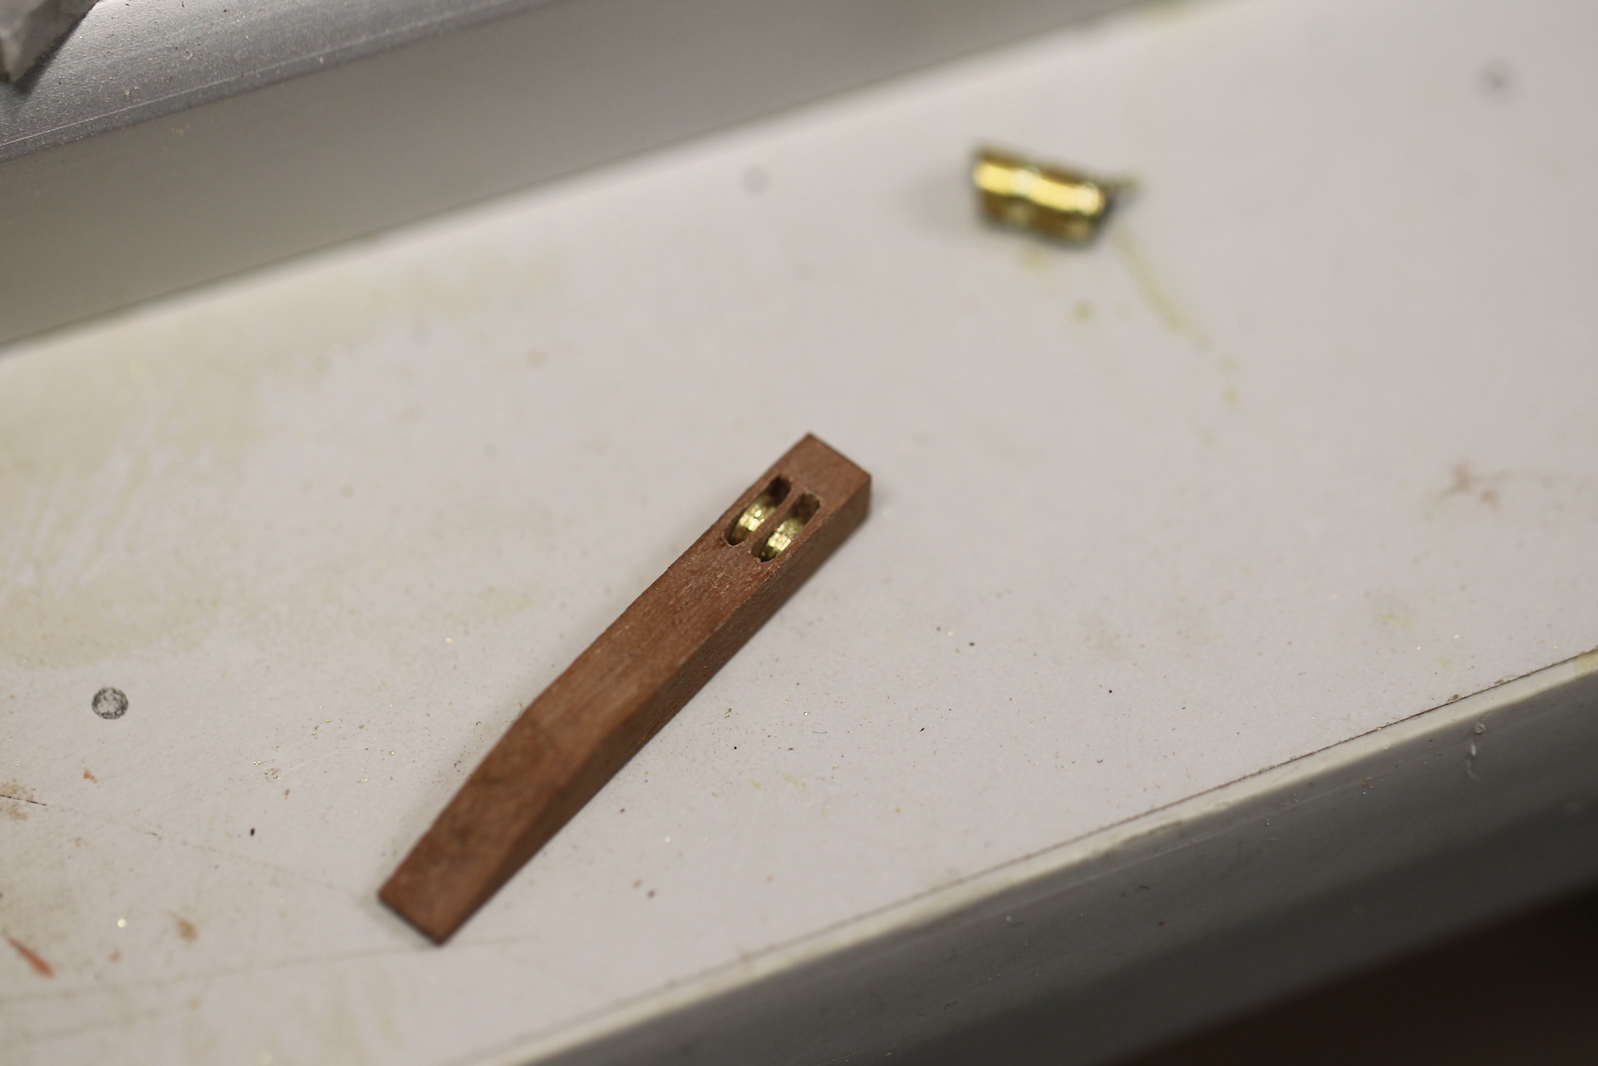
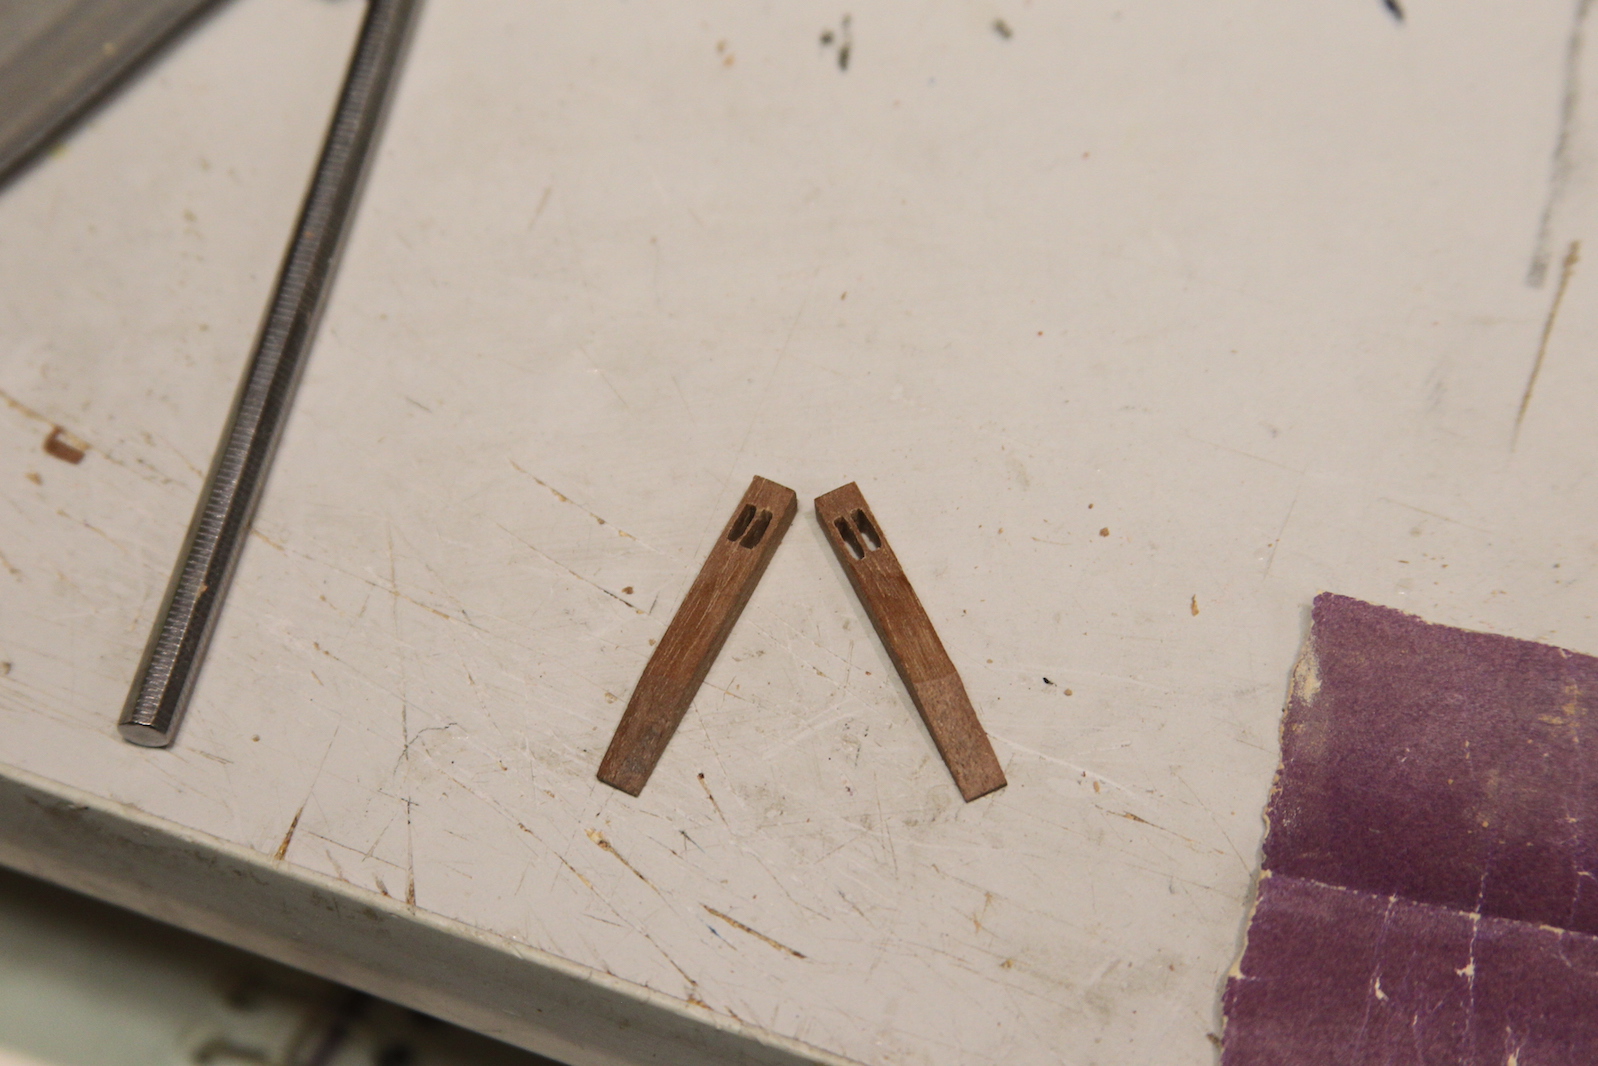
First I drilled out a series of holes for the sheaves, then used this handy sanding string to size them out. The the metal sheaves I actually chose a brass tube – a little different choice, as most folks create sheaves from a brass rod. I carved out the groove on the lathe. I chose the tube because it’s SUPER difficult for me to get a nice hole drilled through the brass. I just can’t seem to get a strong enough drill bit that holds up without bending or snapping off. The cutting the sheave from a tube means I only had to drill through the wood to place the bolt/pin.


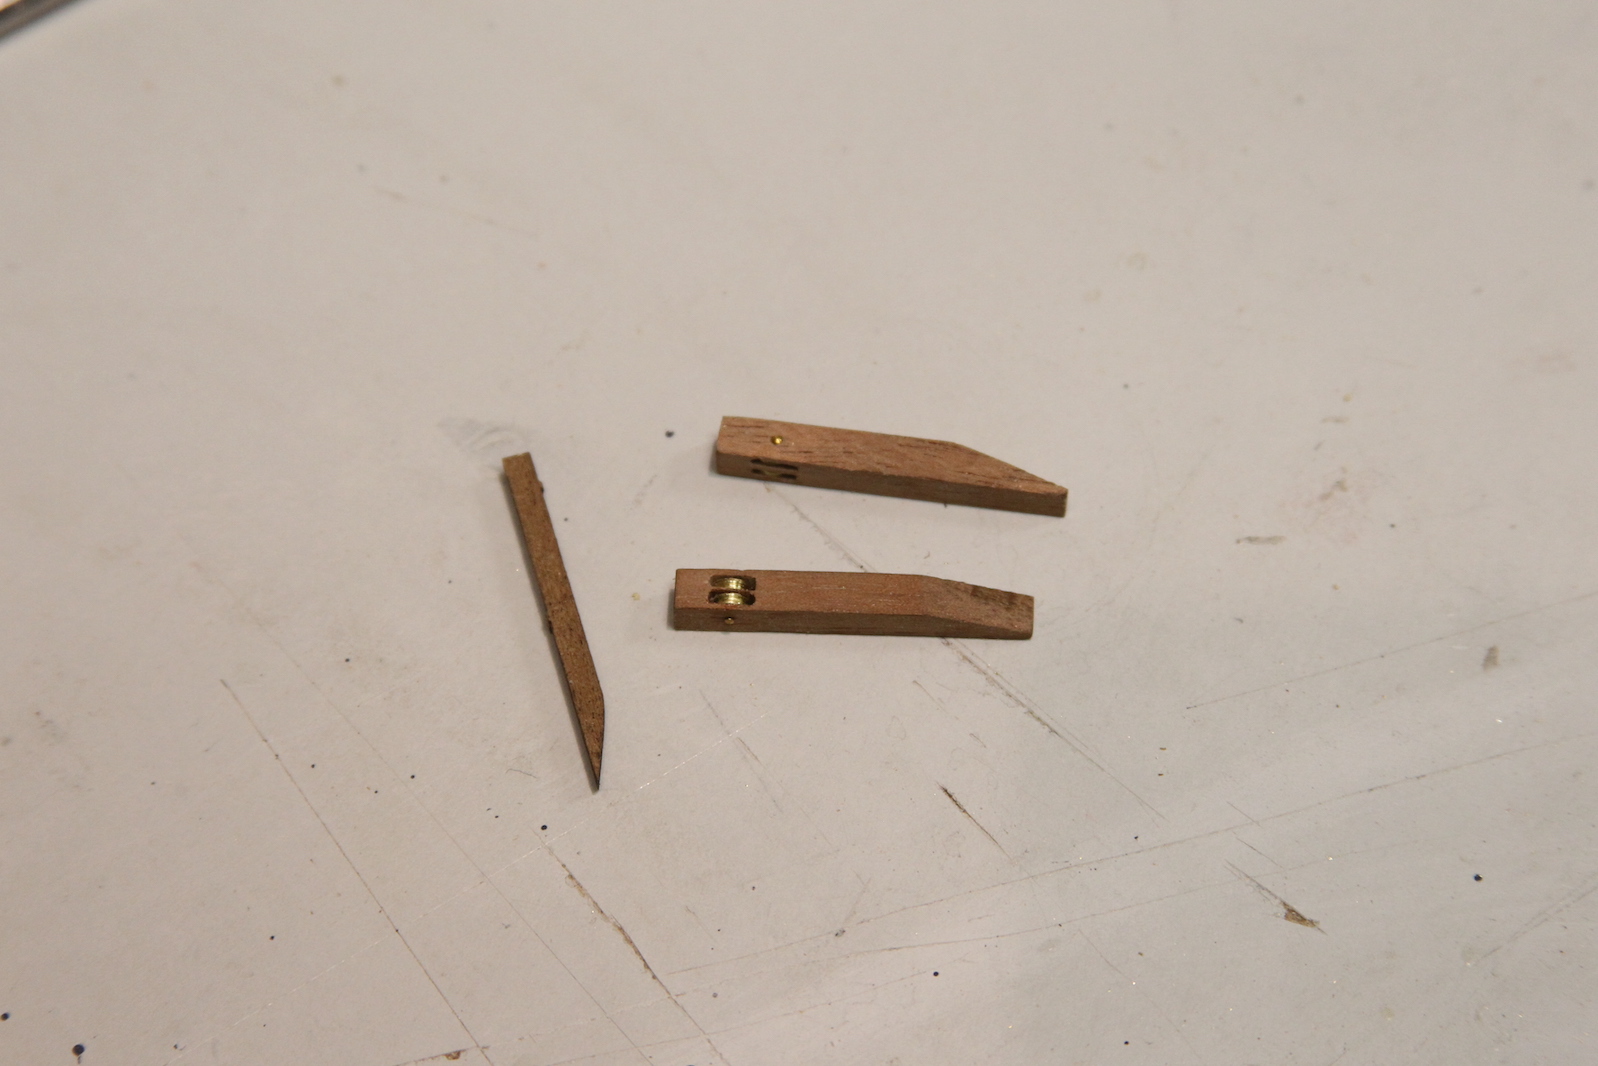
Here are the assembled catheads and comparison between the kit version on the left and the scratch ones. The catbeams are cut at an angle which facilitates their mounting into the deck. I actually feel like I kinda nailed it getting the catheads to look like they go down into the deck. Pretty happy with the result. They’re finished off with the bolt in the side.