
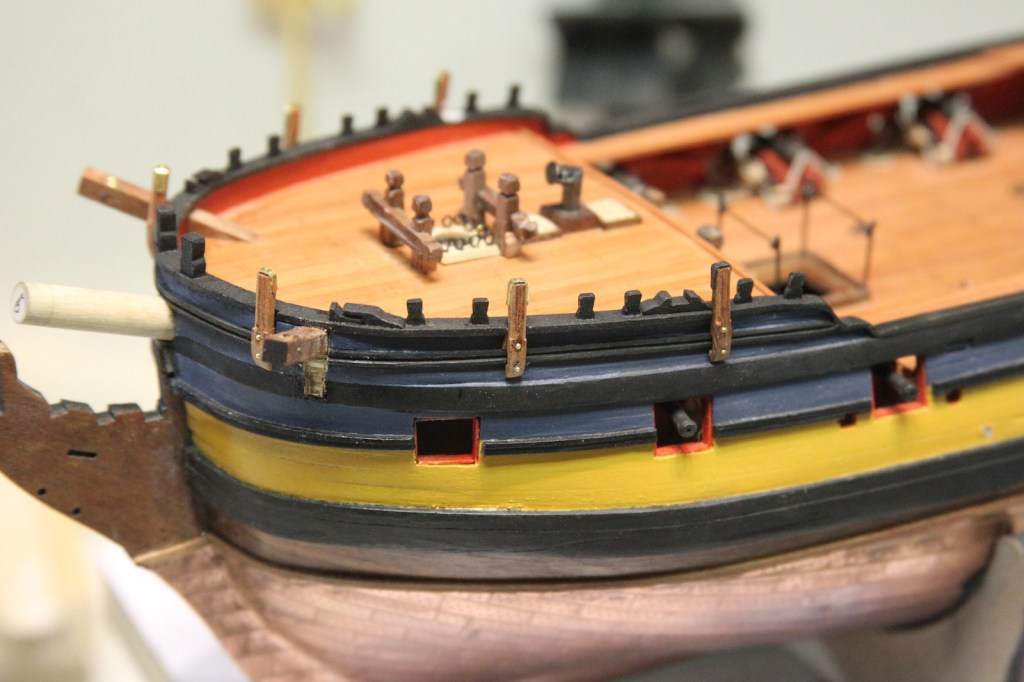
In addition to the 6-pounders along the deck, the Pegasus also had an addition 16 swivel mounts for 1/2 pound falconet guns along the railings on both the forecastle and quarterdeck. Although it was more likely that there were about 8 to 10 guns that were switched along the mounts when needed, it’s much more fun (of course) to fill all the mounts.
I started cutting and shaping the swivel gun mounts out of 3mm x 3mm mahogany that I have lying around. Although several plans call for them to be painted black, I don’t really want to paint them – I want them to stand out a little bit but compliment the rest of the subdued color scheme I have going. I shaped them based on FFM with the octagonal top and sized to fit my ‘scale guy’ once mounted. Each mount has a small bracket to in which the gun is secured and is bolted to the side of the ship.


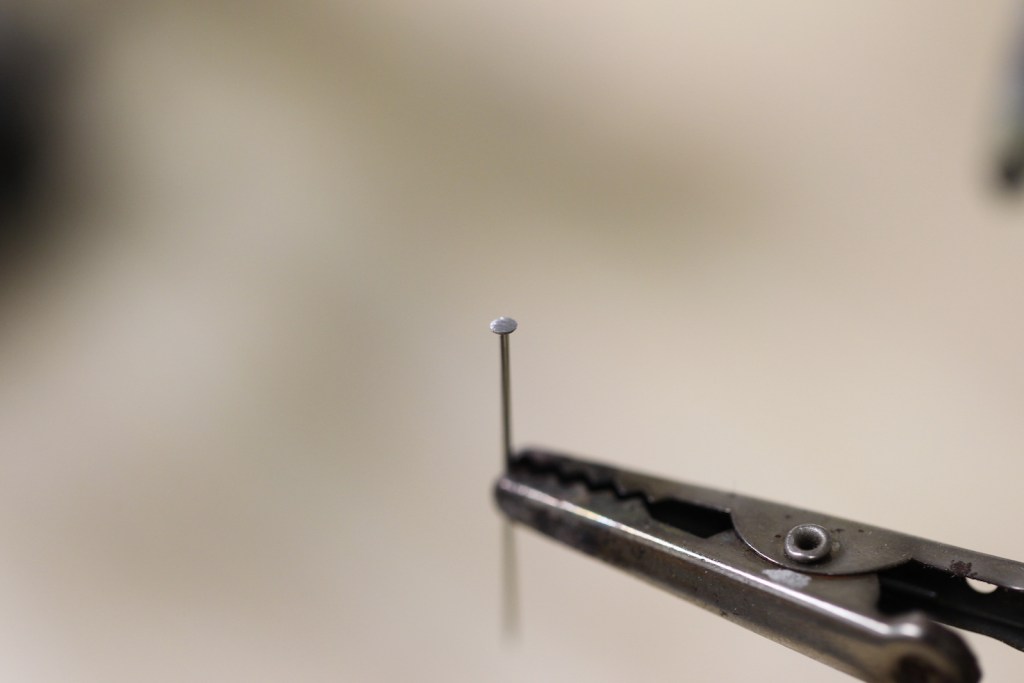
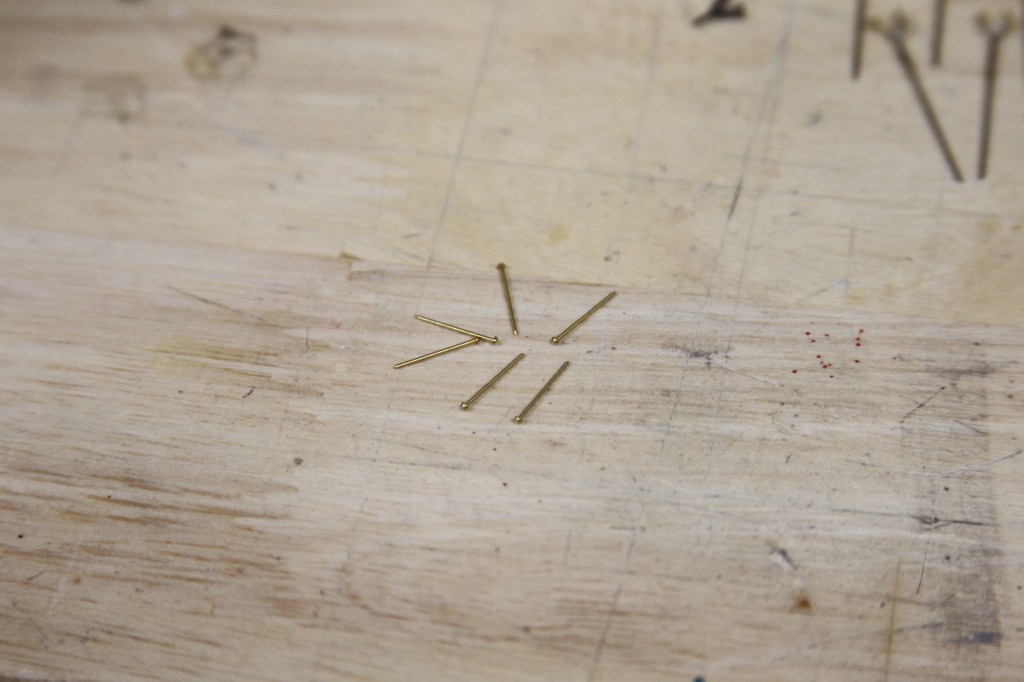
The guns sit upon these swivels in a small bracket that allows them to be moved up and down as well as back and forth. These small brackets were created out of brass strips that are shaped, then drilled out on the sides. I used pins with shaved down pin heads as the base of the mount. The “small as a pin head” idea also provides an idea of just how small of a scale we’re working with here.


The side by side comparison between the pre-fab swivel guns and the 1/2 pound brass cannons I purchased from Syren Model Company show some key differences. However, One of things that is accurate about the kit guns is the way in which the rear handle extends back.
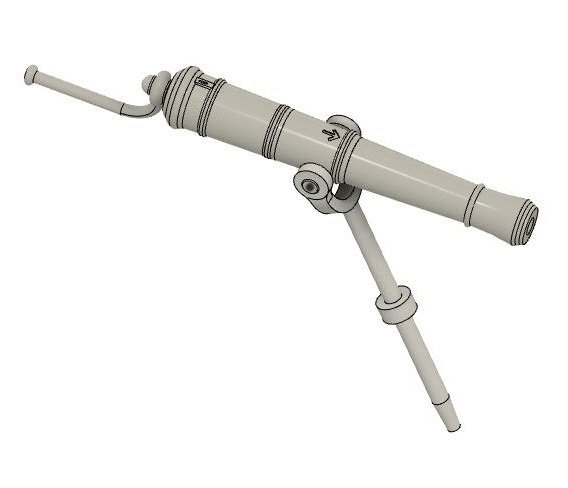
I briefly considered hacking off the breach button from the brass one and trying to extend a handle back – but quickly realized this was beyond my capabilities without the entire thing looking like crap. So I opted for the secondary style that you also see around that time frame in which the handle extends from the rear of the gun. This deviates some in terms of the Peg’s guns, but it’s what I think I can achieve. Here’s a good CAD representation from a fellow builder.
After a lot of attempts at trying to get the handle to “loop” around the button as shown in the illustration, it was just too small of a scale and everything I did once again looked like crap. My first working attempt was to try and mount/solder it to the bottom of the gun instead.


At first, I felt like this was acceptable. Mostly since at the end of the day, the combination of the very small scale and the bottom of the gun not being visible made this passable. Then, of course the more I looked at it the more annoyed with it I got. So I tried again – this time, taking the wire handle, flattening the end, and cutting a small groove in the end with the smallest cut pin file I could find. That groove allowed me to solder it to the rear of the gun and kind of “simulate” the loop over the button.


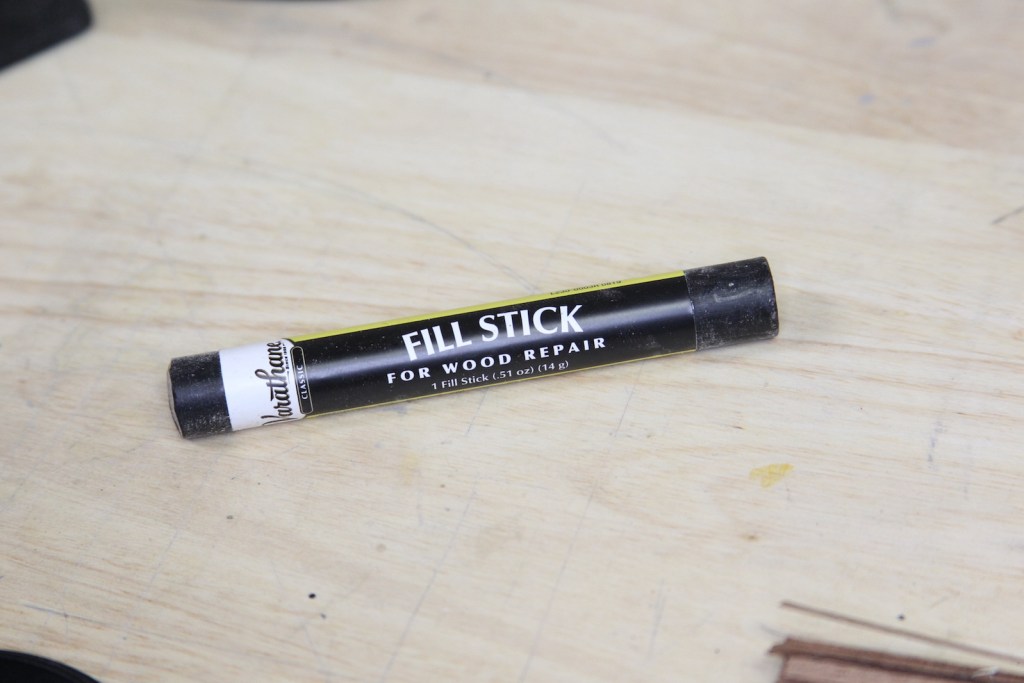
Following the idea of my hatch railing stanchion tops, I created the “knob” at the end of the handle by taking a small amount of this ebony wood filler and rolling it into a ball.
Still have to work on getting the size acceptable, so I’m not sold on this technique. I blackened the cannon to get an idea of the end result. The “ball” is way out of scale, and I still needed to do some work on my blackening techniques, and I’m not thrilled with this as a final result – but gives me some idea of how these guns will look once mounted.

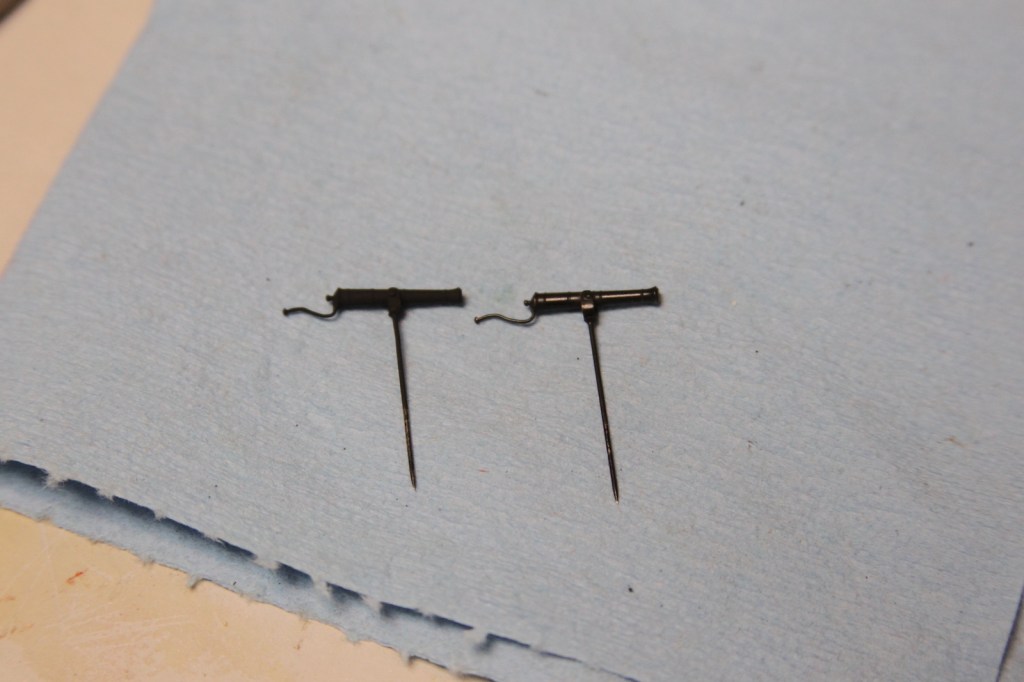
After a couple of days of contemplating how to get this handle right, I eventually though of the ever handy .020″ mico-mark tiny nails that I’d used on the rudder (and here on the brackets). So why not take another run at the guns using the longer version of those? This got me much closer to what I wanted – as the handles themselves are more to scale with the guns.
It was a real trick soldering them however – as the melting point of the little brass nails was almost exactly that of my softest silver solder. So often the nail would melt a little along with the solder and had to be fiddled with. Then I shaped the handle after it was cooled. About 1/3 of the time, shaping the handle also meant snapping it off and starting over.

Blackening Techniques
Like many folks, my success with blackening has been hit or miss, and I always ended up having to do touchups or over-weathering to make up for the inconsistencies. But with the success I had soldering the swivel guns, and how inevitably visible they are – I wanted to get the just right. So I went back to the basics on blackening by doing some research on the Model Ship World forum and following Greg Herbert great tutorial post “Blackening Revisited” with all the steps. Ordered some Sparex acid solution, stole my wife’s crockpot warmer, and set up my station.
Essentially the process is – ‘pickle’ the metal in the acid solution for 10-15 minutes, denature it in a baking soda solution, sanitize it completely in a bath of acetone for another 10-15 minutes, let it dry completely, chemically blacken it with diluted a “Brass Black” product, then finally, polish very lightly.


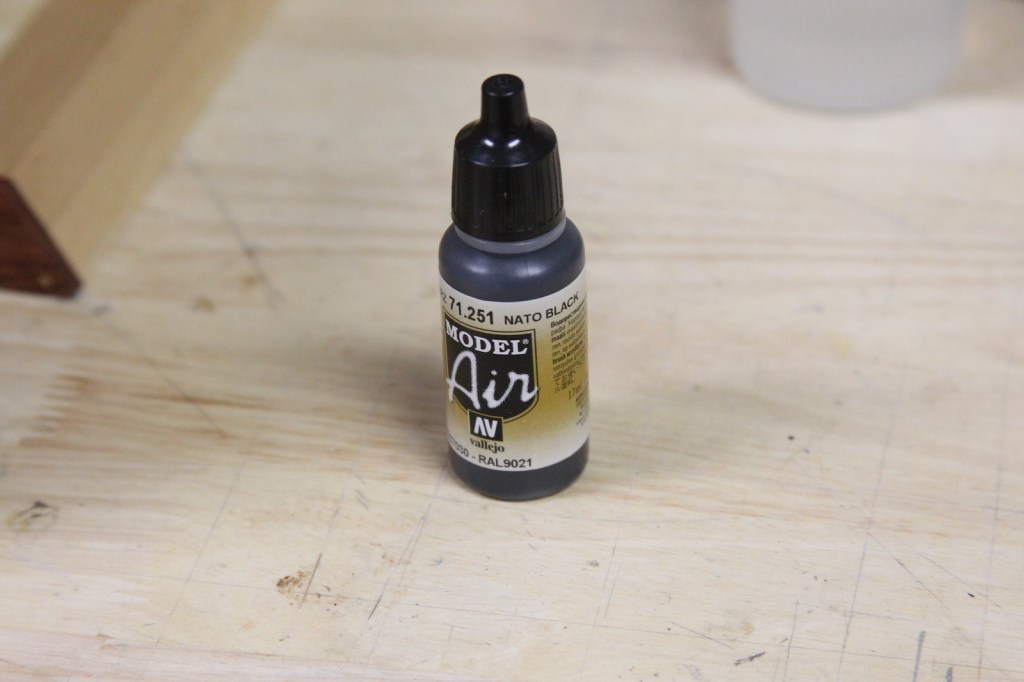
After blackening, all the guns are mounted into their brackets, then some final weather takes place. Each cannon gets a shot of Vallejo brand “Nato Black” from a light air brush, polished once again, then dusted with Tamiya’s ‘rust’ weathering product.


I’m pleased overall with the final product. The guns themselves will be mounted permanently much later in the build – as to avoid me ripping them off with a snagged sleeve or other such clumsiness. But, I couldn’t resist mounting one of the guns to get an idea of how they’d look.


