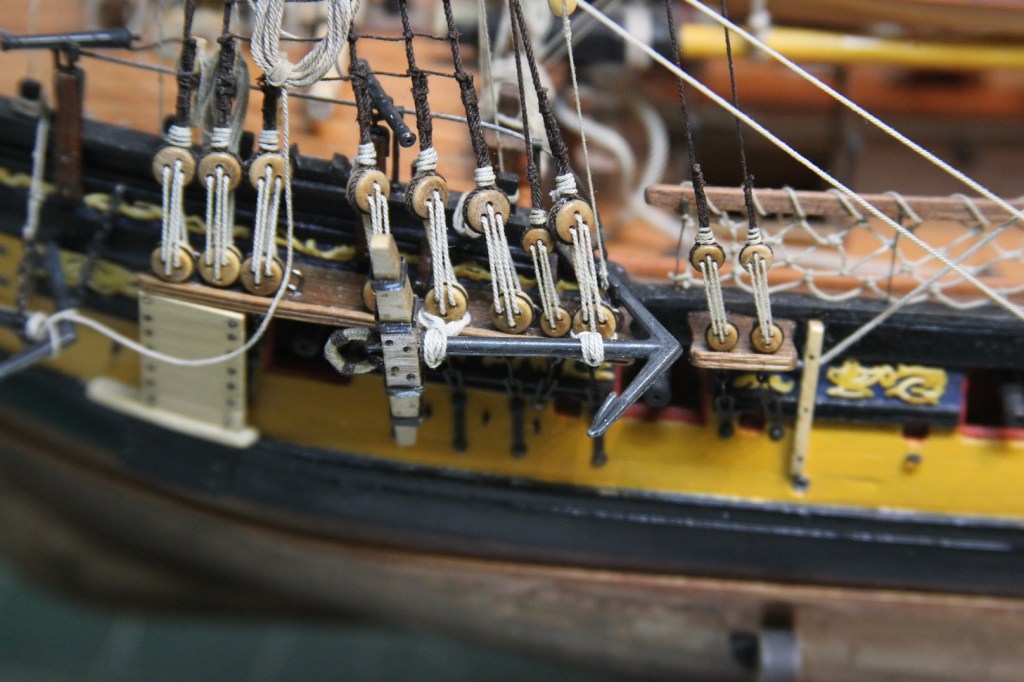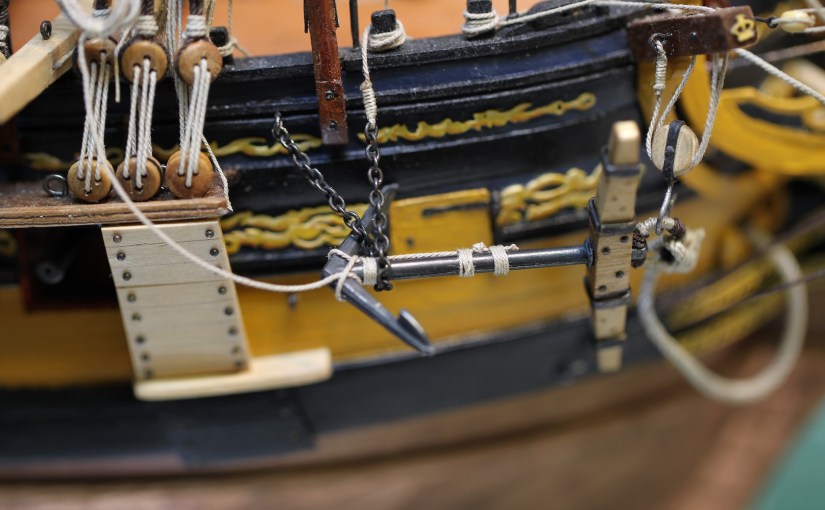
Though each ship varied depending upon size and need, and typical Swan-class ship would have carried four or five anchors. The two largest being the bowers then the slightly smaller sheet anchors and possibly a fifth – a small kedge. This Pegasus will feature four – all of which will be the same size because – well, that’s what I have.
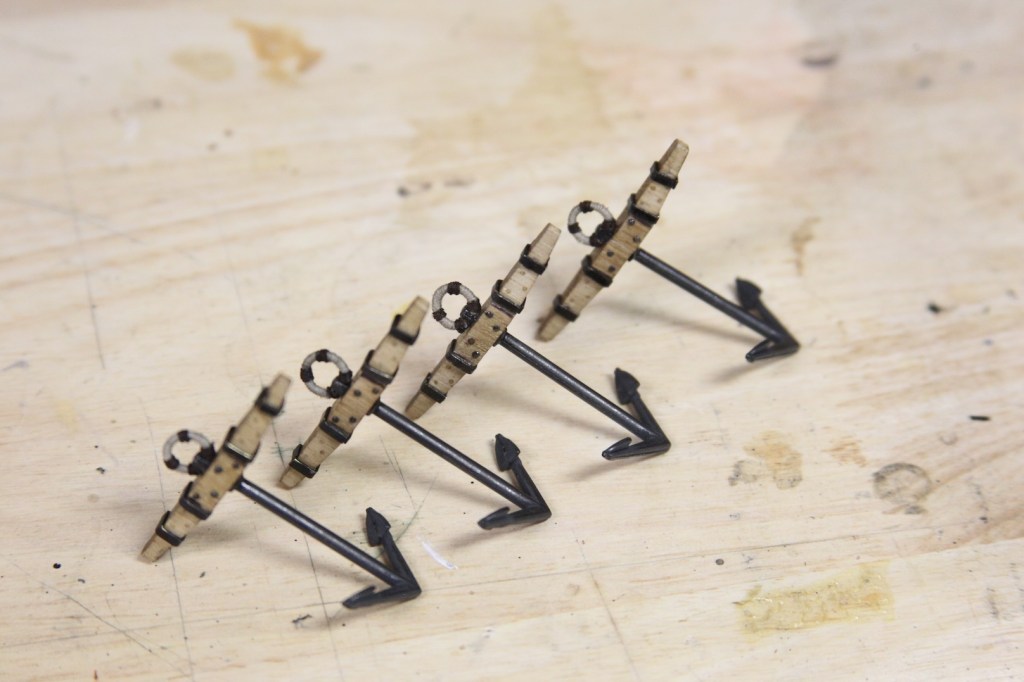
The anchors are made of walnut stocks with a square hole cut for the anchor shank. Two sets of metal bands wrap and secure the stocks. The middle of the stock is secured with four large metal bolts with the outsides of the stocks secured with treenails made from sanded down bamboo strips. The anchor is topped with an iron hoop. All metal parts are pre-blacked before the anchor is assembled.
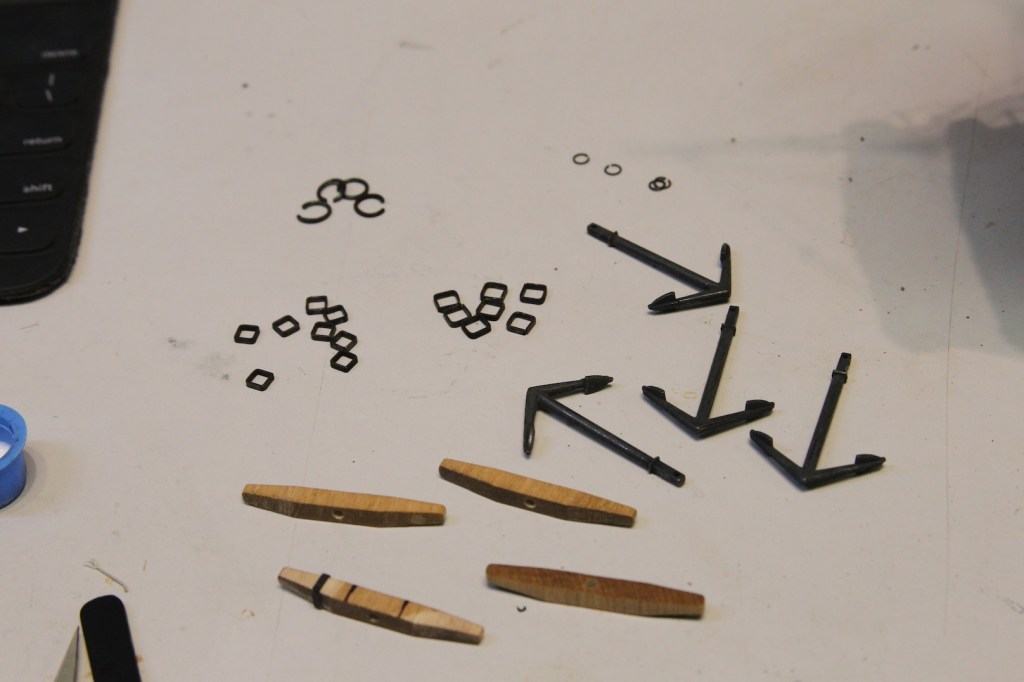
After the main portion of the anchors are assembled, holes are drilled for the iron bolts and the treenails. The iron hoops are “puddened” by wrapping them with a .15 mm diameter tan rope. They are then furthered seized with .10mm dark rope.
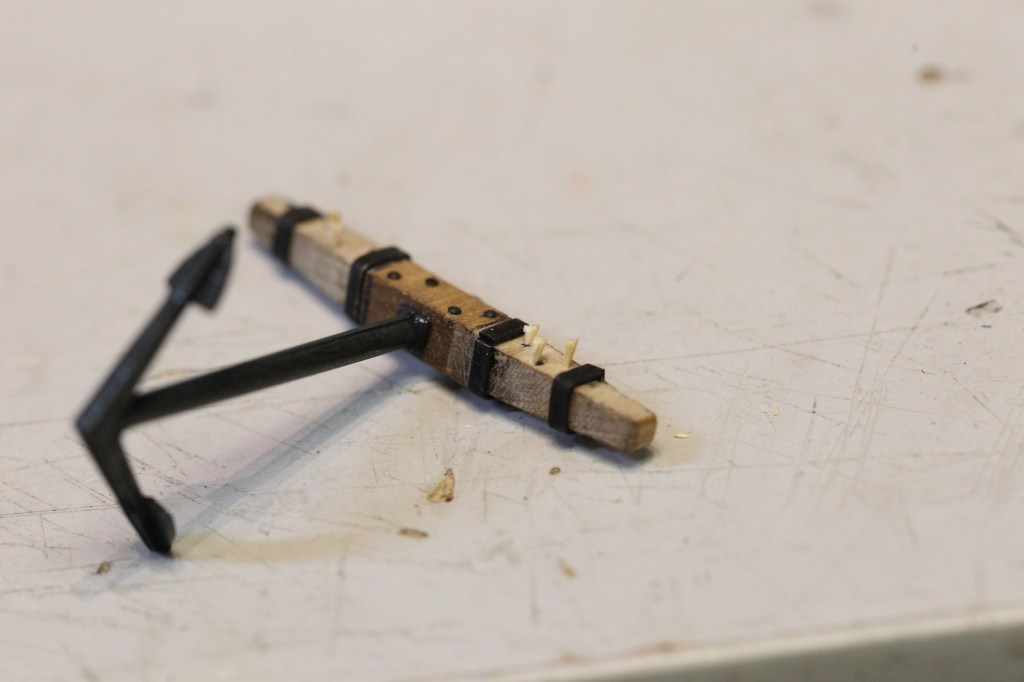
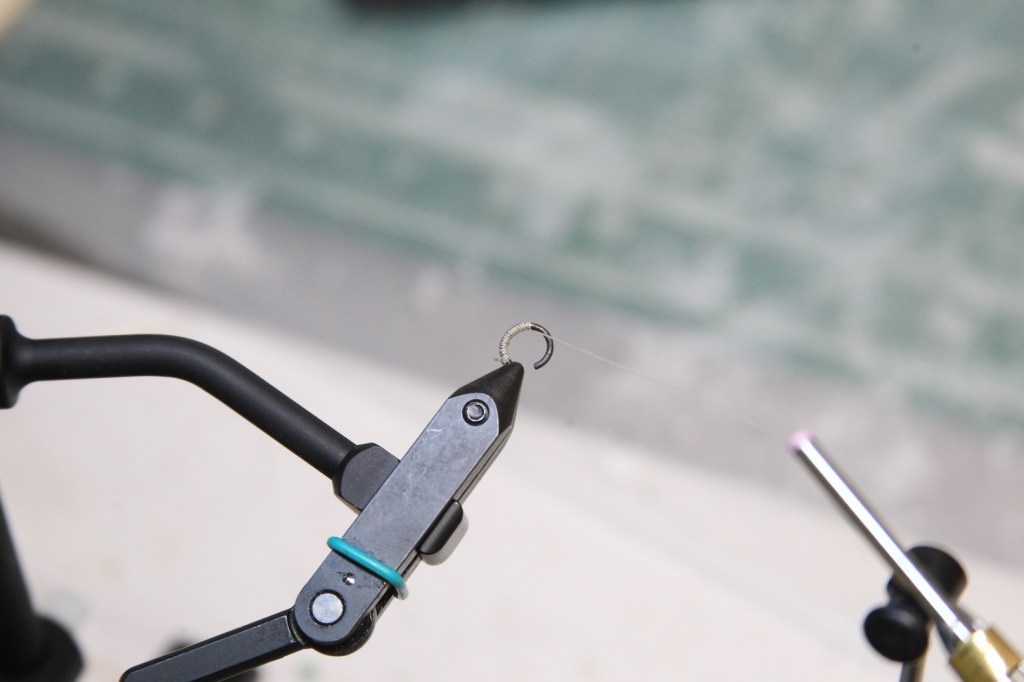
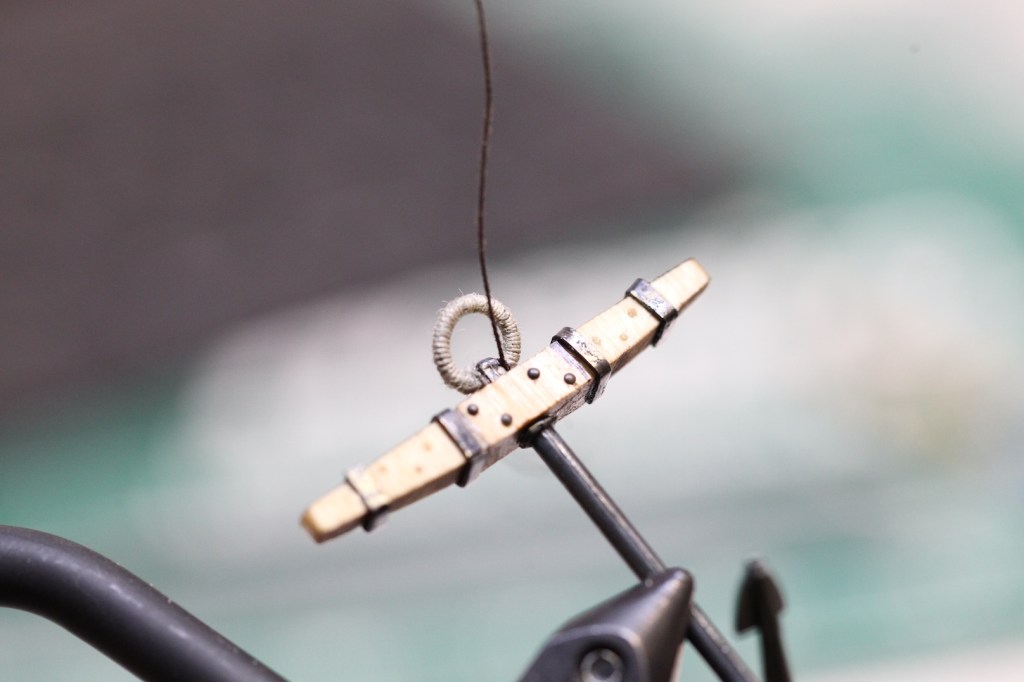
When the anchors is fully assembled, a coat of dutch oil is applied which further brings out the difference in color between the treenails and the wood stock.
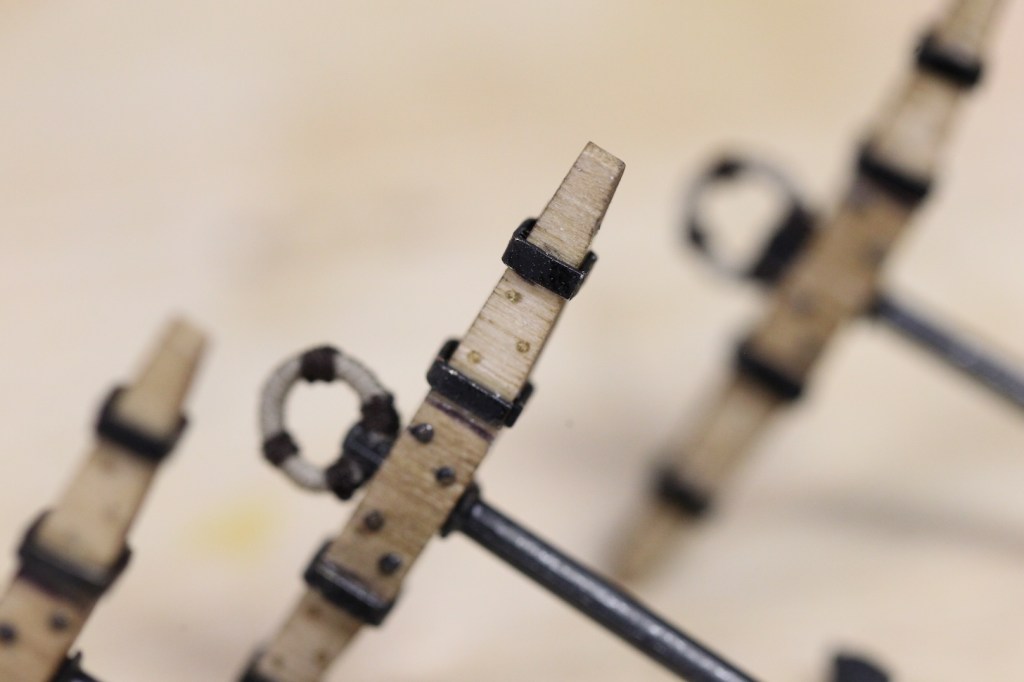
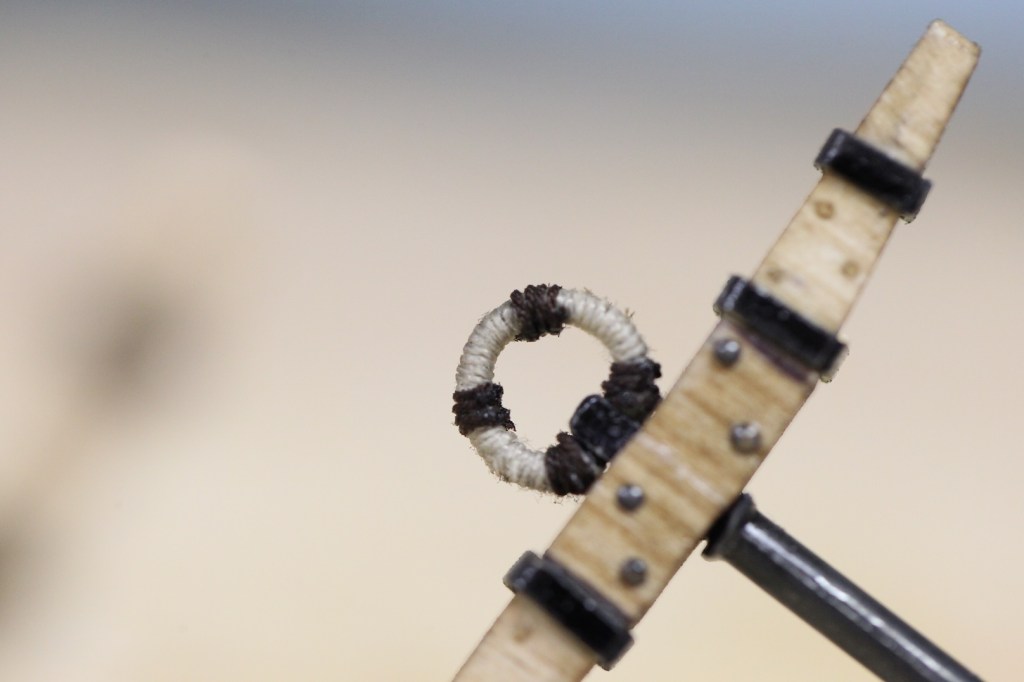
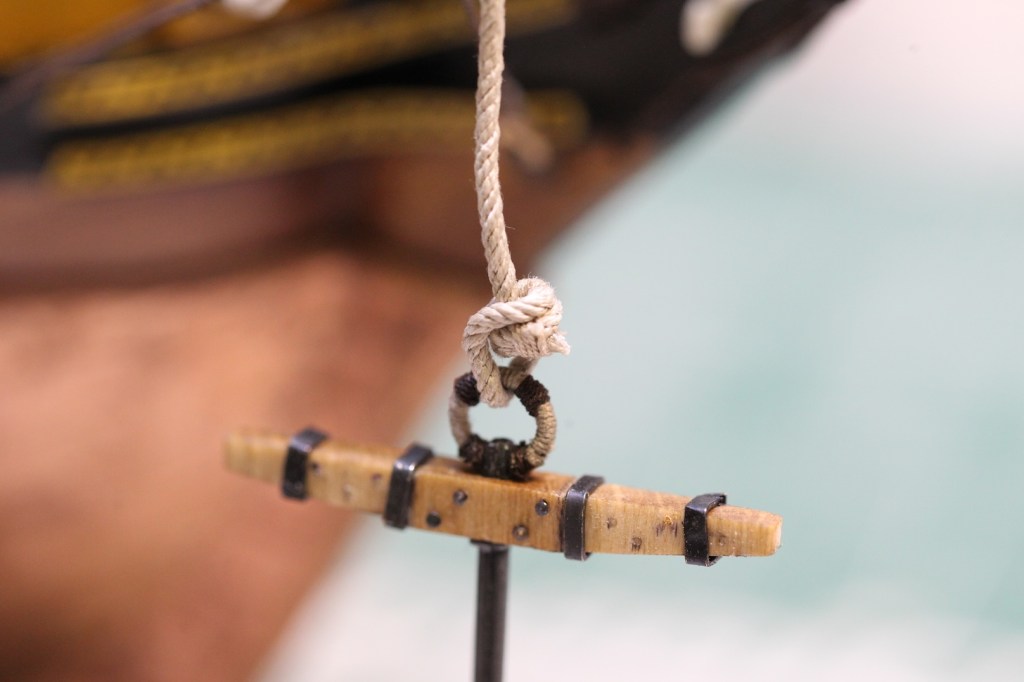
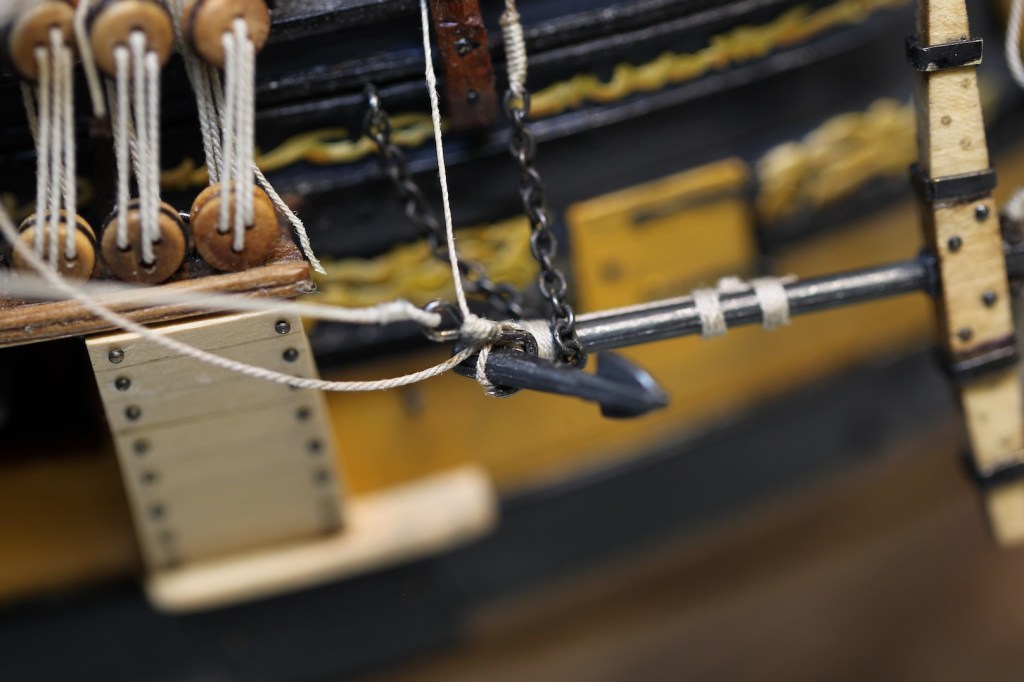
The anchors are secured to the anchor rope using a specific knot called an outside cinch in which the rope has a double pass through a folded loop. This knot creates the necessary friction needed for such a high stress piece of rigging. The cinch is further secured with additional seizings using .15mm rope.
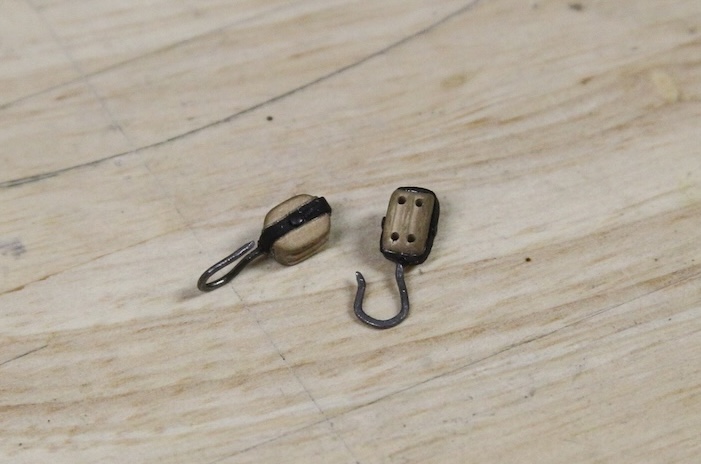
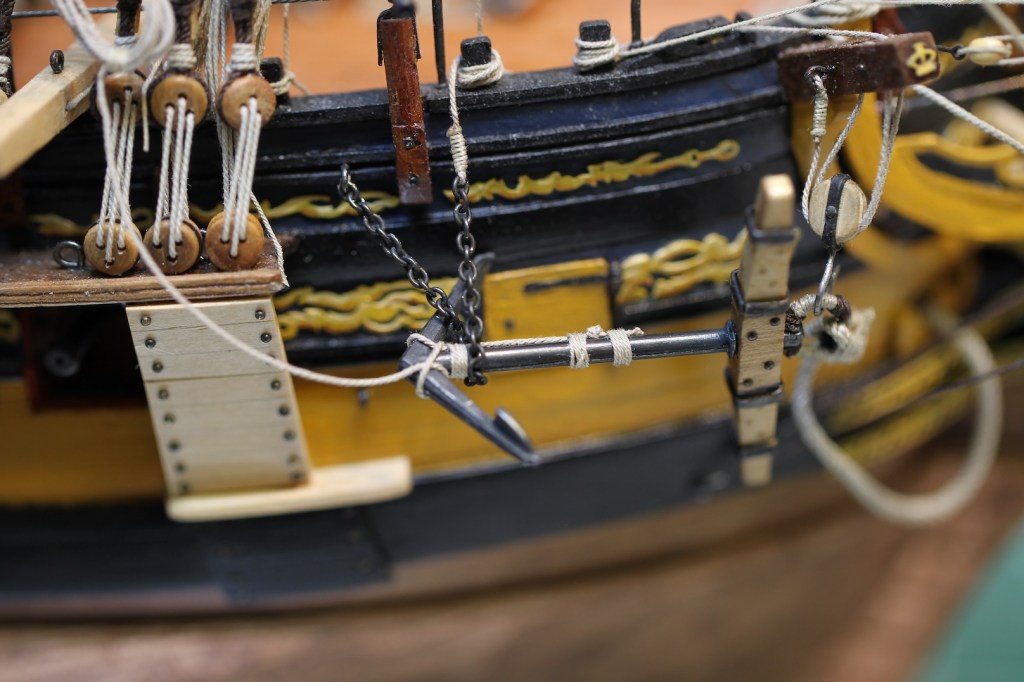
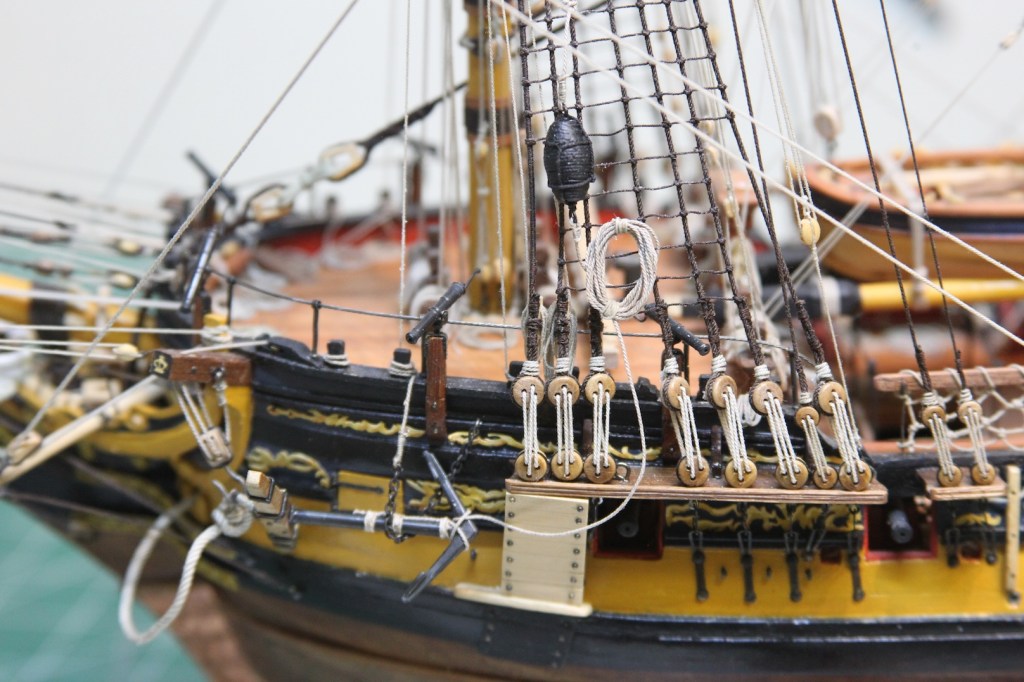
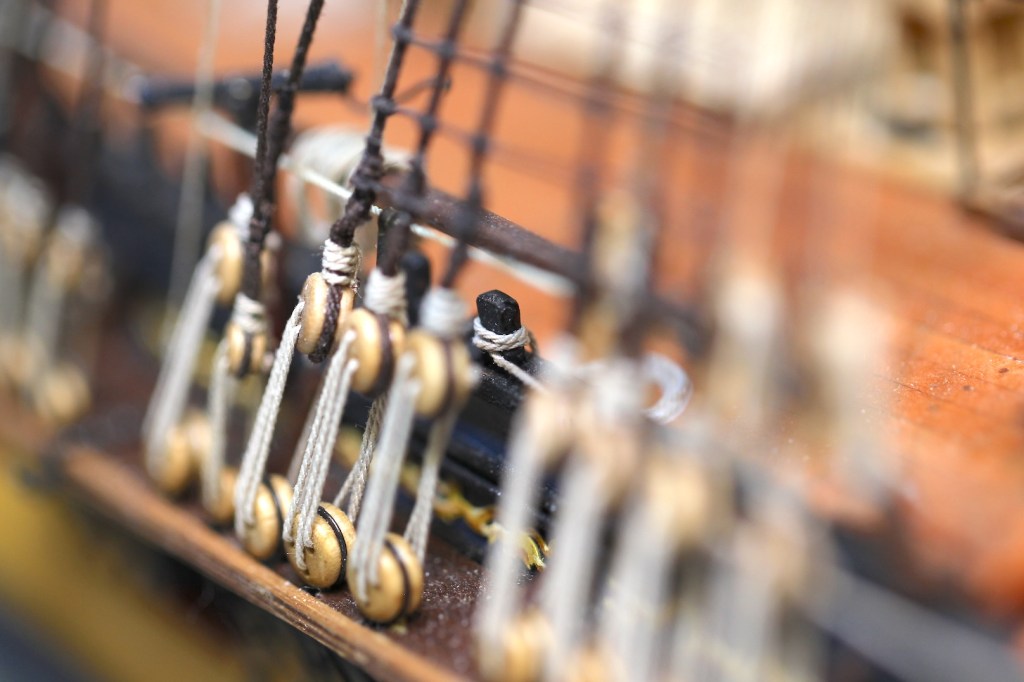
The anchors are secured to the catheads using 15″ (6.4mm at scale) cat blocks which are coaked – meaning the stropping is an iron strap centered by a circular metal bearing; simulated with an iron pin. The double block is fitted with a large recurved and tapered hook about the same length as the block itself.
The anchor is rigged using cat falls – a 3″ (.40mm) line eye spliced to an eybolt on the aft side of the cathead just aft of the sheave. The line is taken down the first sheave of the cat block, up through the aft sheave of the cathead, down again through the second sheave of the cat block, back up through the second cathead sheave then up and around the snatch block on the forecastle rail. Finally, it is belayed to a convenient timberhead aft of the snatch block.
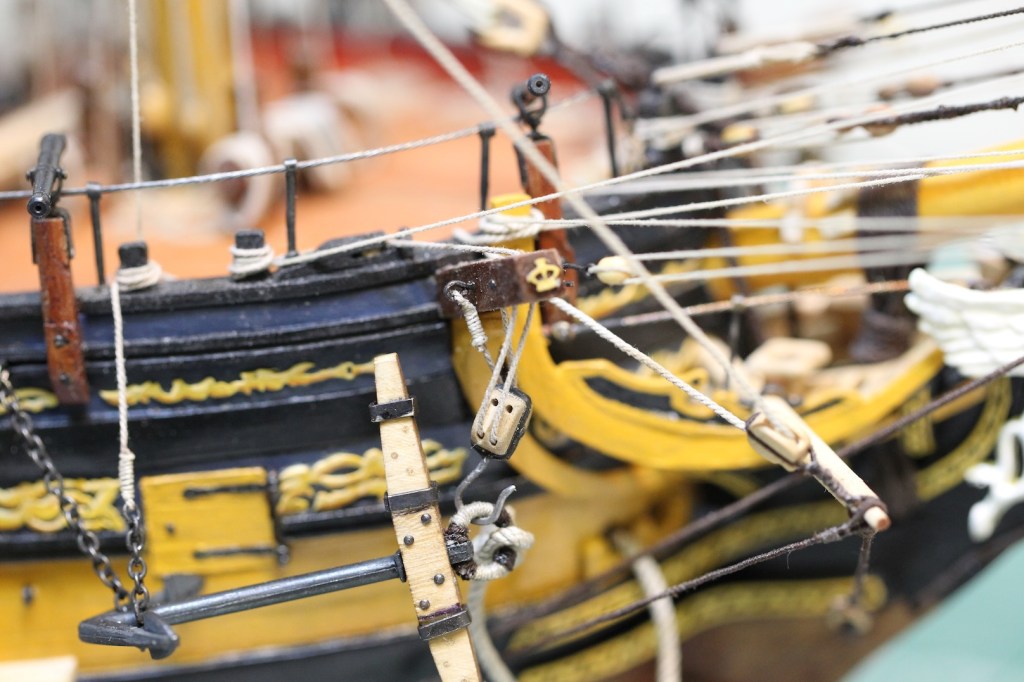
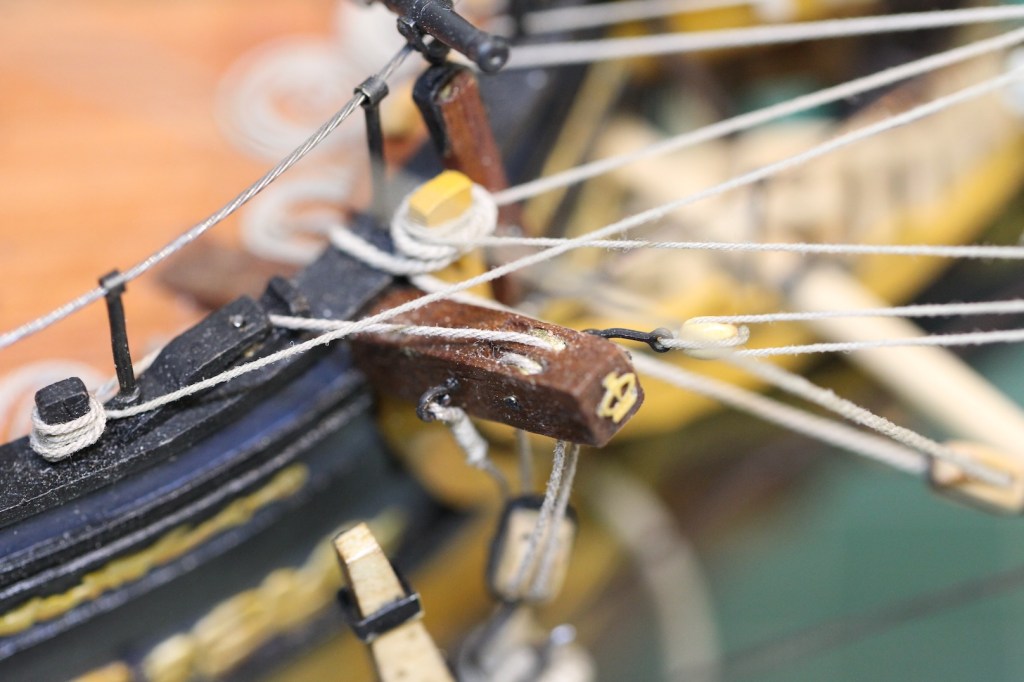
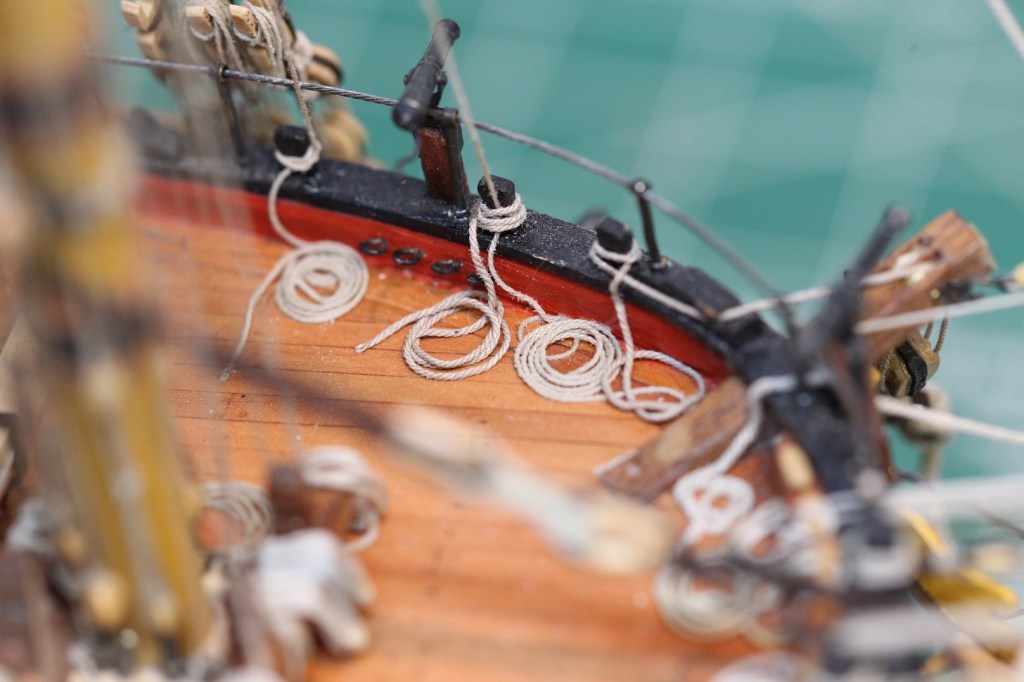
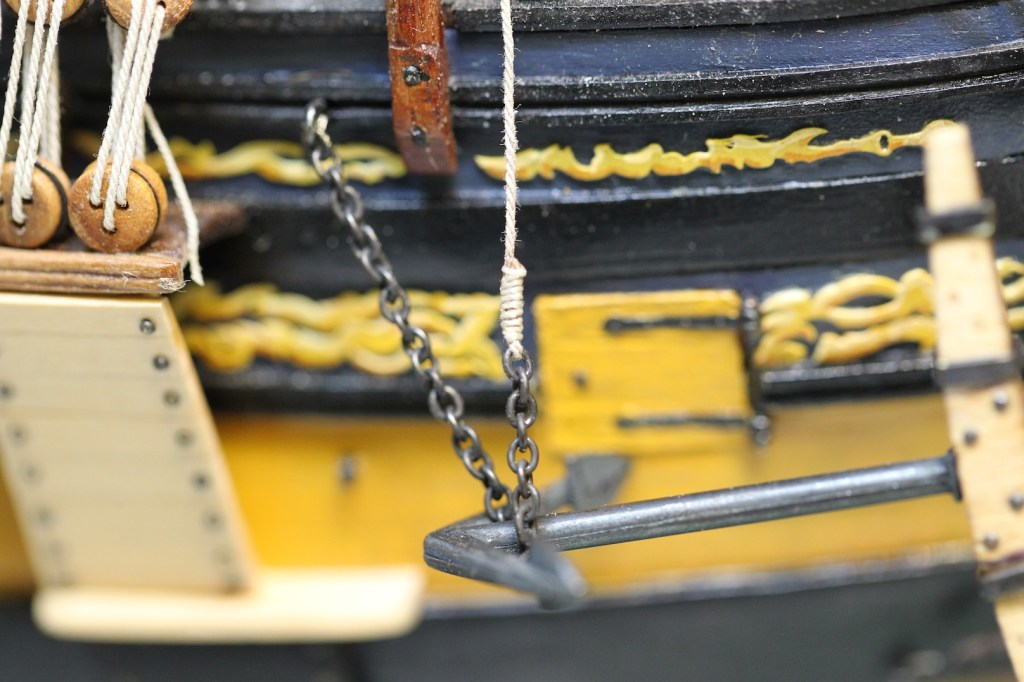
The bottom end of the anchor is secured with the shank painter chain. The chain is fixed to the hull just in front and above the fore channels. The chain secures the forward end of the anchor once it has been catted. The other end of the chain is secured with a .40mm rope that extends from the chain up to a timberhead on the forecastle rail.
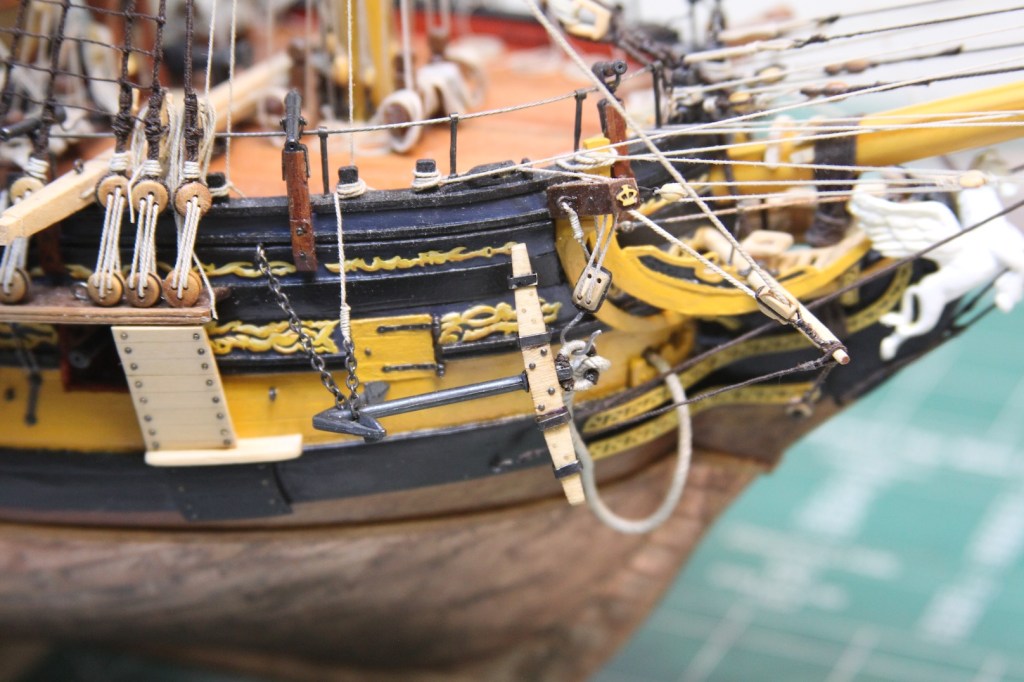
The Nun Buoys
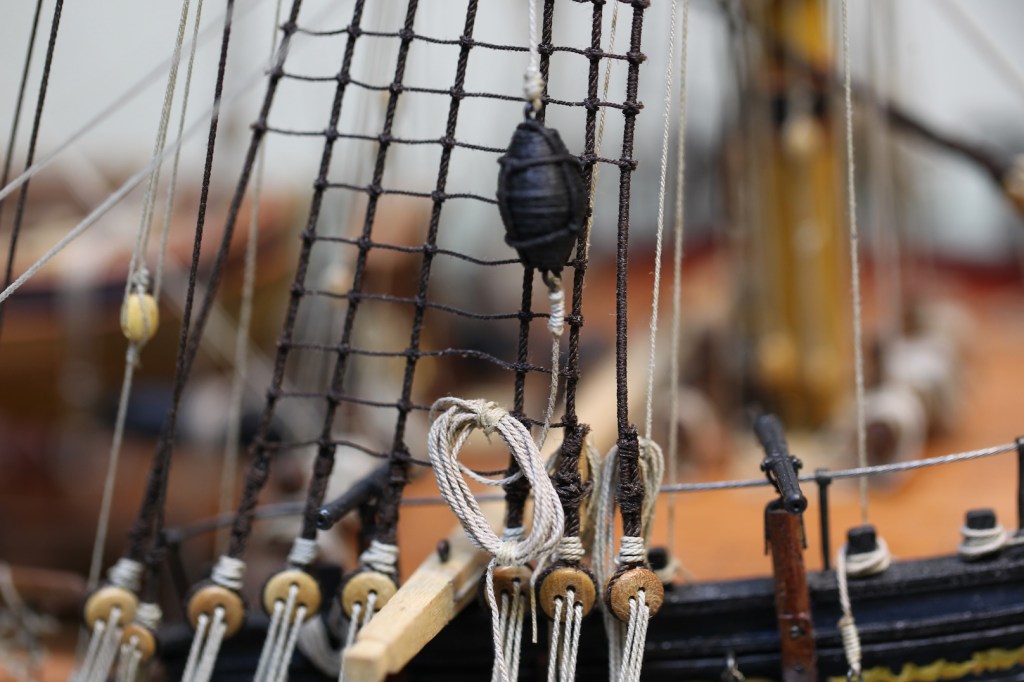
Nun Buoys are an interesting feature that is rarely seen on modern ship models but represent an added element of accuracy and realism. These curiously shaped objects are named after the word nunn which was a child’s spinning top. Now days, nun buoys are often bright red and used as channel markers. However on an 18th century vessel, nun buoys were deployed along with the anchor to ensure it is easily located. The buoys were roughly a quarter of the size of the anchor shank and were made up of a hollow pointed end barrel with staves and hoops, parceled with canvas, then tarred all over.
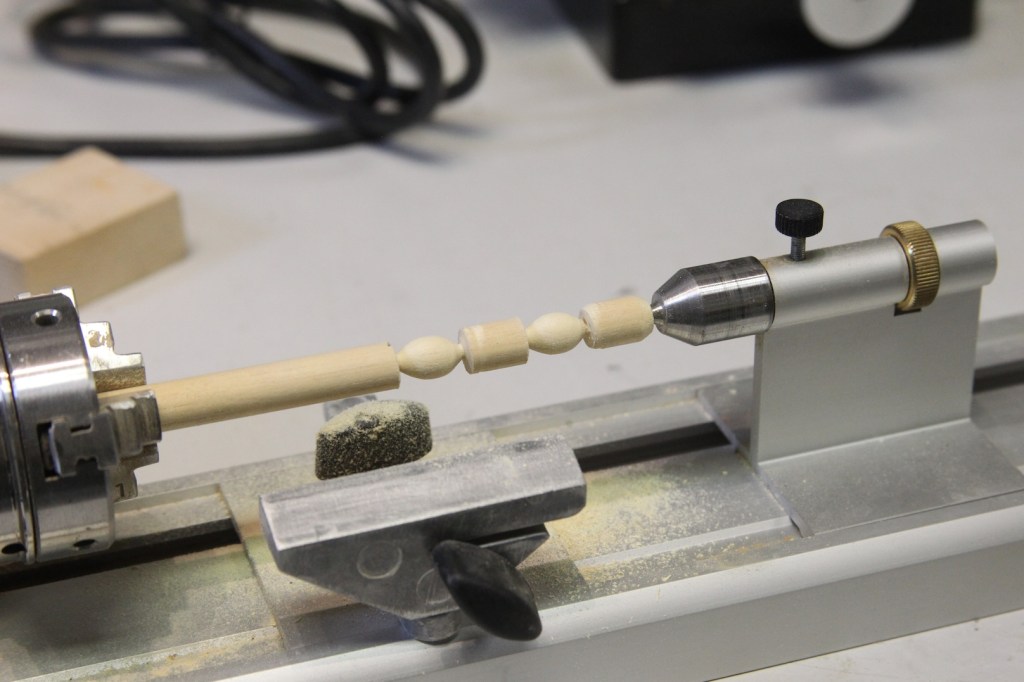
The Pegasus buoys are approximately 15 mm long and 7 mm wide turned on a lathe. To recreate the canvas look, the shapes were then wrapped in .20mm rope for texture, then coated in black acrylic primer to replicate the tarring.
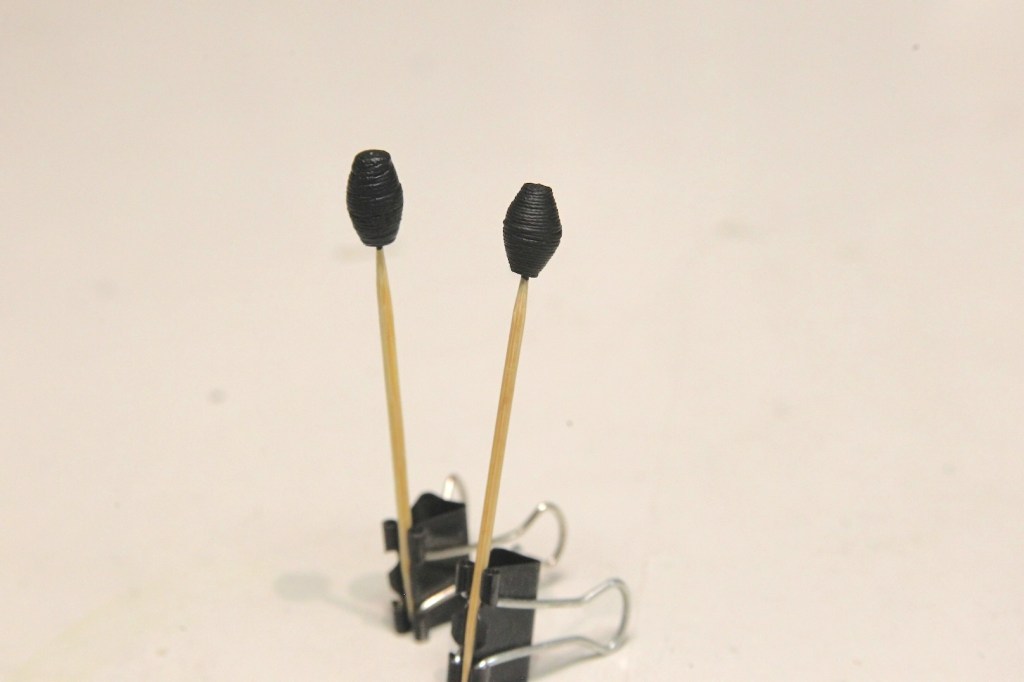
The buoys are rigged with two circles of hoops across the middle width using served 2.5″ lines. Two lengths of similar line called slings are eye spliced to each circlet across the buoy’s equator at 90 degree intervals. This results in four slings alternating along the length of the buoy ending in eye splices.
This was all a bit complicated at this scale, so I modified the eye splices at the slings and fitted the ends of the buoys with eye bolts instead of round seizing the lines into loops. Once again, the entire thing is given a coat of flat black primer to simulate the tarring of the buoy.
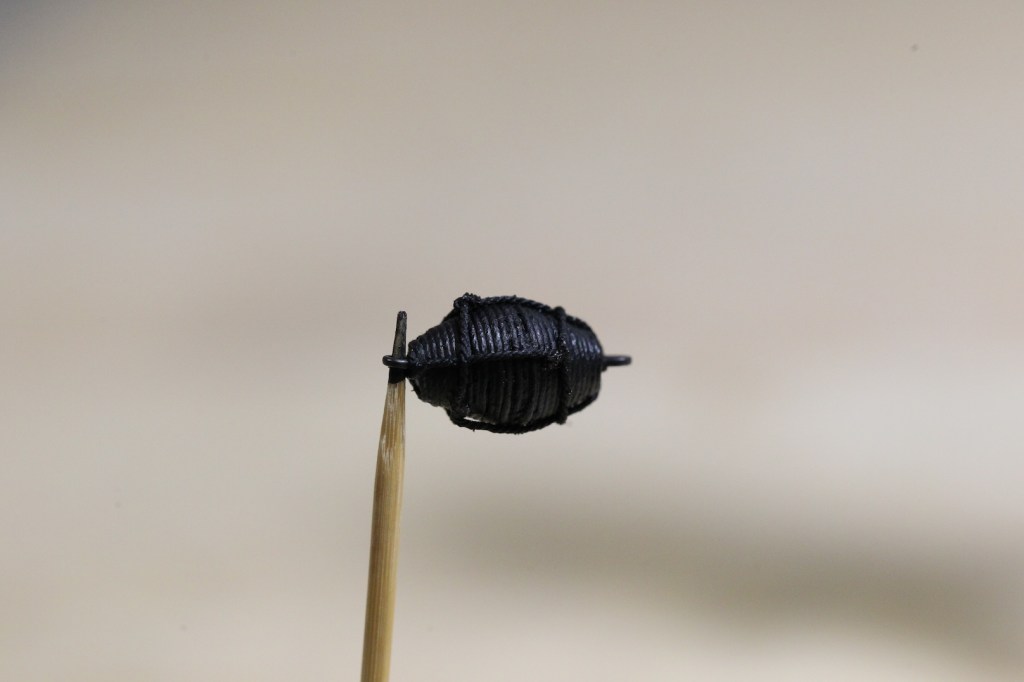
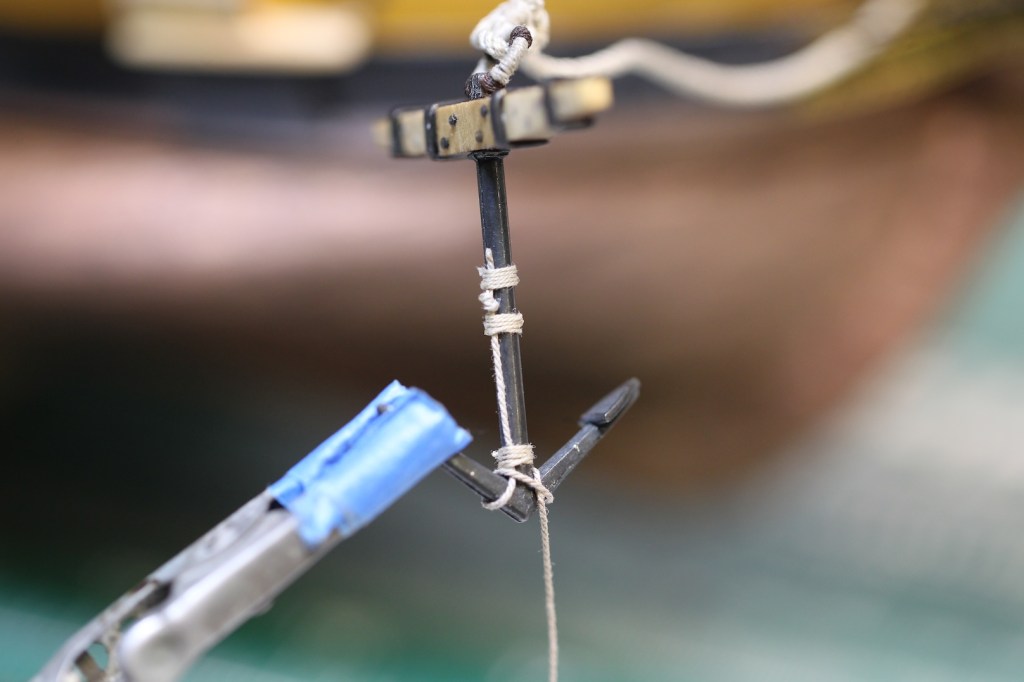
When the anchors are stowed (which they are for this model) the buoys are rigged to the shrouds by a laniard with a large coil of rope secured just below which makes up the buoy rope that is secured to the anchor. The buoy rope is attached to the anchor by clove hitch around the arms and shank. The standing end is laid along the shank and seized. Notice there is also a bump in the standing end called the buoy rope knot that would catch a seizing or the clove hitch should one of the original seizings fail.
Fish Davit Rigging
You may recall the creating of the Fish Davit during the deck fittings sections of the build. The Fish Davit was literally used to ‘fish’ the anchor out of the water and up the side of the ship. It was deployed over either port or starboard as needed and simply shifted along the spanshackle rings.
Even though the fish davit was secured after the anchor was secured, I’ve chosen to add the rigging on the starboard side of the Pegasus to display what it would have looked like with the davit in use. I do this with the disclaimer that the rigging in incongruent so the anchors being secured.
The fish davit is rigged using two key pieces of rigging – the fish davit pendant and the fish tackle.
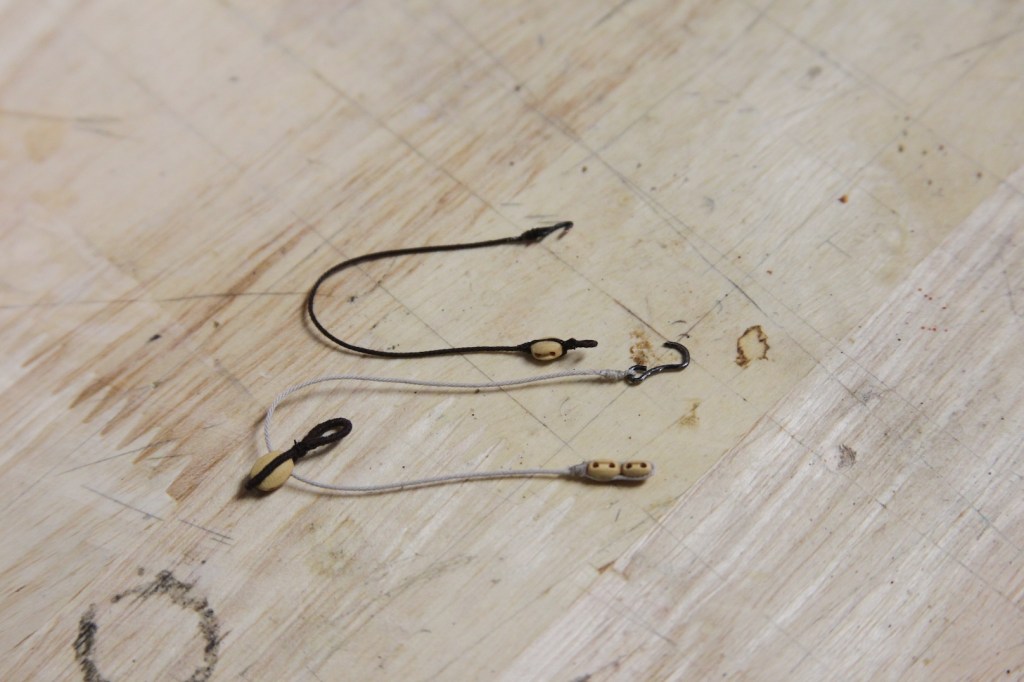
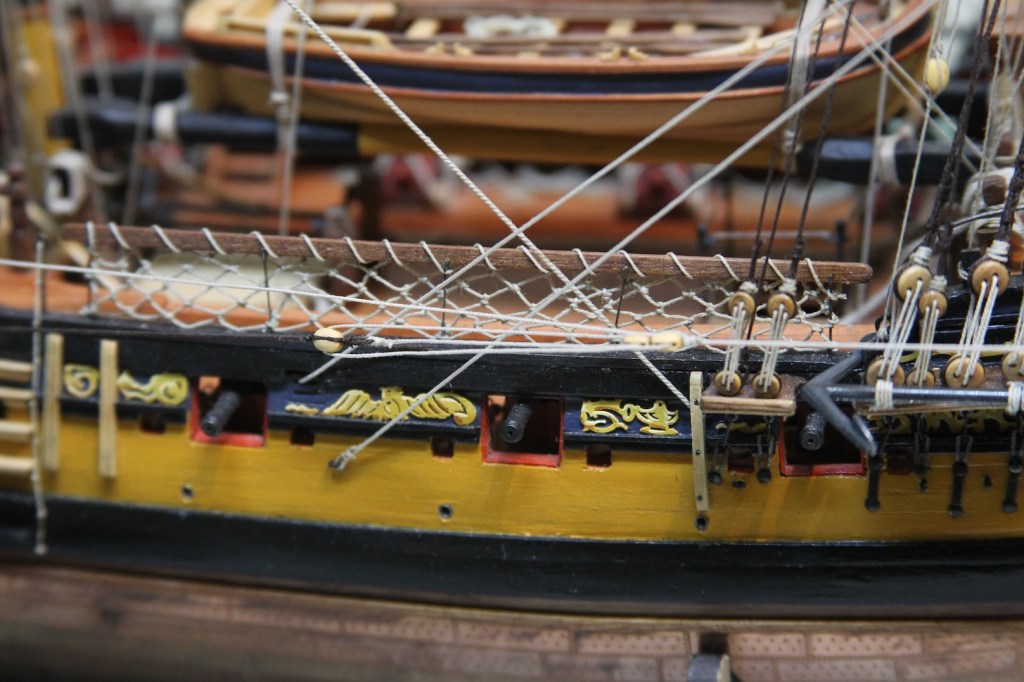
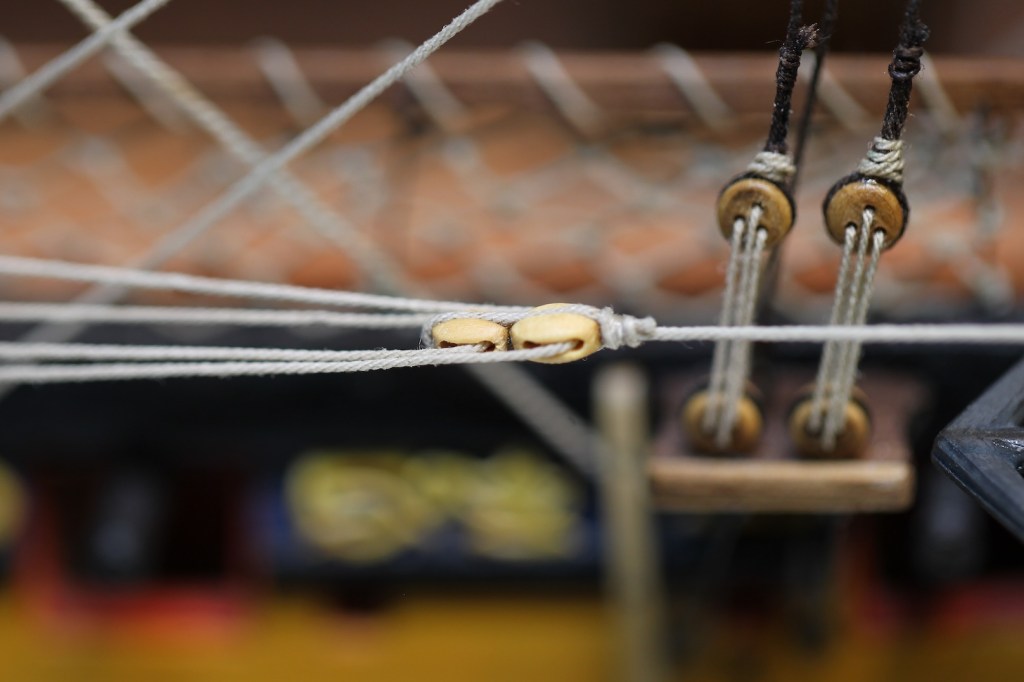
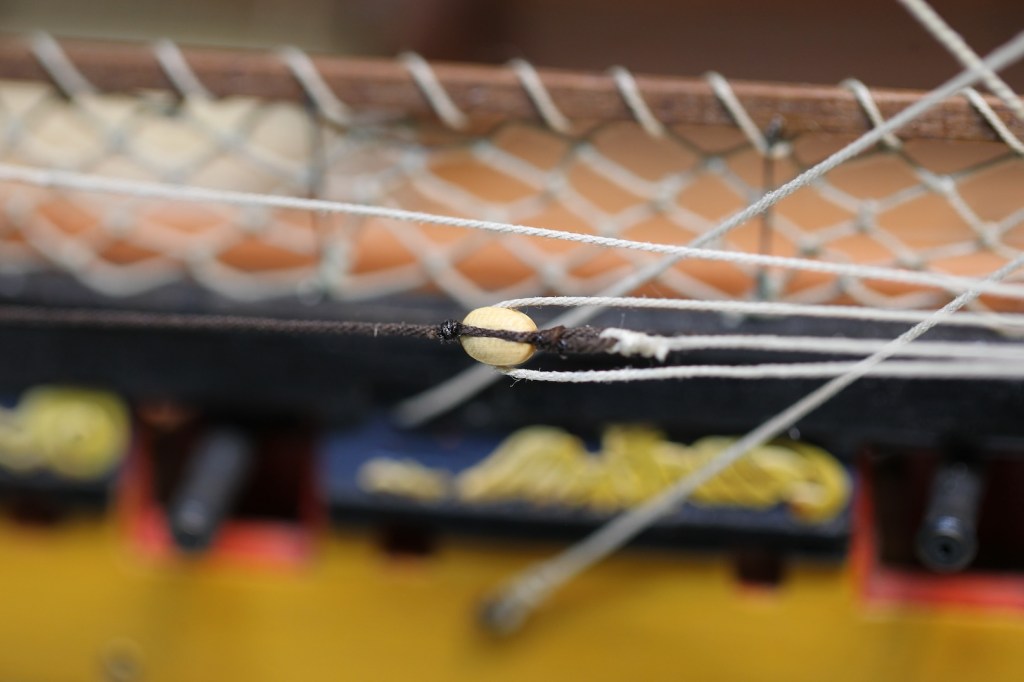
The davit is employed using a large 15″ (6mm at scale) fish tackle block attached to the davit. The block is stopped with a 3.5″ (.40mm) served line which loops over the fish davit. The fish tackle pendant (light line picture above) is a 5.5″ (.60mm) untarred line with a large hook spliced on one end. This hook was used to fish for the inner arm of the anchor. The other end of the pendant strops over a 14″ and 13″ double block.
The fish tackle (dark line pictured above) has a 14″ (5mm) blocked stropped with a tarred line and seized eye. The other end of the fish tackle is seized onto a smaller hook which attaches to an eyebolt near the fore end of the main chains.
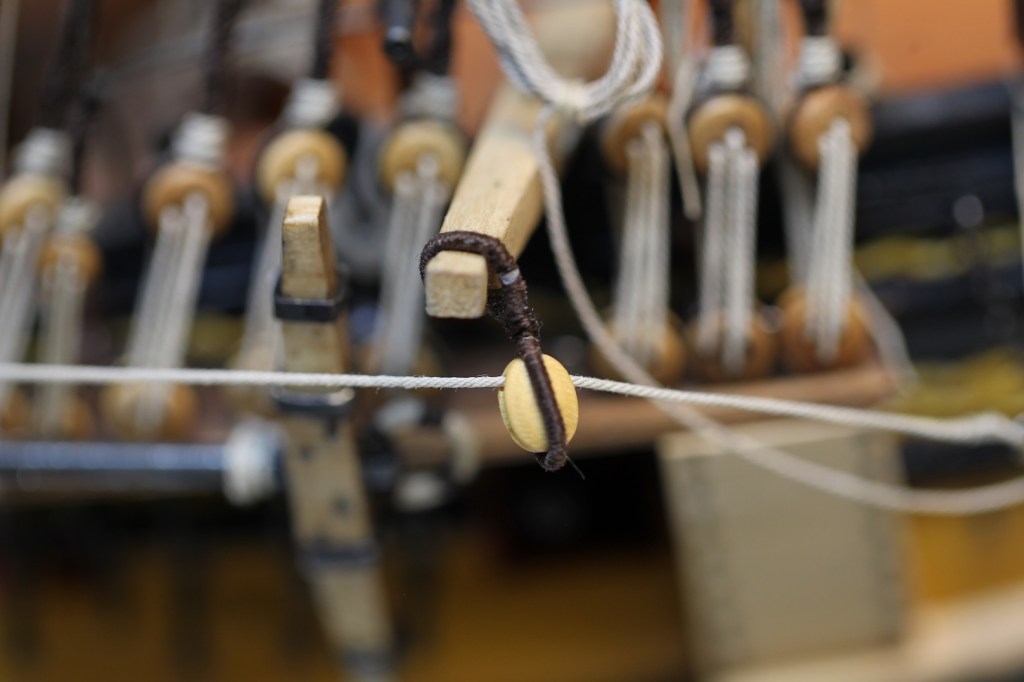
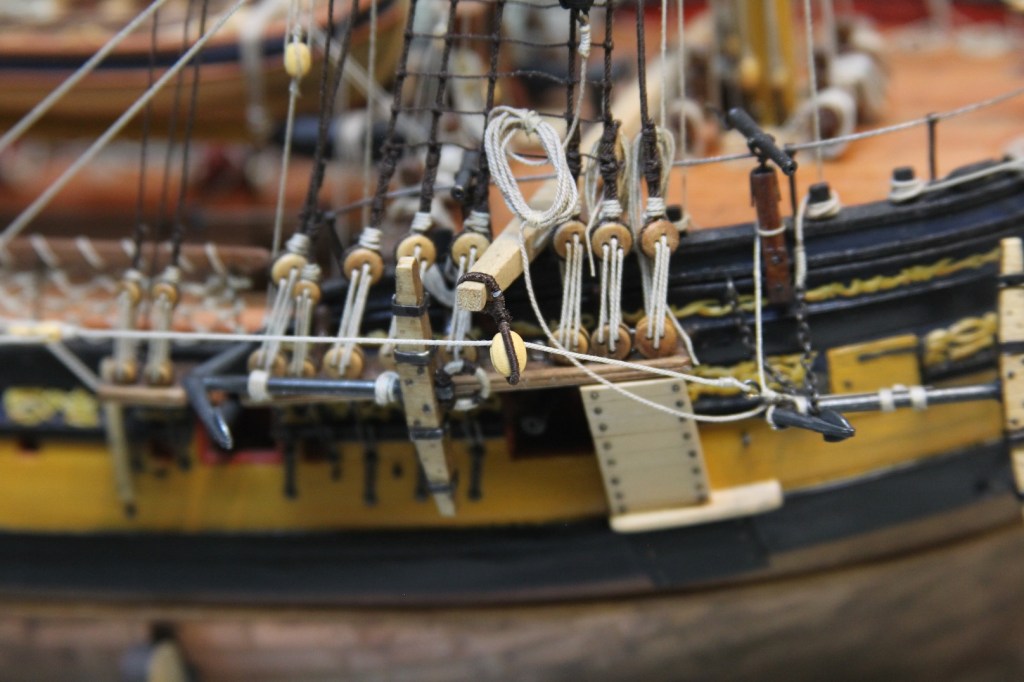
The fish tackle hook is attached to the anchor and the pendant runs up through the fish tackle block toward the aft of the ship. A small line called the fish back is seized to the hook and runs up to a timberhead. This often overlooked line is what enabled the hook to be swung from the inboard.
The fish tackle is secured to the foremost eyebolt along the main chains with an untarred line serving as the falls connecting the pendant to the tackle. The falls start at the fish tackle block, run up through the larger of the pendant double blocks, back down through the sheaves of the tackle block, back up through the smaller of the double blocks, then all the way along the hull toward the aft of the ship to finally belay on a timberhead.
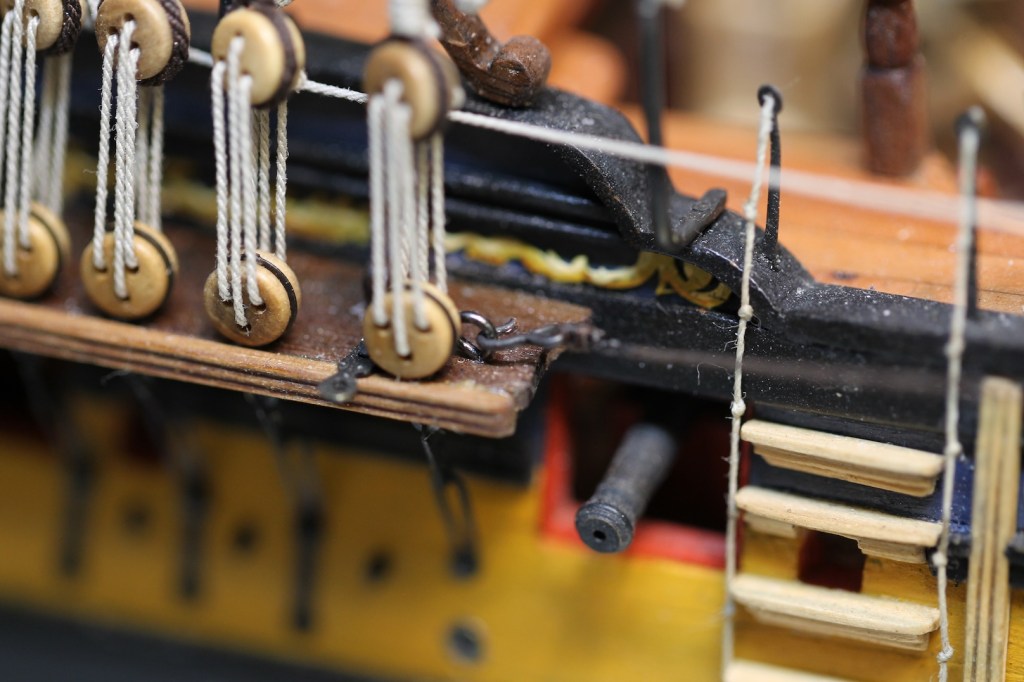
The finally bit of anchor rigging is to secure that other two anchors not currently in use. These were simply lashed to the fore most chains until needed.