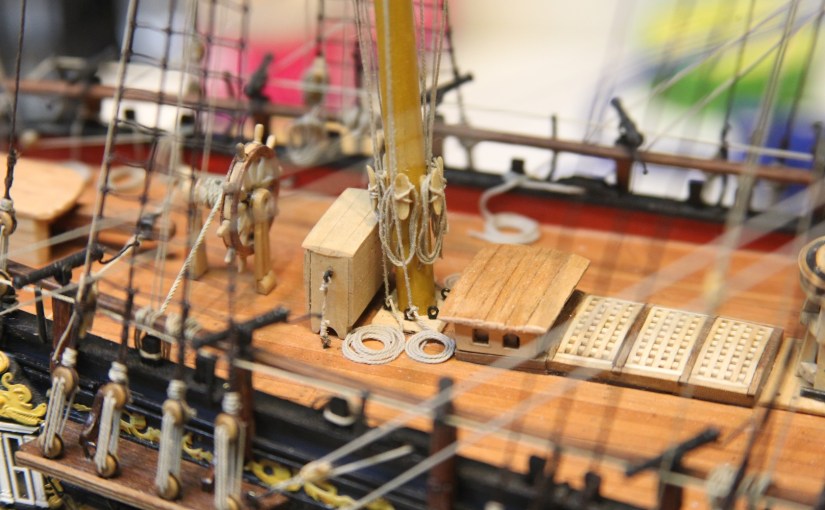
Getting near the home stretch of the build and it’s time to fill in the little odds & ends that add realism and detail to the Pegasus. Some of these things, like the rope coils, represent work down in between other tasks.
Faking Down the Coils
Such funny terminology that has attached itself to shipbuilding. Faking down the coils is the term used for adding the dozens of coils of rope along the deck and in the rigging. Wherever the running rigging was belayed, seized, or otherwise tied off, there would have been some excess of rope coiled or looped over a cleat, timberhead, or railing. This is an incredibly tedious and often difficult task trying to replicate these coils so they lay in a natural and realistic way.
To achieve this, I constructed a small jig to wrap the different size ropes around to represent the different ways in which the ropes would have been coiled or wrapped. The process is to coil the rope then slather it with very diluted white glue (which dries clear) to hold them in place. Then, when they dry they stiffen just enough to stay in form.
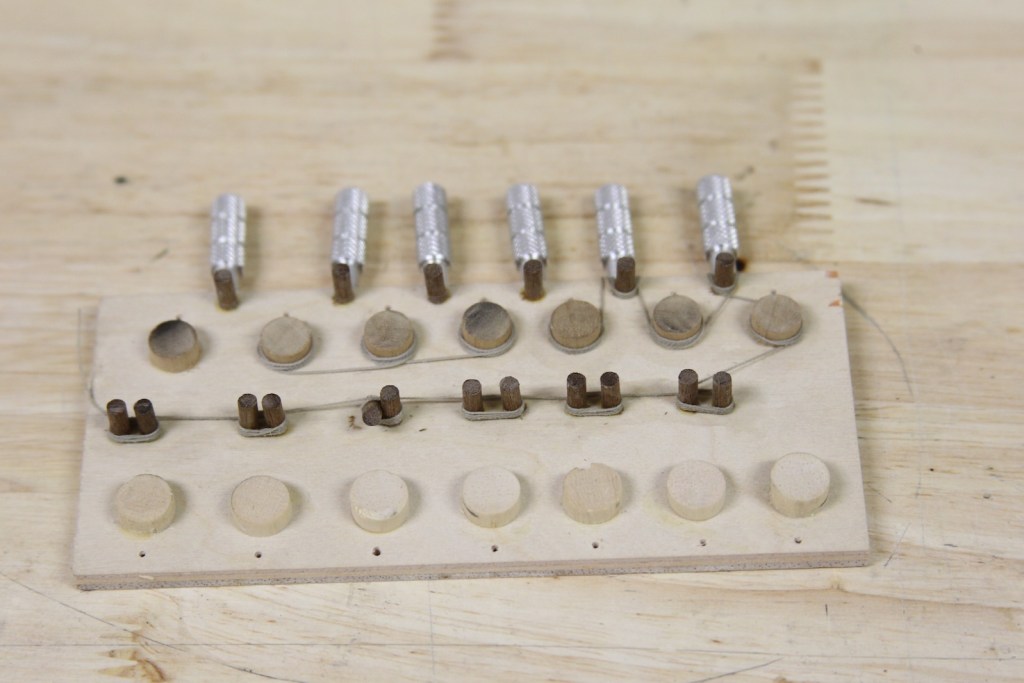
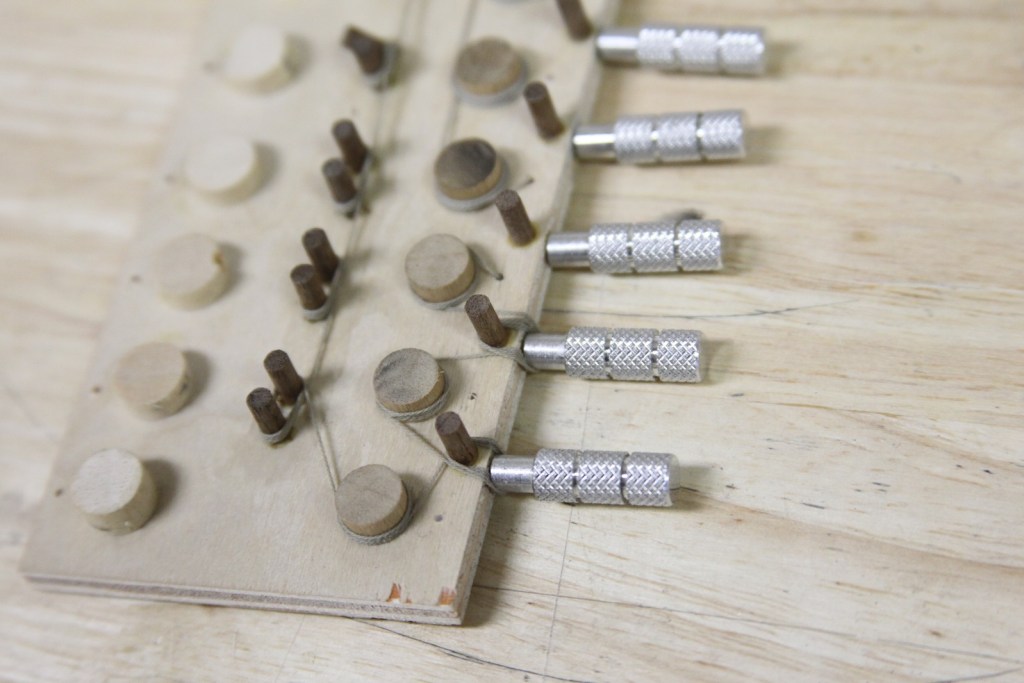
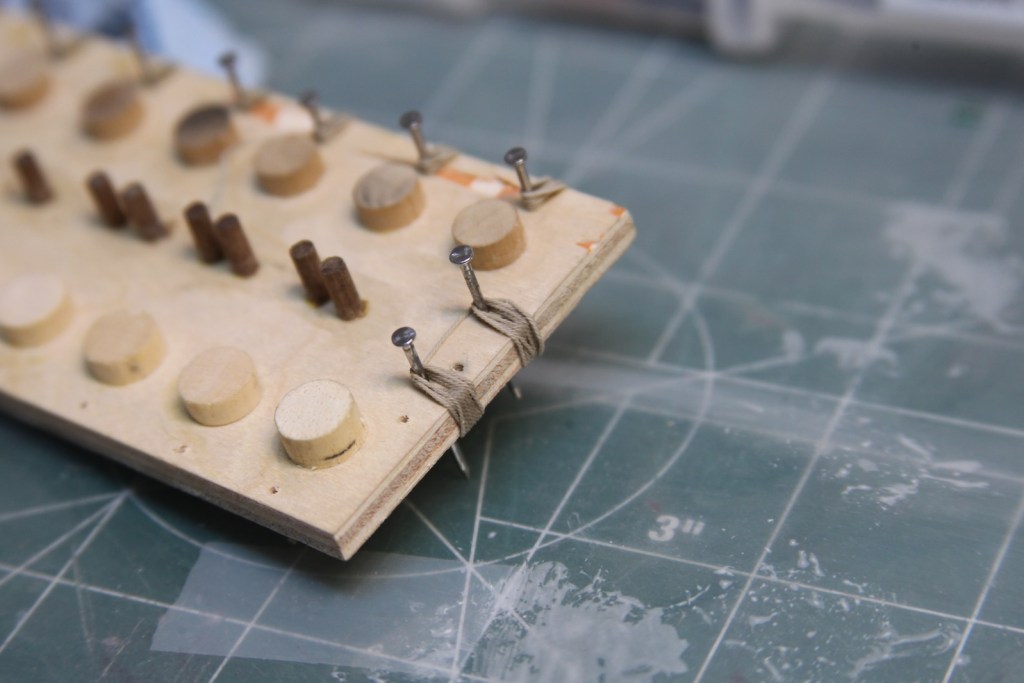
The rope coils are carefully removed from the jig with a scalpel or other small tool, then laid out on a piece of thick plastic where they are once again soaked with diluted white glue to reinforce their shape before adding them to the deck. Often times I’d lay a small metal tool on coils to hold their shape while they dry or use a small clip to hold them in place on the deck.
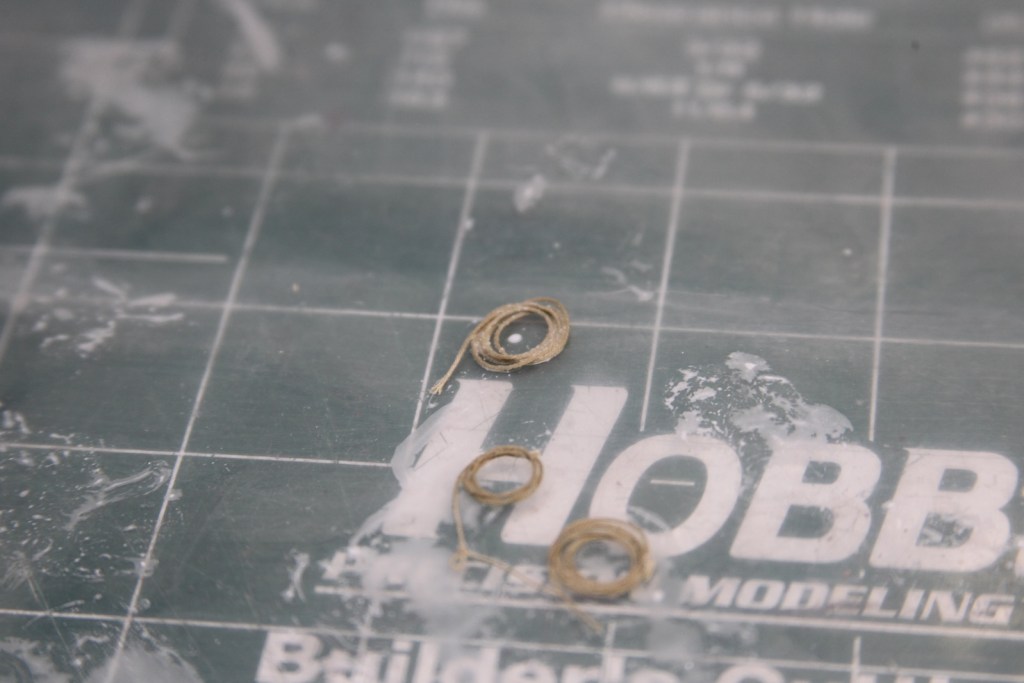
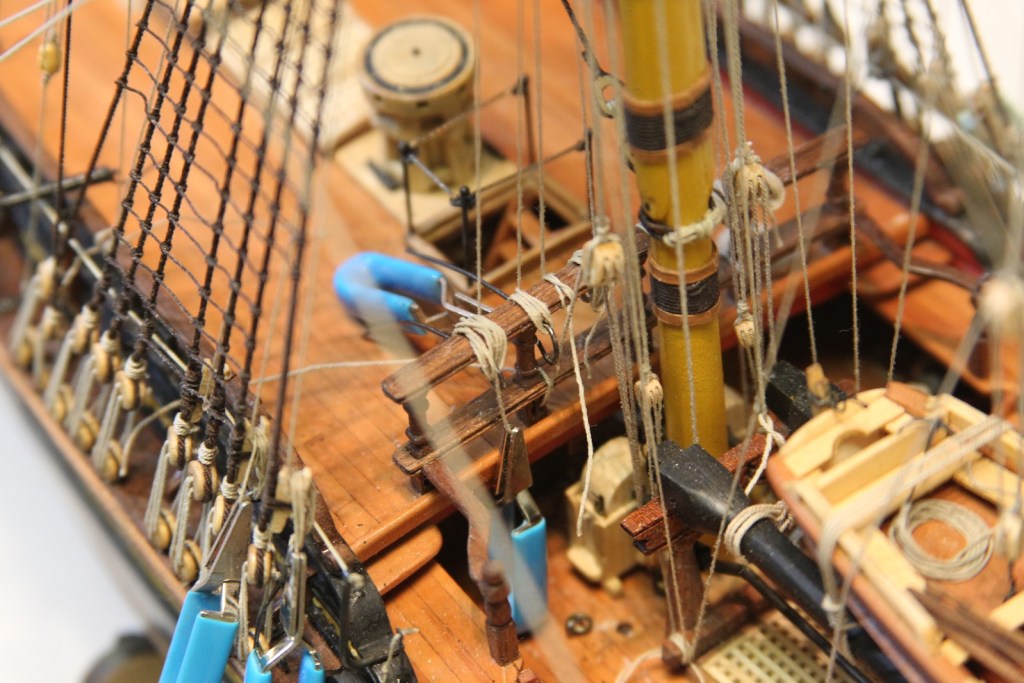
Not really shown here – but a technique I used often was to bend a small piece of metal to hang from the coil with a clip added for wait. This would pull the coil down into a more natural position while it dried.
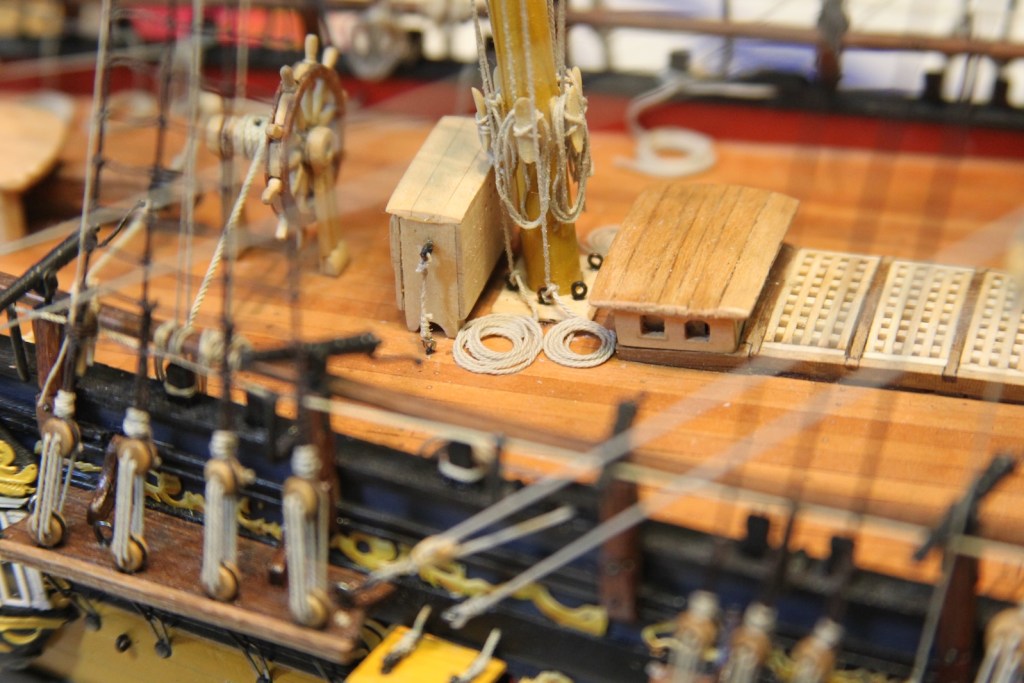
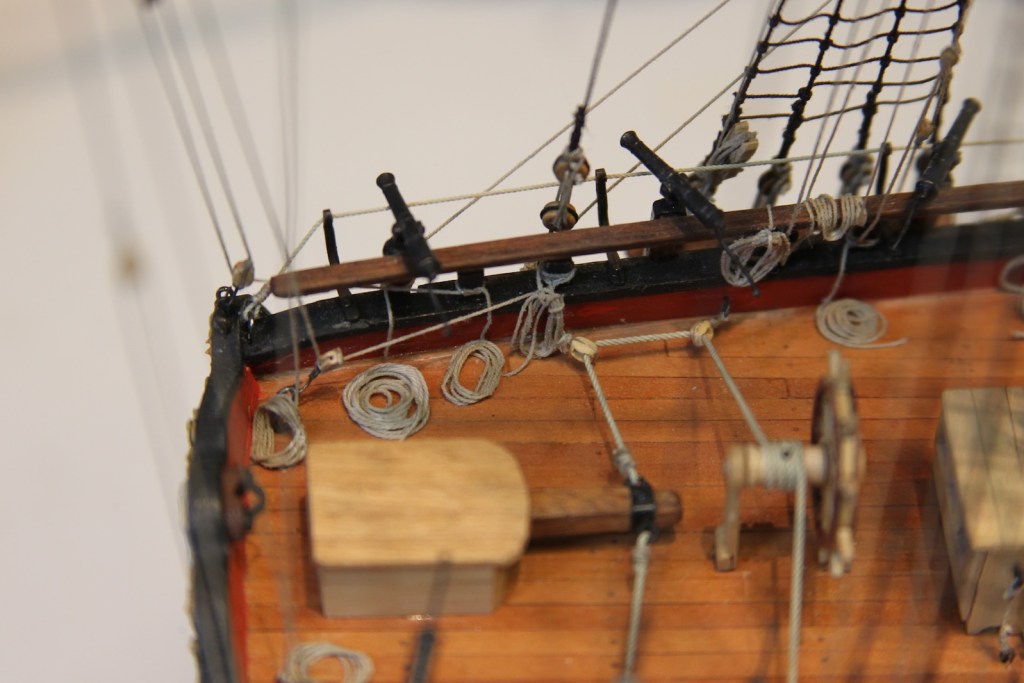
The following shots are a variety of different ways the coils were laid along the deck and displayed. Obviously some are a bit more realistic than others – as I think there is an element of luck here as well.
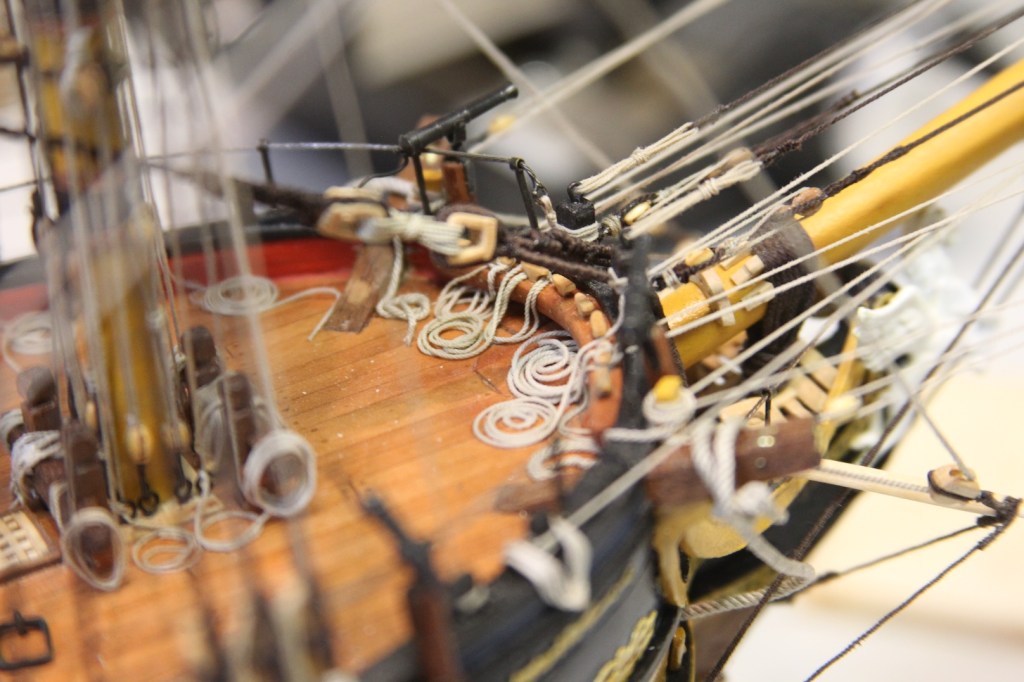
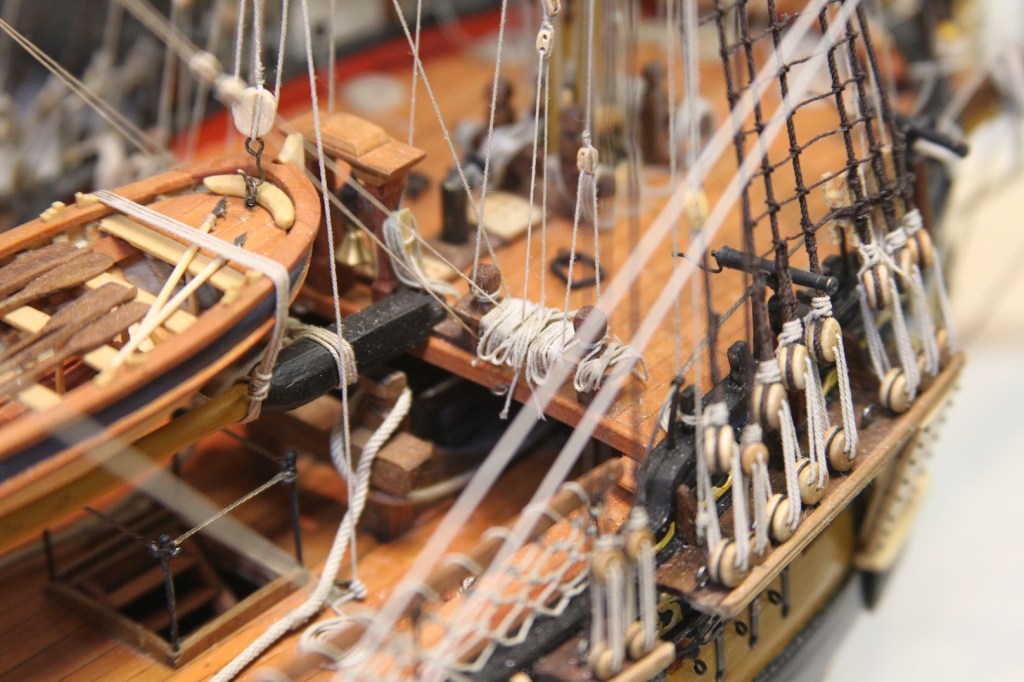
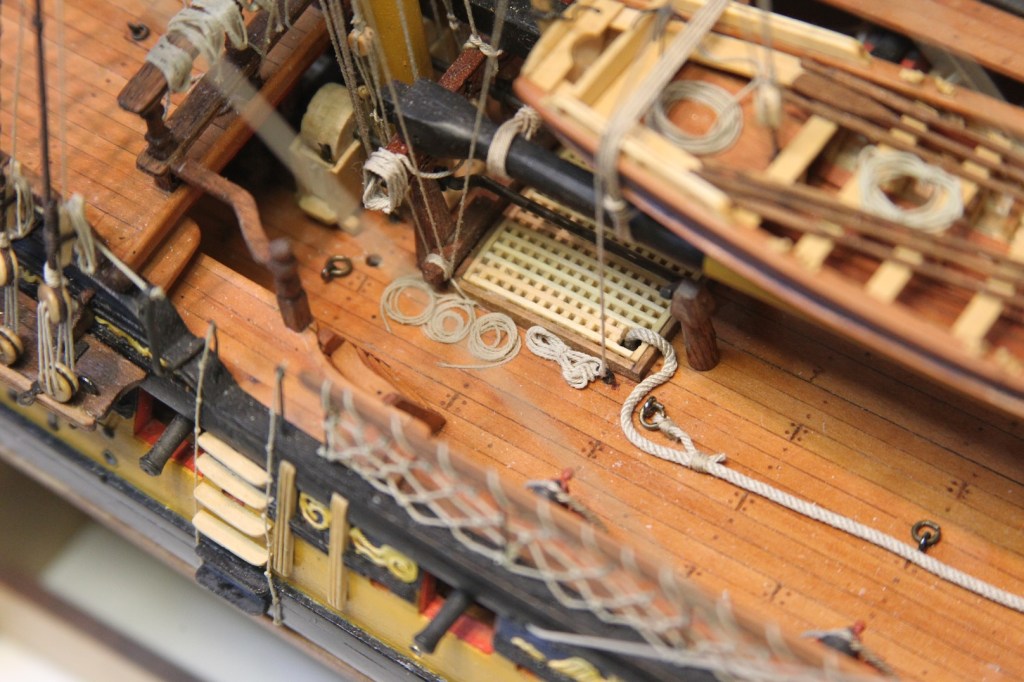
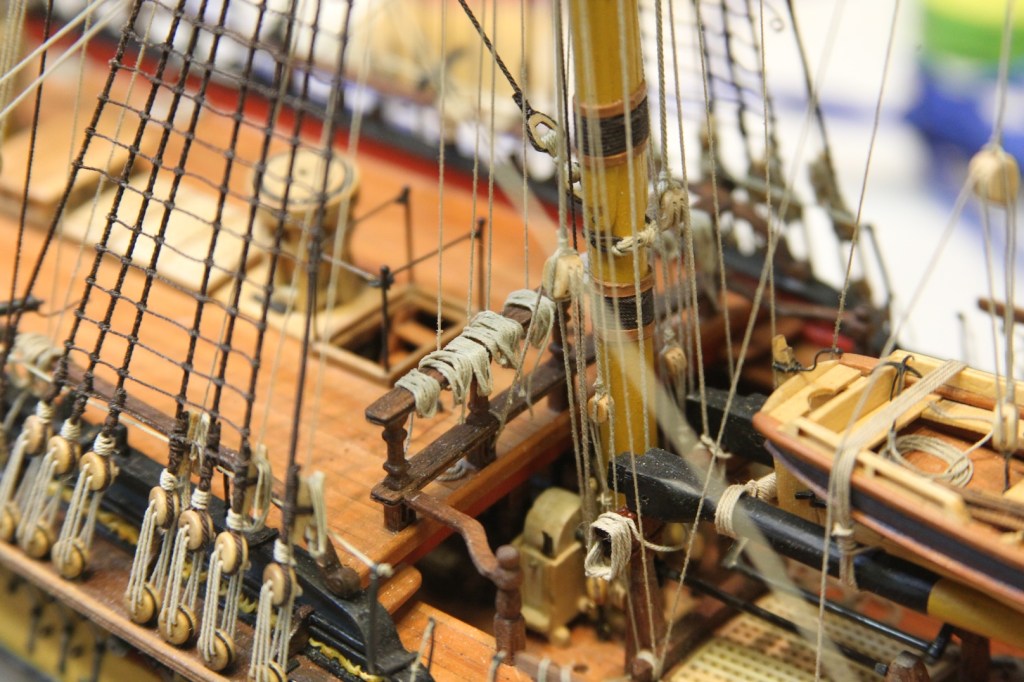
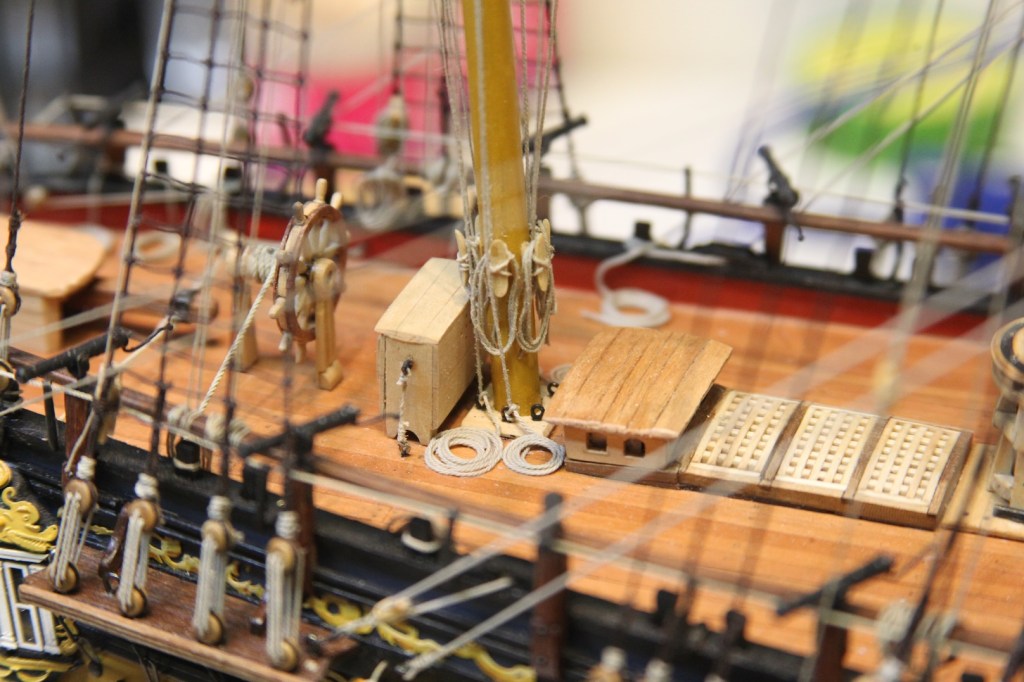
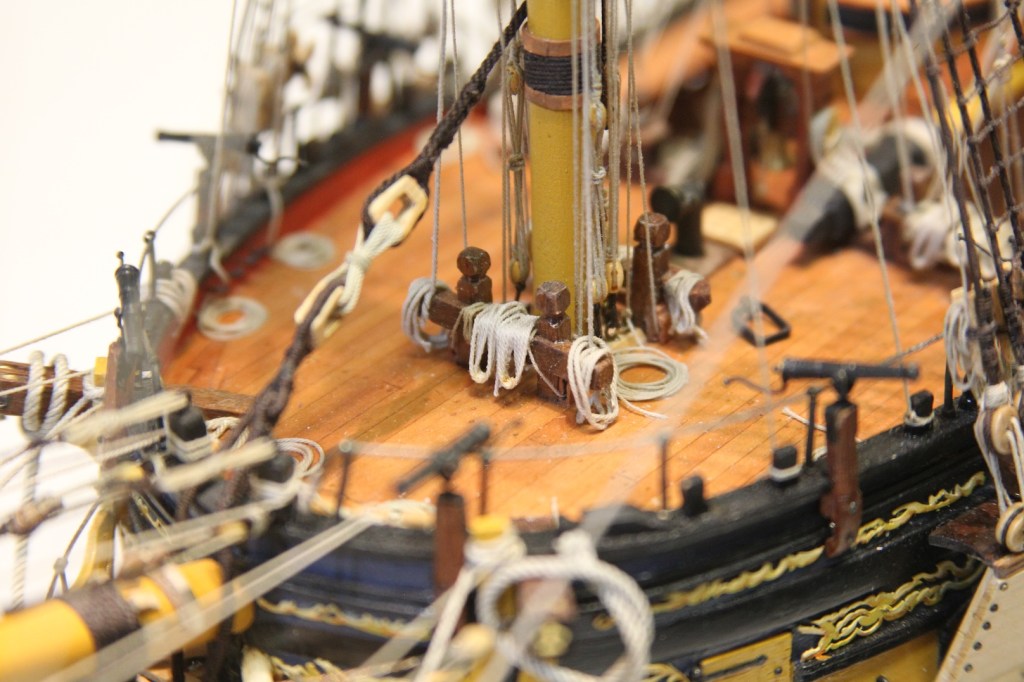
Stern Lantern
The stern lantern is constructed from one Chuck Passaro’s kits at Syren Ship Company. The kits are very small and very finicky, but well constructed. It took two attempts to get a passable stern lantern (luckily the kits come with two lanterns). One element rarely seen on models are the lamp braces that run from the lantern to the transom.
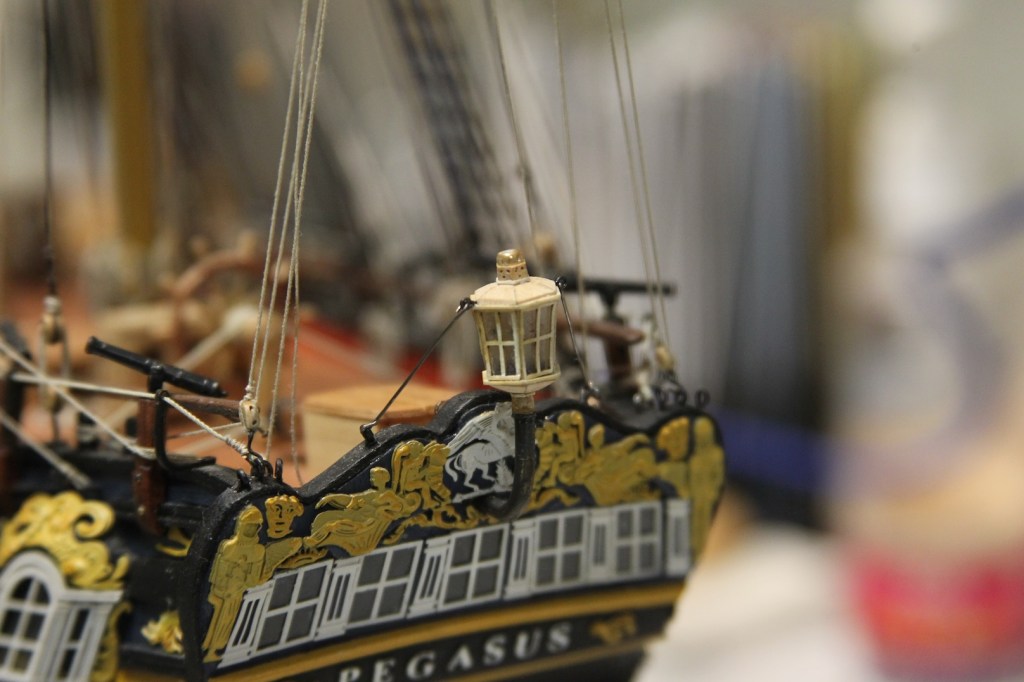
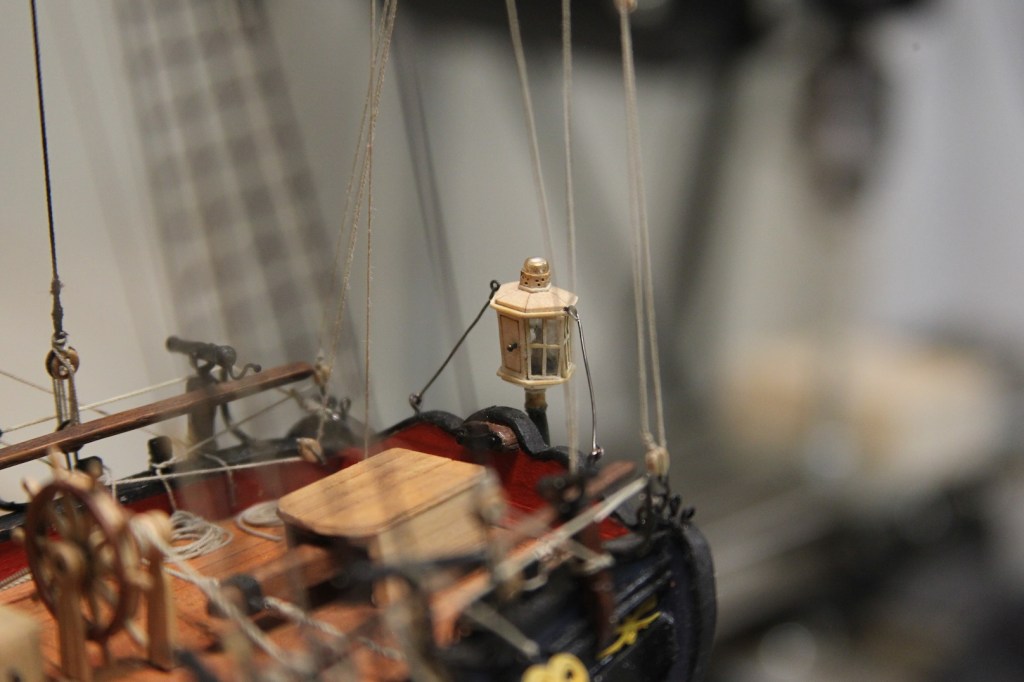
Flags & Ensigns
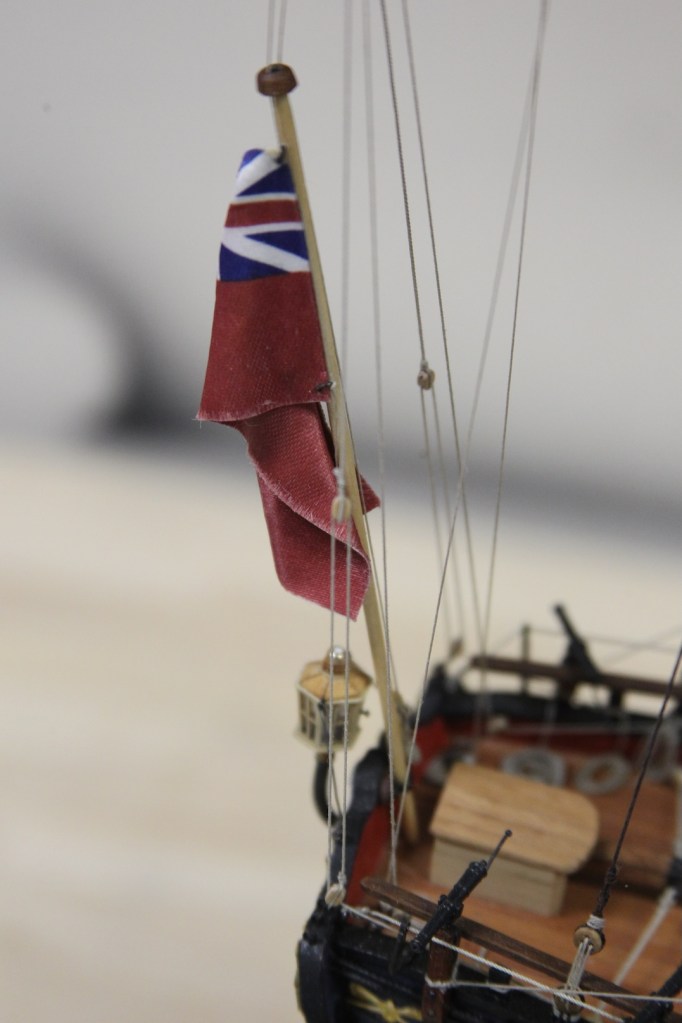
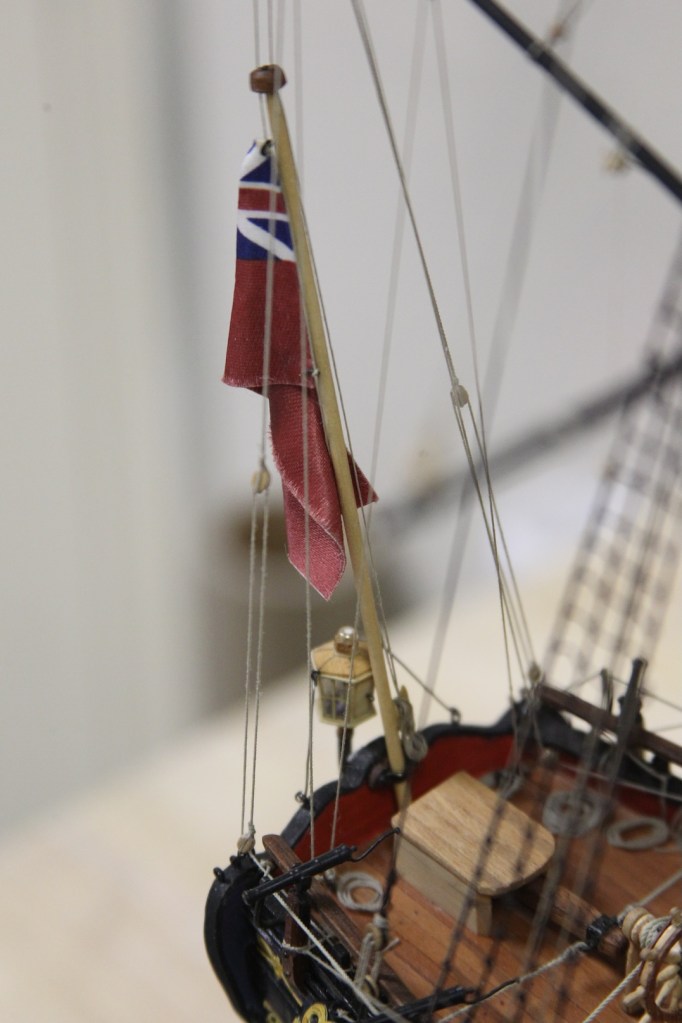
Hoisting the ensigns is always one of the very last tasks and marks the finish line of a build for me. Seems easy – but quite tricky in practices. A key aspect is being able to shape the flags so they appear to be laying at rest being pulled naturally by gravity. There are a variety of different ways to create one’s own flag – but I’ve no real talent for that. Instead, I used the cloth sticker flags that came with the Pegasus kit.
Step one is to soak the flags in diluted white glue to get them wet and maleable. I then mount them on clips, pull them into the shape I want, then wrap them repeatedly with thread to hold them in place while they are once again coated with the white glue.
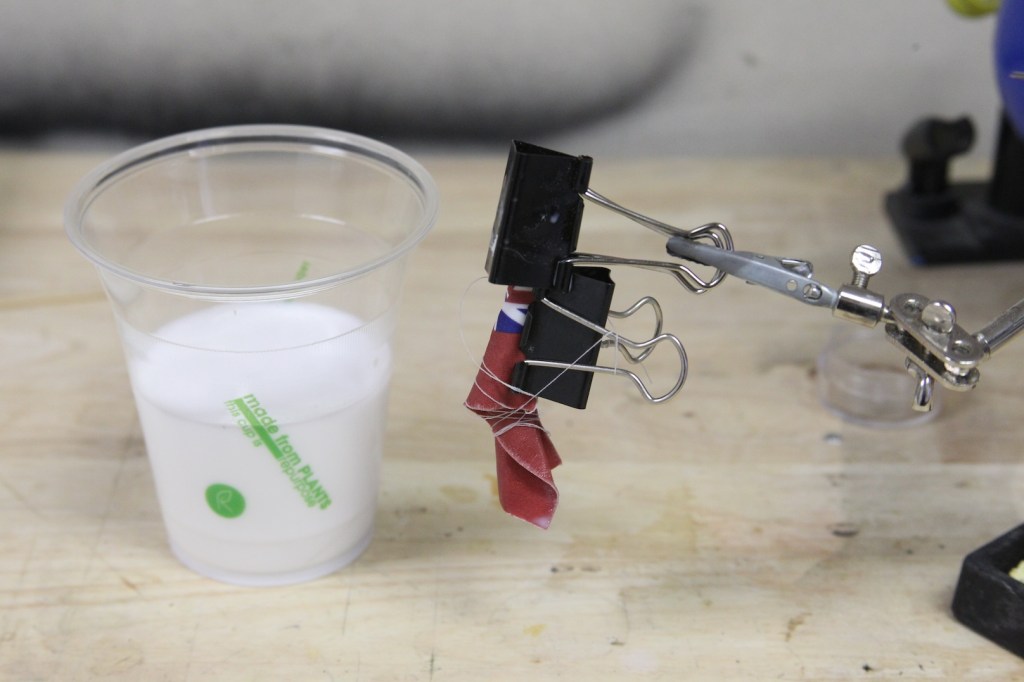
They take a little more shaping to get them just right when they dry, but otherwise look pretty natural.
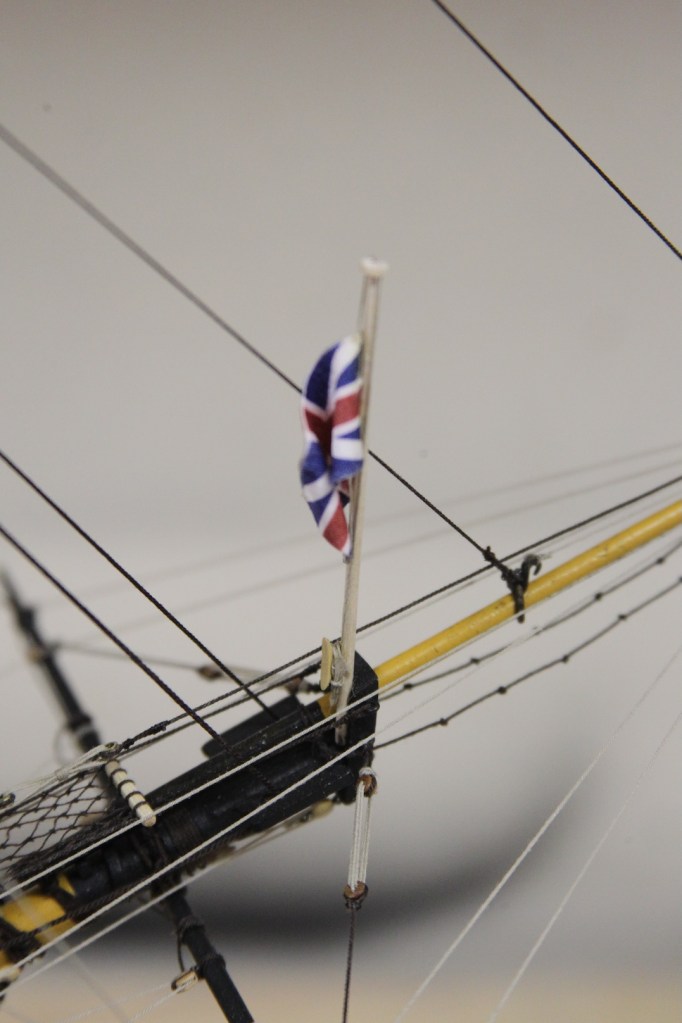
The front flag is mounted on the jack staff which is in turn mounted on the bowsprit. The jack staff is just a lathed down dowel with a cap containing a simulated sheave for raising and lowering the flag. I’ve added the cleat to the base of the staff which may have also been attached to the bowsprit. I prefer the cleaner look attached to the staff.
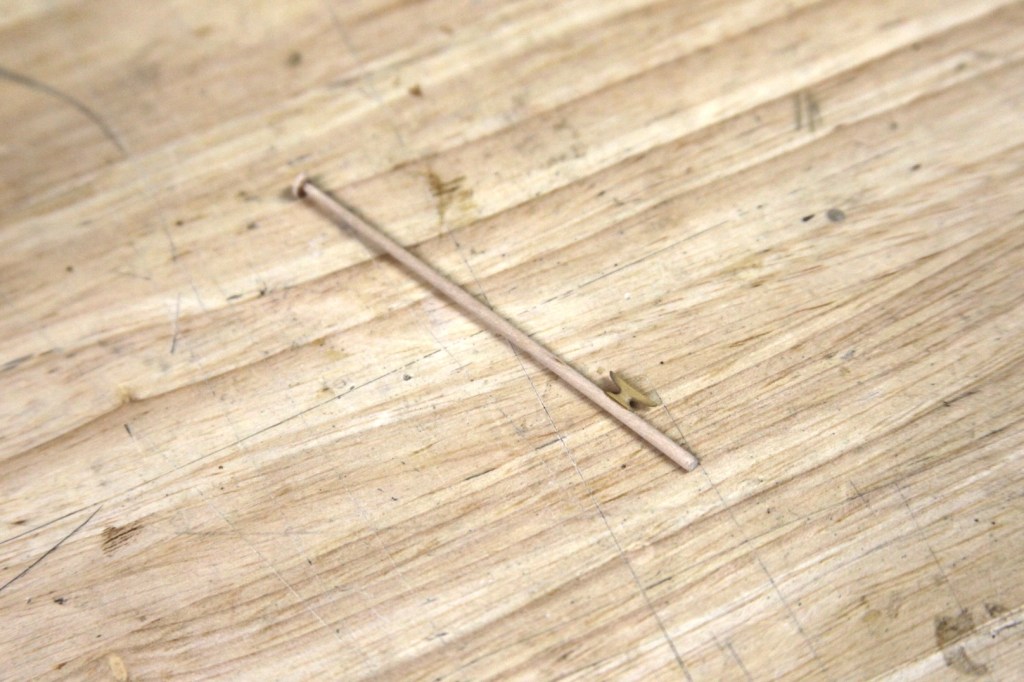
The much larger rear Ensign is mounted on a staff attached to the transom of the ship with a bracket. The bracket was added much earlier in the build.
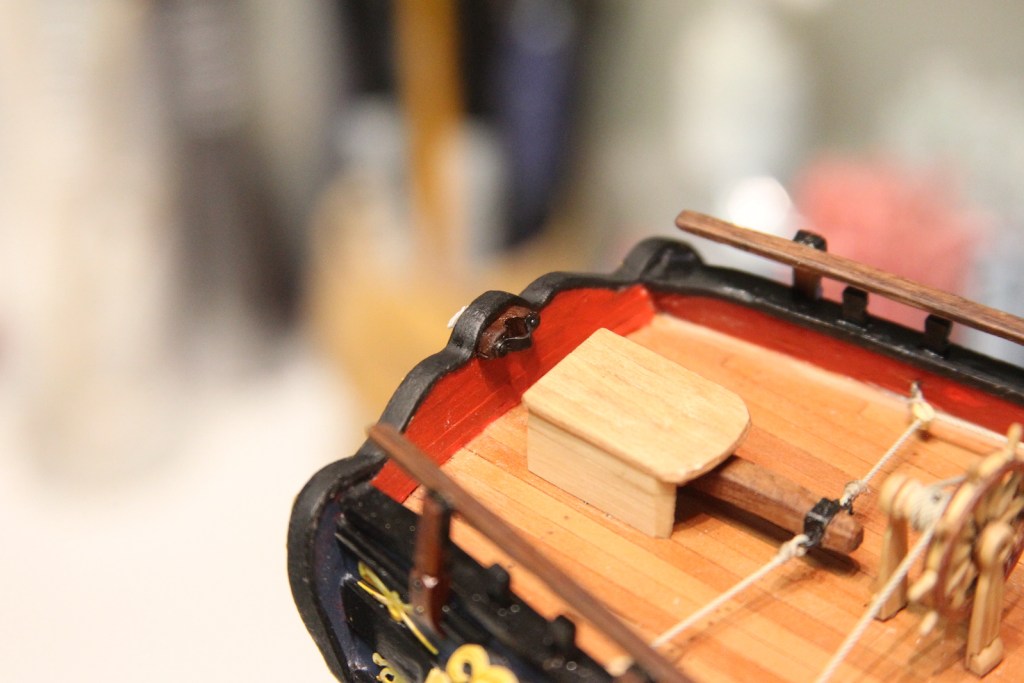
The rear ensign is hoisted on the staff using the small block that was previously attached to the end of the mizzen gaff. The rigging attached to the flag goes up through the ensign staff cap sheaves, up through the single block on the gaff then back down to belay on the cleat added to the staff.
And with that… the HMS is almost complete. The only remaining tasks are to mount the ship to it’s base.

