Part of the fun of rigging an 18th century ship (in my opinion) is learning and relearning all the interesting words and definitions. One can’t help but look at the evolving complexity over the course of a few hundred years and marvel and the engineering. I think it can be argued that the late 1700s was the height (no pun intended) of the era of the tall ships. This was just prior to the prominence of the steam power sailing vessels in the early 1800s. The British Navy in particular had honed the rigging to a fine art giving them the ability to maneuver these large vessels in amazing ways.
Jeer Tyes
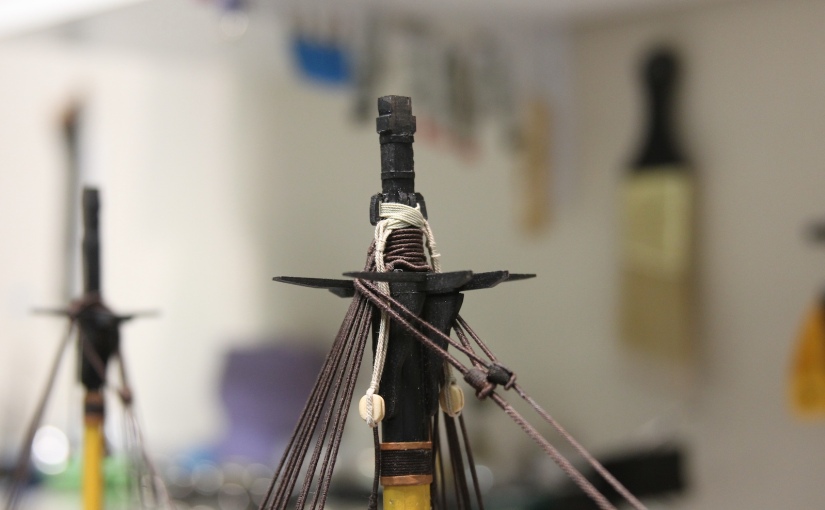
The Jeer Tyes are a set of larg(er) blocks that extend down from the mast heads and allow for the hoisting and lowering of the lower yards (the main crossmembers that hold the largest of the ship’s sails). I’m adding these jeers now before I permanently affix the mast tops so I have more room to maneuver the rigging. They are comprised of 20″ single blocks (about 8mm at scale) double stropped with 7″ (.88mm) line and lashed to the masthead with seven wraps of 3″ (.38mm) line through two closed cleats. My .85mm line looked a little bulky around the block, so I used .75mm instead which I liked better visually.
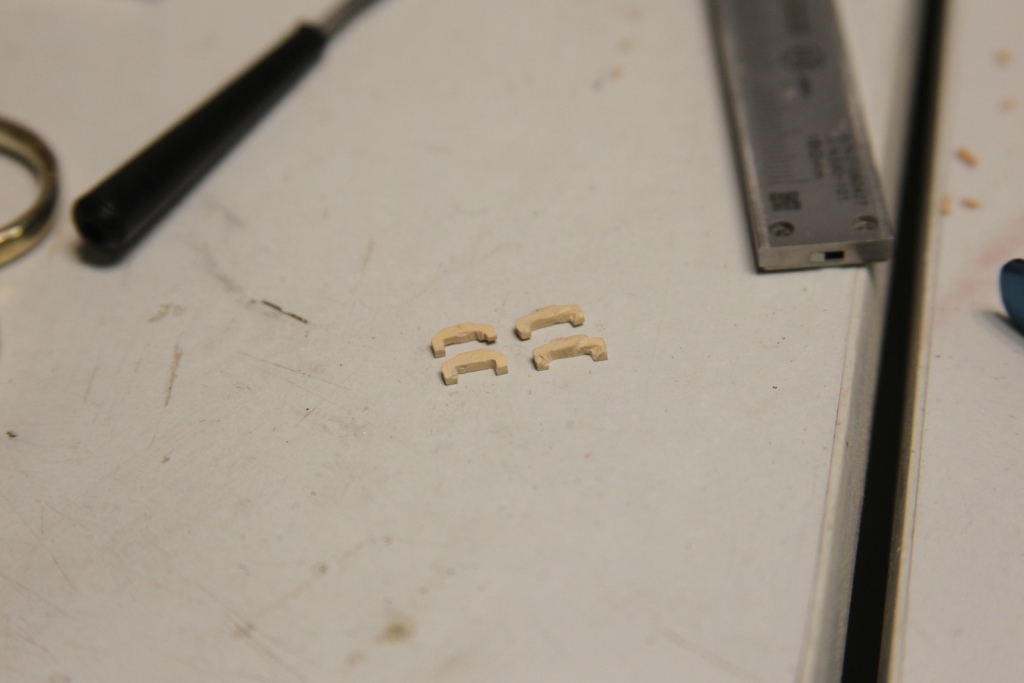
The cleats that hold the lashings in place against the mast tops took me two iterations. The first attempt was with boxwood, and I tried to give them some nice shape and a little finesse with some sanding and they just ended up looking like they were cut out of wood by a third grader with a dull pair of scissors. So I tried again with some dense scraps of an unknown wood that used to be a pen case, and I simplified them to just rectangular closed cleats. Helpful that they’ll eventually be painted black. Notice that I made an extra knowing at least one would either break or go sailing across the room.

The double strop is made from a 90mm length of line turned into a closed loop by securing the ends together, then folded around the block creating a 45 mm long strop. I closed the loop by feeding a needle and mara 100 thread through the two ends and seizing it at the base of the eye. An eye is seized at the other end, then both strops are looped over the block and seized once again.
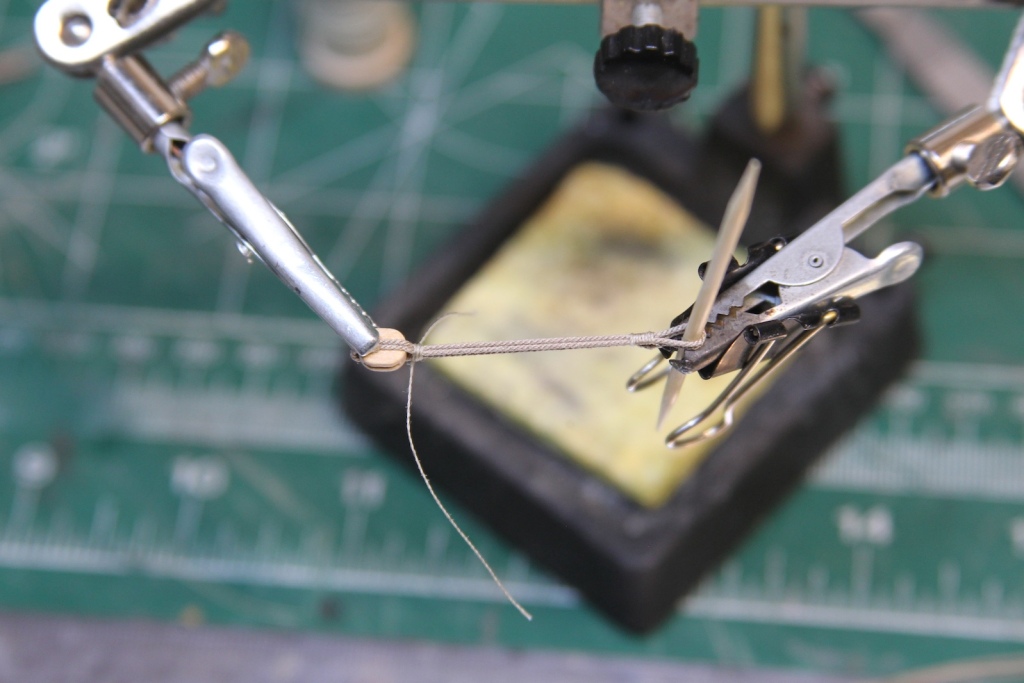

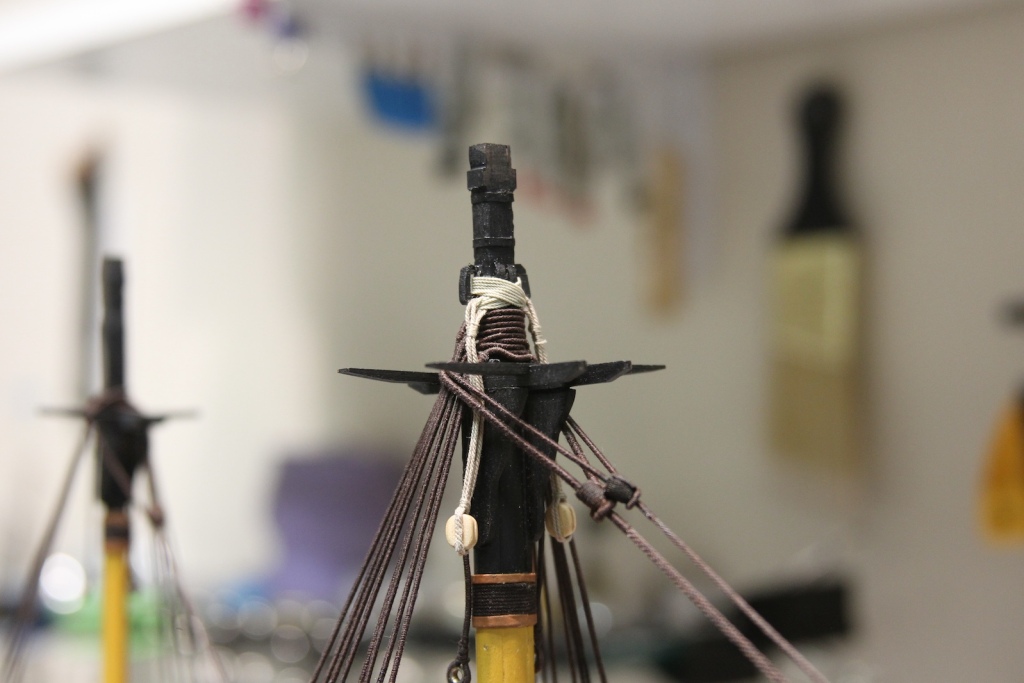
The jeers are lashed to the mast through the cleats and the eyes with the aforementioned .40mm rope, while being careful to lay the rope as cleanly as possible around the masthead. It’s not shown here, but I used a small clamp attached to the block to give it a little weight and tension while feeding the line through the cleats. The strops should hang down just long enough that the yard will sit at the level of the futtock shrouds when they are rigged later.
Futtock Staves
The futtock staves were tarred, hardened, and served lines that are seized to the shrouds to stabilize them as other rigging and tensions pull at the shrouds. They also set the foundation for the futtock shrouds which extend down from the futtock plates (attached to the bottom of the mast top deadeyes) to the shrouds. The futtock staves are fitted the same distance below the mast tops as the mast head rises above it. The scale for these lines is .5mm, however I am skeptical of having just a served line. I’ve seen quit a few folks serve something more firm like a strip of bamboo or wire to create something more rigid to withstand the pull of other rigging. I’m taking this tactic as well, and for my futtock staves I’m opting to go with serving a straight pin, as they are just under 1mm. A smidge bulky, but still looks goo to my eye. The serve the pin, I loaded it into my Dremel, started with a tiny touch of CA to hold the Mara 100 line in place, then I rotated the Dremel by hand to serve the line.


The plans for the Pegasus as well as the images I have from The Fully Framed Model show the staves attached to the outside of the shrouds. However, as I understand it, most British ships had them on the inside of the shrouds. Also, the other builds that I follow for reference have them on the inside – so this is the option I’ll be going with. I measured the distance and lined up the staves, then used another tiny dot of CA on a couple of shrouds to hold it in place while I seized it to the shrouds. I cut off the ends of the pins with wire cutters, sanded a tiny bit, then touched the metal ends with a dark sharpie to match the serving line, etc.


I was having a very difficult time matching the port and starboard futtock staves exactly and getting both sides absolutely level. As one might imagine, if both sides are not perfectly symmetrical, it’ll be very, very noticeable when the futtock shrouds are added. I finally stumbled on this idea – putting a small piece of timber across the staves to create a ‘level’ until I could place the opposite stave.

Catharpins
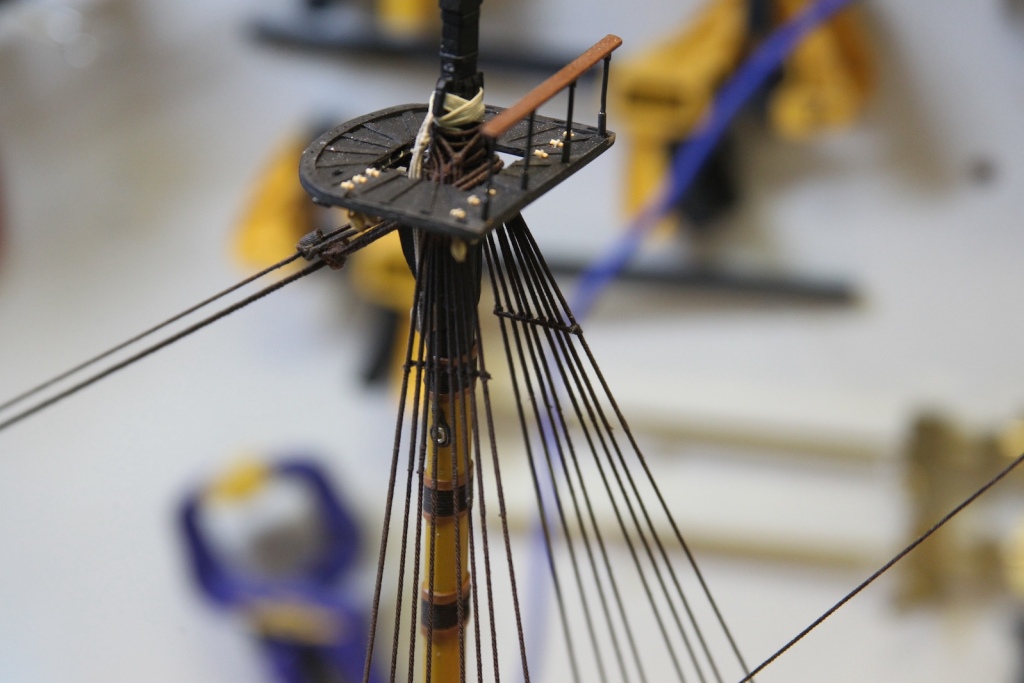
The catharpins are served lines that hold the shrouds together neatly underneath the mast tops at the futtock staves. This is necessary for a couple of reasons. First, there will end up being a lot of rigging tugging at the masts and shrouds in this part of the ship and these lines will strengthen that area quite a bit. Second, the next step will be the futtock shrouds that will extend down from the mast top deadeyes and deadeye chains to the shrouds to provide additional ratlines as well as stabilize the top masts. As these areas are responsible for stabilizing the entire upper rigging of the ship, it’s very important that they have a strong foundation – provided in part by the catharpins.
The lines themselves are a very tricky lot to get right. Each one has to be measured perfectly to link the shrouds under the mast tops, but that measurement is quite difficult to maintain when making the eye splices on the ends. I started by serving a .45mm diameter rope for the length that I would need to make all eight of the catharpins. Then, for each one I would start with an eye loop, remeasure the distance using a small piece of timber placed against the shrouds, then cut the other end of the catharpin a quarter inch long, unwind the served rope, then feed that serving thread through the line itself to create the splice, then wrap the thread to finish it. I had at least three than despite every effort ended up being just off enough to not work out. To get the catharpin attached to the shroud, I started by attaching one end at the bottom of the shroud, then feed the guy up to the futtock stave, pinch the other end to the opposite shroud, and then tie both sides off using a needle to feed the seizing through the eyeloop and around the shroud. It took about an hour for each catharpin start to finish.

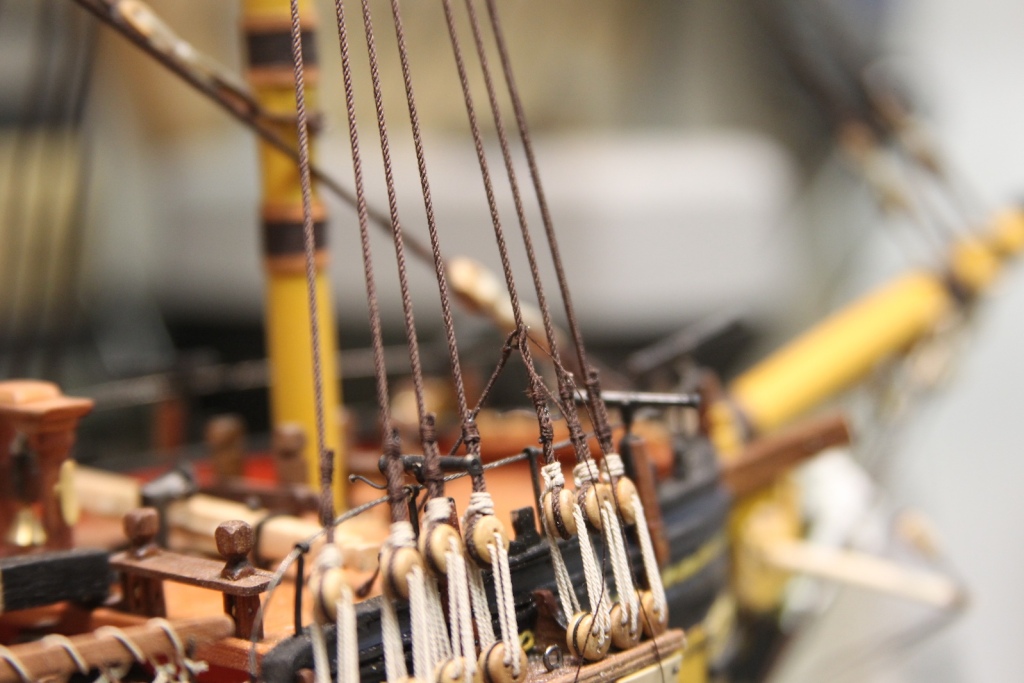
It took about an hour to create and attach each catharpin, so a couple of tedious days to get all eight attached to the fore and main set of shrouds. A couple of them look just a smidge loose in the images below (fore mast is left, main is right), but those will tighten up when the futtock shrouds are attached and pull the tension in the opposite direction.


