I briefly mentioned in an earlier post that a ship’s rigging is broken down into two types – the standing rigging and the running rigging. Just as it sounds, the standing rigging stays in place and holds various masts and permanent fixtures in place, while the running rigging is pulled through blocks and other pulleys to shift yards, spars, sails and anything else that “moves” on the ship. The biggest differentiator between standing the running rigging to the naked eye is the color. While running rigging is tan (the natural color of most ropes) the standing rigging is dark as it was tarred to protect it from the harsh conditions of the sea while it stays in place for long periods of time.
Serving Rigging Lines
Some portions of the standing rigging that needed to withstand even more difficult conditions were also “served” by a smaller rope. Essentially a ‘served’ rope is one size rope wrapped very tightly in a smaller rope to provide an extra layer of protection and then subsequently tarred. This was primarily done with sections of the standing rigging that were likely to rub up against either other rigging or some portion of the ship. Just as I turned my own rope for this project, I’ve also created a little machine (based on others I’ve seen) to serve my own rope as well.

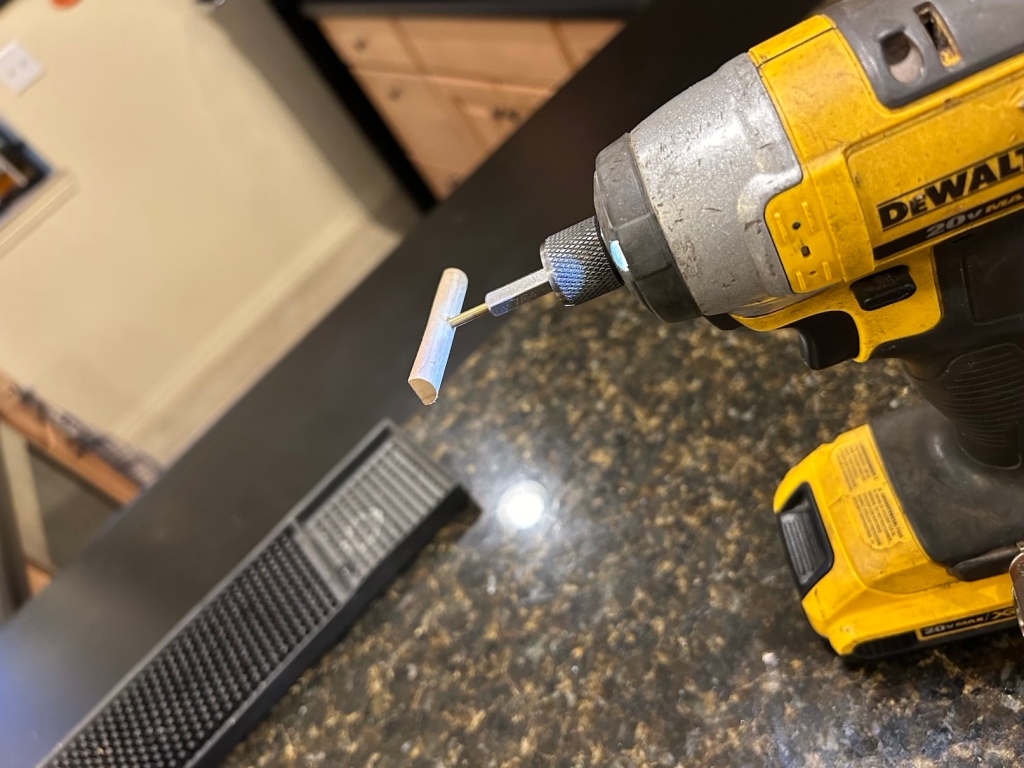
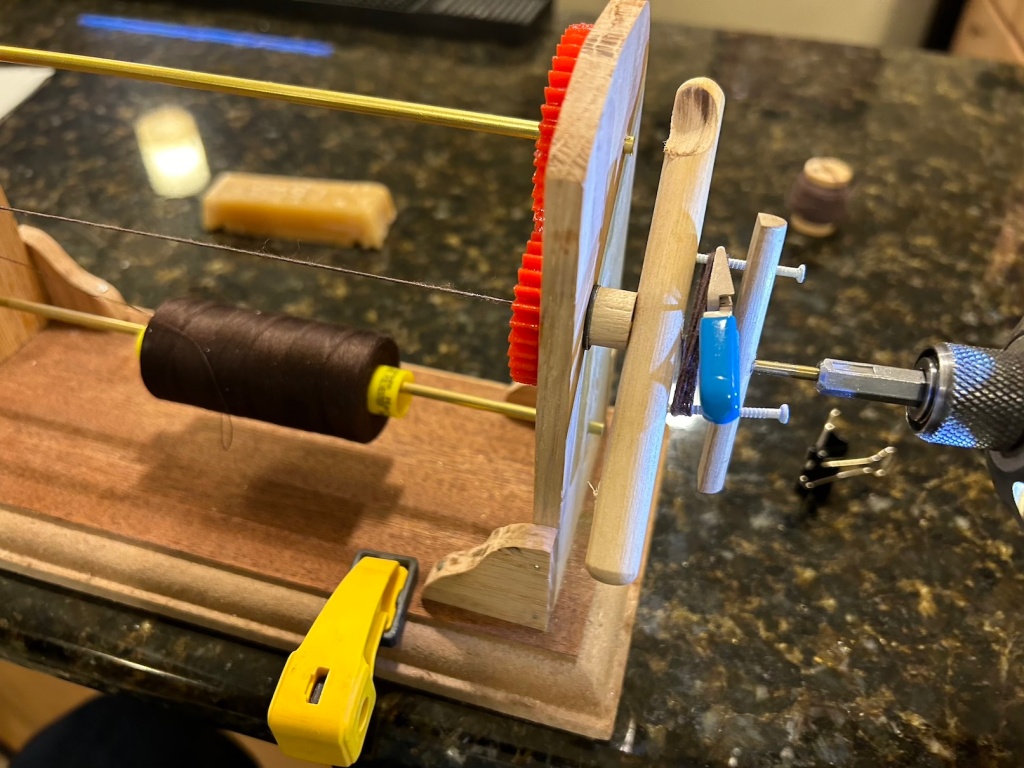

The main rope runs through a hole in the gears and the spool of smaller rope is skewered below it. The smaller rope is attached to the main rope then when the handle is rotated it wraps the smaller rope around the larger. It didn’t take long for me to be rotating this tiny handle a bunch of times before I decided I needed a workaround before I wore out my shoulder. As a result I created a small bit that I could put in my power drill to turn the handle quicker.
Bowsprit Rigging
The bowsprit rigging is the start of the ship’s standing rigging. It is made up of a series of “collars” lashed to the bowsprit and connected to other rigging or other parts of the ship with different sized ‘hearts’ – large blocks that were lashed together to create stability but also allowed for some level of shifting and flexibility. The heart can either be opened at the bottom or closed and the size depends on the type of collar. A total of seven collars make up the bowsprit rigging. Two bobstay collars attach the bowsprit to the head. Two shroud collars attach lines to small hooks against the bow hull. Two larger open hearted collars – the forestay and preventer collars – will later be attached to the masts. Finally, the mainstay collar wraps below the bowsprit through the kneel of the head and attaches to the mainmast.
The inner bobstay collar contains a strop (a served section of rope) that is wrapped around a closed heart lashed to another closed heart that is then stropped to the head. According to David Steel’s 18th century reference, the bobstay lines are 5″ in diameter and the hearts are 6″ at their top. For me, this translates to a .5 mm line served with a thin thread. Instead of starting from scratch on the hearts, I used some boxwood hearts that I have lying around but that are shaped wrong for the time period. I shaved them down and sanded out the middle then filed a groove around the edge to hold the line. I then measured the strop and tied it off to the heart. Each end of the strop has an eye to accept the lashing.


The strop is wrapped around so that it hangs below the bowsprit held in place by small cleats and then is lashed together on the top of the bowsprit. A second heart is then lashed to the first with a strop that extends down to the head into one of two holes just below the figurehead.
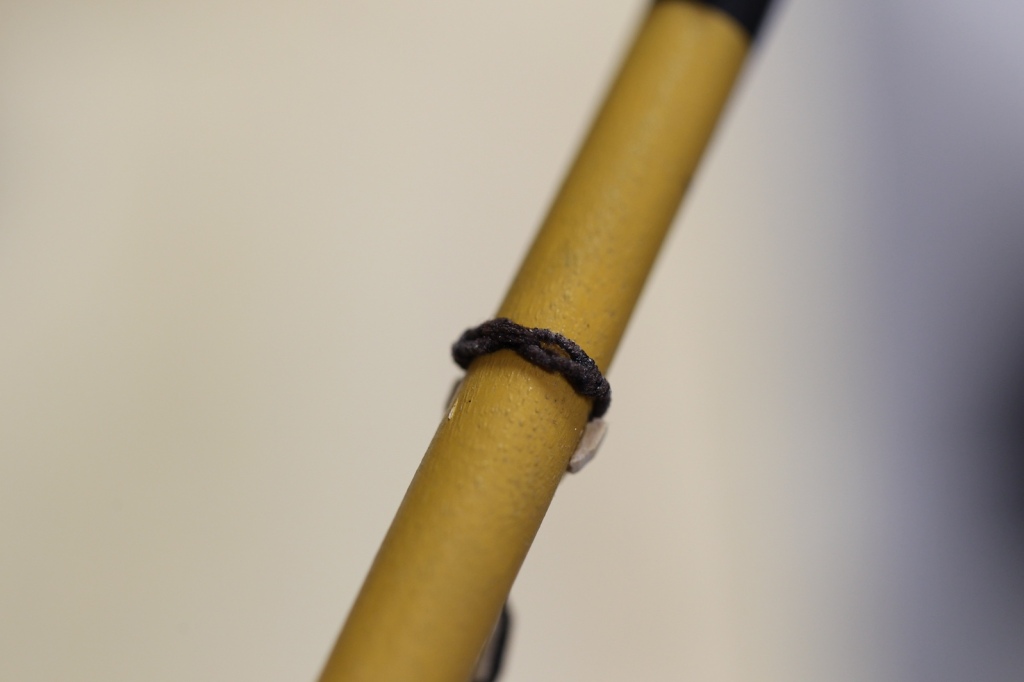
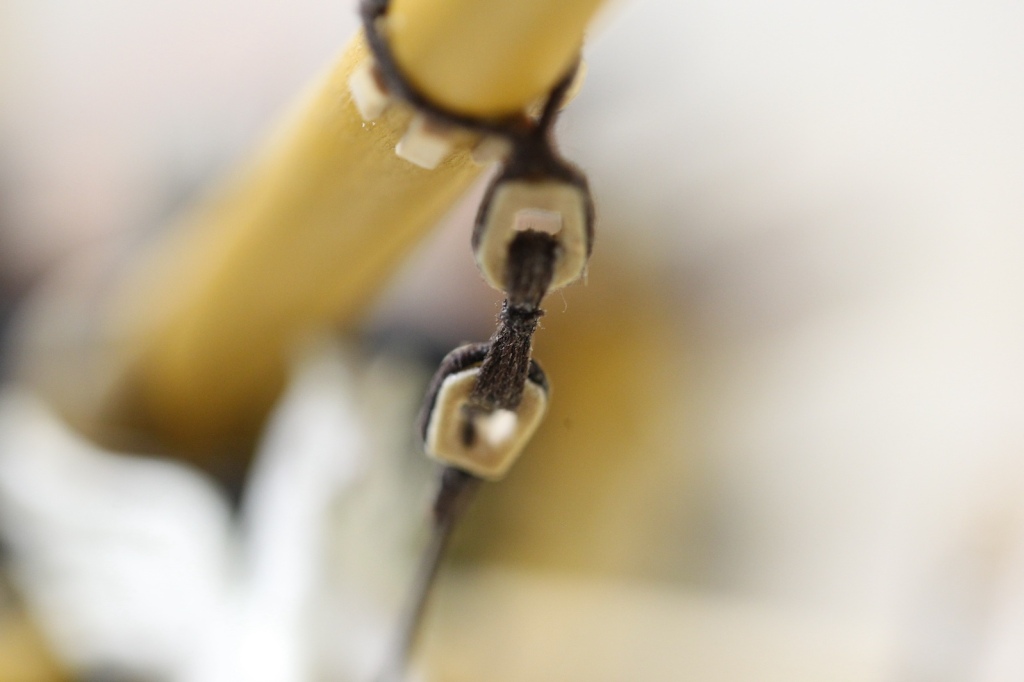


Important note: Throughout this build, most of my references are a combination of David Steel’s aforementioned books “The Elements and Practice of Rigging And Seamanship” from 1794, as well as “The Fully Framed Model, HMN Swan Class Sloops 1767 – 1780 Volume III” by Greg Herbert. At one point, I reached out the Greg who generously provided me with computerized 3D illustrations of the book which have been enormously helpful. In this particular set of images, the lashings were dark – indicating that the ropes being used were tarred. However, according to Steel and almost every other reference I came across, the lashings were actually not tarred – and thus would be tan. So, after putting together this first bobstay collar with dark rope, I went back and redid it using tan and rigged the rest of the rigging using tan colored lashings.
Following the inner bobstay collar, the next two pieces of rigging are the bowsprit shrouds. Once again (with each) one heart is collared to the bowsprit while a second is lashed to the first then connected to the hull. The two larger collars on the top of the bowsprit are the mainstay collars which contain open hearts. Once again, hearts are made from boxwood. However, these larger hearts are double wrapped with two strops to withstand the enormous amount of tension created by the lines from the masts.

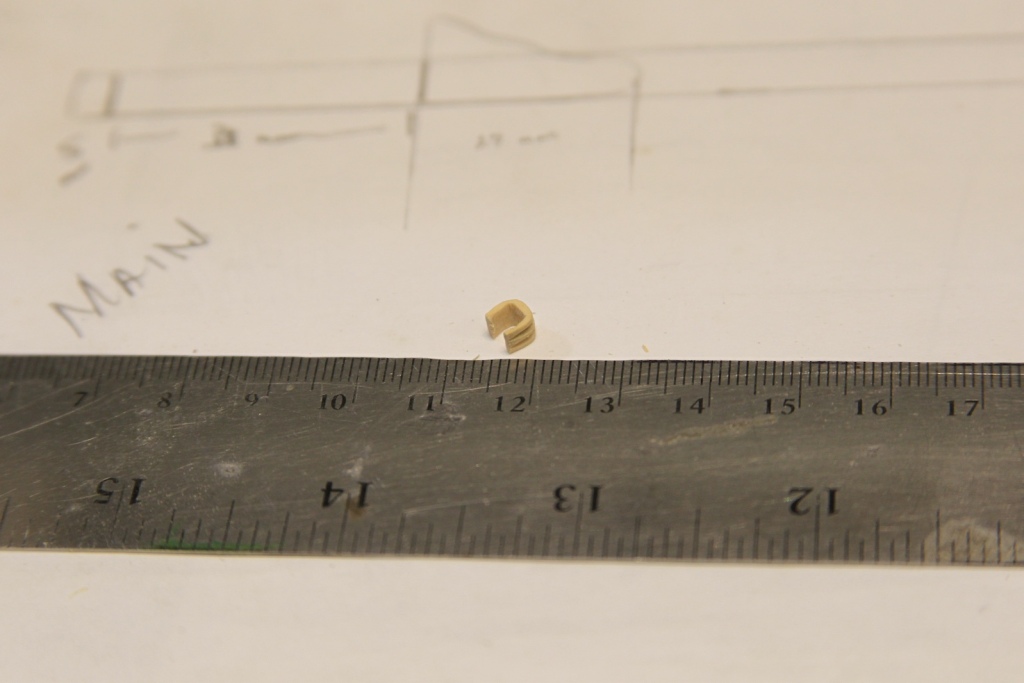


The last collar is the largest and most complicated of the group. The mainstay collar has a spliced eye on one side, then it’s lashed to a closed heart, then it passes through a hole in the knee of the head, then another spliced eye is looped through the first one. Pretty easy to turn the whole thing into a big lumpy mess if one isn’t careful.
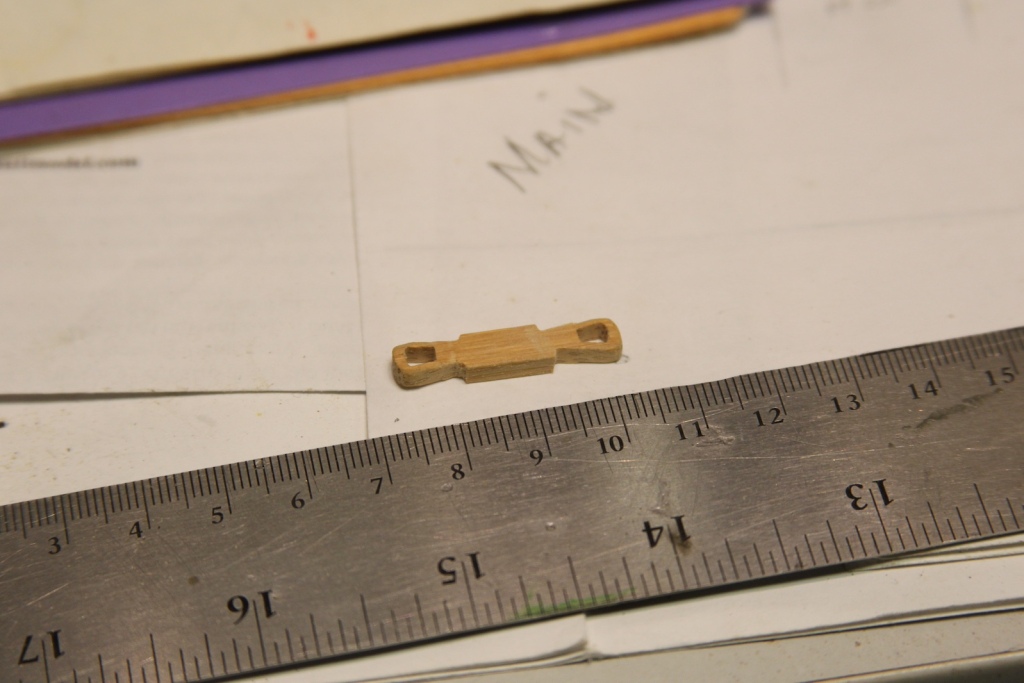
Starting with the heart – 15″ according to Steel which translates to 5.95mm at 1/64; we’ll call it 6mm. I actually made this heart (and it’s compliment from the main stay) from some hardwood I had lying around that was part of a pen case. It’s not quite as hard as boxwood but hard enough and has a little bit more color to it. I shaped two ends of a 6mm wide strip then drilled and shaped the holes before cutting them off and rounding off the hard edges and adding a groove for the line.

I do have to point out an oversight. I didn’t look far enough ahead (or at least missed this need) so I ended up having to drill the hole in the knee of the head now, as opposed to before I constructed the bits and finishings of the bow. Little bit of a pain the rear, and yes I did go back and touch up the spot where I scuffed the yellow paint. Otherwise, the collar is constructed just as described above.

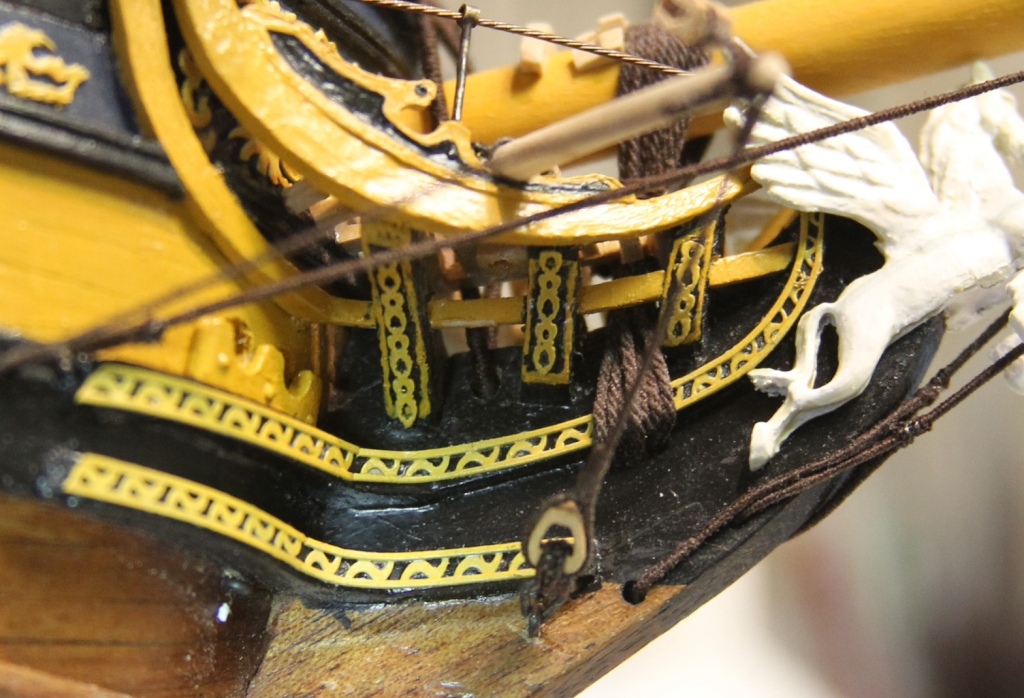

Along with the boomkin rigging (noted in a previous post), that wraps up the standing rigging on the bowsprit. Next we move on the standing rigging of the other three masts.
